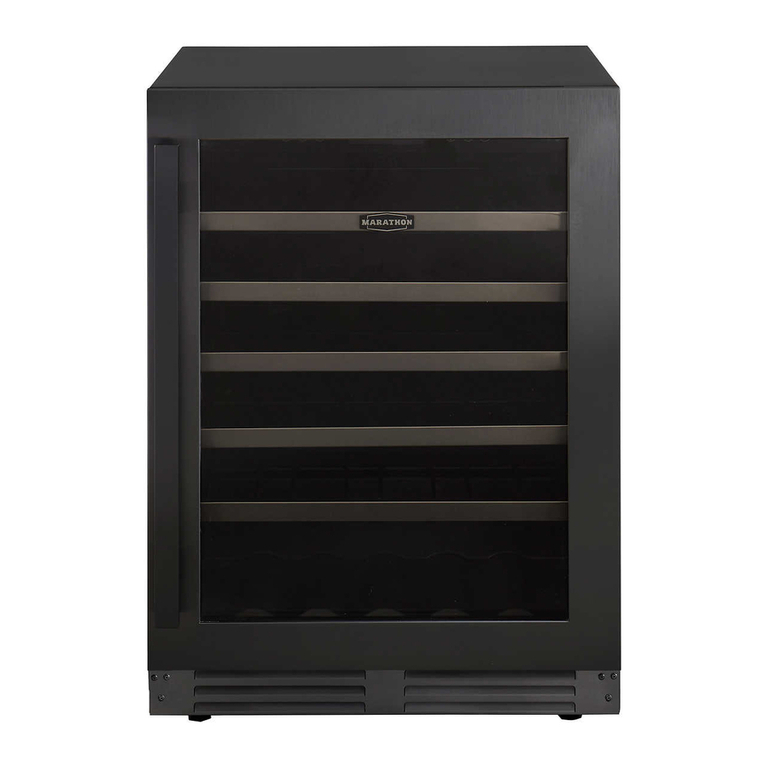
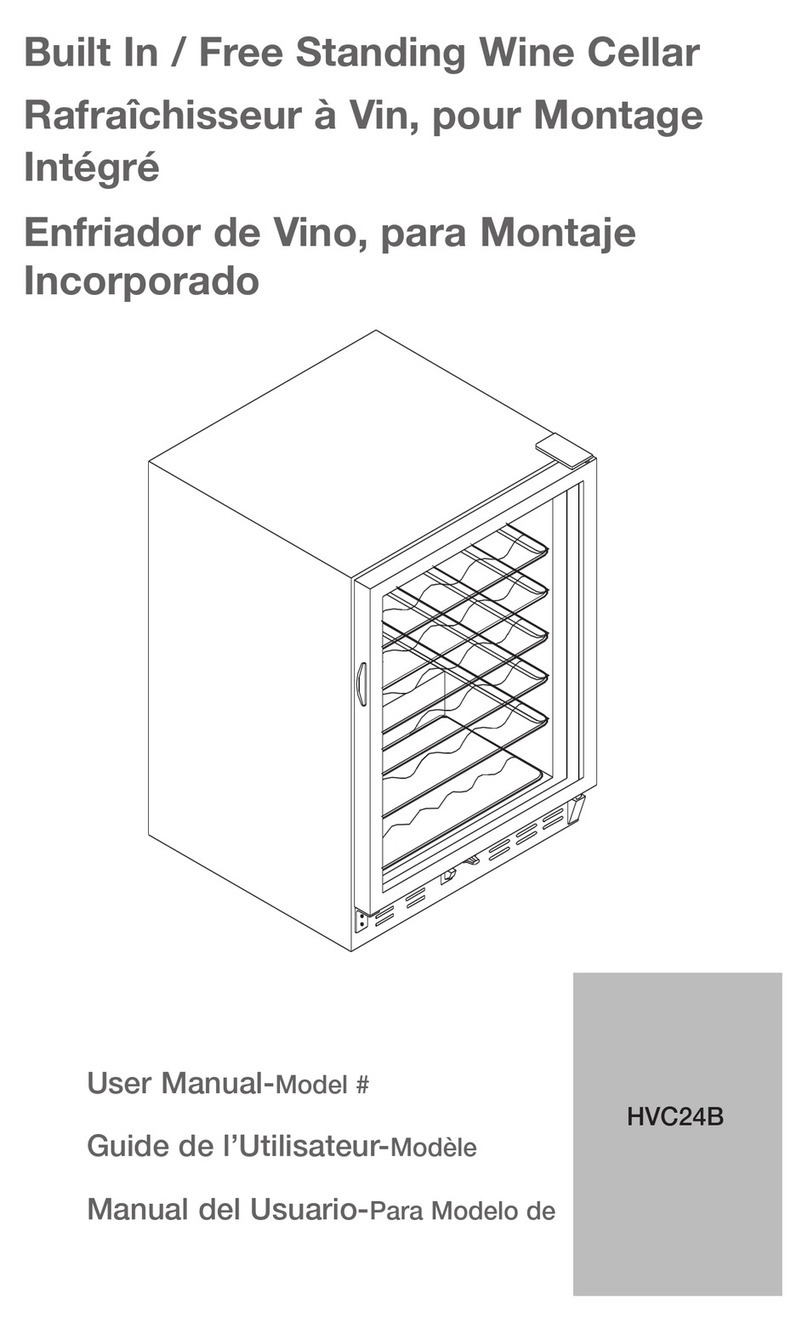
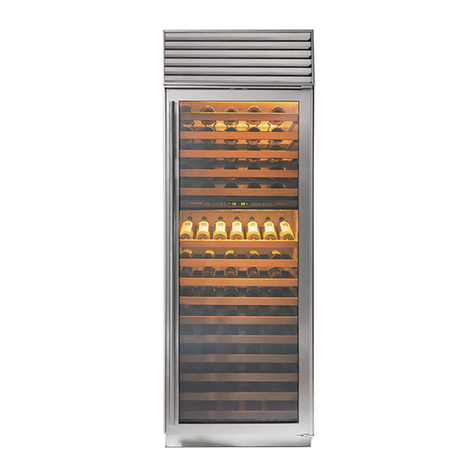
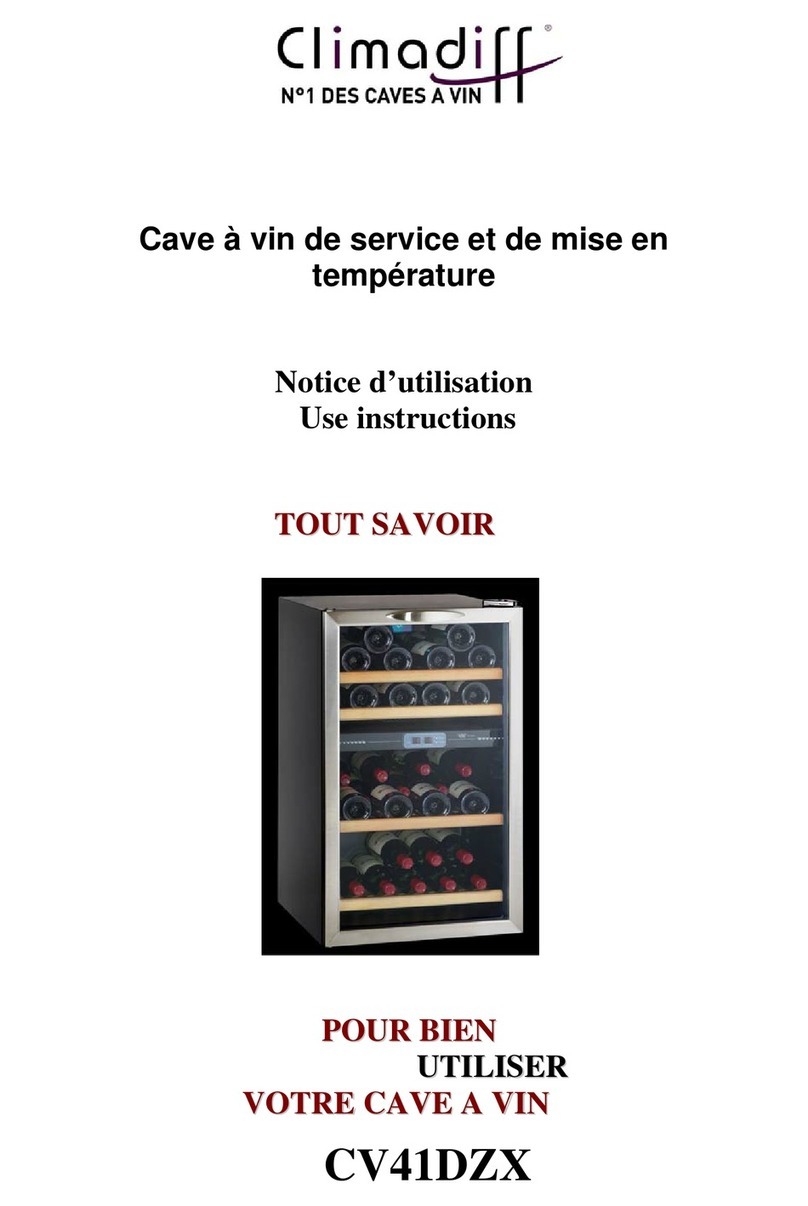
Marathon MWC28-DSS Assembly instructions

Owners
use and care guide
MWC28-DSS | MWC56-DSS | MWC56-DBLS | MBWC56-SS | MBWC56-BLS
PREMIUM WINE &
BEVERAGE COOLER
Congratulations on the purchase of your new Premium Wine/Beverage cooler!
To activate your Warranty, please register your appliance at www.stirlingmarathon.com
or by completing and mailing the enclosed Warranty Registration Card. We are confident
you will have years of hassle free enjoyment and ask that you please retain the Use & Care
Guide for future reference and your safety.
Before installing please, read your Use & Care guide carefully and pay special attention to the
Safety & Warning information outlined in the following pages
For immediate assistance: 1-844-309-9777
www.stirlingmarathon.com

Table of Contents
Important Safety information ..........................................................................................................
Installation location................................................................................................................................
Installation requirements (MWC28-DSS)............................................................................................
Installation requirements (MWC56-DSS | MWC56-DBLS | MBWC56-SS | MBWC56-BLS)................
Reversing door instruction ...............................................................................................................
Control description (MWC28-DSS | MWC56-DSS | MWC56-DBLS)......................................................
Control description (MBWC56-SS | MBWC56-BLS)..............................................................................
Recommended Wine Serving Temperature..............................................................................
Troubleshooting.......................................................................................................................................
Warranty......................................................................................................................................................
3
4
5
6
13
14
15
16
Setting The Temperature....................................................................................................................
Charcoal Filtration System ................................................................................................................
Care & Maintenance...............................................................................................................................
/RXcabW\UbVS@S[]dOPZSAVSZdSa..................................................................................................
12
7
8-9
10
Installing the Handle .............................................................................................................................
11
11
17

Important Safety Information
3
•Do not move your Cabinet while loaded with wine. You might distort the body. The wine/beverage cooler should be installed
in a suitable place in order to avoid touching the compressor with hand.
•This appliance can be used by children aged from 8 years and above and persons with reduced physical, sensory or mental
capabilities or lack of experience and knowledge if they have been given supervision or instruction concerning use of the
appliance in a safe way and understand the hazards involved. Children shall not play with the appliance. Cleaning and user
maintenance shall not be not be performed by children without supervision.
•If the supply cord is damaged, it must be replaced by manufacturer of its Service agent or a similarly qualified person in
order to avoid a hazard.
•Opening the door for long periods can cause a significant increase of the temperature in the compartments of the appliance.
•Clean regularly surfaces that can come in contact with food and accessible drainage systems.
•If the refrigerating appliance is left empty for long periods, switch off, defrost, clean, dry, and leave the door open to prevent
mould developing and odour within the appliance.
*** DO NOT USE AN EXTENSION CORD***
To reduce the risk of fire, electrical shock, or
injury when using your appliance, follow these basic precautions:
•Read all instructions before using the Wine/Beverage cooler.
•DANGER or WARNING: Risk of child entrapment.
•Child entrapment and suffocation are not problems of the past. Junked or abandoned appliances are still dangerous even if
they will “just sit in the garage a few days”.
•Before you throw away your old Wine cooler/Beverage Cooler: Take off the door. Leave the shelves in place so that children
may not easily climb inside.
•Children should be supervised to ensure that they do not play with the appliance.
•Never clean appliance parts with flammable fluids. The fumes can create a fire hazard or explosion.
•Do not store explosive substances such as aerosol cans with a flammable propellant in this appliance. The fumes can create
a fire hazard or explosion. Do not store explosive substances such as aerosol cans with a flammable propellant in this
appliance.
•WARNING: Keep ventilation openings, in the appliance enclosure or in the built-in structure, clear of obstruction;
•To avoid a hazard due to instability of the appliance, it must be fixed in accordance with the instructions.
•WARNING: Do not damage the refrigerant circuit;
•WARNING: When positioning the appliance, ensure the supply cord is not trapped or damaged.
•WARNING: Do not locate multiple portable socket-outlets or portable power supplies at the rear of the appliance.
•Flammable and explosive items should never be put in or stored near the wine cooler.
-------------------SAVE THESE INSTRUCTIONS --------------------
WARNING
DANGER

Installation location
Installing your Marathon Wine or Beverage Cooler
Before using your new Wine and/or Beverage cooler, we recommend leaving Cooler
door open and unplugged for 24 hours prior to installation or use. This will allow time to
clear any residual odors from the interior liner and hardwood shelves.
Your Premium Marathon Wine and/or Beverage Cooler is engineered for built-in or free
standing installation. The front bottom vent must not be covered.
Your Marathon Wine and/or Beverage Cooler is also equipped with 4 adjustable feet to
facilitate easy leveling. We recommend that you tighten the back feet first and then
adjust the front feet to level the wine cooler.
Installation location
Choosing the right location for your Marathon cooler is important. We highly
recommend the following location criteria:
•
•
The appliance must be positioned such that the plug and power outlet are
accessible. Release the power cord and move the appliance to its final location.
The appliance should be installed in a suitable place where the compressor will not
be subject to physical contact, unencumbered and well ventilated Dry area, not
too damp or humid – ideally at maximum 65% +/- 5% relative humidity for peak
performance and reduced sweating on the interior door when opening. If the
temperature is above or below this range, it may affect the performance of
the Wine and/or beverage cooler. Placing in cold, hot or humid temperature
conditions may cause temperature fluctuations and increased running operation
costs.
• Flat, level floor
• Approved electrical outlet (preferably with surge protector) within 3 feet of the
Wine Cooler.
• Minimum 1 meter from any microwave oven. Certain microwave ovens do not have
a wave interference shield. When placed too close to the wine or beverage cooler ,
the performance may be affected.
•Wine or beverage coolers are NOT CERTIFIED for outdoor use. Outdoor use will
void your warranty and possibly cause a safety hazard and result in fire or
personal injury.
CAUTION! Your Marathon wine or beverage cooler is equipped with a three prong
power cord which has a ground wire. The plug should never be altered or used with
an extension cord or power bar. Improper use of the grounding plug can result in the
risk of electric shock. Consult a qualified electrician or service person if the grounding
instructions are not completely understood. If the supply cord is damaged, it must be
replaced by a qualified person in order to avoid electrical hazard.
4

Installation Requirements
MWC28-DSS
Cutout & Dimensions
5
1. Please follow the installation diagram when installing built-in wine or beverage cooler. Use no less than the
minimum installation dimension, or it will affect the venting of cellar .
2.Built in wine cellars have a power switch located on the control panel so power point location is not critical.
3.The wine cellar requires a standard 120 volt/15 amp dedicated power supply.
4.The power cord is approx. 6 ft./2M in length and is fixed on the right side at the back when looking from
front of cabinet.
In “Hot and Humid locations”, an air vent with a minimum ventilation size of 200mm x
40mm MUST be cut out on each side OR 2 circular shapes with a diameter of 65mm at the
top of either side of the partitioning, allowing cool air to flow into the rear of the cabinet.
This air vent must not be opened on the same side as other appliances, such as ovens, or an
area that is sealed and without access to fresh cool air. Failing to comply with the above
specifications could result in WARRANTY BECOMING VOID.
Please ensure you have a minimum of 3/16” clearance on each side of the unit. This space
will allow fresh air to flow freely and remove and insert easily the wine cooler as needed.
Warning! DO NOT SEALED BY SILICON OR ANY OTHER MANNER THE SIDE OF THE
UNIT OTHERWISE THE GUARANTEE WILL BE VOID

Installation Requirements
MWC56-DSS | MWC56-DBLS | MBWC56-DSS | MBWC56-BLS
Cutout & Dimensions
In “Hot and Humid locations”, an air vent with a minimum ventilation size of 200mm x
40mm MUST be cut out on each side OR 2 circular shapes with a diameter of 65mm at the
top of either side of the partitioning, allowing cool air to flow into the rear of the cabinet.
This air vent must not be opened on the same side as other appliances, such as ovens, or an
area that is sealed and without access to fresh cool air. Failing to comply with the above
specifications could result in WARRANTY BECOMING VOID.
6
1. Please follow the installation diagram when installing built-in wine or beverage cooler. Use no less than the
minimum installation dimension, or it will affect the venting of cellar .
2.Built in wine cellars have a power switch located on the control panel so power point location is not critical.
3.The wine cellar requires a standard 120 volt/15 amp dedicated power supply.
4.The power cord is approx. 6 ft./2M in length and is fixed on the right side at the back when looking from front
of cabinet.
Please ensure you have a minimum of 3/16” clearance on each side of the unit. This space
will allow fresh air to flow freely and remove and insert easily the wine cooler as needed.
Warning! DO NOT SEALED BY SILICON OR ANY OTHER MANNER THE SIDE OF THE
UNIT OTHERWISE THE GUARANTEE WILL BE VOID.

Installing the Handle
Your new Marathon wine cooler includes a stainless-steel handle which has been packed
separately to avoid damage. To install the handle please follow the below instructions:
•Open the door and pull away the door gasket in the area where the handle is to be
installed on the left side as shown below in Illustration # 1. The gasket is easily pulled
back by hand, no tools are necessary.
•Align the handle with the screws installed. Tighten the screws using a Phillips
head screwdriver until the handle sets both flush and secured tightly against the door
frame. (DO NOT over tighten as this will cause damage to the handle assembly).
•Push the door gasket back into it’s original position.
Illustration # 1 Illustration # 2
1. Gasket
2. Phillips Head Screw
3. Phillips Head Screw Driver
4. Handle
7

Reversing door instruction
C
F
E
D
Door Hinge
A
B
Step by step instructions
Step 1 Place the wine or beverage cooler in an open area allowing
the door (D) to be opened to the maximum angle and free from
obstruction.
Step 2 Use a thin knife (B) or screwdriver to remove the 3 plastic
hole cover caps (A). Keep these caps for step 7.
Step 3 Use a flat-blade screwdriver to open the upper hinge
buckle (F) to see the hinge shaft (E) and then use a flat-blade
screwdriver to pry the hinge shaft (E) and take it out. Then
unscrew the lower hinge in the same way.
CCEF
Hinge Shaft Hinge Buckle
Glass Door
D
C
1. Unscrew the alarm magnet (3)
from door (1)
2. Change the magnet (3) position to
magnet fix hole (2) 11111111
22
3
11111111
22
3
Step 4 When the upper and lower parts are removed, pull the
door parallel to the outside. The door can be taken out.
Step 5 The upper hinge and lower hinge are also
exchanged at the same time.The right upper hinge is
changed into the left lower hinge. The right lower
hinge is changed into the left upper hinge. Becomes
the lower door hinge, and becomes the upper door
hinge when the right lower door hinge is changed to
the left side;
Step 6The magnet of the door must be
removed and reinstalled to the other side.
8

Reversing door instruction
Step 7Install the hole cover caps removed in step 2 to cover the 3 holes on the side
where the door was removed.
Step 8 Insert the lower hinge into the corner fittings, align the mounting holes, and insert
the hinge shaft (E) into the hinge hole in position. Then cover back the Hinge buckle (F)
The installation of the lower part of the door is completed;
Step 9 To install the upper part of the door use the same method as the lower part of the
installation door.
Note: When installing the upper door hinge, please move the door hinge to the side of the
outer casing and then tighten the screw. After the lower door is installed, move the screw
to the side of the outer casing and tighten the screw to prevent the door falling
9

10
LED Temperature Control
IMPORTANT: The LED temperature displays the actual internal air temperature of your
Wine cooler. The temperature settings are preset at the factory and in the event of a
power interruption, all previous temperature settings are automatically erased and it will
revert back to the factory preset temperature settings.
Once you program your desired temperature setting, it is strongly recommen-
ded not to adjust frequently. The thermostat is accurate and will maintain the
temperature in side the wine cellar +/- 2.5º C. Please note that the depending
on the thickness of the wine bottle, and loading, the actual temperature of the
wine may differ from the wine and beverage cooler setting by +/- 1ºC.
Temperature control range: Upper zone 5-12ºC (41-54ºF), lower zone 12-20ºC (54-68ºF)
Press 3 seconds to unlock/lock all the buttons. If there is no any operation within 15
seconds after unlock, the buttons will be locked automatically.
Press left or to adjust the temperature of upper zone.
Press right
Press left
to adjust the temperature of lower zone.
Press right and at the same time for 3 seconds to switch between ºC and ºF.
Press to turn on or off the lights.
FOR MWC28-DSS / MWC56-DSS / MWC56-DBLS
or
and at the same time for 3 seconds to power on/off.
Control description

Control description
LED Temperature Control
IMPORTANT: The LED temperature displays the actual internal air temperature of your
Wine cooler. The temperature settings are preset at the factory and in the event of a
power interruption, all previous temperature settings are automatically erased and it will
revert back to the factory preset temperature settings.
Once you program your desired temperature setting, it is strongly recommen-
ded not to adjust frequently. The thermostat is accurate and will maintain the
temperature in side the wine cellar +/- 2.5º C. Please note that the depending
on the thickness of the wine bottle, and loading, the actual temperature of the
wine may differ from the wine and beverage cooler setting by +/- 1ºC.
11
Temperature control range: 2-12ºC (36-54ºF)
FOR MBWC56-SS / MBWC56-BLS
Press
Press
Press
3 seconds to unlock/lock all the buttons. If there is no any operation within 15
seconds after unlock, the buttons will be locked automatically.
to increase the interior setting temperature.
to decrease the interior setting temperature.
to turn on or off the interior lights.
for 3 seconds to change the temperature display between ºC and ºF.
for 3 seconds to power on or off the unit.
Press
Press
Press

Use and care
12
Setting The Temperature Controls
When press the temperature setting button the system will enter the set up
mode of the upper or lower compartment automatically. The LED display will flash and
show the setting temperature. After 5 seconds the flash will stop and it will show the
actual measured interior temperature.
Press the button once, the temperature will decrease or increase 1ºC/ºF. After stopping
pressing the button for 5 seconds, LED figure will stop flash, then revert back to display the
setting temperature of the upper or lower compartment.
After the unit is unplugged, the system will return to default setting temperature, which set by
factory.
The default setting temperature as below:
Single zone models: Default setting temperature 6ºC
Dual zones models: Default setting temperature 6ºC for upper zone and 12 ºC for lower zone.
IMPORTANT: If the unit is unplugged, power lost, or turned off, you must wait 3
to 5 minutes before restart the unit. If you need attempt to restart before
this time delay, the Wine Cooler/Beverage Cooler will not start. If first time
use or longer absence of using, the temperature will difference between setting
and LED display temperature. After running a period, the temperature will be
reverting back.
or
Turn Left to remove filter.
Charcoal Filtration System
Your wine is a living object that breathes through the cork of its bottle. In order to preserve the
quality and taste of your fine wines, they must be stored at the ideal temperature and ambient
conditions. Your cellar is equipped with an active charcoal filtration system to ensure air purity,
cooling efficiency, and to maintain an odor free cabinet for the storage of your fine wines. The
filter assembly is located at the rear panel inside your cellar.
Keep in mind, that this filter must be changed every 12 months.
1. Remove the bottles of wine stored on the two (2)
shelves in front of the filter.
2. Remove the shelves and set aside to be replaced once
you have changed the filter
3. Hold the filter and turn it at 45 degrees in the counter-
clockwise direction and then pull it out.
4. Remove the existing filter and replace with a new one.
5. Put the new filter into the hole and then turn the filter at
45 degrees in clockwise direction.
To replace your filter:

Use and care
CARE & MAINTENANCE
Clean your Wine Cooler/Beverage Cooler
1. Turn off the power, unplug the appliance, and remove all items including shelves and rack.
2. Wash the inside surfaces with a warm water and mild solution.
3. Wash the shelves with a mild detergent solution.
4. Wring excess water out of the sponge or cloth when cleaning area of the controls, or any
electrical parts.
5. Wash the outside cabinet with warm water and mild liquid detergent. Rinse well and wipe dry
with a clean soft cloth.
Power failure
In the event of a power interruption, all previous temperature settings are automatically saved and
will revert to a preset temperature setting.
Most power failures are corrected within a few hours and should not affect the temperature of your
appliance if you minimize the number of times the door is opened. If the power is going to be off for
a long period of time, you need to take the proper steps to protect your contents.
Vacation Time
Short vacations: Leave the appliance operating during vacations of less than three weeks.
Long vacations: If the appliance will not be used for several months, remove all items and turn off
theappliance. Clean and dry the interior thoroughly. To prevent odor and mold growth, leave the
door openslightly, blocking it open if necessary.
Moving your Wine Cooler/Beverage Cooler:
Energy saving tips
•The appliance should be located in the coolest area of the room, away from heat producing
appliances and out of direct sunlight.
•Ensure that the unit is adequately ventilated.
•Do not keep the door open any longer than necessary.
13
@S[]dSOZZab]`SRWbS[a
ASQc`SZgbO^SR]e\OZZZ]]aSWbS[aaVSZdSaW\aWRSg]c`O^^ZWO\QS
! Bc`\bVSORXcabOPZSZSUac^b]bVSPOaSb]Od]WRRO[OUS
" BO^SbVSR]]`aVcb
# 0Sac`SbVSO^^ZWO\QSabOgaaSQc`SW\bVSc^`WUVb^]aWbW]\Rc`W\Ub`O\a^]`bObW]\/Za]
^`]bSQbbVS]cbaWRS]TbVSO^^ZWO\QSeWbVOPZO\YSb]`aW[WZO`WbS[

Temperature chart
Recommended Wine Serving Temperature Chart
The chart below is a guide to recommended temperatures for wines. This is a guide only as personal
preferences vary…enjoy!
Important information about storing your wine
Your Marathon wine and/or beverage cooler has been “engineered to perform” and provide the perfect conditions
for storing and/or serving your wine. Fine wines require long and gentle development and need specic condi-
tions in which to reach their full potential. Ideally, for long term storage, we suggest keeping your wine cooler at a
constant temperature between 12ºC and 14ºC.
Please note that not all wines will improve over the years, and some must be consumed within the first few years of
bottling, while other ne wines are capable of ageing over 50 years. For questions regarding the maturity of your
wines, we suggest you consult your local wine retailer for information on the wine of your choice
14

Adjusting shelvesAdjusting shelves
Adjusting the Removable Shelves
MBWC56-SS | MBWC56-BLS
For easy access to the storage content, you must pull the shelves approximately 1/3 of its
depth out of the rail compartment. The shelves designed with a notch on each side of the shelf
tracks to prevent bottles from falling.
When removing any of these shelves out of the rail compartment, tilt the shelf as per the
diagram and simply pull out, or push in the shelf until it sits on the support brackets securely.
Then simply press the shelf limit pin “A” on both sides and then lift slightly and pull gently to
remove .
Left side Right side
”A” is shelf limit pin
, press the two clips of the roller
bracket in and up, and pull out the shelf following the arrowss . To reinstall push in the
shelf alignment with two sides of sliding roller following the arrowss .
1
22
1
3
MWC28-DSS | MWC56-DSS | MWC56-DBLS
To remove the pull out the shelf to support bracket
1
2
3
15

Troubleshooting
16
Problem Possible causes
Appliance is not running Appliance is not plugged in.
Appliance is not turned on.
Check the voltage of the installation.
Check if the circuit breaker or the fuse has blown.
Door is fogging or sweating Fogging on interior glass is normal since when opening the interior is cooler than
the room temperature.
If sweating on exterior glass, the ambient temperature and/or humidity is too
high. Please relocate to a better temperature controlled environment (15°C-25°C
and maximun 70% humidity)
Appliance is not cold enough Check the temperature control setting.
Check if ambient temperature is beyond appliance operating temperature.
The door is opened too frequentlty.
The door is not closed properly.
The door is not sealing properly.
Insufficient free space around the appliance.
The external temperature is high.
A large quantity of bottles has been put into the cellar.
The appliance is opened frequently.
The door is not properly closed.
The cellar has not been correctly set.
LED lights do not operate The appliance is not plugged in.
The fuse has blown.
LED lights are broken
The light switch is off.
Vibration Check and ensure that the appliance is level.
The appliance makes a lot of noise The ratting noise may come the flow of the refrigerant, which is normal.
At the end of a cooling cycle, you can hear the noise of water circulating.
Expansion and contraction of the internal walls may cause a cracking sound.
The appliance is not level.
Check if the fan is in good condition.
The door does not close properly The appliances is not level.
The door seal is dirty or damaged.
The shelves are not positioned correctly.
A part of the contents is preventing the door from closing.
The compressor starts and stops
frequently
You can solve many common problems easily, saving you the cost of a possible service call. Try
the suggestions below to see if you can solve the problem before calling the service technician.
IMPORTANT! There are some sounds during normal use (compressor, refrigerant/circulation)
For immediate assistance: 1-844-309-9777 or [email protected]

Warranty
2 Year Limited Warranty
For immediate assistance: 1-844-309-9777
www.stirlingmarathon.com
17
Other manuals for MWC28-DSS
1
This manual suits for next models
4
Table of contents
Other Marathon Wine Cooler manuals
