SP9 ServiceManual.docx 06/02/2015 Page 8 of 42
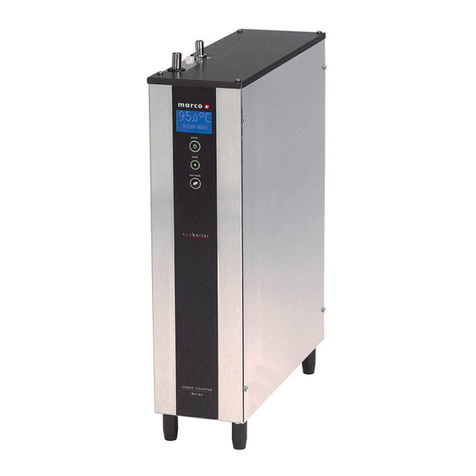
Operating SP9 Undercounter Unit for the First Time:
Check that all installation procedures have been carried out.
Ensure water is connected to unit, valve is turned on and power cord is connected and
plugged in to wall socket.
The “power on” light will glow green and the machine will fill to a safe level, above the
elements, before heating. The display will show the current water temperature and the
status “Filling…”
The “Ready/Status” light will cycle two red flashes while the machine is filling to the safe
level.
After this amount of water has heated to about 94ºC, the boiler will draw more water in until
the temperature drops by 1 or 2 degrees. The boiler will then heat again. This heat fill cycle
continues until the boiler is full.
Ensure the Undercounter unit is set to SP9 mode for use with the SP9 brewer. See Menu
Navigation section in this manual
While filling, the “Ready/Status” light will remain blank.
The “Ready/Status” light will glow green when the machine is both full and up to normal
operating temperature. Allow approximately 15 minutes.
The boiler is now ready for use –the display will show the Water Temperature and the
status “READY”.
5.SETUP AND CALIBRATION:
Operating the Head Unit for the first time:
To help prevent heat loss between the Undercounter unit and the Head unit the silicone hose can
be insulated with hose insulation. Simply cut the insulation to the correct length required.
Once the Head Unit installation procedure has been carried out, place a 1 litre jug under the
dispense head. Set the dispense volume to 750ml and press the start switch twice. This will
dispense 750ml in one delivery, without pausing. Measure the dispensed volume to confirm factory
calibration (750ml +10ml). If the volume is not satisfactory, proceed to the calibration procedure
below to calibrate the Head Unit. The calibration should only be conducted by a trained service
engineer. See guidelines below.
Dispense Volume Calibration
1. Once all installation procedures are carried out the Head Unit is ready to be calibrated.
2. Turn volume dial to Max. Set Brew Time to 2 minutes.
3. Place large container (>1 litre) of known weight under spray head.
4. Initiate brew.
5. Weigh & record brew output.
6. The output should be 750g, plus or minus 10g.
7. If output is within 10g of 750g calibration is complete.
8. If not, enter calibration mode by holding down toggle switch for min 3 sec.
9. A long beep will sound to confirm the unit is in calibration mode.
10. Enter the volume recorded via the brew switch using the following example:
If 724g was measured
The toggle switch is used to input each digit successively

