Marshall Amplification VAC-12HUC User manual

Broadcast A/V Division
VAC-12HUC
HDMI Video / Audio to USB-C
(USB3.0/2.0) Adapter
User Manual

VAC-12HUC User Manual
www.marshall-usa.com
1 2
Table of Contents
Introduction ................................................................................................ 02
Features...................................................................................................... 02
Package Contents ...................................................................................... 02
System Requirements ................................................................................ 02
Connections and Indicators ....................................................................... 03
Setup and Quick Start................................................................................ 04
Specifications............................................................................................. 05
Block Diagram............................................................................................ 06
Tips and Fixes ............................................................................................ 07
Warranty.................................................................................................. END
The Marshall VAC-12HUC advanced USB-C (USB3.0/2.0) adapter easily connects video and audio
sources to a computer for live streaming, video conferencing, video production and recording.
Simple to use plug-and-play design seamlessly integrates professional video sources to your choice
of PC-based applications.
The HDMI 2.0 input accepts video formats up to UHD. Active loop-through output keeps the source
available for other purposes such as feeding monitors, recorders, etc.
UVC protocol support allows the host application to control video format, frame rate and other settings
independent of the original source.
Setup couldn’t be easier. The VAC-12HUC becomes fully functional within seconds after it is connected.
Powered by the USB port on the host computer, there are no power adapters to fiddle with.
• HDMI 2.0 INPUT with active loop-through OUTPUT (supports formats up to UHD)
• Stereo analog audio INPUT. Activates automatically when audio source is plugged in
• USB-C (USB3.0/2.0) computer interface with UVC control and scaling.
• Power provided via USB-C (USB3.0/2.0) from computer or laptop
• Plug-and-Play. Driver installation not required for most applications
• Compatible with popular applications such as: Zoom, Skype, OBS Studio and many more
• (1) VAC-12HUC Unit
• (1) USB 3.0 “A - type” to “C - type” cable
• (2) Mounting brackets with 8 attachment screws
• Host computer with recent operating system, such as Windows 10 or Mac OS X
• Available USB 3.0 port (supports up to 3840 x 2160p30 to host computer) or,
• Available USB 2.0 port (supports up to 1280 x 720p30 to host computer)
1. Introduction
2. Features
3. Package Contents
4. System Requirements

VAC-12HUC User Manual
www.marshall-usa.com
3 4
1. HDMI Input
2. Analog Stereo Line Input
3. USB-C Output to Computer
4. HDMI Loop Output
5. Power LED – USB Power Connected
6. Signal LED – HDMI Video Available
5. Connections and Indicators
Input Side
Output Side
1. Computer should be powered and operating. Connect the VAC-12HUC to the host computer using
the USB 3.0 cable provided. The first time the unit is used, please allow about one minute for the
computer to identify the unit and setup the drivers. The red LED on Input Side of the unit will light
after about 3 seconds.
2. Open an application such as Zoom, Skype, OBS Studio, etc. and select the Video and Audio
devices. The VAC-12HUC adapter will identify itself as “MEI USB3.0 Capture Device”. Depending
on the application used, the unit may appear as a Camera or a Capture Device.
3. This message might display until a video source is connected. The Output resolution format and
frame rate may be different depending on the application software.
4. Next, connect a video source. The green LED on the Input Side will light indicating that a
compatible video source is attached. The on-screen message will change like the one below.
This message will disappear after about 8 seconds
5. External audio (Optional). If desired, audio may be provided from a source other than the HDMI
input. Simply plug the audio source into the 3.5mm audio jack on the unit. When the plug is fully
inserted, the incoming HDMI audio will be muted and the new analog audio will take its place.
This audio will appear at BOTH the USB output AND the HDMI output.
6. Setup and Quick Start
At this point, At this point, the VAC-12HUC is operating and ready to use! Control of the VAC-12HUC
depends on the capabilities of the software being used for conferencing, recording, streaming, etc.
Note: Most video conferencing applications will automatically set the USB output format to 720p.
This does not affect the HDMI loop through output which will remain the same as the input.

VAC-12HUC User Manual
www.marshall-usa.com
5 6
HDMI Input and Output
• HDMI Conforms to HDMI 2.0 standard
• HDCP 1.4 and 2.2 compliant
• Video Frame Rates from 23.98 to 60.00
• Video Input Formats from 480i/p, 576i/p to 4096x2160p at 30 fps
USB-C (USB3.0/2.0) output backwards compatible to USB 2.0
• Actual video format and frame rate dependent on UVC control commands received from the
host computer.
• Connected via USB 3.0, transfers formats up to 3840 x 2160p30 sent to host computer
• Connected via USB 2.0, transfers formats up to 1280 x 720p30 sent to host computer
• When connected to a USB 2.0 port, recommended input video source 720p or below
Audio Input
• Embedded audio from HDMI passed through to HDMI Out. Channels 1 & 2 are sent to USB
• External stereo analog line level input on 3.5mm stereo TRS jack. Switches on when plug is inserted.
Replaces audio to HDMI Out and USB to computer
Operating Temperature
• 0~40°C (32~104°F
Power Rating
• 5V 1A
7. Specifications 8. Block Diagram
VAC-12HUC Functional Block Diagram

VAC-12HUC User Manual
www.marshall-usa.com
7 8
My computer says, “the USB device is not recognized” or “the device does not support the
required parameters”.
First, be sure to use the USB-C cable that was supplied with the VAC-12HUC. If it becomes lost
or damaged, please replace it with a “USB 3.0 type A-to-C” cable which provides the power and
bandwidth necessary for proper operation of the unit. When in doubt, try another cable.
Next, a similar message can also appear when the VAC-12HUC is connected to a USB 2.0 connector.
This can be fixed by plugging into a USB 3.0 port on the host computer. USB 3.0 connections are
usually identified by blue color inside the connector.
If only a USB 2.0 connection is available, lowering the source video format usually works. 720p is a
good choice.
The video source is 1080p50 (or 60) but the computer says the incoming video is different (760p for
example). Why isn’t it the same as the source?
The VAC-12HUC is compatible with the USB industry standard UVC control protocol. This allows the
host computer to adjust the format and frame rate independently from the incoming source. Many
applications have controls that allow changing these parameters. Video conferencing applications
typically do not have these controls and simply force the settings that work best. Please consult the
instructions that are provided with the application for more information.
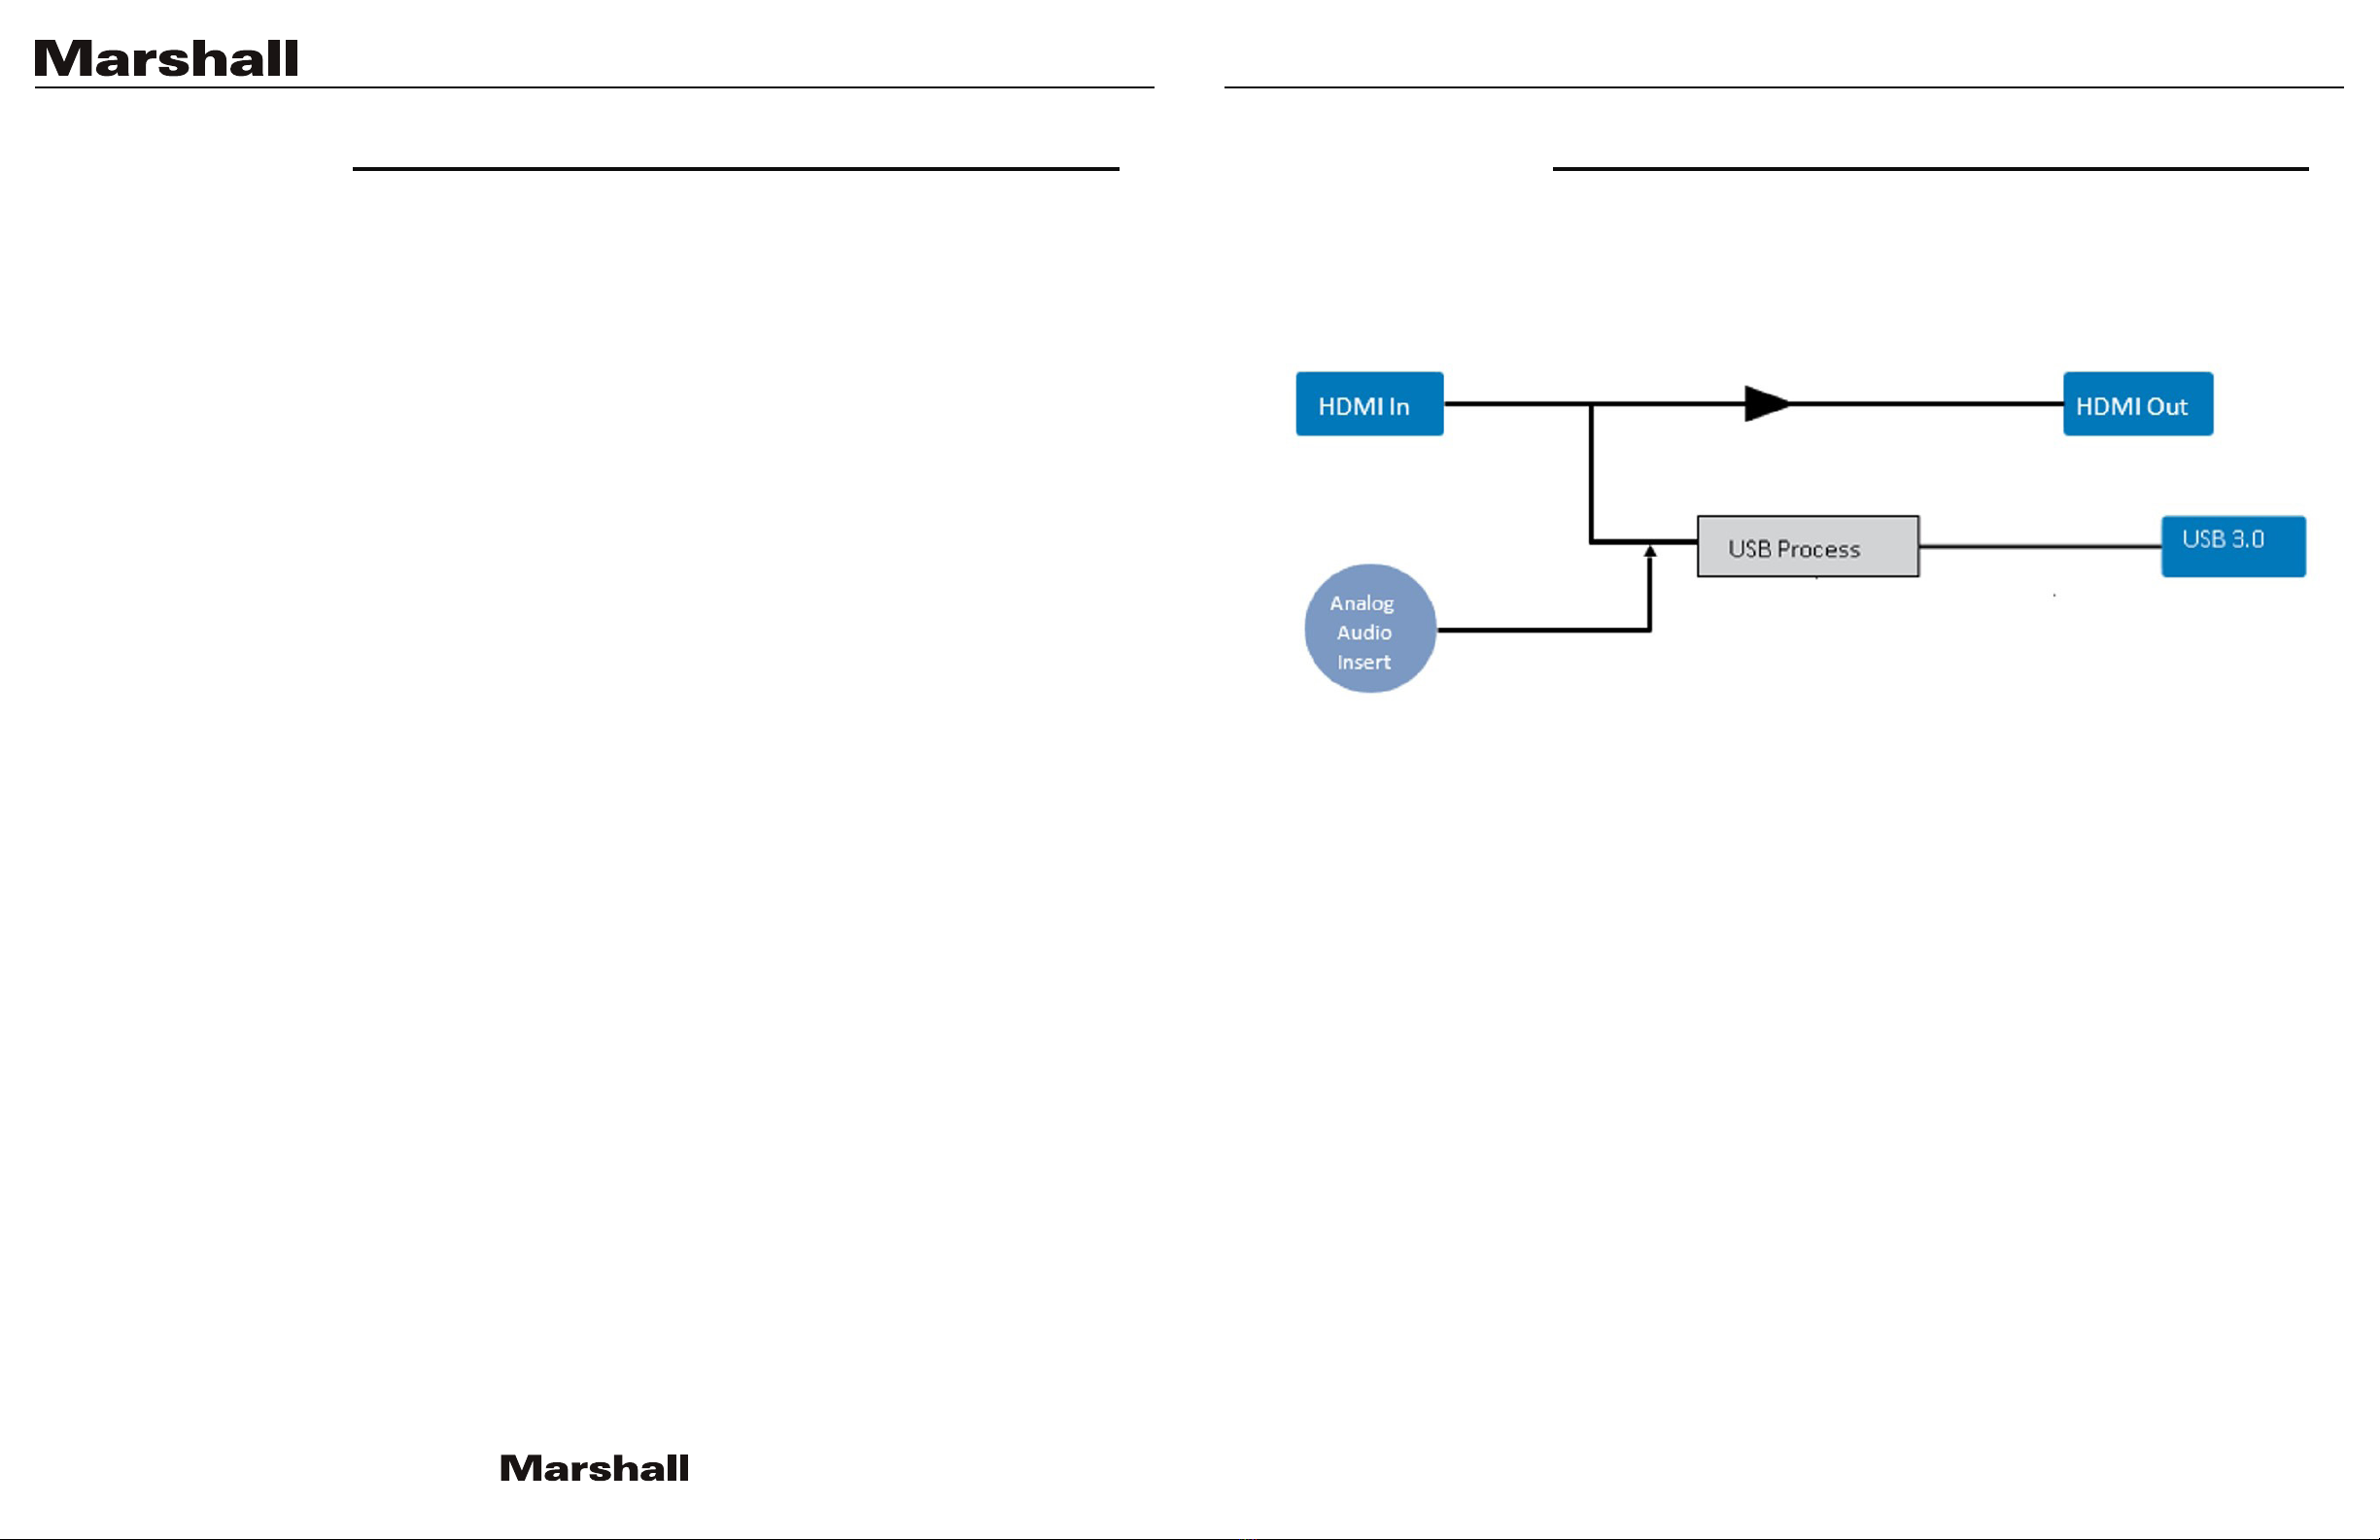
The VAC-12HUC HDMI output is connected to a video recorder. The recorder is getting a
blank picture. OR……….
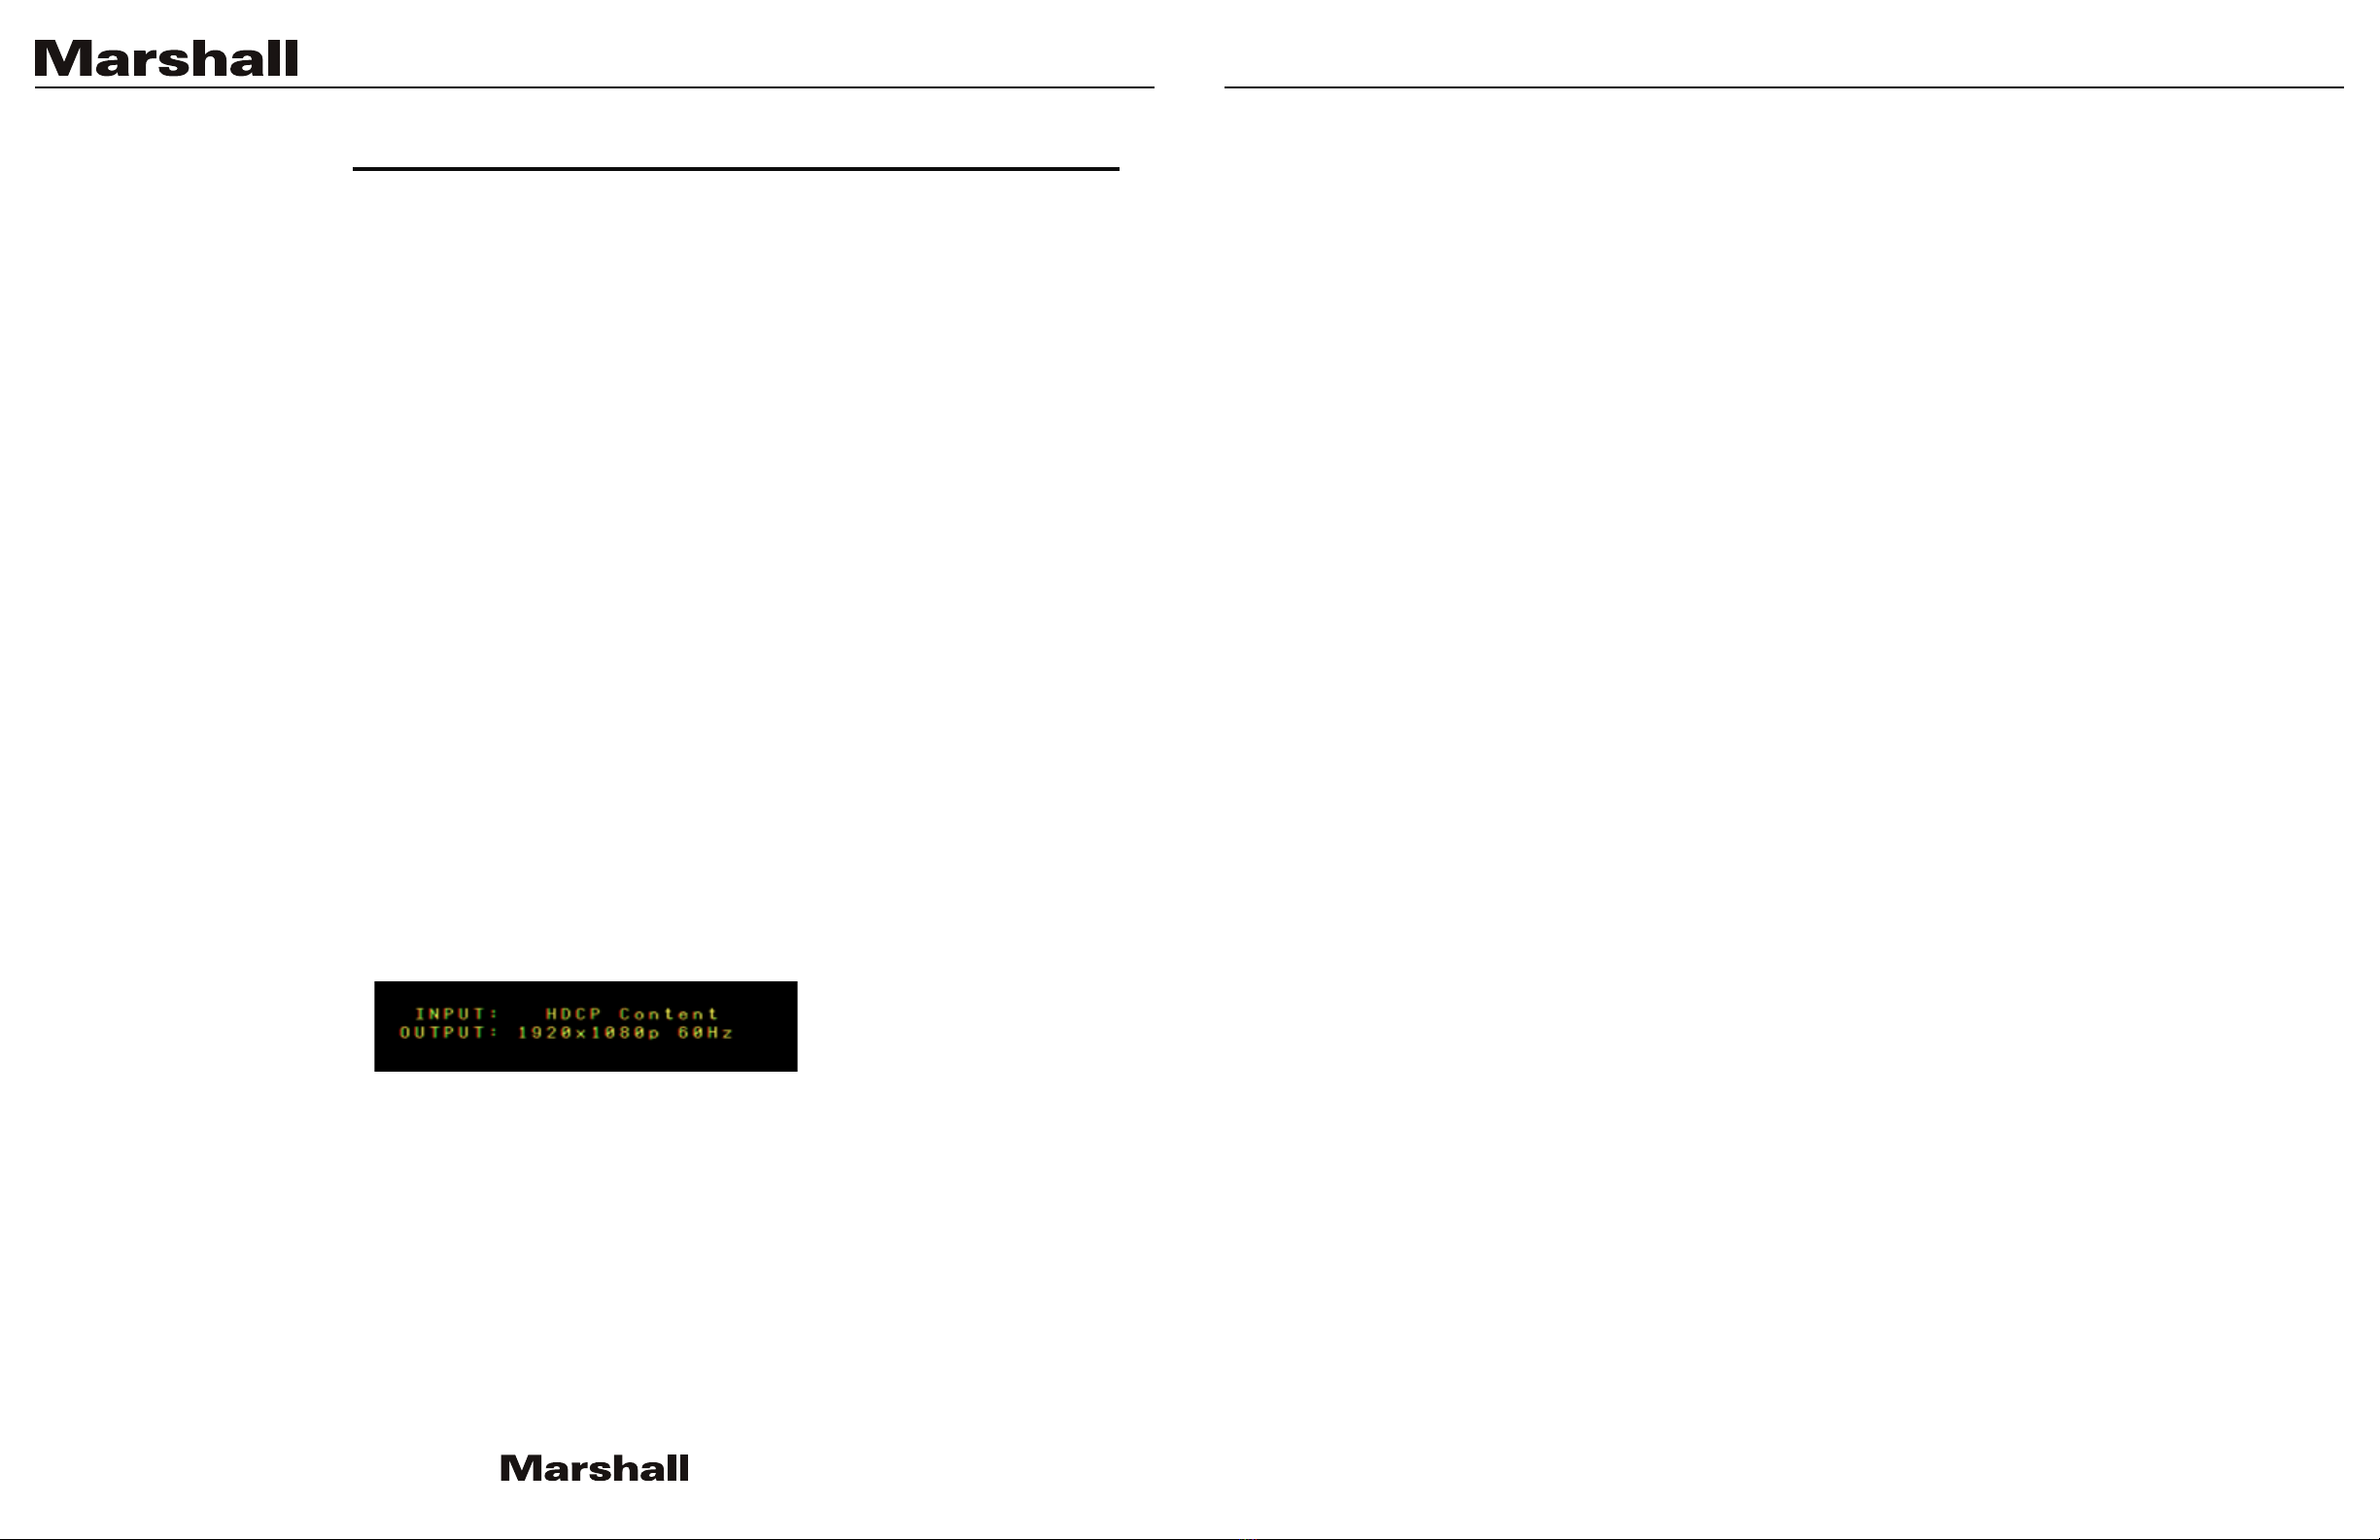
The HDMI output is connected to a video monitor and the picture is perfect, but the picture on
the computer is black with the message “Input: HDCP Content”. Can this be fixed?
This is almost always an HDCP issue. HDMI video contains a “copy protection” system called HDCP
“High Bandwidth Digital Content Protection”. The principle behind HDCP is that copyrighted content
should be seen and heard but not recorded or transmitted. What this boils down to is that video
containing an HDCP “flag” will only work with display devices: monitors, projectors and television
sets. A common difficulty in professional applications is that consumer products such as DVD
players, Blue Ray players and set top boxes (cable and satellite) typically force HDCP ON even when
the material being played is not copyrighted. Video cameras, on the other hand, never use HDCP and
should always work. Computer HDMI outputs may or may not use HDCP depending on the material
being output. For details on HDCP, please visit www.hdmi.org.
I’m trying to use VLC to test the VAC-12HUC but the picture looks wrong and the video format
is incorrect as well.
To connect with VLC, follow these steps:
Select the MEDIA tab then, select OPEN CAPTURE DEVICE
In the Window that appears, select MEI USB 3.0 CAPTURE DEVICE for the Video Device
Name and Audio Device Name then click on ADVANCED OPTIONS.
In the next window, change Aspect Ratio to 16:9
If you are connected using USB 3.0, type YUY2 for Video Input Chroma Format.
If you are connected using USB 2.0 type MJPG for Video Input Chroma Format.
Now click OK. The window will close.
Click Play at the bottom of the remaining window. The incoming video and audio will appear.
9. Tips and Fixes
Table of contents
Other Marshall Amplification Adapter manuals