2. TV Mode
1) TV Mode Selection
Press (INPUT) Using UP, DOWN keys (TV)
2) Value Default
Press (SYSTEM SETTING) (VALUE DEFAULT System control values will be
initialized as this monitor is originally manufactured.
3) Channel ADD / Remove
Press (CHANNEL ADD/ REM) when you select a channel which has already been
added, (ADD/REMOVE) will turn into (REMOVE) to remove the channel from your favorite channel list. To
add the channel, (ADD) and press .
4) Air/ Cable TV
Press (SYSTEM SETTING) (TV) (AIR) or (CABLE)
5)Volume Adjust
Press (VOLUME ADJUST) Use UP, DOWN keys press (If you press
before pressing , volume adjust will become invalid.)
6) Color Change
Press (COLOR CHANGE) one of 4 modes to set you can control
sub-menu with UP, DOWN keys press sub-menu (4 color mode) will appear repeat the
above steps until you have settled color change press when you press , you will be
asked whether (SAVE YES) or to (SAVE NO) one of the two options.
(If you press menu before selecting (SAVE YES,) color change will become invalid.)
3. Computer
1) Computer Mode Selection
Press (INPUT) using the UP, DOWN keys press (MONITOR) and than press
select.
2). Horizontal Pan / Vertical Pan Control
Press (HORIZONTAL PAN ) or (VERTICAL PAN) control (HORIZONTAL PAN) or
(VERTICAL PAN) by pressing the UP, DOWN keys.
3) Value Default
Press (SYSTEM SETTING) press (VALUE DEFAULT) press
(System control values will be initialized as this monitor is manufactured.)
4) Color Change
Press (COLOR CHANGE) one of 4 modes to set you can control selected
sub-menu with the UP, DOWN keys press sub-menu (4 color mode) will appear repeat the
above steps until you have settled color change press when you press menu, you will be
asked whether (SAVE YES) or (SAVE NO) one of the two options.
Color Change sub-menu will be limited to Brightness/Contrast only.
(If you press menu before selecting (SAVE YES), color will become invalid.)
5) Input Condition Control
Press (SYSTEM SETTING) (INPUT CONDITION) one of the five
modes to set.
Control the selected sub-menu with Select key
After tuning is settled, use key to escape from menu tree
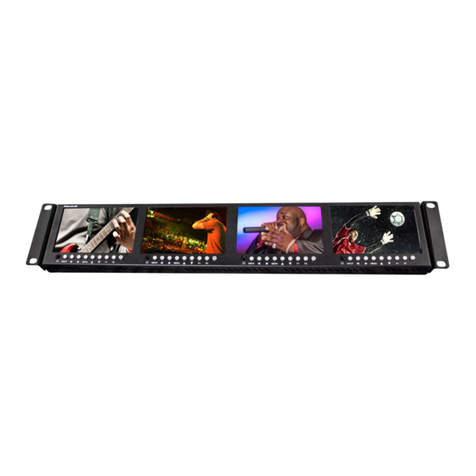
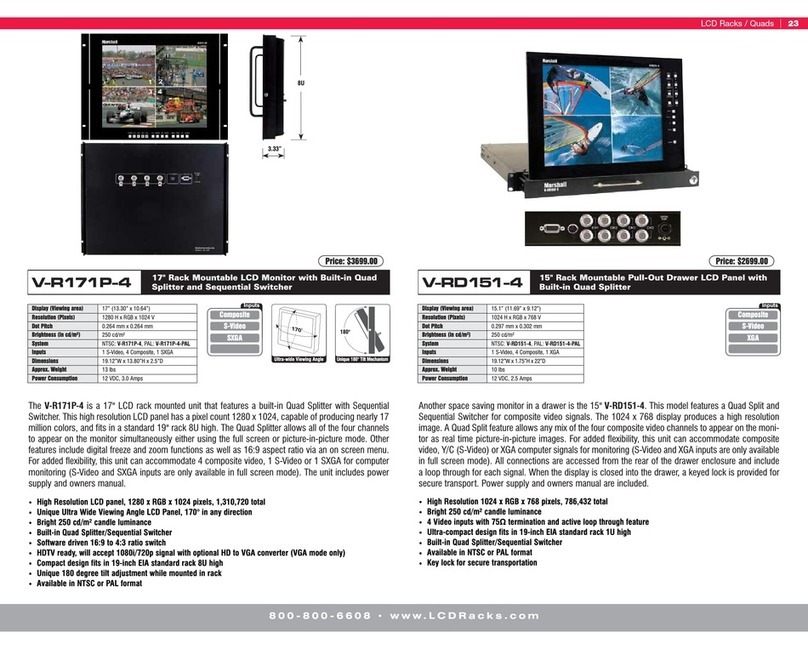
6. The Quad Splitter
The quad splitter buttons, located on the left of the unit, are dual function buttons, the functions are indi-
cated above and below each button. The top four buttons are used to select the video channel, in the
zoom mode and the setup mode, these buttons will be used to navigate around the screen and will be
explained later. The bottom four buttons are used to setup the quad splitter and also to use the digital
freeze, sequential switcher functions and setup menu. To access these functions it is necessary to press
the ALT button along with the desired function, ie. for the FREEZE function, press the ALT button and the
FREEZE button together. The bottom row of buttons are used as follows:
Video Loss Detection: This unit is equipped with Video Loss Detection, “VLD”. Should any signal get
lost, the unit will automatically go into a Quad-Splitter mode and the letters “VLD” will blink in the corre-
sponding quadrant to indicate that a video signal has been lost.
ZOOM: Enters the 2X digital zoom mode at the single screen mode. Press once to zoom in, press again
to zoom out. the zoom mode is only available in the single screen mode and not in any of the multi-screen
modes. In the zoom mode, a boundary will appear in the center of the screen. The buttons with the
arrows beneath them can now be used to move the boundary around the screen. To make the boundary
fill the entire screen, press the QUAD key, the arrow buttons can still be used to move the zoomed portion
around the screen. The zoom mode can be used in conjunction with the FREEZE mode. The zoom
mode can be exited by pressing the ZOOM button again.
FREEZE: The freeze mode is accessed by pressing the ALT button simultaneously with the FREEZE but-
ton. This mode can be used either in full-screen mode or quad or PIP mode. The freeze function can be
toggled to other video channels by pressing the channel buttons. To release the freeze function, press the
ALT and FREEZE buttons simultaneously again.
Picture-In-Picture, PIP: The PIP is a priority monitoring function. While the quad screen gives equal pri-
ority, or size to each channel, the PIP gives one channel the full screen with the other three appearing in
smaller boxes within the screen. The PIP boxes can be arranged horizontally or vertically via the SETUP
menu. To change the priority of the four channels, simply press the PIP button as needed.
Sequential Switcher, SEQN: The sequential switcher can be activated by pressing the ALT and SEQN
buttons simultaneously. The time delay for each channel can be set up in the SETUP menu. To skip a
channel in the sequence, set the dwell to 0.
Quad-Splitter, QUAD: By pressing the QUAD button, the screen will show all four video inputs simulta-
neously. Each of the screens can have a user designated ID which is done through the SETUP menu. To
exit the quad function, press any of the 4 video channels. The unit will also go into a quad mode when a
video signal loss is detected and the quadrant will have the letter ‘VLD’ signifying Video Loss Detected.
Setup menu, MENU: The SETUP menu can be accessed by pressing ALT and MENU simultaneously.
Any of the four sub-menus can be chosen by pressing the corresponding ‘CH’ button, ie sub-menu 1 is
accessed by pressing ‘CH 1’ button. When a sub-menu is selected, the number in the [ ] will highlight and
blink. The bottom of the screen will give any further instructions to navigate through this menu.
7. Audio
The quad splitter and audio systems work together so one will hear an audio source corresponding to the
video channel selected, ie. video input 1 is selected and audio input 1 is automatically selected as well.
For greater flexibility, the unit allows the user to manually override this feature and select any video chan-
