Maxent ML-3731HLT User manual

ILE LOCATION: E:\workarea\customer\MAXNET\061101_ML-3731Manual-revisions\fronte.fm
DELL CONFIDENTIAL – PRELIMINARY 12/5/06 – FOR PROOF ONLY
ML-3731HLT
LCD-TV
Owner'sManual

Notes, Notices, and Cautions
NOTE: A NOTE indicates important information that helps you make better use of your TV.
NOTICE: A NOTICE indicates either potential damage to hardware and tells you how to avoid the problem.
CAUTION: A CAUTION indicates a potential for property damage, personal injury,or death.
_____________________
Information in this document is subject to change without notice.
©2006Regent USAInc.Allrightsreserved.
TSXT technology is incorporated under license fromSRS Labs, Inc.
Trademarks used in thistext: Maxent,the Maxent logo; TruSurround XT, SRS,and symbol are trademarks of
SRSLabs, Inc.
Other trademarks and trade names maybe used in this document to refer to either the entities claiming the marks and names or
their products. Regent USAInc. disclaims any proprietary interest in trademarks and trade namesother than its own.
October 2006Rev. A01

ontents
FILE LOCATION: E:\workarea\customer\MAXNET\061101_ML- 7 1Manual-revisions\contents.fm
DELL CONFIDENTIAL – PRELIMINARY 12/6/06 – FOR PROOF ONLY
Contents
1About Your TV
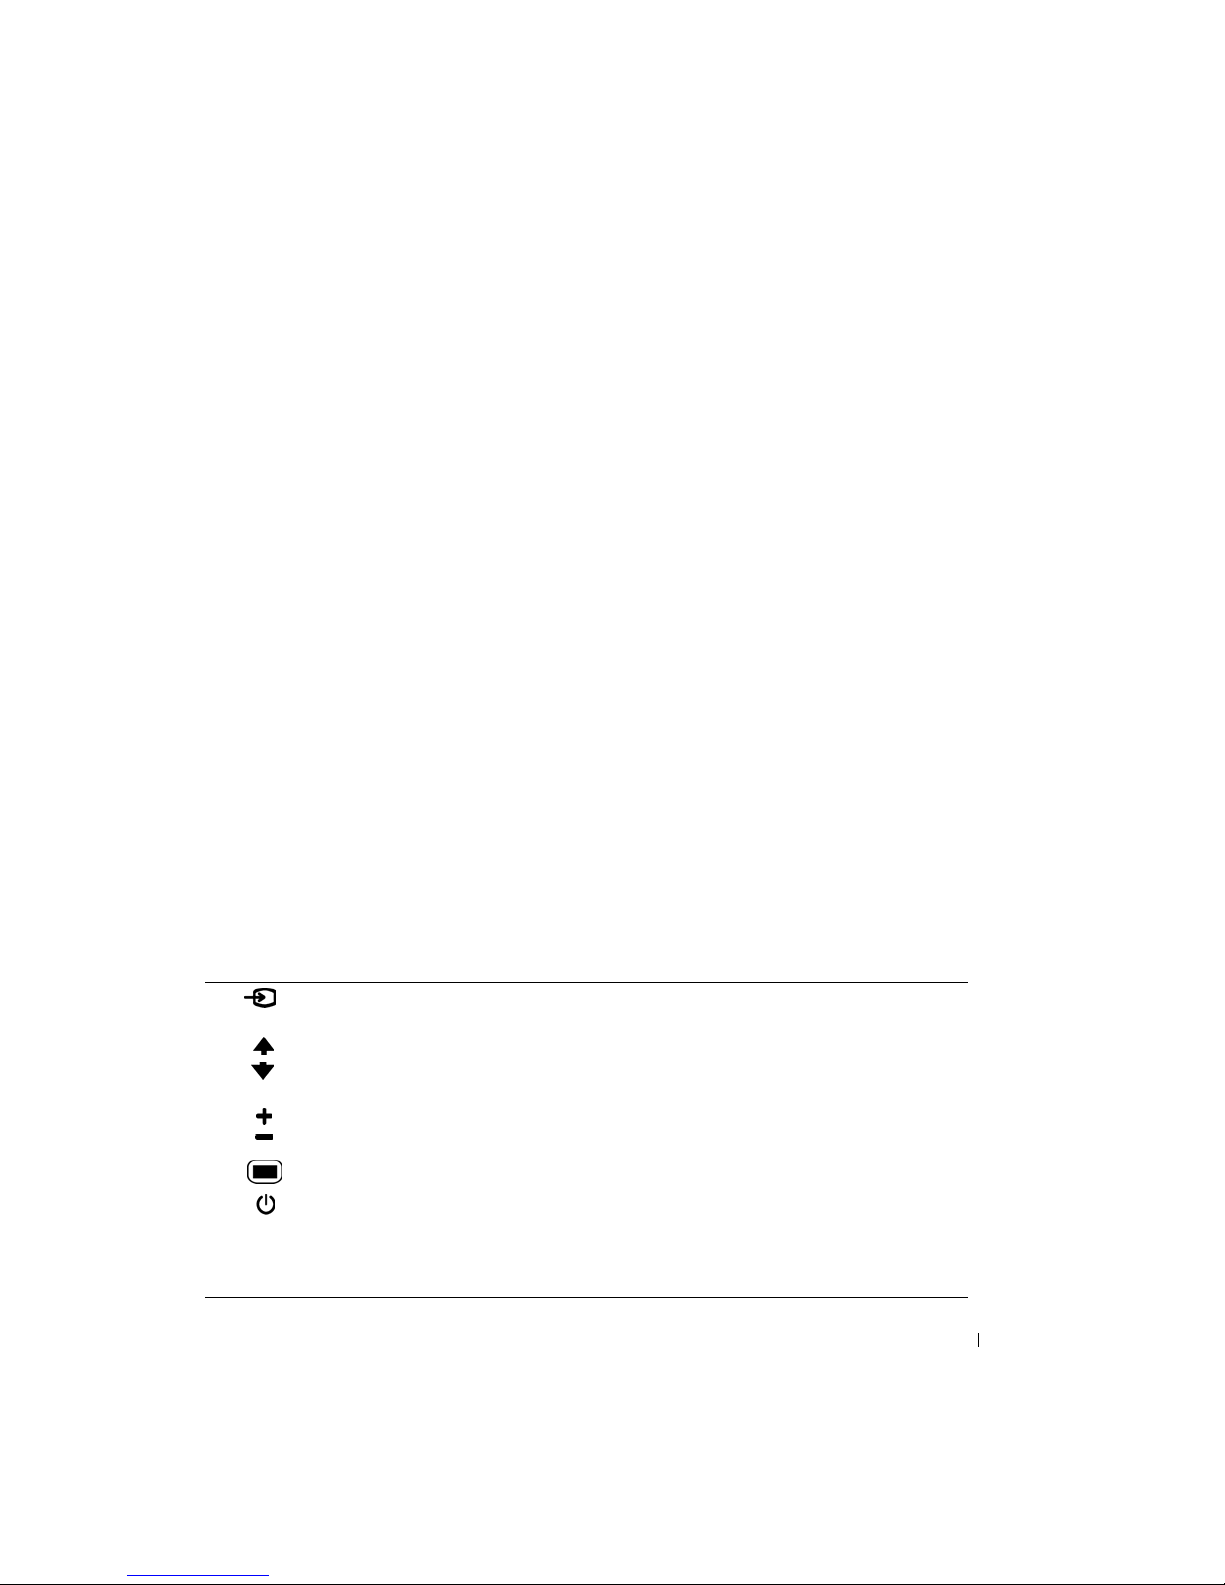
Front View . . . . . . .. .. . . . . . .. .. .. . . . . . .. .. . . . 5
Right View . . . . . . .. .. . . . . . .. .. .. . . . . . .. .. . . . 6
Left View .. . . . . . .. .. . . . . . .. .. .. . . . . . .. .. . . . 7
Rear View . . . . . . . . . . . . . . . . . . . . . . . . . . . . . . . . . . . . . 8
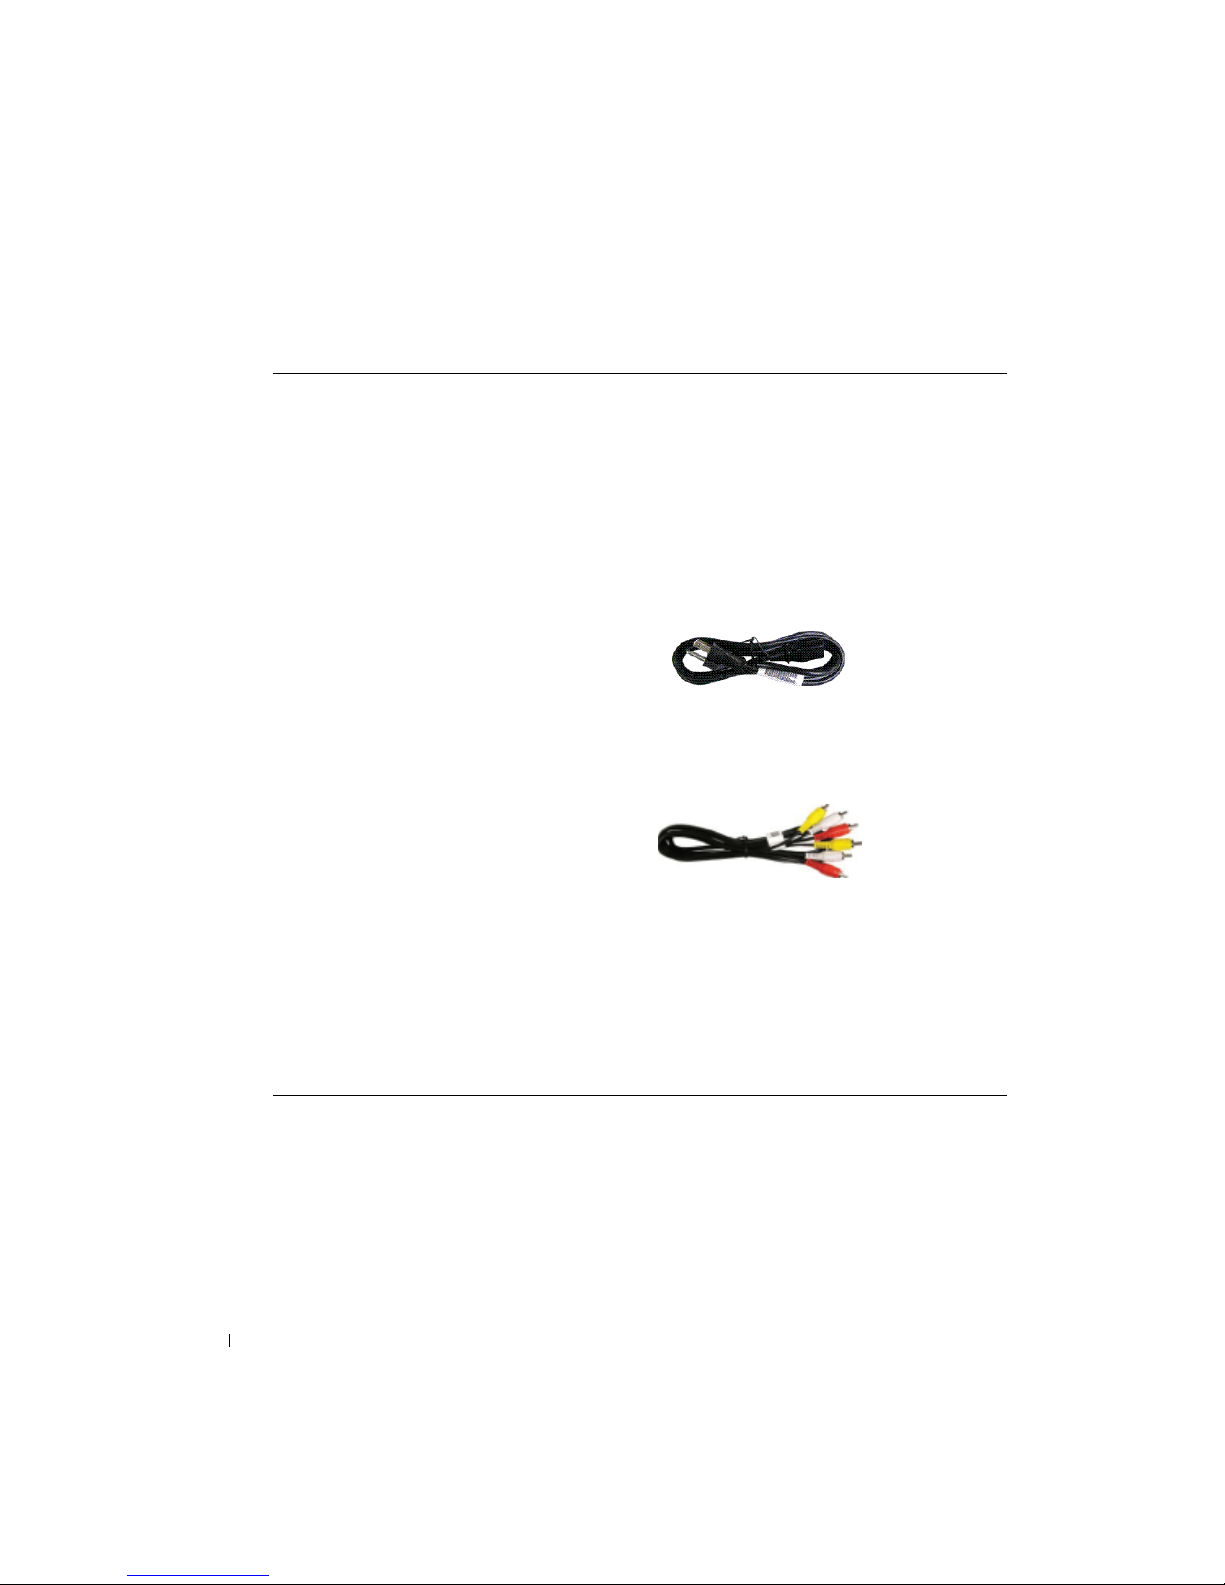
Package Contents .. . .. .. . . . . . .. .. .. . . . . . .. .. . . . 9
2Setting Up Your TV
Proper Location for Your TV .. . . . . . .. .. .. . . . . . .. .. . . 12
Connecting Your TV . . .. .. . . . . . .. .. .. . . . . . .. .. . . 1
3Remote ontrol
Installing Batteries . . .. .. . . . . . .. .. .. . . . . . .. .. . .18
Using Your Remote Control .. . . . . . .. .. .. . . . . . .. .. . . 19
Using Your Universal Remote Control . . .. .. .. . . . . . .. .. . .21
4Using the On-Screen (OSD) Menu
Using Your Remote Control With the TV Menu . . . . . . . . . . . . . . . . . 22
Selecting Your TV Menu Language . . . . . . . . . . . . . . . . . . . . . . . 2
Picture Menu . . . . . . . . . . . . . . . . . . . . . . . . . . . . . . . . . . 25
Audio . . . . . . . . . . . . . . . . . . . . . . . . . . . . . . . . . . . . . . . 25
Size . . . . . . . . . . . . . . . . . . . . . . . . . . . . . . . . . . . . . . . . 27
Parental Control . . . . . . . . . . . . . . . . . . . . . . . . . . . . . . . . . 27
Setup . . . . . . . . . . . . . . . . . . . . . . . . . . . . . . . . . . . . . . . 28

4ontents
w w w . d e l l . c o m | s u p p o r t . d e l l . c o m
FILE LOCATION: E:\workarea\customer\MAXNET\061101_ML- 7 1Manual-revisions\contents.fm
DELL CONFIDENTIAL – PRELIMINARY 12/6/06 – FOR PROOF ONLY
5Troubleshooting Problems With Your TV
Troubleshooting Tips . . . . . . . . . . . . . . . . . . . . . . . . . . . . . . . 0
General Problems . . . . . . . . . . . . . . . . . . . . . . . . . . . . . . . . 1
TV Menu Messages . . . . . . . . . . . . . . . . . . . . . . . . . . . . . . . 5
Remote Control Problems . . . . . . . . . . . . . . . . . . . . . . . . . . . . 5
Using the Self-Test Feature when Connected to a Computer . . . . . . . . . . 6
Problems When Using the TV as a Monitor . . . . . . . . . . . . . . . . . . . 6
6Specifications for Your TV . . . . . . . . . . . . . . . . . . . . . . . . . . . . . .38

AboutYour TV 5
FILE LOCATION: E:\workarea\customer\MAXNET\061101_ML-3731Manual-revisions\ch1e.fm
DELL CONFIDENTIAL PRELIMINARY 12/7/06 FOR PROOF ONLY
1
About YourTV
Front View
1IR ReceiverSenses the signal from the remote control
2Power indicator light
(LED)
The light is blue when the TV is on and remains off when the TVis
in power save mode

6AboutYourTV
FILE LOCATION: E:\workarea\customer\MAXNET\061101_ML-3731Manual-revisions\ch1e.fm
DELL CONFIDENTIAL PRELIMINARY 12/7/06 FOR PROOF ONLY
Right SideView
1S-Video input (SIDE)Use this to connect devices such as a video game system,a
digital camera, or a DVD player
2Audio connector (R)Use this connector if you have connected a device to the
composite connector (SIDE) or the S-Video connector (SIDE)
3Audio connector (L)Use this connector if you have connected a device to the
composite connector (SIDE) or the S-Video connector (SIDE)
4Composite video connector
(SIDE)
Use this to connect devices such as VCR or DVD player
5Headphone Use this connector to connect the Headphone

AboutYour TV 7
FILE LOCATION: E:\workarea\customer\MAXNET\061101_ML-3731Manual-revisions\ch1e.fm
DELL CONFIDENTIAL PRELIMINARY 12/7/06 FOR PROOF ONLY
Left Side View
1Input Source buttonPush to display the InputSelectmenu
2Channel up/down
button
Push to select the previous/next channel or navigate through the
TV Menu
3Volume up/down
button
Push to increase/decrease the volume or to select a TV Menu
option
4TV Menu buttonPush to display the TV Menu
5Power button and
light
Push to turn the TV on and off
The powerlight is blue when the TV is on and remains off when it is
in power saving mode
6IR receiverSenses the signal from the remote control

8AboutYourTV
FILE LOCATION: E:\workarea\customer\MAXNET\061101_ML-3731Manual-revisions\ch1e.fm
DELL CONFIDENTIAL PRELIMINARY 12/7/06 FOR PROOF ONLY
Rear View
1DVIaudio
connectors (L/R)
Connect to the DVI audio connectors if you have connected a
device such as a DVD player or set-top box to the HDMI
connectors with a DVI to HDMI interchange cable

AboutYour TV 9
FILE LOCATION: E:\workarea\customer\MAXNET\061101_ML-3731Manual-revisions\ch1e.fm
DELL CONFIDENTIAL PRELIMINARY 12/7/06 FOR PROOF ONLY
2HDMI connectorsConnect devices such as a DVD player orset-top box
3RGB connectorConnect to the RGB cable from your computer to the TV
4Audio connector for
RGB
Connect the audio cable from your computer to the TV
5Composite video and
audio-out connectors
Connect a device such as a VCR if you have connected an
antenna or cable TV through the ANT/Cable connector
6S-Video connectors
(AV2)
Connect devices such as a video game system or a DVD player
7Component audio
and video connectors
(AV3 and AV4)
Connect devices such as a DVD player, set-top box, orcable TV
box
8Power connectorConnect your power cord
9Antenna connectorConnect an antenna for both NTSC and digital ATSC TV
broadcasts
10Composite video and
audio connectors
(AV1)
Connect devices such as a VCR or DVD player

10 AboutYourTV
FILE LOCATION: E:\workarea\customer\MAXNET\061101_ML-3731Manual-revisions\ch1e.fm
DELL CONFIDENTIAL PRELIMINARY 12/7/06 FOR PROOF ONLY
Package Contents
Caring for Your TV
CAUTION: Only a licensed technician should service the TV. Do not disassemble the TV.
Before cleaning the TV,unplug itfrom the electrical outlet.
•To cleanthe surface of the panel, slightly dampen a soft, clean, lint-free cloth with
water.
•To cleanthe TV cabinet, use a cloth, slightly dampened with a milddetergent.
Remote control
AA batteries (2)
Power cord
Antenna (coaxial) cable
Composite cables
Documentation

AboutYour TV 11
FILE LOCATION: E:\workarea\customer\MAXNET\061101_ML-3731Manual-revisions\ch1e.fm
DELL CONFIDENTIAL PRELIMINARY 12/7/06 FOR PROOF ONLY
•Do not use chemicals such as benzene, thinner, ammonia, or any type of abrasive
cleaner.
•Do not use compressedair toclean the TV.

FILELOCATION: E:\workarea\customer\MAXNET\061101_ML-3731Manual-revisions\ch2e.fm
DELL CONFIDENTIAL PRELIMINARY 12/7/06 FOR PROOF ONLY
Setting Up Your TV 12
2
Setting Up Your TV
Proper Location for Your TV
Consider the following environmental factors
whiledeciding the position ofyour TV
:
•Make
sure you allow adequate ventilation.
•Do not place the TVin locations that are exposed to
high heatandhumidity
, direct
sunlight, dusty environments, or extreme cold.
•Do not subject the TV to severe vibration or high impact conditions. Do notplace the TV
inside a car trunk.
•Do not place the TVin a location where water or other liquids could spill on or into the
TV.

13 Setting Up YourTV
FILE LOCATION: E:\workarea\customer\MAXNET\061101_ML-3731Manual-revisions\ch2e.fm
DELL CONFIDENTIAL PRELIMINARY 12/7/06 FOR PROOF ONLY
Connecting Your TV
The tables below provide a description of the connectors on yourTV to help you decide
whichconnectors to use for yourvideo devices.
Connecting Your Antenna
Connecting Your Video Devices
QualityCable and connectorDescription
GoodCoaxial cable Coaxial (RF) cable carries the video and
audio signal from the antenna or cable
connector to your TV. The coaxial
connector is labelled TV. To locate the TV
connector see "Rear View" on page8.
QualityCable and connectorWhen to Use
DescriptionComposite The composite connector carries the video
signal through asingle pin.Ifyou are using
a composite video connector, you also
need to connect composite audio cables.
To locate the composite connectors, see
"Left View" on page7 and "Rear View" on
page8.
BetterS-Video The S-Video connector splits the video
signal into two signals, black-and-white
and color. If you are using the S-Video
connector,you also need to connect the
audio cables. To locate the S-Video
connectors, see "LeftView" on page7and
"Rear View" on page8.

Setting Up Your TV 14
FILE LOCATION: E:\workarea\customer\MAXNET\061101_ML-3731Manual-revisions\ch2e.fm
DELL CONFIDENTIAL PRELIMINARY 12/7/06 FOR PROOF ONLY
Connecting Audio/Video Out
BestComponent (YPbPr) The component signal should be split into
3 connectors: Y for Green, Pb or Blue and
PrforRed. If you are using the component
connectors, you also need to connect the
audio cables. To locate the component
connectors, see "Rear View" on page8.
ExcellentHDMI HDMI (High Definition Multimedia
Interface) assures that the best video
signal is sentfrom source (HDTV signal,
DVD player) to the TV.This is achieved by
allowing uncompressed video and multi-
channel audio to be sent to the display
device digitally through a single cable. To
locate the connector see "Rear View" on
page8.
QualityCable and connectorDescription
GoodComposite video and audio out connectors Use these connectors to send avideo and
audio signal to an external device such as
a VCR for recording purposes
QualityCable and connectorWhen to Use

15 Setting Up YourTV
FILE LOCATION: E:\workarea\customer\MAXNET\061101_ML-3731Manual-revisions\ch2e.fm
DELL CONFIDENTIAL PRELIMINARY 12/7/06 FOR PROOF ONLY
Using the Antenna Connector (Coaxial)
1
Turn off the TVand unplug the power cord.
2
Connect the coaxial cable to the ANT
connector on the TV.
3
Plug in the power cord for the TV and turn on
the TV.
4
Enter the TV Menu and select TV forNTSC and Digital TV tuning.See "Input Select" on
page26 for more information.
Using the Composite Connector
1
Turn off the TVand unplug the power cord.
NOTE: Ifyou are connecting a device that you want to be able to remove,
such as a video game system or a camcorder,use the composite
connectoron the right side ofthe TV (see "Left View" on page7).
2
Connect your device to the TV using the compositeaudioand video
cable.
3
Plug in the power cords for the TV and devices and turn them on.
4
Enter theTV Menu and select AV1, or AV SIDE (Composite 3). See
"Input Select" on page26 for more information.
Using the S-Video Connector
1
Turn off the TVand unplug the power cord.
NOTE: If you are connecting a device that you wantto be able to remove,
such as a video game system, or a camera,use the S-Video
connector on the right side of the TV (see "Left View" on page7).
2
Connect your device using the S-Video and audio cables.
3
Plug in the power cords for the TV and devices and turn them on.
4
Enter theTV Menu and select AV3, AV2, or AVSIDE (S-Video 2).
See"Input Select" on page26 for more information.

Setting Up Your TV 16
FILE LOCATION: E:\workarea\customer\MAXNET\061101_ML-3731Manual-revisions\ch2e.fm
DELL CONFIDENTIAL PRELIMINARY 12/7/06 FOR PROOF ONLY
Using the Component Connector
1
Turn off the TVandunplug the power cord.
2
Connect your device using the component video and audio
cables.
3
Plug in the power cords for the TV and devices and turn them
on.
4
Enter the TV Menu and select AV3 orAV4. See "Input Select"
on page26 for more information.
Using the HDMI Connector
1
Turn off the TVandunplug the power cord.
2
Connect your device using the HDMI connector.
3
Plug in the power cords for the TV and devices and turn them on.
4
Enter the TVMenuand select HDMI 1. See "Input Select" on page26
for moreinformation.
Using the RGB Connector
1
Turn off the TVandunplug the power cord.
NOTE: Suggest to use a RGB cable which has a ferrite core.
2
Connect the RGB and audio cables to your TVand computer.
3
Plug in the power cords for the TV and devices and turn them on.
4
Enter theTV Menuand select VGA. See "Input Select" on page26
for moreinformation.

17 Setting Up YourTV
FILE LOCATION: E:\workarea\customer\MAXNET\061101_ML-3731Manual-revisions\ch2e.fm
DELL CONFIDENTIAL PRELIMINARY 12/7/06 FOR PROOF ONLY
Using the Composite Video and Audio Out Connectors
1
Turn off the TVand unplug the power cord.
2
Connect the video and audio out cables to yourTV and to adevice
such as a VCR.
3
Plug in the power cords for the TV and devices and turn them on.

FILELOCATION: E:\workarea\customer\MAXNET\061101_ML-3731Manual-revisions\ch3e.fm
DELL CONFIDENTIAL PRELIMINARY 12/7/06 FOR PROOF ONLY
Remote Control 18
3
Remote Control
Installing Batteries
Before you can useyour remote control, install twoAA batteries inthe remote control as
follows.
1
Open the battery cover.
2
Install the batteries. Make sure that you match the + and - onthe batteries with the +
and-symbols in the battery compartment.
3
Close the battery cover.

19 Remote Control
FILE LOCATION: E:\workarea\customer\MAXNET\061101_ML-3731Manual-revisions\ch3e.fm
DELL CONFIDENTIAL PRELIMINARY 12/7/06 FOR PROOF ONLY
Using Your RemoteControl

Remote Control 20
FILE LOCATION: E:\workarea\customer\MAXNET\061101_ML-3731Manual-revisions\ch3e.fm
DELL CONFIDENTIAL PRELIMINARY 12/7/06 FOR PROOF ONLY
1POWERTurns the TV on and off.
2SETUsed for programming your Universal Remote to control other devices
such as a DVD player. Please refer to the Quick Start Guide.
3Device KeysDevice selection key for the Universal Remote.Press TV key to operate
the TV.
4Number KeysPress to select TV channels. For example, to selectchannel 13,press
1,3, ENTER key.For digital TV channels with sub-channels such as
channel 62-1, press 6, 2, and then the CH+ key to advance through the
sub-channels.
5ENTERPress to confirm your selection.
6INPUTEnters the Input Select menu.
7Q.V (QuickView)Returns you to the previously viewed channel.
8VOL+
VOL
Increases/decreases the volume.
9CH+
CH
Push to view the next/previous channel.
10MUTEPress to turn the sound on and off.
11INFODisplays information about your TV (for example, in TV mode, it
displays the channel you are watching).
12MENUEnters and exits the TV Menu.
13Arrow KeysUse to navigate through On-Screen display once MENUkey is pressed.
14OK Press this button to make or confirm a selection in the On-Screen
Menu.
15GUIDEDisplays an electronic program guide when displaying Digital TV
content.
NOTE: Content may vary depending on the broadcaster.
16DirectInput
Source Keys
Press these keys to change input directly without using the Input
selection menu
NOTE: HDMI2 key is not used. Direct input keys do not support AV
inputs located on the side of the TV.
17RECALLResets the TV to original settings from factory
18SLEEPTurns on the sleep timer.
19PICTURE MODECycles through the preset options for the Picture menu.
20WIDESets the screen size.
21SAPToggles between primary and secondary audio sources.
22CCDToggles Closed Captioning on/off.
Table of contents
Other Maxent LCD TV manuals