- 6 - Mayones Musashi Nitōryū 2.0 Preamp - User Manual
www.mayones.com
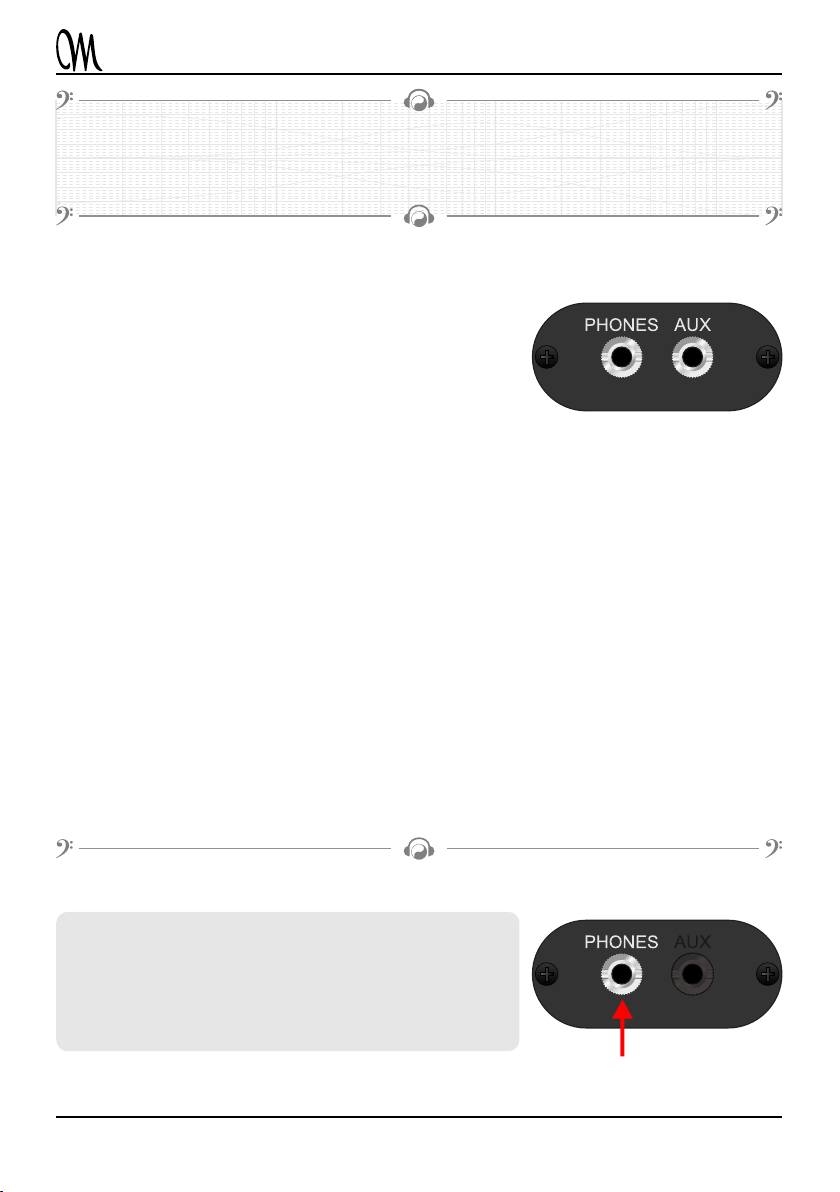
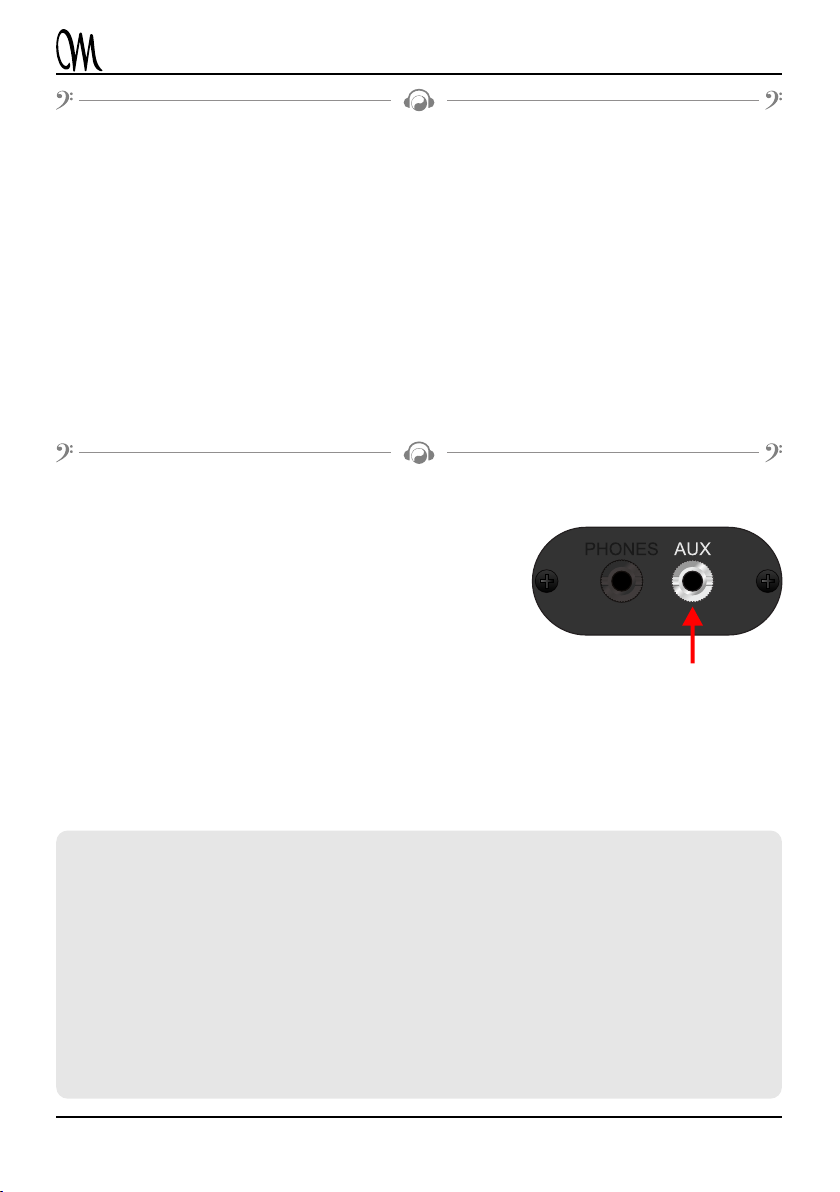
AUX In - Line Input
This 1/8-inch jack is used to plug in a line-level stereo
input, from an external source - a smartphone, tablet, CD
player, metronome, and so on.
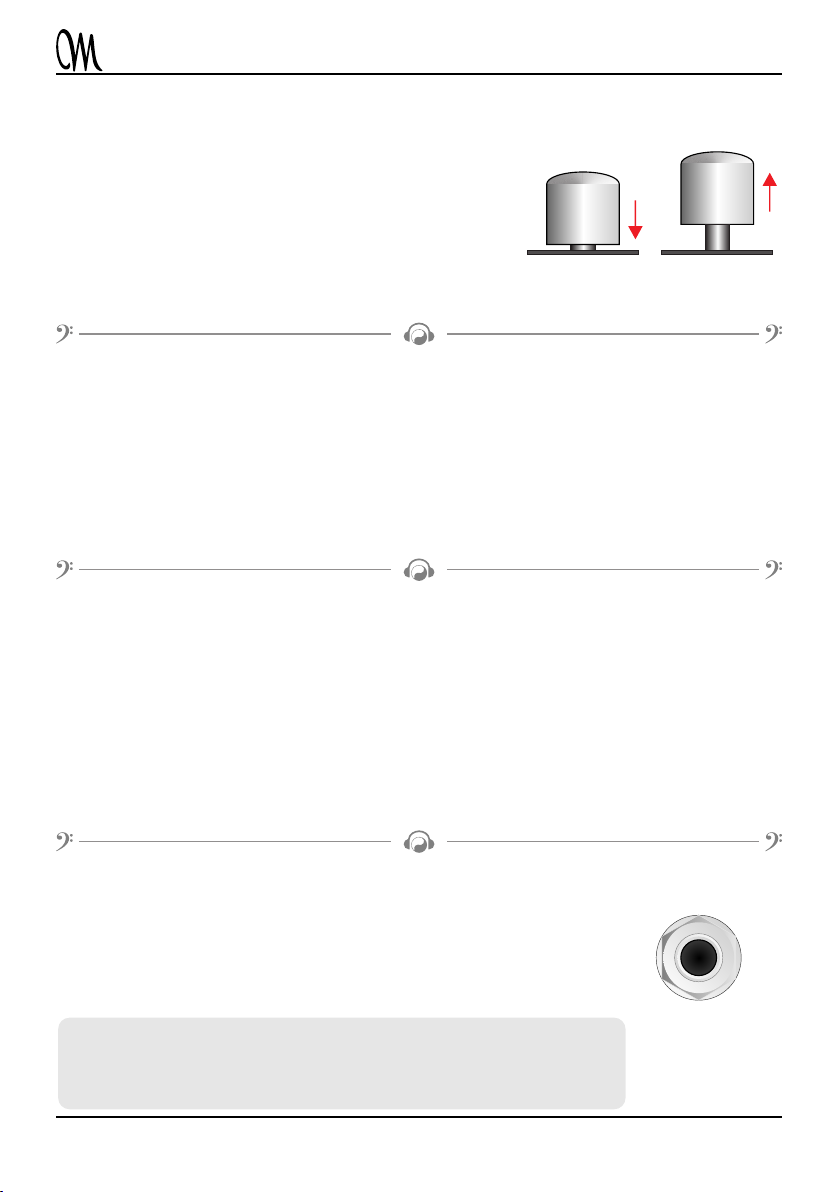
Before plugging in an external device, mute it completely,
and also turn down the volume of the instrument to prevent
any strong signals that could damage one's hearing. Aer
plugging in an external device, first adjust the instrument volume, unl you reach comfortable
volume levels, and only then increase the volume of the external device. Set the level properly,
so that a balance is set between the external source and the bass.
One should remember that too high output volume of the external device may overdrive the
input, thus distorng the sound coming from that input one hears in the headphones.
Please note! For safety and user comfort, the headphones should only be put on
(or in your ears) aer:
1. Preseng the instrument volume knob at the minimum (extreme le) seng,
2. If external AUX In is used, seng the signal volume of that source to a minimum is
required as well,
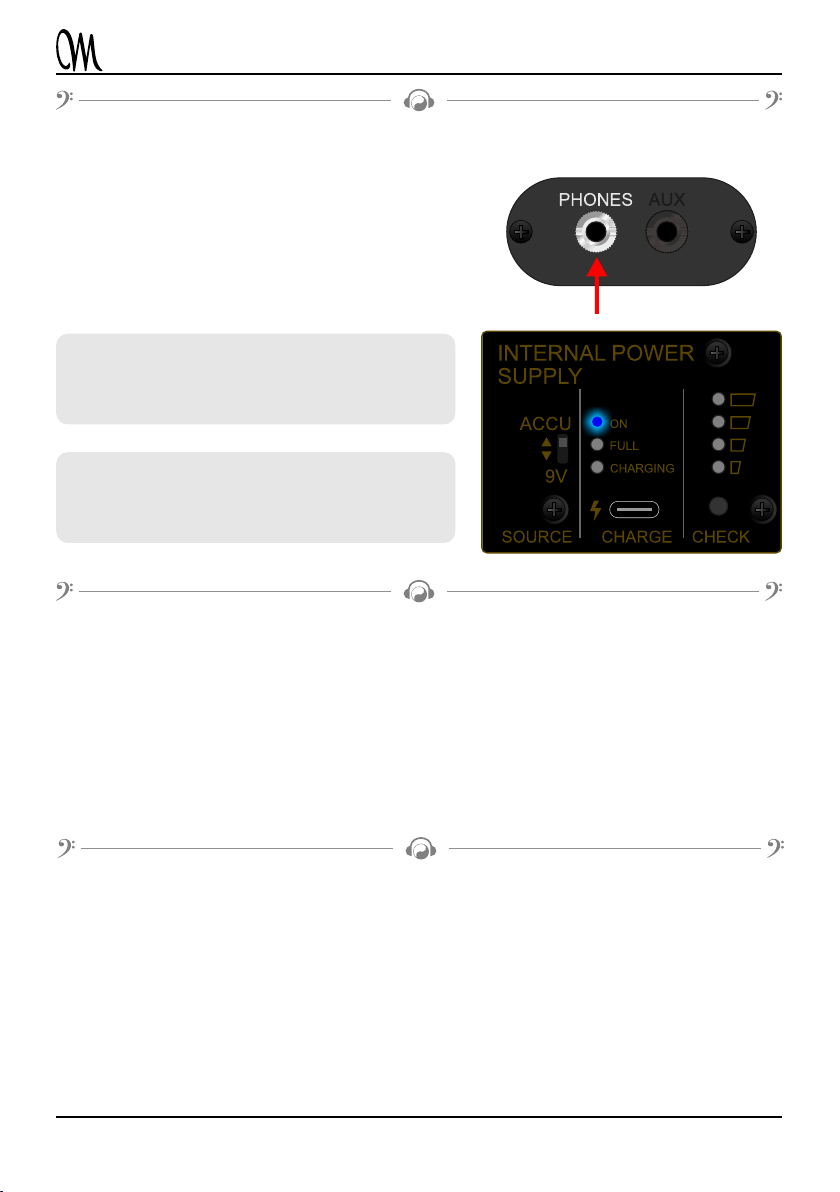
3. Plugging in the headphones into the 1/8" Phones jack, which turns on the headphones out.
Only then should the instrument volume knob be used to set the comfortable volume levels,
and increase the output signal levels for the external device, properly adjusng the balance
between these two signals.
The headphone amp can only work with stereo headphones fied with a 1/8" (3.5 mm) TRS
jack plug. Headphones with impedance ranging from 16 to 64 Ohms are acceptable. In the case
of stereo headphones with a different plug, a proper adapter shall be used. Headphones and
adapters shall be purchased separately. One shall not use mono (TS jack) headphones or
headphones with an embedded microphone with a 1/8" (3.5 mm) jack with this instrument.
OMTP, CTIA, or similar TRRS jack plugs are also not usable with this bass.
Plugging In Stereo Headphones
Although a stereo headphone amp is a part of the instrument, one shall note that the bass
guitar is not a stereophonic instrument. For that reason, both channels of the headphones (le
and right) transmit the very same, monophonic pickup signal that is only split between the two
channels of the headphone amp.
AUX In - Line Input
This 1/8-inch jack is used to plug in a line-level stereo
input, from an external source - a smartphone, tablet, CD
player, metronome, and so on.
Before plugging in an external device, mute it completely,
and also turn down the volume of the instrument to prevent
any strong signals that could damage one's hearing. Aer
plugging in an external device, first adjust the instrument volume, unl you reach comfortable
volume levels, and only then increase the volume of the external device. Set the level properly,
so that a balance is set between the external source and the bass.
One should remember that too high output volume of the external device may overdrive the
input, thus distorng the sound coming from that input one hears in the headphones.
Please note! For safety and user comfort, the headphones should only be put on
(or in your ears) aer:
1. Preseng the instrument volume knob at the minimum (extreme le) seng,
2. If external AUX In is used, seng the signal volume of that source to a minimum is
required as well,
3. Plugging in the headphones into the 1/8" Phones jack, which turns on the headphones out.
Only then should the instrument volume knob be used to set the comfortable volume levels,
and increase the output signal levels for the external device, properly adjusng the balance
between these two signals.