manuals.online logo
Brands
  1. Home
  2. •
  3. Brands
  4. •
  5. MB QUART
  6. •
  7. Car Stereo System
  8. •
  9. MB QUART MBQ-POD User manual

MB QUART MBQ-POD User manual

For additional technical information on this and all MB QUART products, go to
the “SUPPORT” tab at MB QUART.com
There you will find helpful, FAQ, TEQ Tips and you can contact Technical Support via email.
©2018 Maxxsonics USA
UTV & RZR Tuned Audio Systems
MBQ-POD
8 Inch Compression Horns
For additional technical information on this and all MB QUART products, go to
the “SUPPORT” tab at MB QUART.com
There you will find helpful, FAQ, TEQ Tips and you can contact Technical Support via email.
©2018 Maxxsonics USA
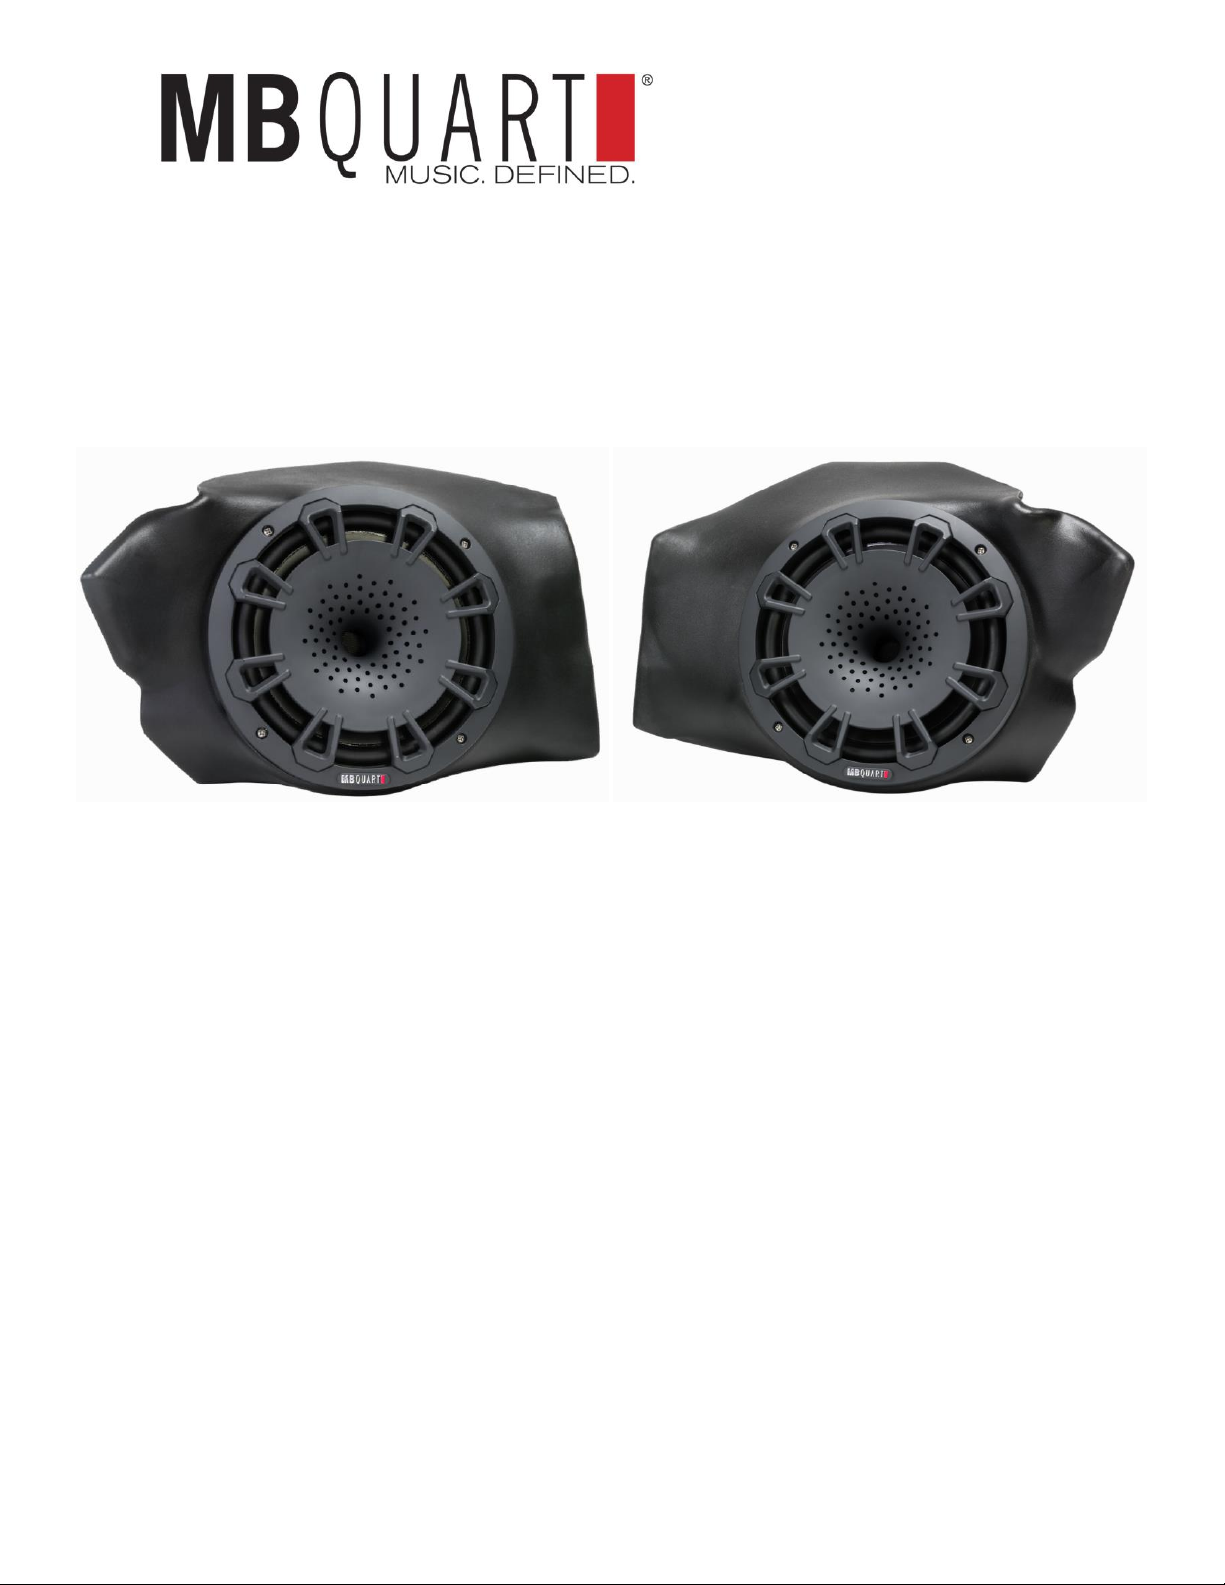
MB QUART RZR Kick Panel pods
Thanks for choosing MB QUART. These 8 inch compression horn speaker components have
been meticulously engineered to install into your Polaris RZR. They are part of our Staged RZR
Tuned Audio Systems family of products. See all the components, upgrades and Stages
available for RZR on the website MBQUART.com
We have made the install process so simple, you will be in and out of the machine in about
an hour.
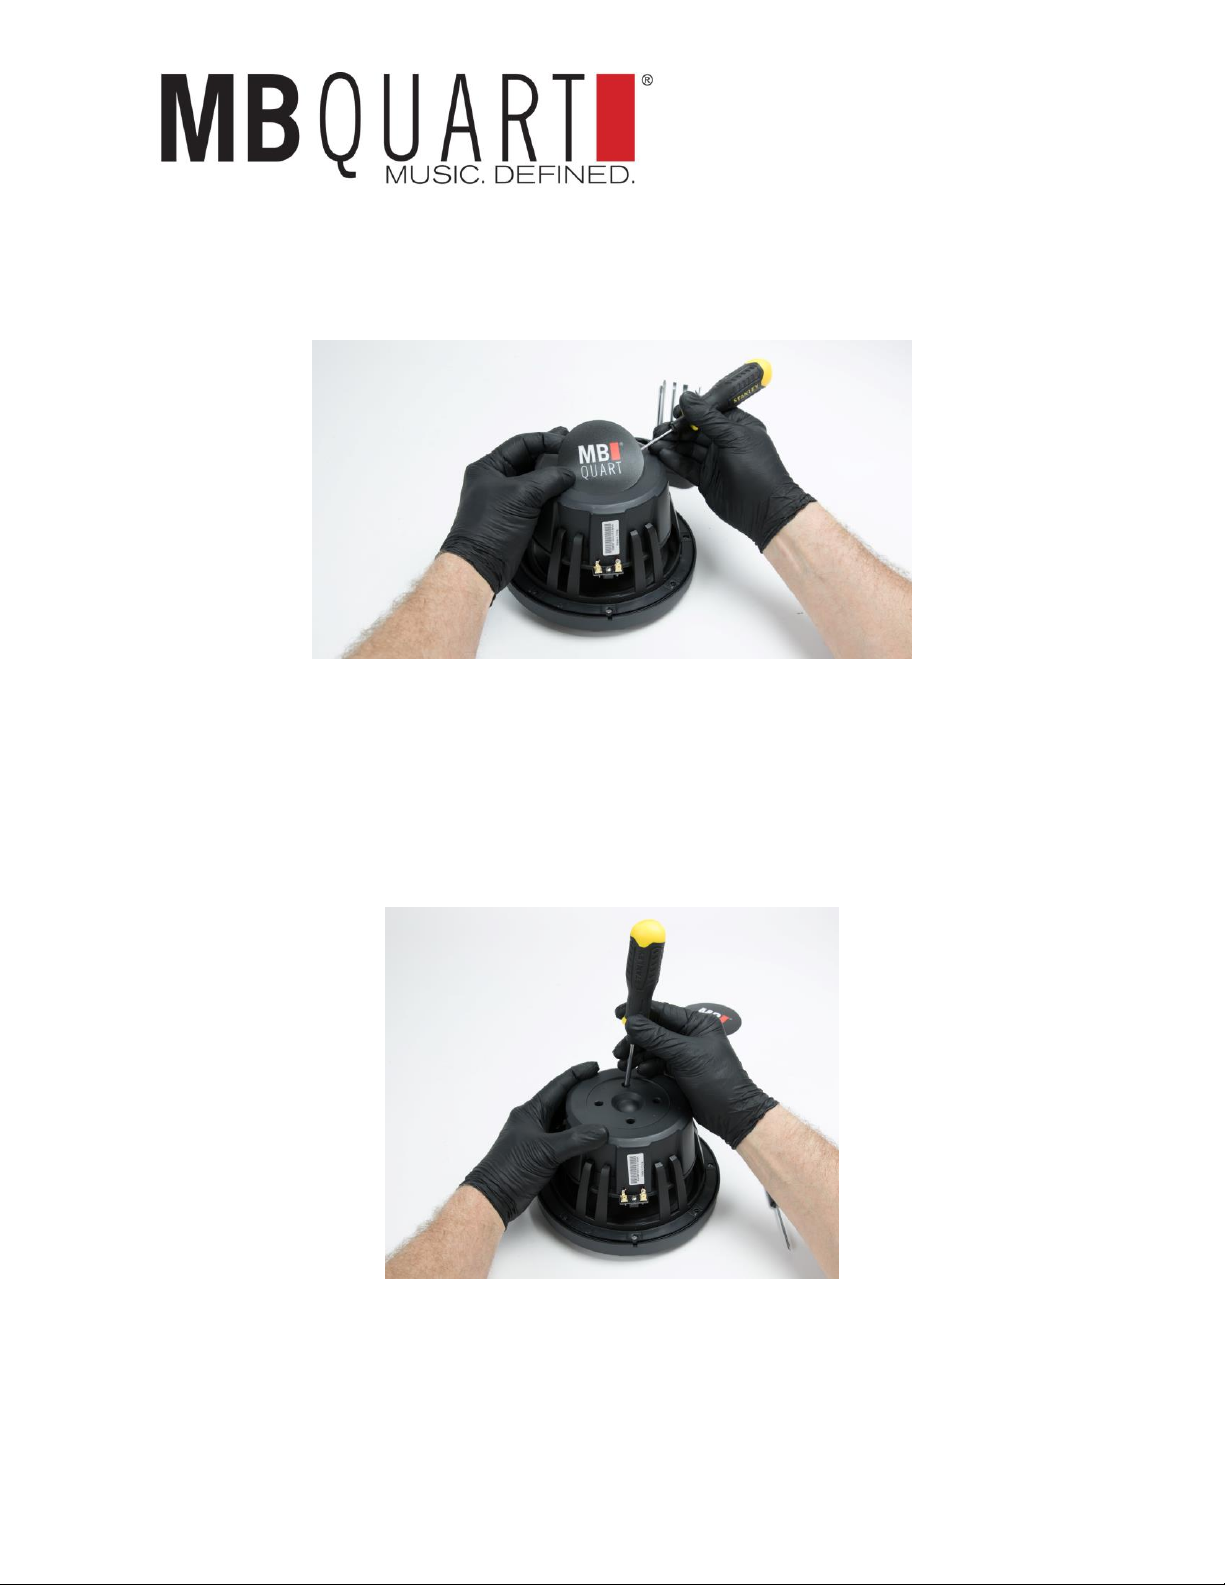
IMPORTANT –Before you mount the speakers into the pods and mount the pods to the
RZR, you need to prepare the rear of the compression horn speakers. This entails removing
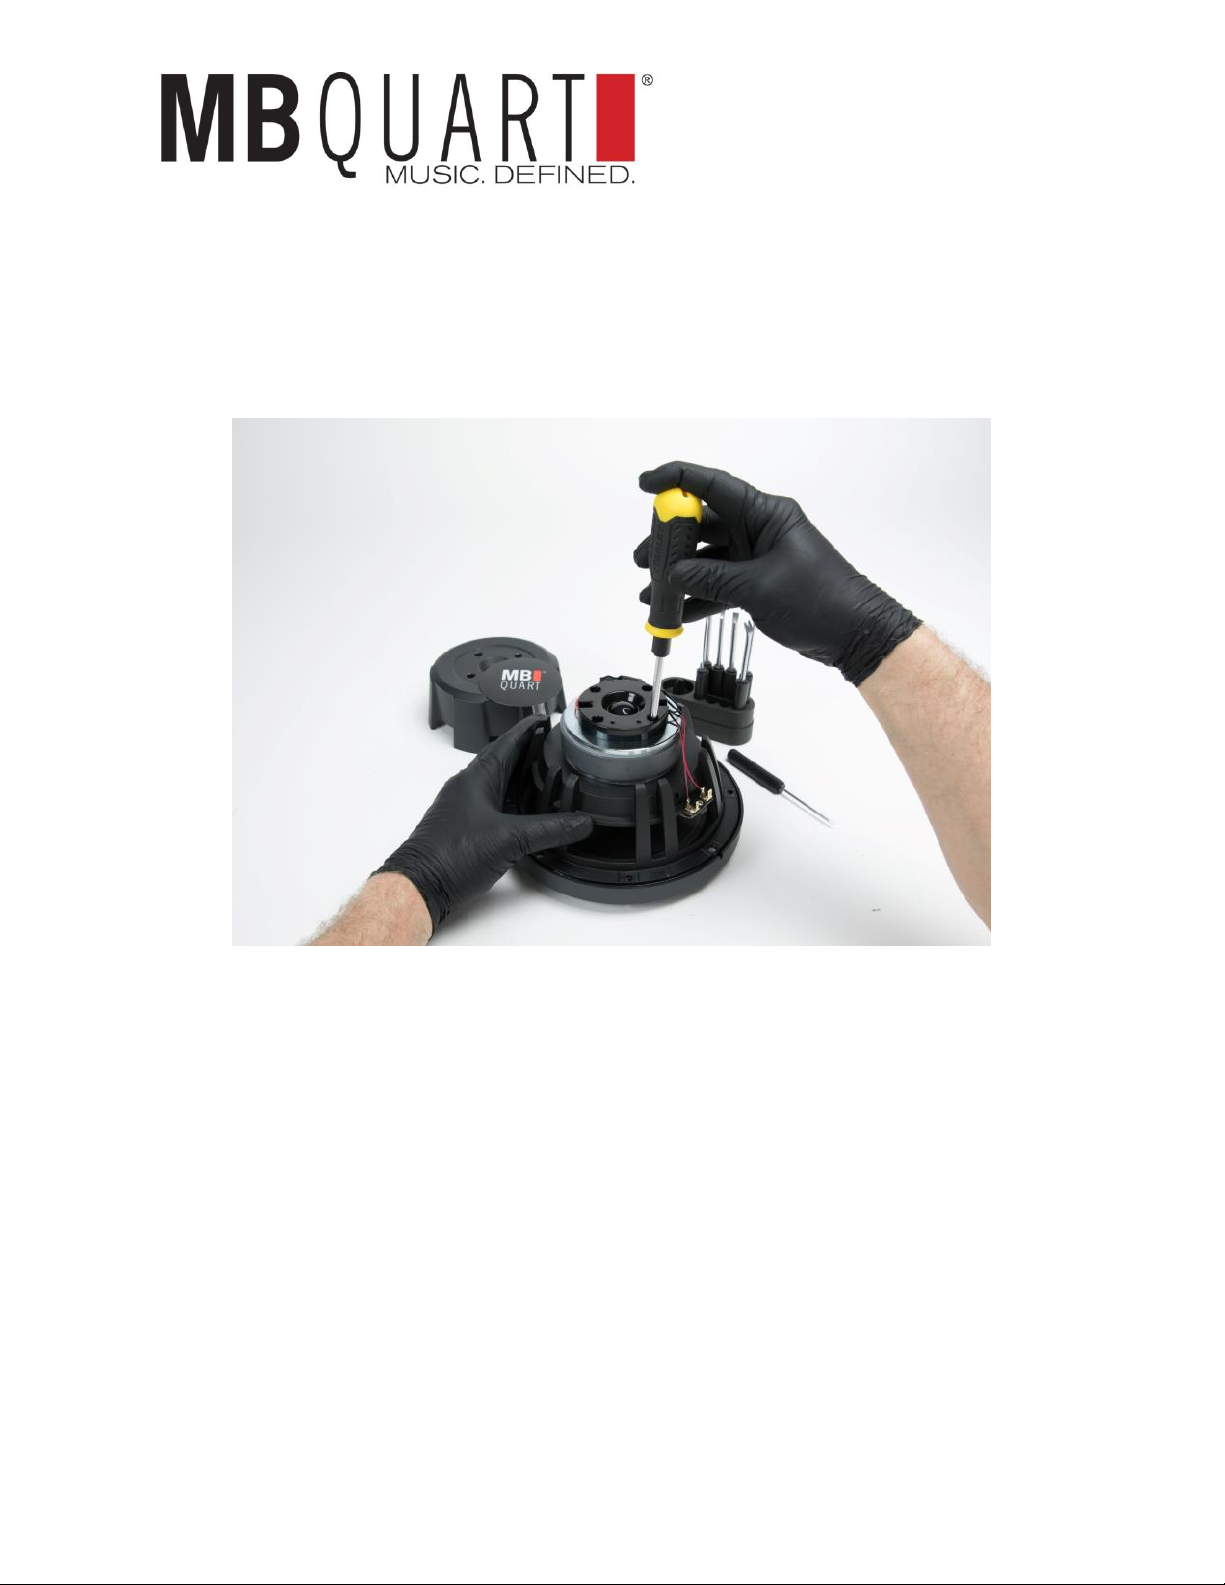
the back plate from each speaker and covering the exposed compression horn diaphragm
with the included cover.
The purpose of this process is to remove some of the depth of the speaker which in turn
reduces the amount of space you sacrifice in the foot well –brilliant.
IN THE BOX
8 inch speakers (2)
RZR Kick Panel pods (2)
Compressions Horn Diaphragm covers (2)
Mounting Hardware (4 bolts, 4 nylon locking nuts, 8 washers)
Stainless Speaker Mounting screws (8)
SAFETY
Always make your machine safe before installing any accessories
Turn the ignition off and remove the key
Remove the negative terminal of the battery
Safety Glasses - always wear eye protection
TIME & TOOLS
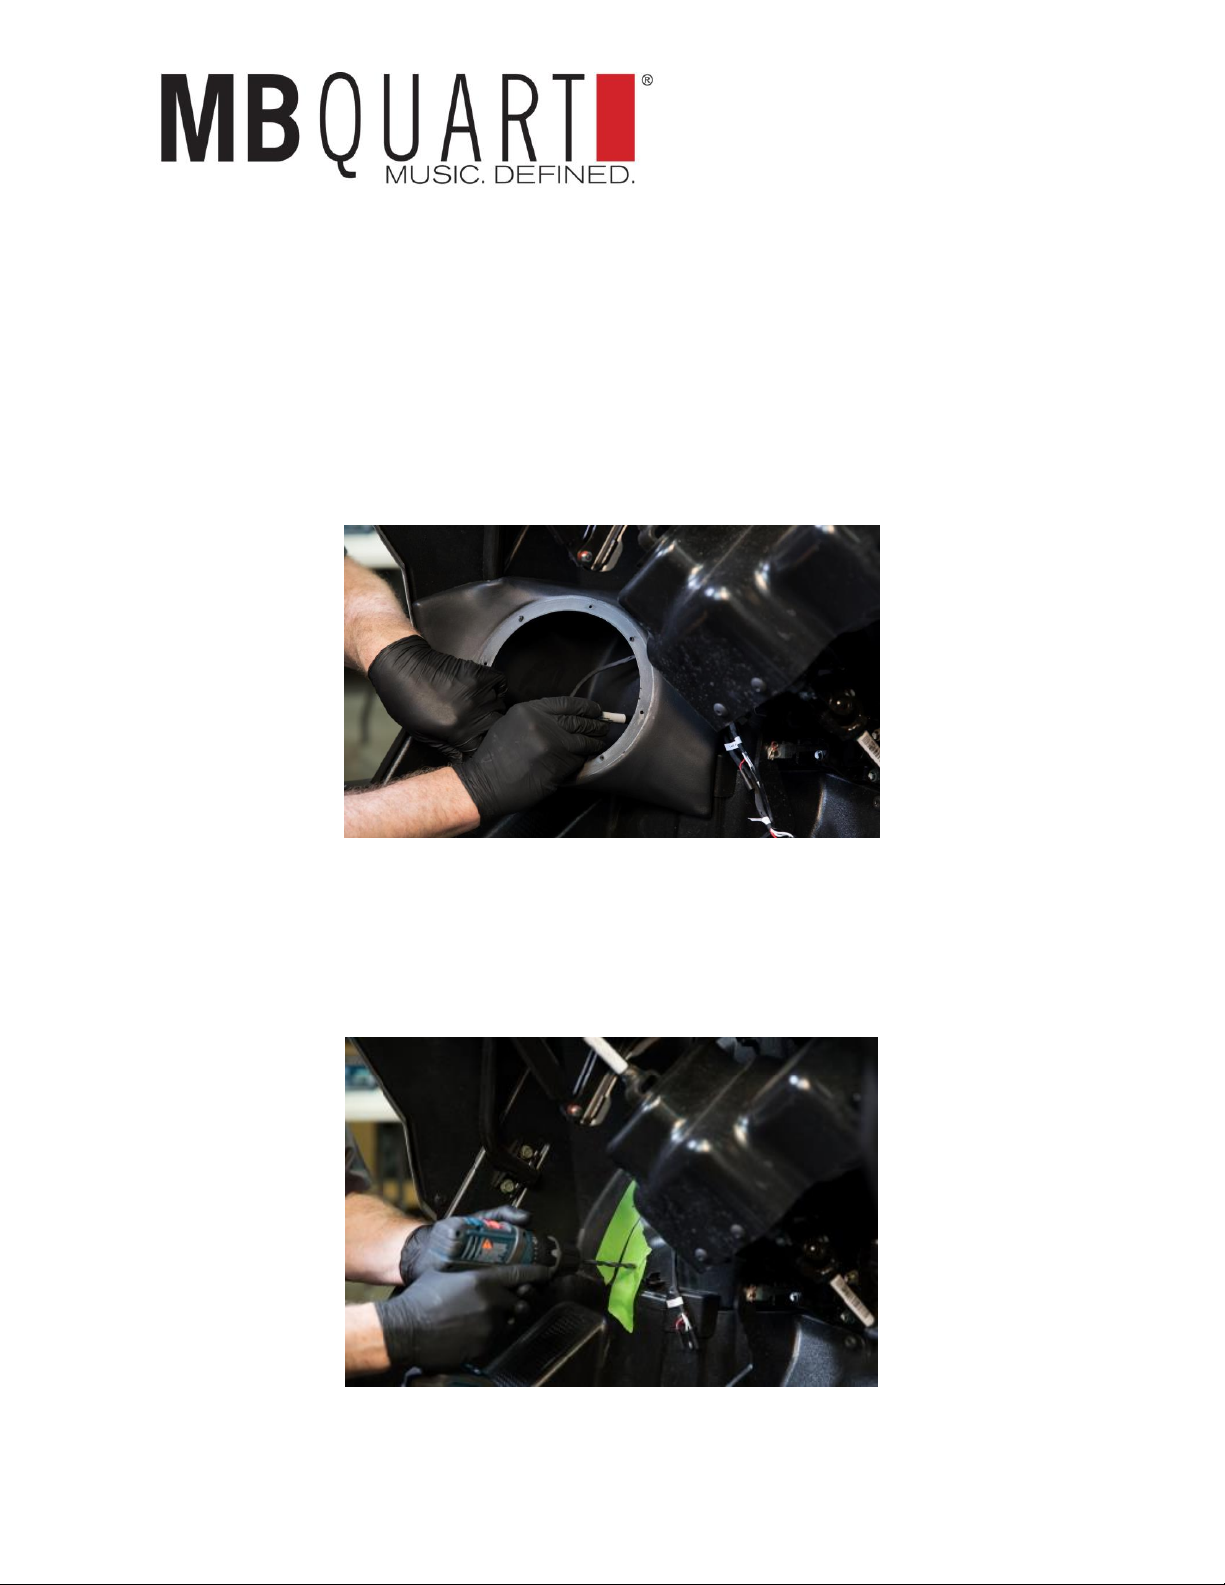
You will need to prepare the Compression Horns before permanently mounting them to the
pods. To keep installation quick it is best to mount the pods empty with no speakers installed.
This will keep install to about 1 HOUR.
For additional technical information on this and all MB QUART products, go to
the “SUPPORT” tab at MB QUART.com
There you will find helpful, FAQ, TEQ Tips and you can contact Technical Support via email.
©2018 Maxxsonics USA
TOOLS Required
T-40 Torx Bit Driver
Sharpie or Marker
Painters Tape 2 inch
1/2 inch Socket
#2 Philips Screw Driver
1/2 inch open wrench
Small or Angled Ratchet
Work light
Drill
1/8 inch drill bit
5/16 inch drill bit
NH1-120B Preparation
Preparing your Compression Horn Diaphragm
In order to fit your compression horn speakers into the pod, you need to remove the back plate.
This keeps the mounting depth of the pod as shallow as possible. We designed the pods with a
simple modification to the rear of the speaker.
We provide a protective plate because it is very important to the performance of your
compression horns to cover the compression diaphragm element.
STEP 1
Working on a flat surface, turn your speaker face down
For additional technical information on this and all MB QUART products, go to
the “SUPPORT” tab at MB QUART.com
There you will find helpful, FAQ, TEQ Tips and you can contact Technical Support via email.
©2018 Maxxsonics USA
STEP 2
Using a straight edge, gently peel up the back sticker
STEP 3
Set the cool sticker aside so you can mount it on your machine later
STEP 4
With a #2 Phillips, hand operated screw driver, remove 4 screws from the back plate. Save
these screws, they will be used to install the diaphragm cover plate.
For additional technical information on this and all MB QUART products, go to
the “SUPPORT” tab at MB QUART.com
There you will find helpful, FAQ, TEQ Tips and you can contact Technical Support via email.
©2018 Maxxsonics USA
STEP 5
Set the back plate aside, it is un-needed
DO NOT TOUCH THE DOME
DO NOT LEAVE IT EXPOSED
STEP 6
Use the supplied compression diaphragm cover to position over the aluminum dome.
For additional technical information on this and all MB QUART products, go to
the “SUPPORT” tab at MB QUART.com
There you will find helpful, FAQ, TEQ Tips and you can contact Technical Support via email.
©2018 Maxxsonics USA
STEP 7
Use the same screws you removed from the back plate to secure the compression dome
diaphragm cover. Do not use a power drill. These screws should only be hand tight.
Repeat the process for the other compression horn speaker.
SET THE SPEAKERS ASIDE TO PREPARE MOUNTING THE PODS TO RZR
For additional technical information on this and all MB QUART products, go to
the “SUPPORT” tab at MB QUART.com
There you will find helpful, FAQ, TEQ Tips and you can contact Technical Support via email.
©2018 Maxxsonics USA
MOUNTING THE PODS TO RZR
STEP 8 - TAPE IT OFF
Using colored painters tape, you need to mark the fender of the RZR where you will need to
drill. To do this, hold an empty left or right pod in your hand. Hold the pod into place to
approximate the position of the mounting holes on the internal fender.
Set the unit down and put colors tape onto the fender behind the pod until you can see the tape
through the mounting holes when you hold the pod back into place.
Next, use your Sharpie to mark the mount holes on the painters tape. Repeat the mounting
process for the other pod.
STEP 9 - DRILL
Drill (4) 5/16 inch holes into the fender where you marked the tape.
For additional technical information on this and all MB QUART products, go to
the “SUPPORT” tab at MB QUART.com
There you will find helpful, FAQ, TEQ Tips and you can contact Technical Support via email.
©2018 Maxxsonics USA
STEP 10 - SECURE THE WIRES
Connect the wires from the amplifier or amplifier harness to the connectors on the back of the
pods, left and right. Do not let it fall behind the pod as you are mounting.
STEP 11 - MOUNT THE PODS
Remove any tape from the fenders. With the included hardware mount the pod. The bolt and 1
washer mount through the fender, into the pod. This leaves only the head of the bolt visible
behind the tire.
Make certain you use a washer on the inside against the internal wall of the pod against the
fender of the RZR. Use your ½ inch ratchet and wrench to secure the pod.
Mount the other RZR pod in the same manner.
For additional technical information on this and all MB QUART products, go to
the “SUPPORT” tab at MB QUART.com
There you will find helpful, FAQ, TEQ Tips and you can contact Technical Support via email.
©2018 Maxxsonics USA
STEP 12 - PREPARE THE WIRES
Secure the harness wires from inside each pod and connect the wires to the back of the
compression horn speakers.
Connect speaker wires
For additional technical information on this and all MB QUART products, go to
the “SUPPORT” tab at MB QUART.com
There you will find helpful, FAQ, TEQ Tips and you can contact Technical Support via email.
©2018 Maxxsonics USA
STEP 13 –MOUNTING THE SPEAKERS IN PODS
Working with each speaker as closely to the pod as possible, complete the wiring of the speaker
to the pod and mount the speakers to the pod.
NOTE - If you would like to rotate the speaker left or right to change the angle of
“level”. Now is the time, use your 1/8 inch bit to do so now before final mounting
of the speakers.
Using the included stainless steel screws mount the speakers to the pods. Use a hand screw
driver to avoid damage to the pod.
STEP 14 - AUDIO SHAKE DOWN
Turn on your audio system. Check for the following, using the balance on the source unit to
confirm Left is left and Right is right. Listen for a clear, crisp audio sound.
STEP 15 - SHOW YOUR FRIENDS
Congrats on a great install and an awesome audio upgrade. Get on the trails, show your friends
and show us too. We’re all over social, just like you. @MBQuart #MusicDefined #RZRLife
For additional technical information on this and all MB QUART products, go to
the “SUPPORT” tab at MB QUART.com
There you will find helpful, FAQ, TEQ Tips and you can contact Technical Support via email.
©2018 Maxxsonics USA
NOTES PAGE
For additional technical information on this and all MB QUART products, go to
the “SUPPORT” tab at MB QUART.com
There you will find helpful, FAQ, TEQ Tips and you can contact Technical Support via email.
©2018 Maxxsonics USA

Other MB QUART Car Stereo System manuals

MB QUART Nautic GMR-2 User manual

MB QUART

MB QUART Nautic GMR-2 User manual

MB QUART ONYX OTK-30 User manual

MB QUART

MB QUART ONYX OTK-30 User manual

MB QUART RSD 213 User manual

MB QUART

MB QUART RSD 213 User manual

MB QUART MBQuart RK1-110 Instruction Manual

MB QUART

MB QUART MBQuart RK1-110 Instruction Manual

MB QUART QS216 User manual

MB QUART

MB QUART QS216 User manual

MB QUART Discus Series DSC1500.1D User manual

MB QUART

MB QUART Discus Series DSC1500.1D User manual

MB QUART 2884213 User manual

MB QUART

MB QUART 2884213 User manual

Popular Car Stereo System manuals by other brands

JL Audio Stealthbox SB-B-5SER/12W6v2 installation guide

JL Audio

JL Audio Stealthbox SB-B-5SER/12W6v2 installation guide

Sony MEX-BT3700U Installation/connections

Sony

Sony MEX-BT3700U Installation/connections

USA SPECS PA11-VW6 owner's manual

USA SPECS

USA SPECS PA11-VW6 owner's manual

JVC KW-R910BT instruction manual

JVC

JVC KW-R910BT instruction manual

Audiovox Jensen VM8022 Installation and operation manual

Audiovox

Audiovox Jensen VM8022 Installation and operation manual

Volvo Delco instruction manual

Volvo

Volvo Delco instruction manual

Boss Audio Systems MR1309UAB user manual

Boss Audio Systems

Boss Audio Systems MR1309UAB user manual

Sony XR-1100 operating instructions

Sony

Sony XR-1100 operating instructions

Jensen CDH4110 owner's manual

Jensen

Jensen CDH4110 owner's manual

Sony XR-CA440X Installation/connections

Sony

Sony XR-CA440X Installation/connections

Sony XAV-W1 Specifications

Sony

Sony XAV-W1 Specifications

Sony WX-900BT operating instructions

Sony

Sony WX-900BT operating instructions

JVC KD-AV7100 instructions

JVC

JVC KD-AV7100 instructions

Becker DTM High Speed 7910 installation guide

Becker

Becker DTM High Speed 7910 installation guide

Philips CEM2100 quick start guide

Philips

Philips CEM2100 quick start guide

Philips CID3695 brochure

Philips

Philips CID3695 brochure

Hama 00 014155 operating instructions

Hama

Hama 00 014155 operating instructions

Sony CDX-757MX Xplod Service manual

Sony

Sony CDX-757MX Xplod Service manual

manuals.online logo
manuals.online logoBrands
  • About & Mission
  • Contact us
  • Privacy Policy
  • Terms and Conditions

Copyright 2025 Manuals.Online. All Rights Reserved.