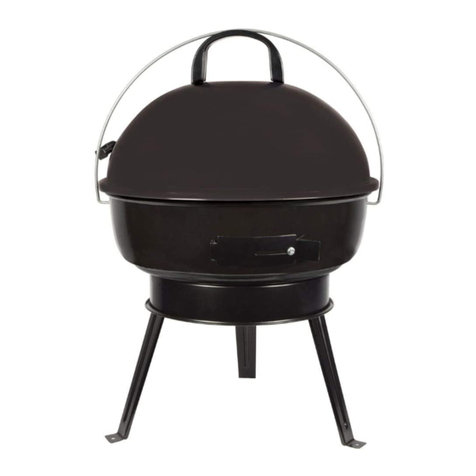
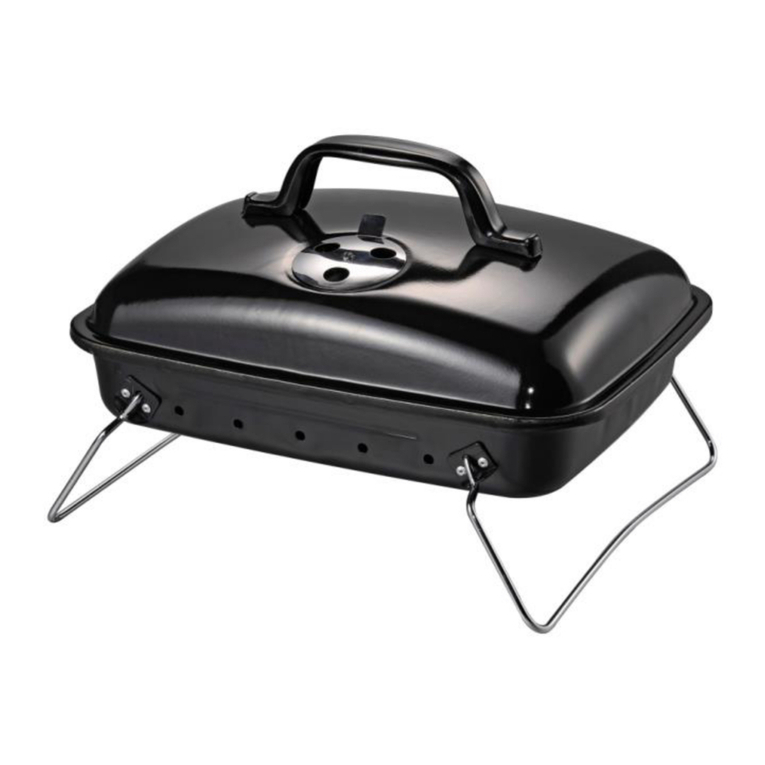
Mercury 799.046UK User manual

17 Inch Kettle Charcoal Grill
Item ref: 799.046UK
User Manual
Assembly and Safety Instructions
-FOR OUTDOOR USE ONLY -

2
IMPORTANT SAFEGUARDS
Definitions
Whenever used, the following identify safety and property
damage messages and designate a level of hazard seriousness.
- This is the safety alert symbol. It alerts you to potential personal
injury hazards. Obey all safety messages that follow this symbol to avoid
possible injury or death.
DANGER –Indicates a hazardous situation, which, if not avoided, will result
in death or serious injury. Usage of this signal word is limited to the most
extreme situations.
WARNING –Indicates a hazardous situation, which, if not avoided, could
result in death or serious injury.
CAUTION –Indicates a hazardous situation, which, if not avoided, may
result in minor/moderate injury or product/property damage. It also alerts
against unsafe practices.
NOTICE –Addresses practices not related to personal injury, such as
product and/or property damage.
READ ALL INSTRUCTIONS
BEFORE USE.
DANGER- To avoid an explosion, serious personal injury, or
death:
⚫Do not use this product near explosive or flammable materials (e.g.,
gasoline, paint, vapors, flammable liquids, or dry vegetation).
⚫Never use this product indoors or in an enclosed area. Burning charcoal
gives off carbon monoxide, which is toxic to humans and pets.
⚫Do not store liquid propane (LP) containers near this product.
⚫Never use as an indoor heater.
⚫Do not store or use gasoline or other flammable materials, vapors, or
liquids in the vicinity of this product.

3
WARNING- To reduce the risk of fire or serious personal injury:
•Use of alcohol or prescription/non-prescription drugs may impair the
user’s ability to properly assemble or safely use the product. Do not use
this product if you are under the influence of alcohol or
prescription/non-prescription drugs.
•This product is not intended for use by children. Extreme caution and
close supervision are necessary when using this product near children
and pets. Children and pets should be kept at least three feet from the
product when it is in use or still hot from use.
•Do not leave the product unattended while it is in use or until the fire is
extinguished.
•Always place the product outdoors in an open, well-ventilated area on a
flat, level, stable, heat-resistant surface. Never place the product under
a balcony, on a wooden deck, under or near trees, rooflines, or any
other surface that may be damaged by heat or smoke.
•Never use this product during winds exceeding 15mph or severe weather
conditions.
•Do not move the product when it is heated or in use. Allow the product
to thoroughly cool before moving, handling, cleaning or storing it.
•Use only charcoal briquettes with charcoal lighter fluid, or pre-soaked
charcoal briquettes to initiate use of the product. If using charcoal
lighter fluid, add it before lighting the charcoal. Never use lighter fluid
on a fire or on embers.
•Do not touch hot surfaces. Always wear protective, heat-resistant, non-
flammable mitts/gloves when lifting the lid by the handle or
adding/removing food from the cooking grid.
•Do not reach into an open flame. Do not allow clothing, hair or body
parts to contact an open flame.
•Do not allow clothing, hair or body parts to contact a hot surface or a
hot coal.
•Do not use this product in or near recreational vehicles, including boats.
•Use with care when lighting the coals, as flames may rise quickly. Keep
face, hair and clothes away from the flame.
•Do not repaint the product.
•Do not build large fires in this product. It is intended for small to
medium fires only.

4
CAUTION- To reduce the risk of personal injury:
•This product is intended solely for outdoor, non-commercial, non-
industrial use in cooking foods for human consumption. Do not use the
product indoors or for any other purpose.
•Do not use attachments not recommended or sold for this product by the
product manufacturer.
•Always use heat-resistant utensils with the grill.
•Inspect the product before each use for wear and tear and loose
hardware. Tighten any loose nuts or bolts.
NOTICE- To avoid product/property damage:
•Water may be used to extinguish coals, but do not put water in or on the
product while it is hot. Always make sure coals have cooled and do not
glow with heat before extinguishing them with water.
•Do not use the product near surfaces that may be damaged by heat,
including walls, patio furniture, tents and plants.
SAVE THESE INSTRUCTIONS FOR
FUTURE REFERENCE

5

6
To Assemble:
Tools required (not included): wrenches (7mm or 9/32”, 8mm or 5/16”,
and 13mm or ½”), small and large Phillips screwdrivers.
1. Attach the Vent to the Lid (see Fig. 1):
a. Align the holes in the Vent (H1) with the
holes in the Lid (A).

7
b. Insert the Bolt (N) through the Vent and Lid. Tighten the Nut (O)
onto the Bolt (N). Hold the Bolt in place using a small Phillips
screwdriver and tighten the Nut using a wrench.
2. Attach the Handle and the Lid Hanger to the Lid (see
Fig. 2):
a. Align the holes in the Lid Hanger (L) with the holes
in the Lid. Insert the Bolts (S) from the Handle
through the Lid and the Lid Hanger (L).
b. Tighten the Nuts (0) onto the bolts (S).
3. Attach the Handles to the Bowl (see Fig. 3):
a. Insert the Bolts (T) of the Side Handles (M2)
through the corresponding holes in the Bowl.
b. Tighten the Bolts (T) onto the Bowl (B) and
the Side Handles (M2).
4. Attach the Vent to the Bowl (see Fig. 4)
a. Align the hole in the Vent (H2) with the hole in
the Bowl (B).
b. Insert the Bolt (N) through the Vent and Bowl.
Tighten the Nut (O) onto the Bolt (N). Hold the
Bolt in place using a small Phillips screwdriver
and tighten the Nut using a wrench.
5. Attach the Cups and Legs:
NOTE: Do not completely tighten the Bolts at this stage.
a. Determine where to attach the Front and Back
Legs.
b. Place a Cup (K) onto a Leg with the opening of the
Cup facing away from the Leg.
c. Slide a Washer (R) onto a Bolt (Q).
d. Insert the Bolt with Washer through an appropriate
hole in the Bowl and partially tighten it into the
Leg.

8
e. Repeat steps b. and d. for the remaining Cups and Legs.
6. Attach the Wire Shelf and the Wheels (see Fig.6):
a. Insert the short prongs of the Wire Shelf (J) into the holes in the
Front Legs (F).
b. Make sure the flanges of the Back Legs (G) face the Wire Shelf and
insert the prongs of the Shelf through the flanges.
c. Insert the Wheels (I) onto the prongs of the
Shelf (J), next to the Back Legs (G).
d. Tighten a Nut (P) onto each side using a wrench.
NOTE: Completely tighten the legs Bolts (Q) after
assembling the wire shelf and wheels.
7. Place the assembly upright and tighten the Bolts (Q) securing the Legs.

9
8. Place the Charcoal Grid (D) into the Bowl, crossbars facing down. Follow
with the Cooking Grid (C), handles facing up. Slide the Ash Catcher (E)
into the leg under the Bowl (see Fig. 7).
9. Place the Lid onto the Bowl.

10
To Use:
WARNING:
•To avoid burns, always wear protective oven mitts or non-flammable,
heat-resistant gloves while using the Grill.
•Do not touch hot surfaces.
•Always use heat-resistant utensils with long handles when using the Grill.
1. Place charcoal in a pile on the Charcoal Grid.
2. If using charcoal lighter fluid, add it now before lighting the charcoal.
WARNING: Never use charcoal lighter fluid on a fire or on embers.
3. Carefully light the charcoal. Flames can rise quickly; keep hair, clothes,
face and body away from the flame.
4. When the charcoal turns white around the edges, it is ready for cooking.
Use a heat-resistant utensil with a long handle to spread the charcoal
over the Charcoal Grid. Add the Cooking Grid using its handles.
5. Place the food to be cooked onto the Cooking Grid.
6. Add or remove the Lid as desired. The Lid Hanger is for hooking the Lid
onto the Bowl when not using the Lid.
7. Use the Vent to adjust the heat of the coals. Opening the Vent allows
more oxygen to get to the coals, causing them to burn hotter and faster.
Closing the Vent limits the oxygen to the coals and lowers their
temperature, causing them to burn longer, but not as hot.
8. When finish cooking, remove the food with your utensil. Allow the Grill
to cool completely and then discard the ashes.
9. Clean as described below after every five uses.
Care and Maintenance
WARNING: To avoid a possible burn hazard, allow the Grill to completely
cool before relocating or cleaning it.
CAUTION: Inspect the Grill regularly for loose Bolts and Nuts, tightening
them as necessary.
NOTICE: Do not use abrasive cleaners or solvents to clean the Grill.
•Clean the Cooking Grid, Charcoal Grate, Bowl, and Lid with a sponge,

11
warm water, and a mild soap. Wipe the remaining parts with a damp
sponge.
−To remove baked on debris from the Grids, soak them for about 15
minutes in warm water. For the assembled Bowl, pour warm water
into it and let it soak. Then use the scrubbing side of a sponge.
−If needed, a heavy-duty scrubbing pad can be used on the Grids only.
Do not use harsh pads on the Bowl to prevent scratches to the finish.
−Dry all parts after cleaning them.
•Store indoors or in a sheltered outdoor location when not in use.
Rust on Metal Finishes:
Rust and corrosion are unavoidable when metal products are used outdoors.
All metal will rust or corrode in some manner over time with exposure to the
elements. To help prevent rust and corrosion:
•Keep the product out of rain and other inclement weather as much as
possible.
•Avoid causing nicks in the metal where corrosion or rust may form.
Errors and omissions excepted.
Copyright© 2019. AVSL Group Ltd.
Table of contents
Other Mercury Grill manuals
Popular Grill manuals by other brands

Buccan
Buccan Camden Compact Burner quick start guide

Crux
Crux Artisan 17195 Instruction Manual and Recipes

DeLonghi
DeLonghi BQ 100 instruction manual

Steba
Steba PS E2600 XL Instructions for use

Kirkland Signature
Kirkland Signature 2327661 Installation Instructions and Use & Care Guide

cecotec
cecotec ROCKNGRILL 1000 instruction manual

Inoksan
Inoksan PERFECT 700 Series instruction manual

The Flying Culinary Circus
The Flying Culinary Circus FCC BBQ Pizza Chef FCC-G-22560-00 user manual

Lynx
Lynx ALL-TRIDENT L30ATR Care & use/installation

BOSKA
BOSKA Party Pro instructions

Star
Star CG14ITGT Specification sheet

Kingsford
Kingsford 10040406 Assembly, care & use manual