Metal Fab Logaire Technical manual

Manufactured in New Zealand
Metal Fab Industries Ltd
PO Box 58-473
Greenmount
Auckland
Www.metalfab.co.nz

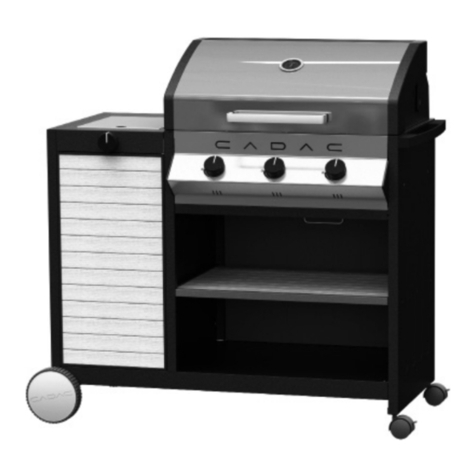
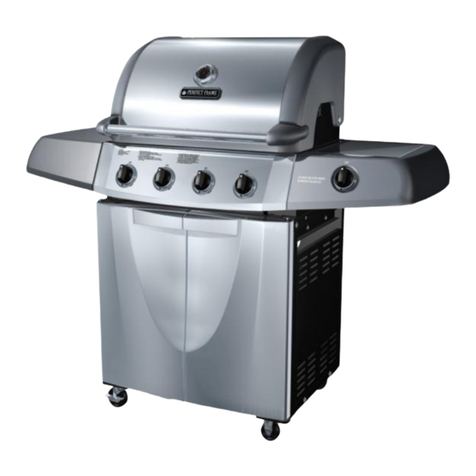
LOGAIRE STAINLESS STEEL BBQ
2,3 & 4 Burner Models
IMPORTANT—Please read all instructions before using the BBQ.
BBQ Assembly Instructions
STATUS NOTE: If this BBQ has been converted to be used on mains sup-
ply natural gas only then under no circumstances should it be run on LPG
supply. Date Converted:-____________by____________________________.
List of Tools required for assembly —
• Screwdriver
• Spanner
BBQ Components
Body, Lid & Handle, Rock Tray (if Cast Iron) Control Knobs, Drip Tray-kob &
bolt, 4 Castors with Stainless Steel Trolley.
BBQ SS or Cast Pack
Plates, Grills, Burners, Volcanic Rock (if Cast Iron), Hose & Regulator, flame
tamers (if SS Pack).
1. BBQ Castor wheels screw onto bottom of Stainless Steel BBQ legs.
2. Screw handle onto lid. Lids are sometimes plastic coated. Please re-
move this if applicable.
3. Fit burners. Place the throat end of the burner over the gas cock and
locate the other end into the hole on the back bracket of the BBQ
body.
4. Place rock tray in the frame with one layer of volcanic rock. The rock
needs to be underneath the grill section only (for cast iron pack only).
5. Screw small black knob onto front of stainless steel drip tray. Line
tray with foil and a layer of sand or extra sorb. This will aid in soaking
up fat. Change foil regularly.
6. Push knobs (on/off) on to gas cock taps.

7. Place cast iron plate on the left hand side and grill on the right hand side
above volcanic rock tray. (cast iron pack only). The cast iron burners will
just fit in place using locator holes for burner to sit in. (For SS Pack only)
— place burners in place (screw in at back of BBQ — screw/washer pack
provided). If your BBQ came with S/S cookware it includes flame tamers.
These are positioned above each burner. The two locating tags on each
tamer locate in the notches on the rear support angle. There are 3 types
— left hand, right hand and center. No.2’s have one left and one right.
No.3’s have one left, one right and one center. No.4’s have one left, one
right and two centers.
Installation Instructions—Spanner tighten all gas fittings
1. Check gas type and make sure your appliance is the correct model (I.e.,
natural gas ( ) LPG gas ( ).
2. Read the important instructions on the rating plate located on the front of
the BBQ.
3. The BBQ must be located on firm and level ground. Be sensible about the
location of your BBQ.
DO NOT LOCATE NEAR COMBUSTIBLE MATERIALS OR SURFACES EITHER
ABOVE OR AROUND THE BBQ.
Minimum Top Clearance Allow 800mm
Minimum Side Clearance Allow 500mm
Minimum Rear Clearance Allow 500mm
The BBQ is intended for outdoor use only.
WARNING — do not use indoors or on marine craft.
4. For LP gas connections, an approved 2.75 regulator and hose (supplied)
must be attached to the gas cylinder and the appliance. The appliance
inlet is 1/4 BSP male.
5. For permanent connection to natural gas an authorized person in accor-
dance with these instructions, local gas fitting regulations, municipal
building codes, the AGA installation code and any other relevant statutory
regulations must be employed. For connection to a natural gas bayonet
fitting, a gas regulator must be fitted at the inlet of the appliance and an
approved natural gas hose going from the gas regulator to the bayonet
point.
6. Once connected check for leaks by turning on gas supply and applying
soapy water to the exterior of the connections. If bubbles appear you
have a leak which must be fixed before lighting the BBQ. Check the con-
nection in question and once tightened then test the connection again. If
the leak is still present then contact your nearest dealer.
WARNING — do not use a naked flame to locate a leak.

Check the pressure of the regulator and adjust if necessary. The burn
ers must have a blue flame. The adjustment screw is found on the
throat of the burner, visible when viewed from under the BBQ. If the
BBQ cannot be adjusted correctly DO NOT USE THE APPLIANCE AND
CONTACT YOUR NEAREST DEALER.
Note: For alternative types of installation contact your nearest Dealer.
7. The intended use of this BBQ is to be set into brickwork or alterna-
tively to be set in a trolley so that the sides of the BBQ are protected.
8. The minimum LPG cylinder capacity is 4KG for this appliance.
Operating Instructions
1. Remove lid before lighting.
2. Turn all gas controls to the OFF position (clockwise).
3. Turn on gas supply at main/cylinder valve. Push and turn control knob
to high (anti-clockwise). This will ignite the burner. You may have to
do this several times when first starting because air may be in the sup-
ply hose. Once air has gone burner will start every time.
Warning—do not allow too much gas to build up or you could cause a
flash flame.
3a. Lighting with a match—press and turn anti-clockwise the right knob to
the high position and keep pushed in while lighting. Then light the
right hand burner through the gap above the sand tray and the baffle.
Light remaining burners as above (3).
4. Important—Do not force the controls. They will turn easily. Depress
the knob and turn anti-clock wise.
5. Caution. Volcanic rock needs to be burnt-in for a period of approxi-
mately 20 minutes as the rock has aerated and will expand when
heated creating cracking and popping noises. This should only occur
with new volcanic rock.
6. It is unnecessary to run the BBQ on high for long periods. Once the
plates, grills and volcanic rocks are hot turn down to simmer. If the
BBQ is not operating correctly, do not continue to use it. Take it back
to the shop you purchased it from for testing and repair.
7. After use turn off the bottle control valve and all burners.
CLEANING—Your new Stainless Steel BBQ can be easily cleaned with your
favourite oven cleaner. Use the same instructions as you would for your
oven.
SERVICE AND MAINTENANCE
1. Change foil in drip tray when necessary. Do not let fat fill up tray or it
may ignite.
2. BBQ should be cleaned regularly with hot soapy water. (Cast iron
should only be cleaned with cooking oil).

3. Grease or oil control valves every six months to avoid seizing up of
valves. Pull off knobs — use sewing machine oil or WD40.
4. Do not attempt to dismantle control valves or regulator.
5. Control valves, regulators, burners, volcanic rock can all be bought in
most BBQ retail outlets. Please ensure only correct components are
used for replacements.
6. Cast iron burners may need removing and cleaning regularly as food
and grease can block portholes. Also look for soot build up around
the gas burners and valves. Check if the flame colour is burning yel-
low and adjust the screw found on the throat of the burner. The flame
should be blue. Cast iron burners should last five years approxi-
mately.
7. Check hose for leaks or perishing regularly. If you smell gas turn off
the appliance and check all connections with soapy water.
8. Don’t leave the lid on BBQ when lighting and don’t replace lid until
BBQ is cold.
9. It is not necessary to run the BBQ on high for long periods. Once the
plates and grills are hot turn it down to simmer.
10. If you cannot operate the BBQ correctly turn it off. Do not continue to
use it. Take it back to the place of purchase and get them to test and
repair it. We recommend you get your appliance tested every two
years from an authorized dealer.
11. Special Clause: Stainless Steel can be affected by heat which may
cause discolouration on the BBQ frame. See ‘IMPORTANT’ message
below.
IMPORTANT
When using a Stainless Steel hood caution should be taken not to exceed
225 degrees celcius or damage or BBQ componentry could occur and war-
ranty would be void.

PO Box 58 473
Greenmount
Auckland
Phone 09 274 8265 or Fax 09 287 8472
www.metalfab.co.nz
To be filled in and returned with 30 days of installation and posted to the
above address.
2
3
4
Please specify which size burner above.
Customer Name
Address
Date Purchased
Dealer Purchased From
Warranty is valid for 10 (ten) years on all parts
Except for gas valves and cast iron parts

STAINLESS STEEL SIDE BURNER
If your BBQ came with a Stainless Steel side burner or you have purchased
one it will include a jumper hose to connect the manifold and the side
burner gas control together.
The side burner must be fitted to the right hand side of the trolley. Use the
same screws and assembly procedure as a standard side shelf.
With the burner in place connect the jumper hose to the manifold of the
BBQ and the regulator to the opposite side of the side burner gas control
and check for leaks (with soapy water). SEE ILLUSTRATION BELOW.
Your side burner is now ready for use.
IMPORTANT
COVER MUST BE OPEN AT ALL TIMES WHILE THE BURNER IS ALIGHT.

! !
If you have ordered Stainless Steel burners, grills, etc. you will also receive
flame tamers.
Please see illustration below for easy installation.
NOTE: - Flame tamers with vertical vent outlets go to outside burners. If
you have a 4 burner BBQ the middle two flame tamers are without vertical
vents.
Table of contents
