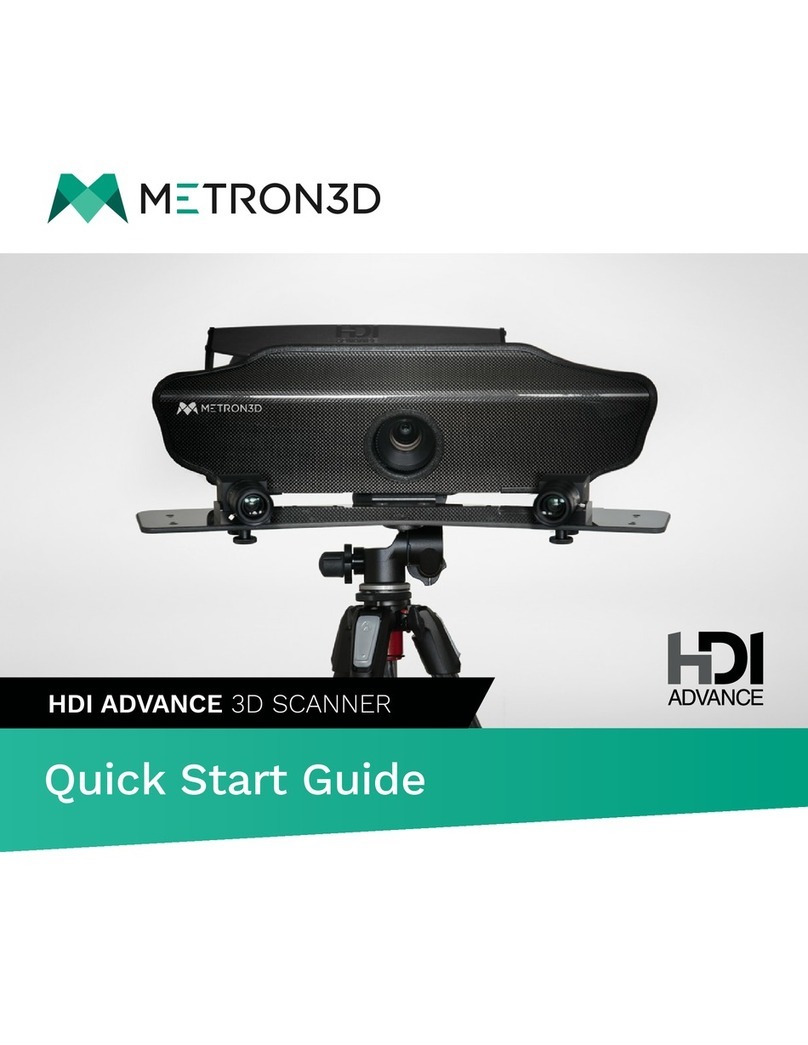
Metron3D E Series User manual

Series
Quick Start Guide

Getting Started with the E Series Scanner
This quick start guide provides you with the resources to get you started on 3D scanning.
The E 3D Scanner comes with:
- Physical capturing unit for capturing 3D data (some assembly is required)
- Note: Users purchased either the regular E series or the E HD which has higher
megapixel cameras for more accurate data acquisition
- Note: These systems are pre-calibrated. Tampering with the lenses, cameras, or
projector will ruin the calibration settings. The unit will need to come back to
Metron3D for a recalibration.
- Scanning software, FlexScan3D
Assembling the Capturing Unit
Instructions for assembly can be found in this Quick Start Guide
Installation of FlexScan3D
Step by step process up through a first initial scan is outlined at the end of this Quick Start
Guide
Computer Requirements for FlexScan3D
- Windows 7 or higher machine
- i7 intel processor
- 16gb of Ram
- 25gb of free memory space
- Nvidia 980 gtx graphics card or comparable or better
Customer Support
If you have any installation issues after following this guide, please contact:
Worldwide
Email: [email protected]
Web: www.metron3d.com
North America
Phone: +1 434 946 9887
1

Congratulations on purchasing the E series Scanner! Here are the steps to set up the capturing
unit for 3D data acquisition. The components delivered are labeled below.
Number
Item
1
Projector, carbon fiber mount, cameras
2
Wiring Harness (HDMI Cable, 2 USB Cables)
3
Lazy Susan
4
USB with resource documents
5
Power Supply
6
Tripod
‘
2

Tripod Setup
Open up tripod legs until they click into place. Twist the foot clockwise until leg unlocks and pull
down one section and twist counterclockwise to lock it again. Repeat for all three legs.
Attach Scanner to Tripod
Carefully lift the scanner up and locate the mount adapter. Gently place the adapter into the
tripod head and screw the red knob until the scanner is secure.
3

Connect the Proper Cables
Locate the back of the projector and plug in the power source and HDMI cables. Locate the
USB cables and feed them through the cable tie attached to the bottom of the scanner. Then
plug them into the back of the cameras and lock down the screws, a small screwdriver may
help.
Once everything is in place secure the cables with the clip in the back by pulling the tab. Locate
the back of the computer and plug the HDMI Cables into the HDMI port (graphics card is
preferable to standard) and the USB cables into USB 3.0 ports (look for the ones with blue
inside). Also plug the power source into a wall outlet. If your computer does not have enough of
the correct ports, please contact us to get set up with a Control Box.
4

Flexscan Installation
Now that the scanner is ready it is time to get the software installed. Start up the computer and
insert the Metron USB from the accessory box. Find the FlexScan installation file and save it
somewhere accessible. When you open the .exe file Windows operating system is going to
identify that it is not a Windows product, select Yes - please allow this program to make
changes to my computer.
Select language of installation and press OK
Agree to terms and conditions then press
Next >
Click Next > four times then click Install
Installation is complete when you decide to
restart the computer by clicking Finish
5

First Scan
Now that FlexScan is installed it is time to get your scanner initialized and ready for its first scan!
Turn on the projector at this point in time and remove the covers on the lenses. Your license
has already been installed onto the scanner so when you open FlexScan it should start with no
problems.
If this dialog appears instead of FlexScan, press
Cancel. Then make sure your scanner is plugged into
your computer first (HDMI and 2 USB 3.0s). If the
scanner is not plugged in the program will not operate.
With everything plugged in try and open FlexScan
again.
Once FlexScan opens select the Scanners
tab
Then press the Import button
A dialog will pop up asking to import it from a
Camera select OK
Next click on the Project tab
6

On the project page select New
Name your project, by default it saves into
your Documents folder. When finished select
OK
Get an object to scan that is in between the size of a cup and a shoe box. Place it
approximately 30 inches away from the scanner in view of the cameras. There are two live
camera feeds on the right side that can help users place the object in the center of the two red
crosses. Make sure to change the Pattern with the drop down menu on the top right to
Focus. When ready press the Scan button on the left hand side.
7

Now users can view the results!
Additional information about the E Series Scanner and FlexScan3D can be found on the
Internet at www.metron3d.com as well as the Metron3D channel on Youtube for video
demonstration and tutorials.
Additional information can also be found on the Metron3D USB drive that came with the E
series Scanner. The USB includes
- This Quick Start Manual
- FlexScan User Manual
- E Series Troubleshooting Guide
- Device Serial Number and License Information
- Calibration File
8
Table of contents
Other Metron3D Scanner manuals
