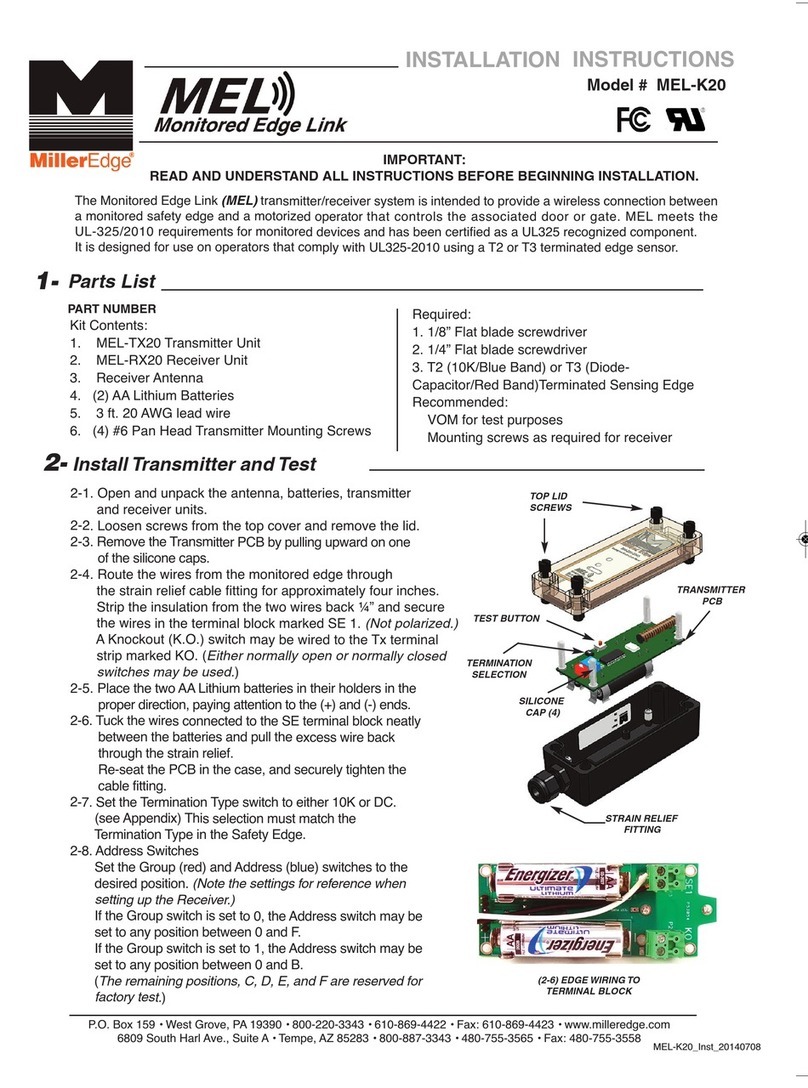
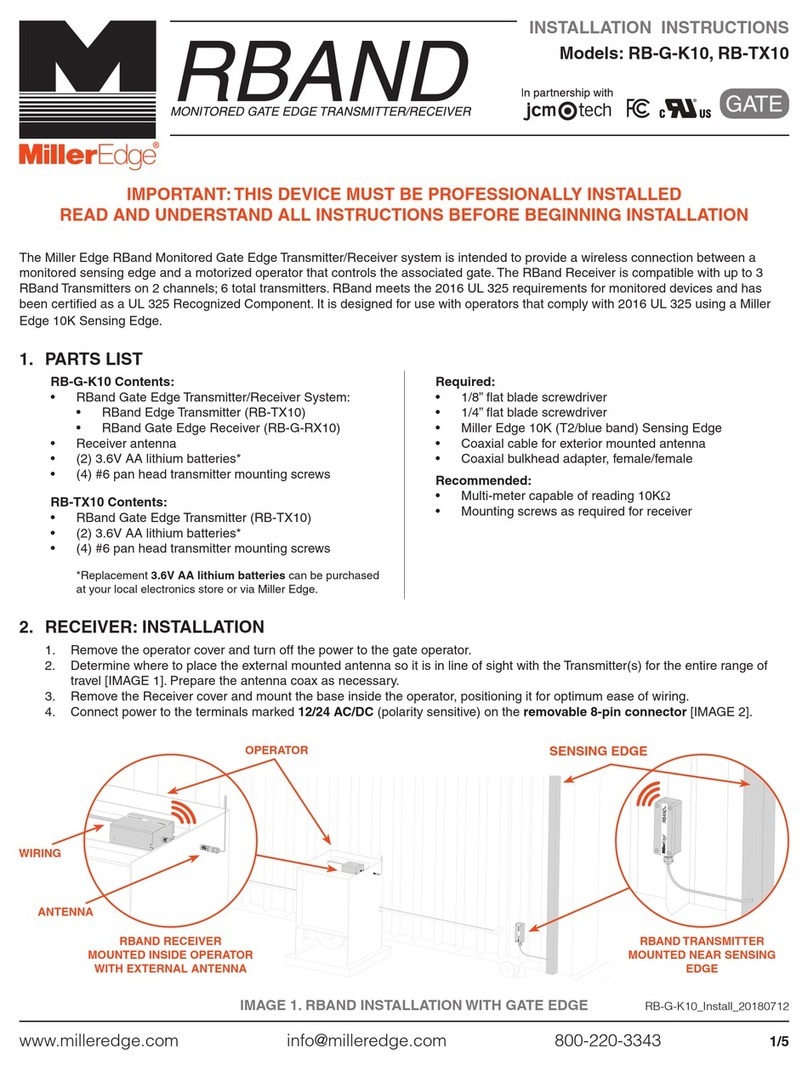
Miller Edge MWT12 Installation guide

FAQ_mwrt12_20131029 Rev 2013_10_29
Page 1 of 3
FAQ – Miller Edge Transmitter and Receiver
Miller Edge Transmitter-Receiver system eliminates the need to
run hard wire from a 2 conductor Sensing Edge to your
operator’s control panel. Aside, from the ease of installation, it
also makes for a much cleaner appearance.
Sensing Edge activation initiates the transmitter to send a
wireless signal to the receiver to stop/reverse the door or gate
movement.
Q. What batteries should I use in the Miller Edge MWT12 transmitter?
A. To assure battery life use size “AA” lithium batteries.
Q. What batteries should I use in the Miller Edge MWTA12 transmitter?
A. To assure battery life use only size “AA” alkaline batteries.
Q. What frequency does the system operate on?
A. 318MHz
Q. Can MWRT12 be used with a monitored Sensing edge?
A. MWRT12 is designed for use with 2 conductor non-monitored Sensing Edges.
For monitored edges, you’ll want to use the MEL Monitored Edge Link transmitter-receiver
system.
Q. Can MWRT12 be used with pre-2010 door operators?
A. Yes.
Q. Is MWRT12 suitable for outdoor use?
A. Yes, the MWT12 transmitter is in a NEMA4 enclosure. For outdoor installations, the MWR12
receiver should be housed within the operator enclosure for water protection and the antenna
should extend outside of the operator to assure range.
Q. What is the difference between your 2 different models?
A. The MWTA12 has a built in low battery alarm, the MWT12 has no low battery alarm.
Q. My MWTA12 is emitting a loud sound, why is that?
A. This transmitter has a low battery detection circuit with an audible alarm. Simply replace the
“AA” Lithium batteries with new ones.
Q. When I compress my edge the gate does stop and reverse, but I do not hear the warning
sound. What is wrong?
A. Nothing. The alarm is simply a low battery warning. It does not sound on edge compression.
Q. The motor is not reversing. All of my LED’s are coming on as they should and I have
checked my wiring. What else could be wrong?
A. Make certain that the coding DIP switches are set identically in the transmitter and receiver.
Take note that each switch has 3 possible settings: + , 0, -.

FAQ_mwrt12_20131029 Rev 2013_10_29
Page 2 of 3
Q. How do I know the transmitter is working?
A. Whenever the transmitter detects the edge to be compressed, it will send a 3 second pulse,
which is evidenced by the green LED lighting on the transmitter circuit board.
Q. My MWT12 is not sending a signal, I am not seeing the green transmitting LED come on.
What could that be?
A. Normally, just replace its batteries with fresh size “AA” type. Typically batteries last at least a
year, but will vary with usage.
You may also test by first removing the connector that is holding your two edge wires from
the transmitter circuit board. Then, press the Test Button on the transmitter circuit board to
see if the green LED lights for 3 seconds and then go off.
Q. My transmitter is not lighting up the green LED? How can I localize the problem?
A. First, check your battery for proper voltage: measure across each batteries 2 terminals with
your meter, looking for approximately 1.5 volts.
Second, try the “test” button: Remove the connector that is holding your two edge wires from
the transmitter circuit board and press the Test Button on the transmitter circuit board to see
if the green LED lights for 3 seconds and then go off. If you don’t see the green LED, this
indicates a defective transmitter.
Third, check the edge wires or the edge itself: check out your edge wires for any cuts or
abrasions. If that looks good, you should next “meter/ohm” out the edge. Connect either
probe of your meter to either edge wire and connect the other probe to the other wire. If your
meter allows, set the Resistance scale to it’s lowest scale (RX1) and compress the edge.
Depending on the edge, you should get a low reading, possibly less than 1 ohm. If that
appears normal, set your Resistance scale to it’s highest scale, if possible, and see if you get
any reading. Essentially it should be an open circuit or a very high reading , 3 megaohms or
higher. If you get a varying reading and or something lower than 3 megaohms, it is indication
that moisture has infiltrated to the interior of the edge. Check the edge again for a tear or
opening, chances are you will find one. The edge will need to be replaced.
Q. My MWT12 batteries seem to be going dead too soon. What can I look for?
A. Believe it or not, it is typically a defective “new” battery. Always keep your fresh batteries in
their original packaging or a suitable container. Never use a battery that’s been floating
around in a toolbox or glove box.
If you are in a cold weather environment, try using a lithium battery instead of alkaline. The
lithium gives better cold weather performance.
Q. Can I mix and match transmitters and receivers with other units on my truck.
A. No, with no known exceptions, you must always match like brands at the same frequency,
together. These units operate at 318MHz, and are only compatible with Miller Edge 318MHz
models.

FAQ_mwrt12_20131029 Rev 2013_10_29
Page 3 of 3
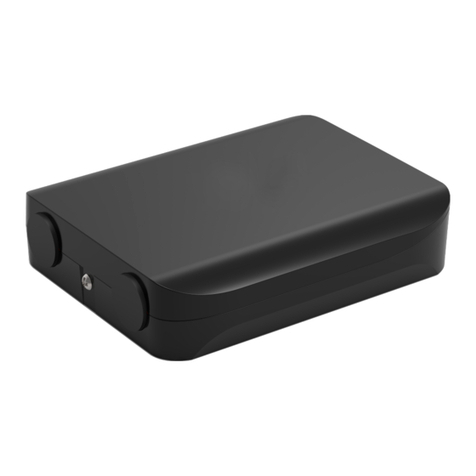
Q. Where should I mount the receiver box?
A. Near the operator’s terminal strip. Mount it where moisture will not infiltrate it. It is not
watertight. Remember the antenna must be outside any metal enclosure. If possible, place it
where no other wiring runs close to it. For example, if high voltage motor leads are off to one
side, try not to mount the receiver to that same side.
Q. There are 6 wires coming out of the receiver box. Where do they go?
A. The red (+) and black (-) wires are your power leads. They connect to your operator panel
terminals that provide the appropriate power. 12-24 V AC/DC.
The green wire is your standard antenna wire. This must be located outside of any metal
enclosure to provide for good signal reception. There is an F-Connector antenna fitting
included on the receiver in the event remote antenna placement is needed.
The white wire will go to your operator’s low voltage common terminal. There are 2 wires
left, you will only use one or the other, not both. If your operator requires a normally open
(N.O.) connection, connect the yellow wire to the operator’s edge/safety/photocell input. If
the operators require a normally closed (N.C.) link utilize the orange wire instead of the
yellow.
Q. How do I know if the receiver is functioning?
A. A green LED lit constantly indicates the unit is receiving power. If no green LED is on, you
need to investigate why. Use your meter to measure the voltage where the red and black
wires attach to the receiver board. If you get no reading, go back to operator to find out why.
If voltage is present, most likely receiver is defective.
When the receiver picks up a signal from the transmitter, a red LED will come on briefly and
turn back off. If you do not get this indication, you first need to determine whether the
transmitter is sending a signal. Be sure your DIP switch settings are identical in the receiver
and transmitter.
Q. Why does my signal reception seem poor or intermittent?
A. Typically, the culprit is low battery strength so you’ll want to test and replace batteries.
Another possibility involves site conditions which can be more involved. For example, there
can be a higher power signal, such as a 2-way radio communication overcoming your
transmitters signal. Anything that uses power is a possible source of interference. This
problem is normally overcome by remote mounting an external antenna kit (ME P/N ANT-
K), which would allow a better signal reception by either elevating the antenna or placing it
closer to the transmitter.
Q. How can I obtain additional support?
A. We’re always willing to help so feel free to contact us at your convenience.
By phone: Eastern US and Canada 800-220-3343
Western US and Canada 800-887-3343
Outside USA or Canada 001-610-869-4422
Website: www.milleredge.com
Email: [email protected]
This manual suits for next models
4
Table of contents
Other Miller Edge Receiver manuals
Popular Receiver manuals by other brands
BURK Technology
BURK Technology RX-4 user manual

Panasonic
Panasonic SAHE9 - RECEIVER operating instructions

Hollyland
Hollyland LARK MAX user manual
Hallicrafters
Hallicrafters SX25 Operating and service instructions
RTI
RTI EBOT MAZE Operations & installation guide
Carson
Carson Reflex Pro 3 Nano quick start guide

APPLIED ACOUSTICS
APPLIED ACOUSTICS MiniPod Operation manual
Hammarlund
Hammarlund SP-400-X operating instructions
Pioneer
Pioneer DEH-X3650UI owner's manual
Hyundai
Hyundai EXCELLENCE H-CMD4013 instruction manual

Imagine communications
Imagine communications OP+OER+S Installation and operation manual
Denon
Denon AVR-X7200W Product guide
