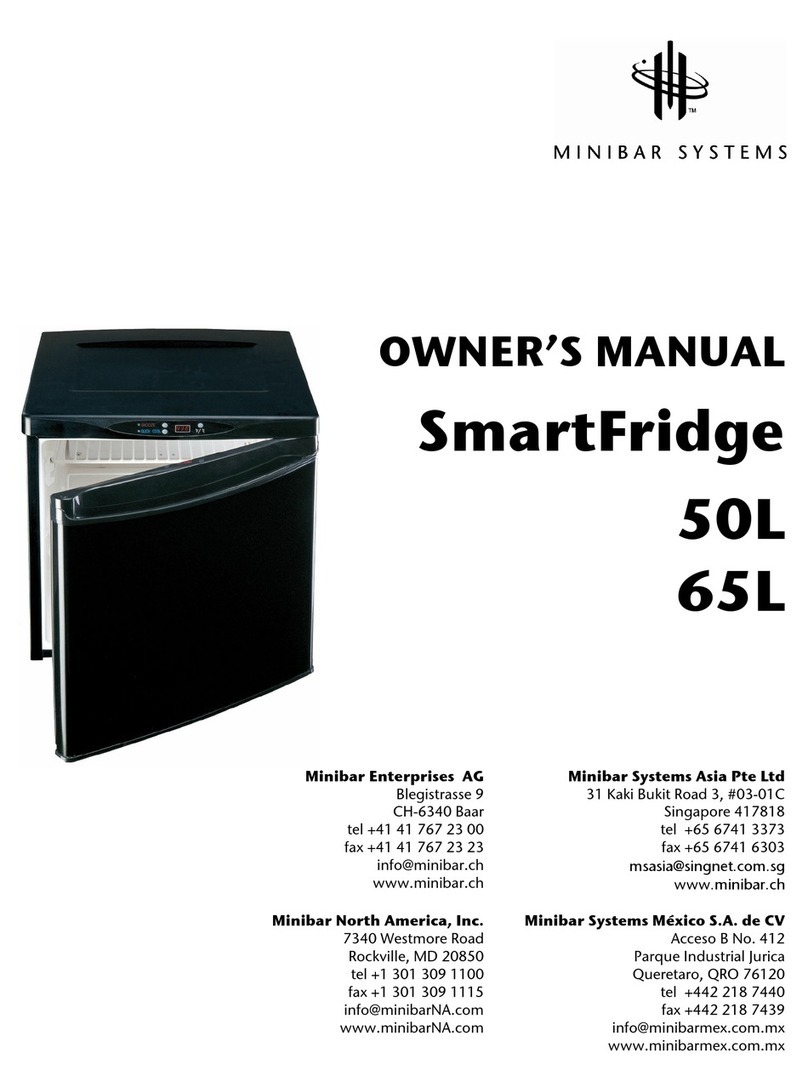
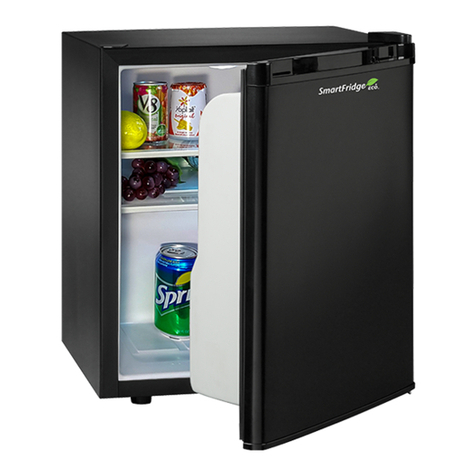
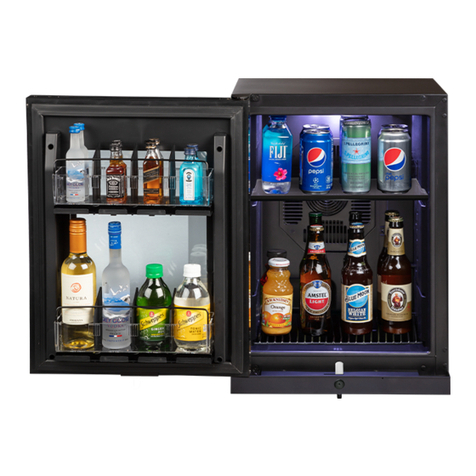
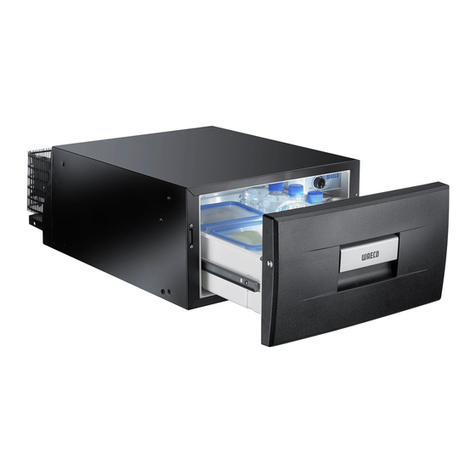
Minibar Systems SMART CUBE SC40T User manual

User Manual
Models: SC40T, SC40TNF, SC60T, and SC60TNF
2023 Page 1
MINIBAR SYSTEMS
USER MANUAL
Operating Instructions and
Safety Precautions
Models: SC40T, SC40TNF, SC60T, and SC60TNF

User Manual
Models: SC40T, SC40TNF, SC60T, and SC60TNF
2023 Page 2
1. Unpacking the SmartCube 4
2. Electrical Safety 4
3. FCC Statement 4
Temperature Regulation 5
Enabling and Disabling Optional Lighting 5
Communications 6
Routine Maintenance and Cleaning 6
Installation Instructions 7
Door Shelf Replacement 7
Door Shelf Installation 10
SmartCube Shelf Replacement 12
Cube Shelf Installation 13
Console Box Replacement 14
Console Box Installation 15
Lock Override Enabled (when electronics malfunctions) 16
Lock Override Disabled (when electronics functions) 17
DualBar Anti-Tilt Bracket Installation 18
SmartCube Anti-Tilt Bracket Installation 23
Use, Safety, Recycling and Disposal 24
Minibar Systems Global Offices 25

User Manual
Models: SC40T, SC40TNF, SC60T, and SC60TNF
2023 Page 3
Important Safety Instructions
WARNING
To reduce the risk of fire, electrical shock, or
injury when using your appliance, follow
these basic precautions:
•Read all instructions before using your appliance.
•DANGER/WARNING: Risk of child entrapment.
•Before you throw away your old appliance, take off the doors and leave the shelves in place so that
children may not easily climb inside.
•Never allow children to operate, play with, or crawl inside this or any other appliance.
•Never clean appliance parts with flammable fluids. The fumes can create a fire hazard or explosion.
•Do not damage the refrigerant circuit.
•Do not store explosive substances such as aerosol cans or use gasoline or any other flammable
propellants or liquids in the vicinity or in this or any other appliance. The fumes can create a fire hazard
or explosion.
•This appliance is intended to be used in household and similar applications such as:
ostaff kitchen areas in shops, offices and other working environments;
ofarm houses and by clients in hotels, motels and other residential type environments;
obed and breakfast type environments;
ocatering and similar non-retail applications.
•When positioning the appliance, ensure the supply cord is not trapped or damaged.
•If the mains power cord is damaged, at any time, it must be replaced by Minibar Systems, its service
agent or similarly qualified person in order to avoid a hazard.
•SmartCube is not intended for use by persons (including children) with reduced physical, sensory or
mental capabilities, or lack of experience and knowledge, unless they have been given supervision or
instruction concerning use of the appliance by a person responsible for their safety. Children should
be supervised to ensure that they do not play with the SmartCube.
•Do not locate multiple portable socket-outlets or portable power supplies at the rear of the appliance.
•To avoid a hazard due to instability of the appliance, it must be fixed in accordance with the
instructions
•Opening the door for long periods can cause a significant increase of the temperature in the
compartments of the appliance.
•Clean surfaces that come in contact with food and accessible drainage systems regularly.
•If the refrigerating appliance is left empty for long periods, switch off, defrost, clean, dry, and leave the
door open to prevent mold developing within the appliance.
•Children aged from 3 to 8 years are allowed to load and unload refrigerating appliances.
-Save these instructions-

User Manual
Models: SC40T, SC40TNF, SC60T, and SC60TNF
2023 Page 4
These Installation Instructions are for guidance for all SmartCube models SC40T, SC40TNF, SC60T,
and SC60TNF units available.
To obtain the best possible performance and trouble free operation for your SmartCube it is very
important to carefully read these instructions before user and observe the important safety information
detailed.
1. Unpacking the SmartCube
•When unpacking the product, check for damage and missing parts. Damage in transit must
be reported immediately to the carriers and your Minibar representative.
•Do not stack SmartCube’s or place heavy objects on top during transit to the guest room.
Heavy objects would include items such as a television, case good, etc.
•Dispose of the packaging in accordance with your local recycling ordinances.
2. Electrical Safety
• Before installation, check the following IMPORTANT items for ELECTRICAL SAFETY and to
obtain the best performance from your SmartCube.
• Before connecting the SmartCube to the mains power wall socket, verify the voltage stated
on the product rating plate (inside the cold cube) is the same as the mains voltage supplied
to the wall socket.
• A standard AC mains outlet plug (socket) with safety ground is provided. The AC mains
supply to the SmartCube must be clean and stable.
• Make sure the mains power cord or any other cables are not trapped under the unit.
• If the mains power cord is damaged, at any time, it must be replaced by Minibar Systems, its
service agent or similarly qualified person in order to avoid a hazard.
• The use of an extension cord is not recommended.
• Do not locate multiple portable socket-outlets or portable power supplies at the rear of the
appliance.
• Minibar Systems cannot be held responsible if these measures are not observed.
3. FCC Statement
This equipment has been tested and found to comply with the limits for a Class B digital device,
pursuant to part 15 of the FCC Rules. These limits are designed to provide reasonable protection
against harmful interference in a residential installation. This equipment generates, uses and can
radiate radio frequency energy, and if not installed and used in accordance with the instructions,
may cause harmful interference to radio communications. However, there is no guarantee that
interference will not occur in a particular installation. If this equipment does cause harmful
interference to radio or television reception, which can be determined by turning the equipment
off and on, the user is encouraged to try to correct the interference by one or more of the
following measures:
•Reorient or relocate the receiving antenna.
•Increase the separation between the equipment and receiver.
•Connect the equipment into an outlet on a circuit different from that to which the receiver is
connected.
•
Consult the dealer or an experienced radio/TV technician for help.

User Manual
Models: SC40T, SC40TNF, SC60T, and SC60TNF
2023 Page 5
Temperature Regulation
• The operating temperature of the SmartCube is subject to many factors: the correct and level
installation, proper ventilation, the internal product load,etc.
• The temperature control box is factory set for optimum performance for the SmartCube.
• For cooling adjustment, the temperature control box can be reset by moving the dial on the
unit – see the Temperature Adjustment Diagram below.
• The box is positioned on the back of the SmartCube.
• The cooling cycle has automatic defrost every 24 hours.
Temperature Adjustment Diagram
The factory setting can be adjusted by rotating the dial.
MAX is for maximum cooling.
SmartCube Sensor Shelf Configuration
SmartCube has interior sensor shelves for both the coldcube backplane and the door rack
backplane. There are three possible shelf configurations for both the coldcube and the door rack
backplanes. Please note that a sensor shelf is required in the top locations of the door and cold
cube.
Coldcube Shelf Configurations
Door rack Shelf Configurations
1.
TOP - MID - BOTTOM
2. TOP - BOTTOM
3. TOP
1.
TOP - BOTTOM1
2. TOP - BOTTOM2
3. TOP
MIN
64.4°F/ 18°C
1
60.8°F/ 16°C
2
55.4°F/ 13°C
MED
50.0°F/ 10°C
3
44.6°F/ 7°C
4
39.2°F/ 4°C
MAX
33.8°F/ 1°C

User Manual
Models: SC40T, SC40TNF, SC60T, and SC60TNF
2023 Page 6
Enabling and Disabling Optional Lighting
SmartCube has an interior lighting feature for all models. The intensity of the lighting is
controlled via the S4 software and can be adjusted from an off position to level 10 as desired. This
is a programmable feature set up during the installation of the SmartCubes at the hotel.
Communications
• Some SmartCube models have the ability to communicate to the Minibar Systems computer
server via an integral modem device.
• Internal data is gathered and then automatically communicated to the server.
• In addition, data can be transmitted to the SmartCube using a wireless hand held unit by the
hotel. This will also be automatically communicated to the server.
• The communications within the hotel will be set up by the Minibar Systems installation team
in coordination with the hotel and their network management team. The appropriate
training will be provided to the hotel personnel.
• For specific details on communication types, refer to the SmartCube Technical Specifications
manual. It is available from your Minibar representative or from the Minibar Systems website.
Note: See the Certification section regarding the FCC Statement for communications.
Routine Maintenance and Cleaning
• It is advisable to clean away any dust from the cooling unit and debris from the ventilation
inlet and exhaust vents, and shelf cutouts.
• For any other malfunction with the SmartCube, contact your Minibar Systems representative
for advice.
• Occasionally, it may be necessary to clean the inside of the SmartCube. It would be best to
do this during a refill operation while the SmartCube is offline for the refill. Alternatively, it
will be necessary to suspend the communications to the bar at the base station server prior
to cleaning.
• It is important NOT to use too much water, strong chemicals, cleaning agents, soap or
abrasive cleaning materials.
• If appropriate, the outside of the SmartCube can also be wiped down using a soft damp clean
cloth.

User Manual
Models: SC40T, SC40TNF, SC60T, and SC60TNF
2023 Page 7
Installation Instructions
These Installation Instructions are for guidance for all SmartCube models SC40T, SC40TNF, SC60T,
and SC60TNF units available.
Door Shelf Replacement
To remove the door-mounted shelf you will need
to first remove the rubber plug on the left side of
the door shelf column that is protecting the un-
used backplane connector.
Free the door racks from the plastic tab locking
features by squeezing onto the sides of the door
shelf column. Lift up on the door rack kit to release.

User Manual
Models: SC40T, SC40TNF, SC60T, and SC60TNF
2023 Page 8
The door rack will now be loose and able to slide
out the upper and lower door rack kit.
Un-screw the right side door shelf column using a
Philips head screw driver and remove the shelf
column.

User Manual
Models: SC40T, SC40TNF, SC60T, and SC60TNF
2023 Page 9
Disconnect door sensor shelf from the backplane
board and the release engagement feature by
sliding door sensor shelf to the right.
Remove the sensor shelves for replacement.

User Manual
Models: SC40T, SC40TNF, SC60T, and SC60TNF
2023 Page 10
Door Shelf Installation
Slide the door sensor shelf (MB-MA-0035) into the
bottom support and connect it to the backpane
Screw the right side door shelf column using a
Philips head screw driver to secure the sensor
shelves.

User Manual
Models: SC40T, SC40TNF, SC60T, and SC60TNF
2023 Page 11
Slide the rack kit between the two door shelf
columns and engage into the side wall locking
tabs.
Install the rubber plug back to cover the un-used
backplane connector.

User Manual
Models: SC40T, SC40TNF, SC60T, and SC60TNF
2023 Page 12
SmartCube Shelf Replacement
Locate the lock bar located on the right side inner
wall of the minibar. Lift up on the locking bar to
unlock the sensor shelves from the backplane.
Slide out sensor shelves carefully and disconnect
from the backplane connectors to replace.

User Manual
Models: SC40T, SC40TNF, SC60T, and SC60TNF
2023 Page 13
Cube Shelf Installation
Connect dividers (MB-PP-0005 and PULF0015) to the sensor shelves. Once assembled onto sensor
shelf (MB-MA-0034) slide the sensor shelves in the slots of the cube to connect onto the backplane
connectors.
Push down on the lock bar to secure shelves onto
the backplane frame.

User Manual
Models: SC40T, SC40TNF, SC60T, and SC60TNF
2023 Page 14
Console Box Replacement
Switch off the Console Box power supply unit and
then disconnect all cables from it.
Un-Screw the Console Box from the back of the
SmartCube by removing three Philips head
machine screws.

User Manual
Models: SC40T, SC40TNF, SC60T, and SC60TNF
2023 Page 15
Console Box Installation
Mount the Console Box to the SmartCube back using 2
Round Philips Head screws (MB-NP-0027) and 1 Flat
Philips Head screw(MB-NP-0029).
Connect all cables back according to the wiring diagram
and then swith on the power supply unit.

User Manual
Models: SC40T, SC40TNF, SC60T, and SC60TNF
2023 Page 16
Lock Override Enabled (when electronics malfunctions)
Open the lock cover by removing the Philips
Head screw using a screw driver.
Press the override pusher head down and rotate
by 90 degrees in a clockwise direction to release
the E-lock function.

User Manual
Models: SC40T, SC40TNF, SC60T, and SC60TNF
2023 Page 17
Lock Override Disabled (when electronics functions)
Press the override head down and rotate it by
90 derees in the counter clockwise direction to
release the locking bar to resume E-lock
function.
Screw the anti-tamper cover back ono the
SmartCubes lock override to prevent
unauthorized access.

User Manual
Models: SC40T, SC40TNF, SC60T, and SC60TNF
2023 Page 18
DualBar Anti-Tilt Bracket Installation
Make a case good per the
specified dimensional
drawing for proper
ventilation. (Reference to
the dimensional drawings).
Fix the rear anchor bracket
onto the case good using
the gauge template or refer
to the dimensional
drawing for mounting
locations.
Screws (MB-NP-0023)
packed in accessory back
along with the bracket
(MB-MP-0023).

User Manual
Models: SC40T, SC40TNF, SC60T, and SC60TNF
2023 Page 19
Make sure the IEC power
cord is connected to the
SmartCube and then push
the SmartCube SC-40T into
the cabinet against the rear
anchor bracket.
Connect the other end of
the IEC power cord (MB-
CA-0016) to the
SmartCube GuestFridge
27L.
Slide the 27L GuestFridge
into the case good.

User Manual
Models: SC40T, SC40TNF, SC60T, and SC60TNF
2023 Page 20
Adjust both the SmartCube
and the GuestFridge unit’s
locations to align with the
center of the case good
and then fix the units onto
the casegood using two
screws.
To mount the units to case
good, open doors and the
bracket is located on the
bottom lip of the cold
cube.
Screws(MB-NP-0026)
packed in accessory back
along with the bracket.
This manual suits for next models
3
Table of contents
Other Minibar Systems Refrigerator manuals

Minibar Systems
Minibar Systems GuestFridge Slim User manual

Minibar Systems
Minibar Systems SmartFridge 65 User manual

Minibar Systems
Minibar Systems SMARTCUBE SC-40T User manual

Minibar Systems
Minibar Systems PT-27NFA Operation manual

Minibar Systems
Minibar Systems SmartFridge 50 User manual

Minibar Systems
Minibar Systems Primo XC-30-1 User manual

Minibar Systems
Minibar Systems SmartFridge User manual