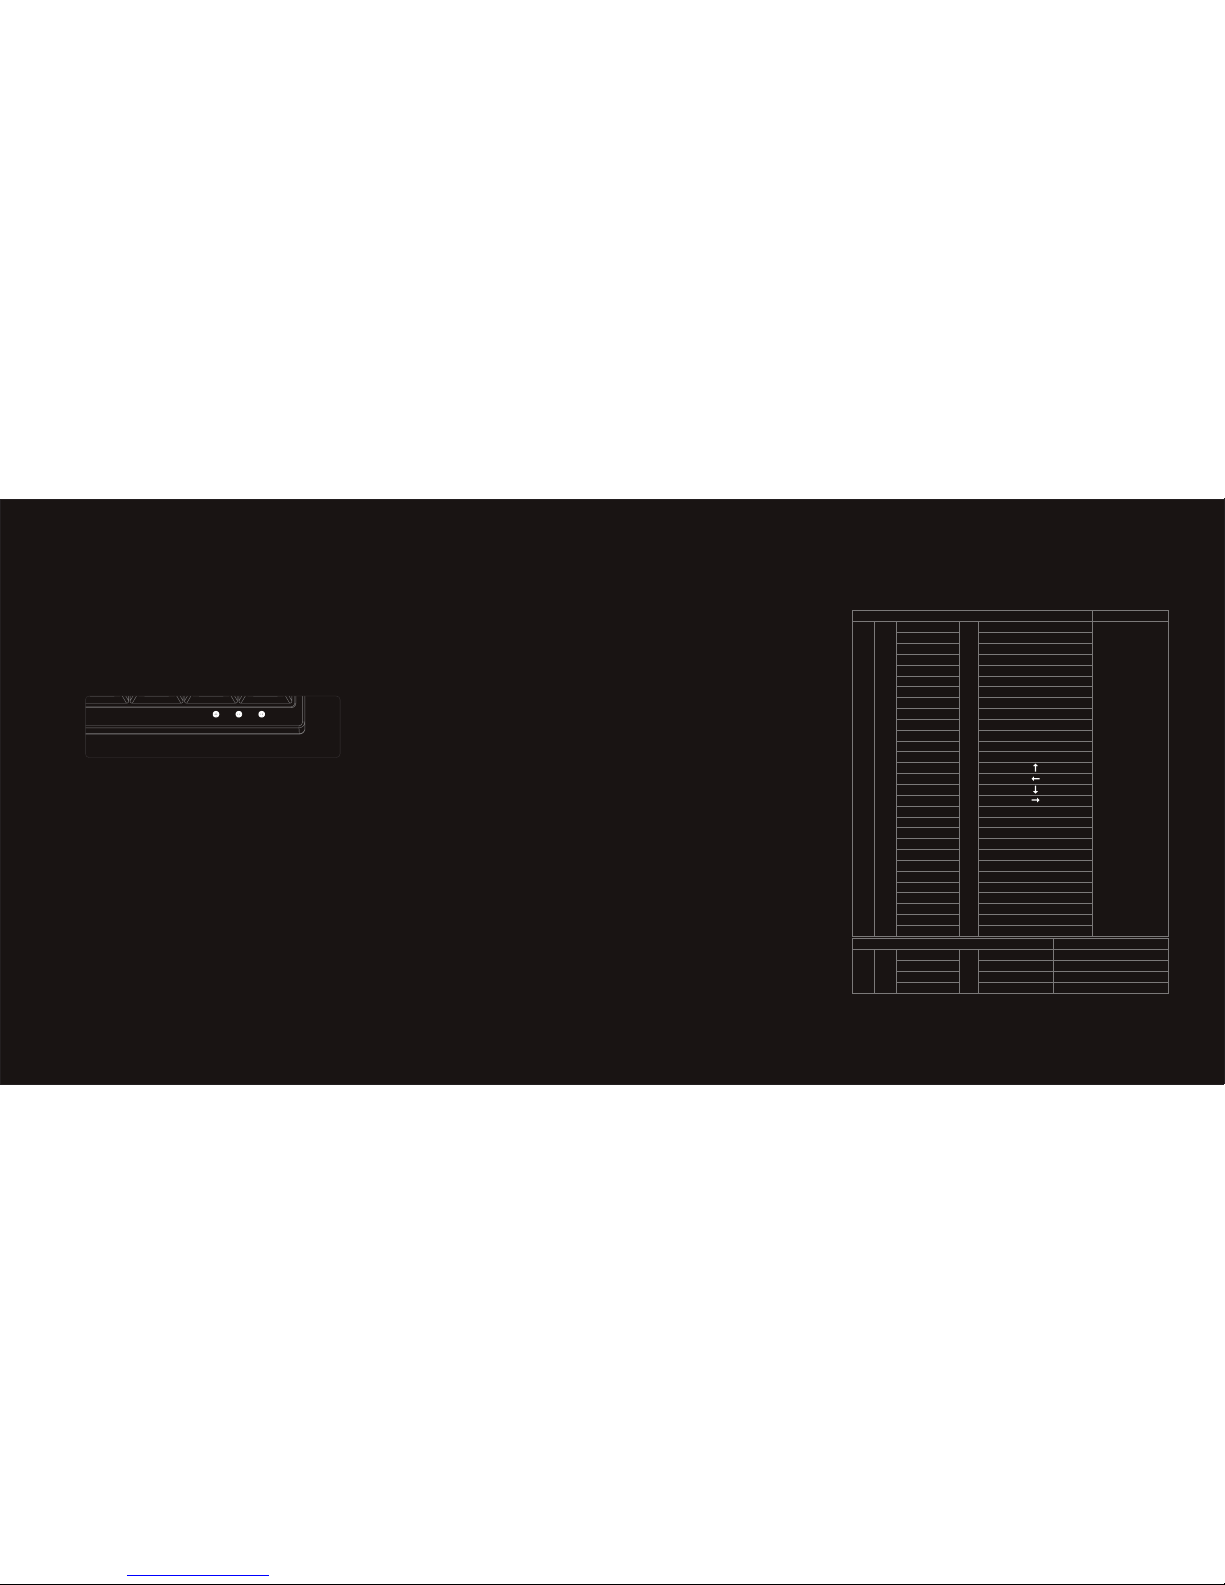
Programming Instruction
(LED1/LED2/LED3 as shown in the picture)
1 2 3
Note:
The Barocco has 4 built-in layers. The default layer cannot be programmed,
only the layers 1,2 & 3 can be programmed.
Choose the layer you want to customize (FN + <, > or ? key)Step 1.
Press FN + Right CTRL to enter the programming mode (LED3 lights Step 2.
up in Blue color)
Press the key you want to program (LED3 ashes in Blue color)Step 3.
Key in the programming sequence and then press PN (LED3 lights Step 4.
up in Blue color again)
Step 5. Repeat step 3 and step 4 to program other keys.
Press FN + Right CTRL to exit programming mode ( Light off LED3)Step 6.
More:
.Support FN layer programming, you can select the FN combination key
(e.g., FN + A) to program it.
.Support time delay, press 15ms key (FN + T) each time to delay 15ms,
press 0.1s key (FN + G) each time to delay 0.1s, press 0.5s key(FN + B)
each time to delay 0.5s. Consecutive delay will add up but will only be
counted as 1 key stroke.
.Every key can program up to 32 key strokes.
.If there is no key pressed for 15 sec in programming mode, it will go to
normal mode.
Choose a different layout
Press Fn+A to choose between QWERTY, DVORAK or COLEMAK
Reset your keyboard or macro keys
1. If you want to reset one layer please choose between the layers 1, 2 or 3 and
press Fn+R
Keyboard setting
1. Please use the Micro USB cable to connect the right and left side of the
keyboard rst.
2. Please use the Mini USB cable to connect the right side of the keyboard to
your computer
3. The right side is the « master » side, this one must be plugged to both your
computer and the left side if you want to access the programming features
on both halves. The left side of the keyboard can be used alone (connected
to your computer but not to the right side of the keyboard) but this
conguration doesn’t allow you to use the programming features.
Note that you cannot use the entire keyboard if the left side is directly
connected to your computer. If the left side is connected to the right side and
the left side connected to your computer, only the left side will work.
Note:
Press Fn + A to switch to a different layout
The LED1 indicates which layer is being used
Bright Blue LED1: Dvorak
Bright Green LED1: Colemak
LED1 light off: Qwerty
FN
FN action keys
FN General keys Remark
+Key code change
ESC
1
2
3
4
5
6
7
8
9
0
- _
= +
I
J
K
L
P
[ {
] }
Z
H
N
U
O
Backspace
“ ’
; :
A
`
F1
F2
F3
F4
F5
F6
F7
F8
F9
F10
F11
F12
PrtSc
ScrLk
Pause
APP
Home
End
PgUp
PgDn
Del
Del
Ins
Layout Type Change(cycling)
=
FN
Switching Layer
+
M
< ,
> .
? /
Default
Layer 1
Layer 2
Layer 3
=
Remark
LED2 is off
LED2 is lit in bright Red
LED2 is lit in bright Green
LED2 is lit in bright Blue
2. If you want to reset all macro keys from all layers, press the 2 Alt keys for
3 seconds, the keyboard will go back to original factory settings
Remapping of Fn or Pn
(You can’t change Fn and Pn positions in the default layer)
1. Press the Fn + left shift for 3 seconds (Red LED ashes)
(For the PN key, Pn + left shift for 3 seconds, Green LED will ash instead)
2. Press the Fn key.
3. Choose a new position on the keyboard
4. End
(It’s the same process when you want to change the PN key position.)
Remapping Fn to Capslock
1. Choose Layer 1~3
2. Press the Fn + Left shift (Red LED ashes)
3. Press Fn key
4. Press Capslock
5. Your original Fn key is now the WIN key and Capslock is now the Fn key
Additional operations/functions
1. You can save left side keys to the Right side of the keyboard when you only
operate the right side (note that you can only save those keys within the layers
1 ~ 3).
2. By pressing Win + Right Alt + Right space bar, the right Shift/Fn/Pn/CTRL keys
will become the new arrow keys
Remark
1. You can’t move Fn key to right Ctrl/right Shift/Left shift
2. In Fn layer, you can’t do macro on T/G/B/M/</ >/?/Pn/Right Ctrl
LED Backlit specication (Only for RGB keyboard version)
PN+ESC=Color Palette
PN+F1= adjust Red color
PN+F2=adjust Green color
PN+F3=adjust Blue color
PN+F4=Change LED mode
Light up
Reactive mode in Single color
Reactive mode in RGB color
Ripple mode in Single color
Ripple mode in RGB color
Aurora mode in Single color
Aurora model in RGB color
PN+F5=Change LED mode
RGB Rain Drop
Light up in Single color
RGB Breathing mode
RGB Wave mode
PN + F9= Single key color
PN + F10= Single row color
PN + - = Display the customized single key
PN + + = Display the customized single row
PN+V= reduce brightness
PN+C= Increase brightness
PN + > OR < = Adjust LED light speed
PN+> OR < Adjust speed in lighting brightness