5
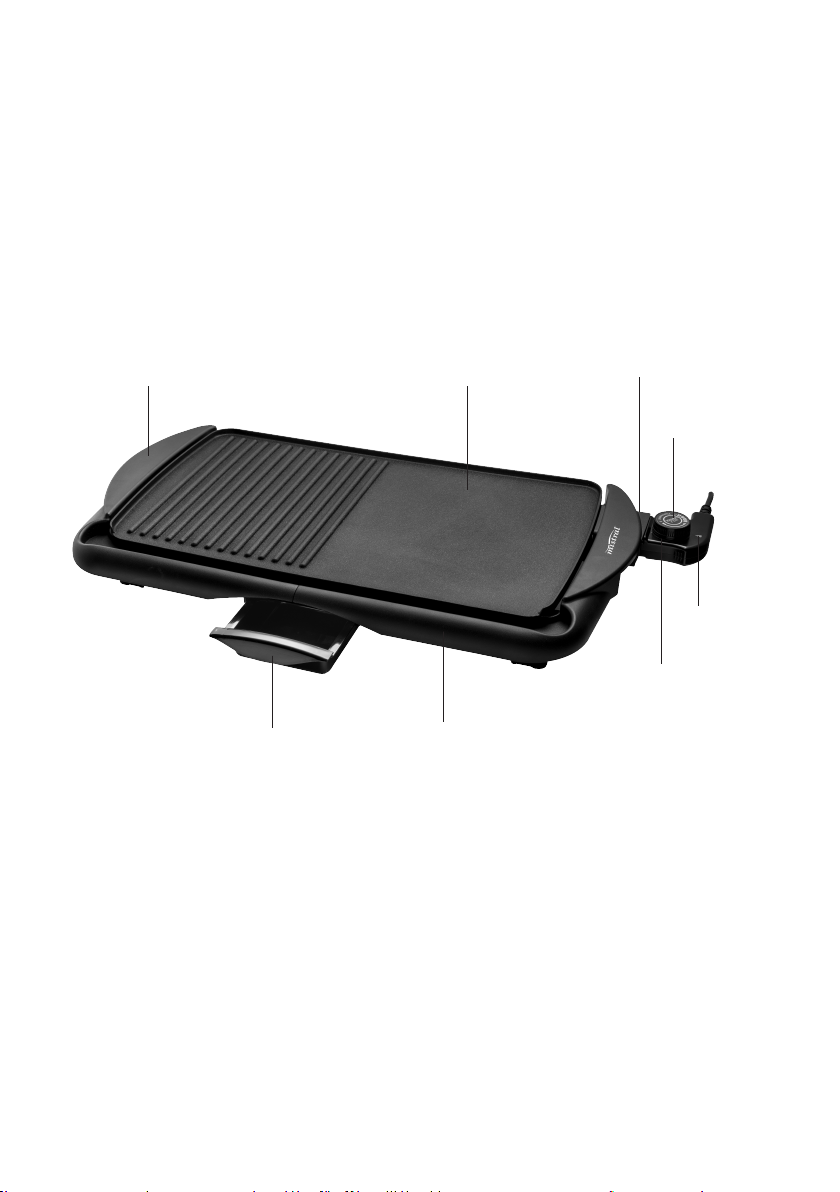
Geing to Know Your
Teppanyaki and
BBQ Grill
Congratulations on the purchase of your
Teppanyaki and BBQ Grill.
Before using your Teppanyaki and BBQ Grill, it is
most important that you read and follow the
instructions in this use & care booklet, even if you
feel you are familiar with this type of appliance.
Your aention is drawn particularly to the section
dealing with IMPORTANT SAFEGUARDS. Find
a safe and convenient place to keep this booklet
handy for future reference.
This appliance has been designed to operate from
a standard domestic power outlet. It is not
intended for industrial or commercial use.
Before First Use
Before using for the rst time.
Carefully unpack the BBQ grill and remove any
packaging. Ensure all parts are present and
that they are undamaged and in good working
order. Place the unit on a level, dry and heat
resistant surface ready to use. Ensure to read all
instructions carefully and keep them for future
use.
Clean both non-stick cooking plate and the
drip pan with non- abrasive sponge and slightly
dampened cloth, Dry them thoroughly, so they
are clean and free of any manufacturing oils that
may be left on the surface.
1. Before you use your appliance for the rst
time, it should be heated up for about 5
minutes (without ingredients).
2. Slight smell or developement of smoke is
normal and disappears after 1 or 2 heating
cycles. This is not a malfunction of the
appliance.
3. Please ensure that there is adequate
ventilation (e.g. by opening a window).
4. Connect the temperature control unit to the
appliance BEFORE inserting the power plug
into the electrical socket.
5. Make sure that the appliance is on a dry,
leveled, non-slip, heat-resistant surface.
6. Always unplug the appliance from the
electrical socket and allow it to cool down
to room temperature before separating the
temperature control unit from the appliance.
Using the Appliance
There is an oil tray underneath to catch any liquid
produced during grilling. Ensure that the oil tray is
inserted before every use.Excess Liquids will pass
over the grease trough to the drain opening and
into the oil tray. Empty the oil tray often to avoid
overflowing.
Ensure that the appliance stands on a level, dry,
non-slip and heat-resistant surface. The surface
should be grease resistant and easy to clean, as
splashes are not always avoidable.
The power cable must not come into contact with
the hot parts of the appliance.
1. Fit the drip pan inside the base , inserting it
rst under the lock tab in the back of of the
appliance.
2. Place the food for cooking on the non-stick
cooking plate.
3. Turn the temperature regulator all the way in
an anti-clockwise direction to ‘0’ position (so
that the appliance is switched o) before you
connect the temperature control unit to the
appliance.
4. Insert the temperature control unit into the
connecting device, which is located at the
back, right hand side of the appliance below
the handle.
Ensure that the temperature control
regulating dial points upwards, push probe
all the way into the connecting device, then
connect power cord plug into a mains power
outlet.
5. Set the dial on the temperature control unit to
the required heat seing.
Seing Function
1-2 Low heat-for keeping food
warm
2-3 Medium heat-cooking foods
thoroughly
3-4 High heat-for quick cooking
and sealing in the juices
5Very high heat-for browning
foods quickly
6. When the indicator light on the temperature
control unit switches o for rst time, this
means that the required cooking temperature
has been reached and that the appliance is
ready to use.