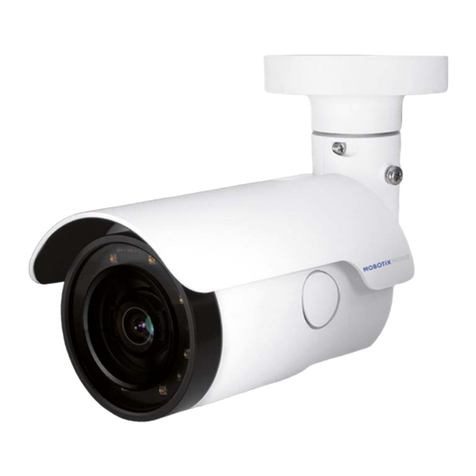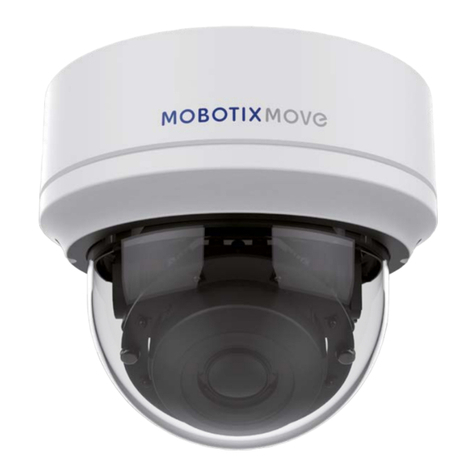
Camera Cabling
Please follow the instructions below for cable connections.
Ethernet Cable Connection (POE)
Connect one end of the Ethernet cable to the RJ-45 connector of the camera, and plug the other end of the cable
to POE capable network switch.
NOTE: Check the status of both power and network activity indicator LEDs. If either LED is unlit, please check the
corresponding connection.
Green Power LED lights up when the camera is powered up.
Orange Network LED (1) ashes when data is being transmitted over network,
(2) lights up for good network connection.
Connection Cable
RJ-45 Cable
No. Connector Pin Denition Remarks
1 RJ-45 –For network and PoE connections
Before Logging Into the Camera
A client program will be automatically installed to the PC when connecting to the camera. Before logging into the
camera, please ensure downloading the ActiveX control is allowed by either changing the ActiveX controls and
plug-ins or setting Internet’s security level to default. For further details, please refer to the User’s Manual.
ActiveX Controls and Plug-ins Settings Internet Security Level
Step 1: Start the Internet Explorer (IE).
Step 2: Select <Tools> from the main menu of the browser.
Step 3: Click on the <Security> tab and select vInternet>, and
click on <Custom level> to change ActiveX settings.
Step 4: Set “ActiveX controls and plug-ins” items to <Prompt>
or <Enable>.
Step 1: Start the IE Internet Explorer (IE).
Step 2: Select <Tools> from the main menu of the browser
Then click on <Internet Options>.
Step 3: Click on the <Security> tab and select <Internet>.
Step 4: Down the page, click on <Default Level> and <OK> to
conrm the setting. Close the browser window, and
open a new one later for accessing the IP camera.
