PAGE 05 BEFORE YOU START
Before You Start
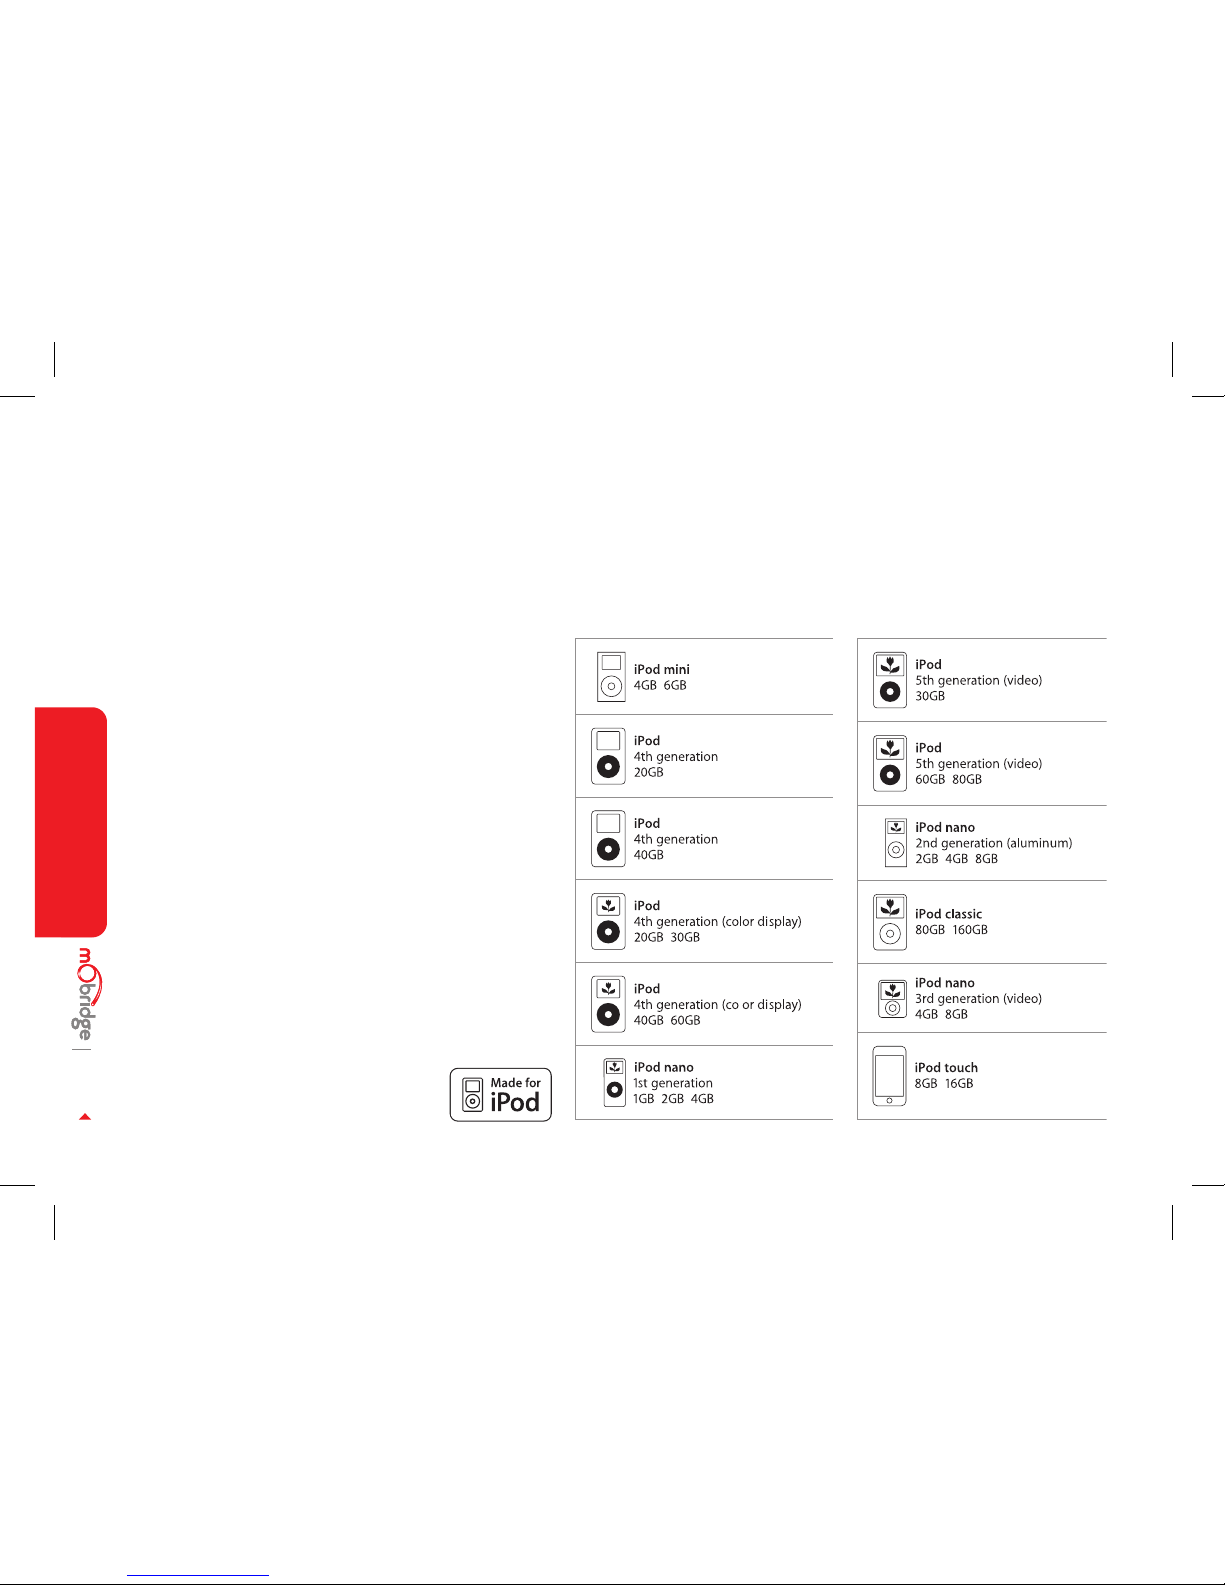
This interface is designed for use with iPod 4th and 5th
generation (including video models), iPod photo, iPod
mini, and iPod nano 1st and 2nd generation units. This
unit allows audio to be routed through the vehical head
unit, and will allow access to music les stored on your
iPod directly through the head unit.
It is highly recommended that your iPod has the latest
version of operating software installed in order to acheive
the best results. This software can be obtained from:
apple.com/itunes
If the vehicle has an existing CD Changer, this interface
replaces the functionality of the existing CD Changer. The
CD Changer does not need to be removed, however it will
no longer operate as part of the factory audio system in
particular vehicles.
This manual has been designed solely for the purpose of
assisting a user to operate the iPod functionality. If you
require information relating specically to your vehicle or
the operation of other electronics systems in the vehicle,
please consult your vehicle user manual or local dealer.
Warning
This interface is designed for use with iPod 4th and 5th
Use this system only when Trafc conditions permit. SAFE
VEHICLE OPERATION IS THE SOLE RESPONSIBILITY OF THE
DRIVER. Neither mObridge Inc, their agents, distributors
or resellers accept responsibility for any damage or injury
resulting from the use of this product.