manuals.online logo
Brands
  1. Home
  2. •
  3. Brands
  4. •
  5. Monarch Industries
  6. •
  7. Water Pump
  8. •
  9. Monarch Industries ACT-SD Series User manual

Monarch Industries ACT-SD Series User manual

SAFETYCAREFULLYREADTHESESAFETYMESSAGES.
CAUTION
•DONOTOPERATETHISPUMPDRY!
• Review instructions before operating.
ACT-SD SERIES
Side Discharge Centrifugal Pump
(For Belt or Coupling Drive)
OWNER'S
MANUAL
IMPORTANT: READTHISMANUALBEFOREINSTALLINGOR
OPERATINGTHEPUMP.
APPLICATION
Thesepumpsmaybedirect-coupledorbeltdrivenfromasuitable
powersource-electricmotor,gasengine,etc. Theyareintended
for installations where the vertical distance from the pump to
water surface does not exceed 7.5m (25 ft.). In all installations,
friction losses in the piping must be taken into consideration.
Pump models ACT-5SD and ACT-6SD should not be used for
pumping liquid fertilizer. Pump model ACT-8SD can be used for
liquid fertilizer if equipped with the high temperature (Viton) seal.
PERFORMANCE
TOTAL HEAD IN FEET
MODEL 10 20 30 40 50 60 80 100 120 140
PUMP RPM HP CAPACITY IN GPM
ACT-5SD 3450 1-1/2 66 65 62 58 53 38 18
2250 1/3 42 21
ACT-6SD 3450 2-1/2 90 88 85 80 66 47 17
1750 1/2 50 37 11
ACT-8SD 3450 5 170 168 164 155 135 122 88 55
1750 1 93 78 59
Complete Pressure and Flow Data is available in the Product Specification Sheets and Performance Curve Section.
INSTALLATION
(a) LOCATION: Thepumpshouldbeinstalledinalocationthat
providesadequatedrainage,roomforservicing,andprotec-
tionfrom freezing.Aproperfoundationisnecessarytomain-
tainthealignmentbetween pumpandpowersource. To re-
duce friction losses and provide maximum capacities, the
locationofthepumpshouldbesuchthataminimumofsuction
pipingisrequired.
(b) SUCTIONPIPE: Itisrecommendedthatonlynew,cleanpipe
orhosebeusedandthesizebethesameasthepumpsuction
tapping. If the pump is installed any appreciable distance
awayfromthesourceofwatersupply,thesuctionpipeshould
beincreasedbyonesize.Thesuctionpipemustalwaysslope
upwards from the water source to the pump to avoid air
pocketsintheline.Incaseswherethepumphastobereprimed
often,anditisnotnecessarythatalotofwaterbedelivered,it
isadvisabletousea90°or45°elbowonthesuctionline.This
enablesthepumptoprimesoonerandalsopreventskinkingof
the hose. In cases where a maximum volume of water is
requiredoveraprolongedperiodoftime,thesuctionlineshould
be led almost horizontally to the pump. Non-toxic thread
compoundshouldbeusedonallpipejointsandconnections
should be thoroughly tightened. A foot valve should be con-
nected to the bottom end of the suction pipe and must be
submergedat all times.
(c) FOUNDATION: Arigidmountingsystemmustbeprovidedfor
the pumps to ensure that correct alignment of the drive
couplingcanbemaintained.Itisrecommendedthatamount-
ingframebeconstructedfromheavysteel channel and both
thepumptransmissionandthepowersourcebeboltedtothis.
Ifpossible,theframe itself should be securely anchored toa
rigidconcretefoundation.
DISCHARGE
PIPE
PUMP
WELL CASING
SUCTION LINE
FOOT VALVE
PRIMING
FITTING
POWER
SOURCE
DRAIN
PLUG
Figure 1
2
(e) ROTATION: Ensure that shaft rotation will be in the
samedirectionasthearrowonthecasing(clockwise,looking
fromshaft end).
(f) SPEED:PressureandFlowDataisavailablefortransmission
speedsranging from 1750to 3450 RPM(2250to 3450 RPM
ACT-5SDonly).Operationatspeedsoutsidethisrangeisnot
recommended.
(d) ALIGNMENT:Properalignmentisessentialforproperpump
performance and satisfactory life of transmission drive com-
ponents. For direct couplings, ensure that shafts are both
parallelandconcentric.Theunitswillbeconcentricallyaligned
when a straight edge rests evenly on both halves of the
coupling in all positions. The shafts will be parallel when the
gap between the two halves of the coupling is even at all
positionsaroundthecoupling.
OPERATION - PRIMING THE PUMP
WARNING: DONOTRUNTHEPUMPBEFOREPRIMINGIT,SINCETHESEALANDIMPELLERCOULDBEPERMANENTLY
DAMAGED.
a) PRIMING:Thesepumpsarenotself-priming.Forbestresults,
usea foot valve andprimingfitting as shown inFig.1.Slowly
addwaterthroughtheprimingfittinguntilboththesuctionline
andcasing arefull.
b) STARTUP:NEVERoperatethepumpdryasthismaydamage
theseal.Ifthepumpdoesnotdeliverwateraftertwominutes,
repeattheprimingoperation.
c) DRAINING:Shouldthepumpbesubjecttofreezingtempera-
tures,itwill be necessary todrain thepump completely.This
is done by removing the drain plug on the bottom of the front
faceofthepumpcasing.Afterallthewaterhasbeendrained,
operating the pump for a few seconds will ensure that the
impellerisdevoidofwater.Ensurethatthelinesarealsofree
ofwater.
d) STORAGEOFPUMP:Drainliquidfrompumptopreventfrost
damage. It is recommended that a good rust inhibitor be put
insidethecasingtopreventcorrosion.Whenrestoringuseof
thepump,replaceallplugsandensurethatallconnectionsare
tightly sealed. After a complete check, make the initial prime
accordingtodirectionsundertheheading,PRIMING.
MAINTENANCE
a) LUBRICATION:Thepumpitselfdoesnotrequirelubrication.
On ACT-5SD and ACT-6SD series pumps, the transmission
usessealedbearingswhich havebeengreasedforlifeatthe
factoryandarenotintendedtobere-lubricated.OntheACT-
8SDpumpagrease fittinghasbeenprovidedonthehousing
tolubricatethebearings.Useaproperhighgradeballbearing
grease,and DO NOT over lubricate.
b) DISASSEMBLY:(Refer toFig. 2 & 3)
- Disconnect power source from transmission and remove
suctionand dischargepipingprior toanydisassembly.
- Removefour3/8"nutssecuring casing(1)to transmission
housing(2)andcarefully remove casing & gasket (6).
- Removeimpeller (4)fromshaft.Impeller is threadedonto
shaftinnormalfashion.NOTE:OnACT-8SDisnecessary
to first remove bolt (9).
- Remove mechanical seal (7) from shaft.
- OnACT-5SDandACT-6SDremovesnapring(5)fromback
oftransmission housing andpressoutshaft/bearingunit
(3).
- OnACT-8SD, remove seal plate (10), sleeve (11), and
flinger(8).Pryshaftseal(13)outofhousing.Removesnap
ring(16)andpressshaft/bearingassemblyoutofhousing.
NOTE: Premature seal failure may be a result of pumping
corrosive chemicals. A seal for chemical handling is available
(see Repair Parts List).
ACT-5SD
ACT-6SD
Figure 2
3
(c) REASSEMBLY: (Refer to Fig. 2 & 3 and Repair Parts List)
- Carefully clean all parts. Replace parts showing signs of
excessivewear.Applyfilmoflightoiltobearings,shaftand
on the inside of transmission housing.
- Apply alightsoapylubricantontotherubberonly sealseat
and press into housing (ACT-5SD,-6SD or seal plate
ACT-8SD). Make sure that the seat is seated properly.
- On ACT-5SD,-6SD, install flinger (8) on threaded end of
shaft/bearing unit (3), press unit into housing and install
snap ring (5).
- On ACT-8SD, press outerbearing (14) into housing (2).
Press inner bearing (15) onto threaded end of shaft.
Press shaft and bearing assembly into housing. Care
must be taken to avoid preloading bearings. Install snap
ring (16) and seal (l3) into housing. Slide flinger (8) onto
shaft. Prior to installing sleeve (11), apply liquid gasket to
area of shaft which will be covered by sleeve. Install seal
plate (10) to transmission.
- Install rotating mechanical seal onto shaft with the shiny
side of the washer facing towards white ceramic seat.
Install impeller securely (4) on ACT-8SD. Fasten with
1/4" NC x 1" bolt (9).
- Install gasket (6) and casing (1) to assembly using (4) 3/8" NC
nuts and lockwashers.
- Ensure shaft turns freely and reconnect piping.
Figure 3
ACT-8SD
TROUBLESHOOTINGGUIDE
TROUBLE PROBABLECAUSE CORRECTIVE ACTION
Failure to pump 1) Pumpnotproperlyprimed. 1) Checkthat pump casing andsuctionline are full
ofwater. See priming instructions.
2) Speedtolow. 2) CheckRPMofsource. Seeinstallation
instructions.
3) Totalheadmore than that for which 3) Apumpdesignedforhigherheadisneeded.
pumpwasintended.
4) Excessivesuction lift. 4) Locate pump closer to water. Suction losses
canalsobe reduced by increasing suctionpipe
size.
Reducedcapacity 1) Airpocketsorleaksinsuctionline. 1) Checksuctionpiping.
and/orhead 2) Cloggedimpeller,suctionlineorfoot 2) Removeandclean.
valve.
3) Reverseimpellerrotation. 3) Checkimpellerrotationagainst arrowoncasing,
reversedirection of powersource if necessary.
4) Insufficientsubmergenceofsuction 4) Addlengthsofsuctionpipetokeepsubmerged
line. endwellbelowthewatersurface.
5) Excessivesuction lift. 5) Locate pump closer to source of water.
Suction losses can also be reduced by
increasingsuctionpipesize.
6) Totalheadmore than that for which 6) Apumpdesignedforhigherheadisneeded.
pumpwasintended.
7) Excessivelywornimpeller. 7) Orderreplacement parts, using RepairParts
List.
Pump loses prime 1) Airleaksinsuctionline. 1) Checksuctionpiping.
2) Excessivesuctionliftandoperatingtoo 2) Movepumpnearerwater.
nearshut-offpoint.
3) Waterleveldropswhilepumping, 3) Checkwatersupply.Addlengthofpipeto
uncoveringsuctionpiping. suctionlineto keepsubmergedend underwater.
Mechanicaltrouble 1) Bentshaftand/ordamagedbearings. 1) Inspectshaft andbearings,replaceif necessary.
and noises 2) Suctionand/ordischargepipingnot 2) Checkthatall pipingissupportedtorelieve
properlysupportedandanchored. strain on pump assembly.
3) Misalignment. 3) Check alignmentofshaftsforparallelismand
concentricity.
4) Sealleakingdue tocorrosionof sealing 4) The pump seal supplied is for a fresh water use.
faces. For salt water and/or chemicals, contact factory
andsupplyinformationonmaterialbeing
pumped.
LIMITEDMONARCHINDUSTRIESWARRANTY
Foroneyearfromdateofpurchase,MonarchIndustrieswillreplaceorrepairfortheoriginalpurchaser,freeofcharge,anypart
orparts,founduponexaminationbyany MonarchIndustriesAuthorizedServiceDepotorbytheMonarchfactory,tobedefective
inmaterialorworkmanshiporboth.Equipmentandaccessoriesnotmanufacturedby MonarchIndustriesarewarrantedonlyto
theextentoftheoriginalmanufacturer'swarranty.Alltransportationchargesonpartssubmittedforreplacementorrepairunder
this warranty must be borne by the purchaser. For warranty service see your nearest Monarch Industries Authorized Service
Depot.
THEREISNOOTHEREXPRESSWARRANTY.IMPLIEDWARRANTIESINCLUDINGTHOSEOFMERCHANTABILITYAND
FITNESS FOR A PARTICULAR PURPOSE ARE LIMITED TO ONE YEAR FROM PURCHASE AND TO THE EXTENT
PERMITTEDBYLAW.LIABILITYFORCONSEQUENTIALDAMAGESUNDERANYANDALLWARRANTIESAREEXCLUDED
TOTHEEXTENTEXCLUSIONISPERMITTEDBYLAW.
Thiswarrantyisanadditiontoanystatutorywarranty.
MONARCH INDUSTRIES
51 Burmac Road, P.O. Box 429
Winnipeg, Manitoba, Canada
R3C 3E4
www.monarchindustries.com
231273R5 0404

This manual suits for next models

3

Other Monarch Industries Water Pump manuals

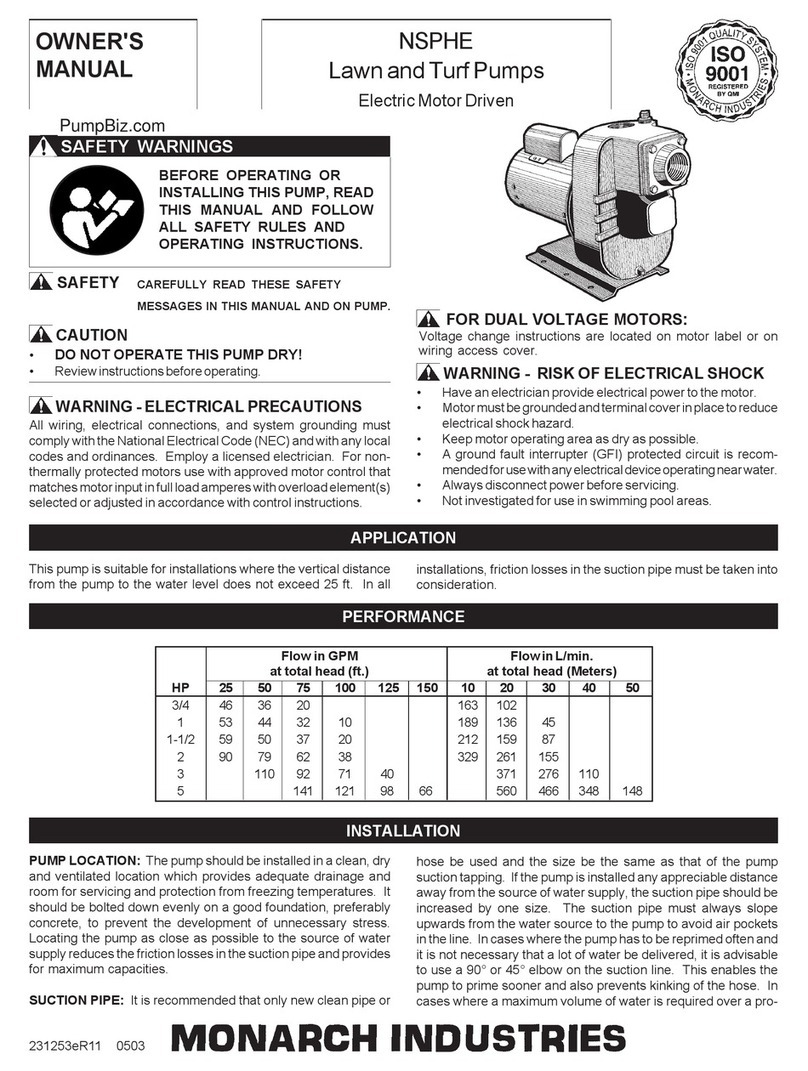
Monarch Industries NSPHE User manual

Monarch Industries

Monarch Industries NSPHE User manual

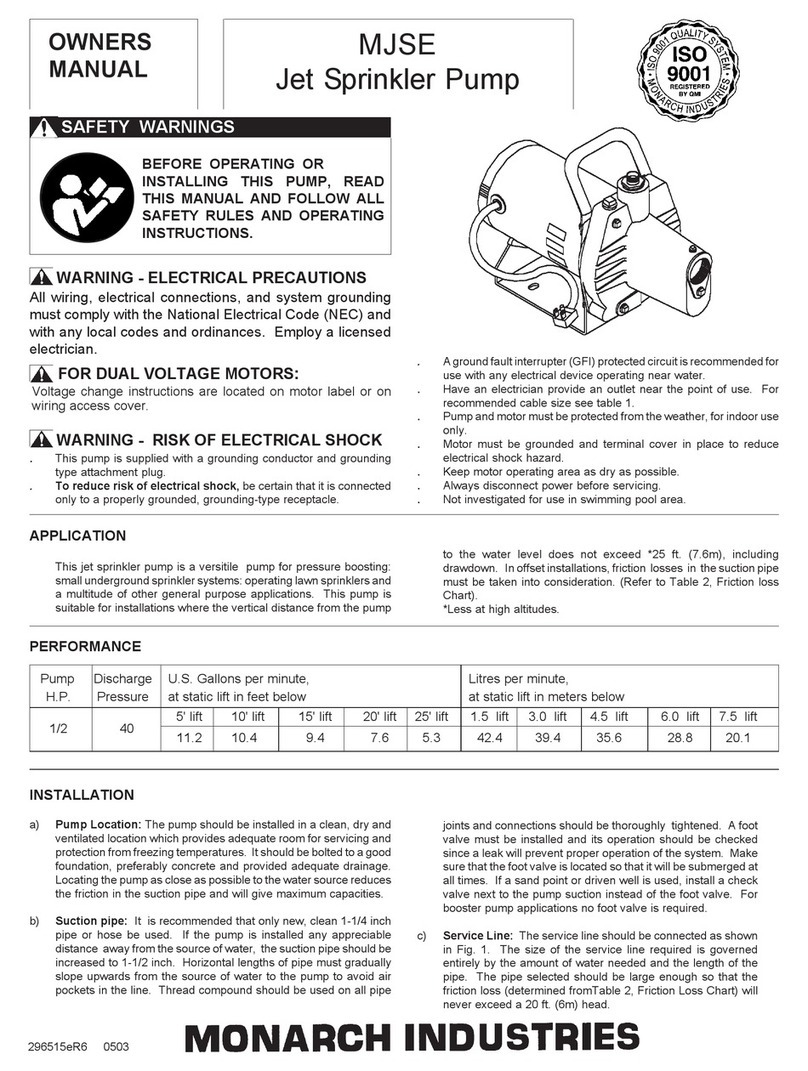
Monarch Industries MJSE User manual

Monarch Industries

Monarch Industries MJSE User manual

Popular Water Pump manuals by other brands

Franklin Electric VersaJet Series Installation and operation manual

Franklin Electric

Franklin Electric VersaJet Series Installation and operation manual

Wolf ZP-3 installation instructions

Wolf

Wolf ZP-3 installation instructions

SprayTECH ED655 Plus owner's manual

SprayTECH

SprayTECH ED655 Plus owner's manual

EBARA ETM Operating and maintenance manual

EBARA

EBARA ETM Operating and maintenance manual

Pacific hydrostar SUBMERSIBLE DIRTY WATER PUMP 93819 Assembly and operating instructions

Pacific hydrostar

Pacific hydrostar SUBMERSIBLE DIRTY WATER PUMP 93819 Assembly and operating instructions

Zehnder Rittling SWH100 operating instructions

Zehnder Rittling

Zehnder Rittling SWH100 operating instructions

Salamander Pumps CT Force installation guide

Salamander Pumps

Salamander Pumps CT Force installation guide

PVR PVL 25 Operating and maintenance instructions

PVR

PVR PVL 25 Operating and maintenance instructions

GORMAN-RUPP T4A3-B Installation, operation and maintenance manual

GORMAN-RUPP

GORMAN-RUPP T4A3-B Installation, operation and maintenance manual

Dover PSG WILDEN PR860 Operation & maintenance manual

Dover

Dover PSG WILDEN PR860 Operation & maintenance manual

Cole Parmer MasterFlex I/P 77420-00 operating manual

Cole Parmer

Cole Parmer MasterFlex I/P 77420-00 operating manual

Graco Husky 715 instructions

Graco

Graco Husky 715 instructions

Aqua HC 200 Programming instructions

Aqua

Aqua HC 200 Programming instructions

Xylem GOULDS NPO instruction manual

Xylem

Xylem GOULDS NPO instruction manual

T.I.P. GPP 2100 M manual

T.I.P.

T.I.P. GPP 2100 M manual

dosatron D25ALN owner's manual

dosatron

dosatron D25ALN owner's manual

Dual Pumps THOR Series Owner's handbook

Dual Pumps

Dual Pumps THOR Series Owner's handbook

Accudyne Industries LMI ROYTRONIC EXCEL AD9 Series instruction manual

Accudyne Industries

Accudyne Industries LMI ROYTRONIC EXCEL AD9 Series instruction manual

manuals.online logo
manuals.online logoBrands
  • About & Mission
  • Contact us
  • Privacy Policy
  • Terms and Conditions

Copyright 2025 Manuals.Online. All Rights Reserved.