manuals.online logo
Brands
  1. Home
  2. •
  3. Brands
  4. •
  5. montpellier
  6. •
  7. Microwave Oven
  8. •
  9. montpellier MON-MWBI90025 User manual

montpellier MON-MWBI90025 User manual

Installation
and
Operating
Instructions
MODEL: MON-MWBI90025
Built-In Microwave Oven
Please
read
these
instructions
carefully
before
attempting
to
install
or
use
this
appliance.
It
is
advisable
to
keep
these
instructions
in
a
safe
place
for
future
reference.
montpellier
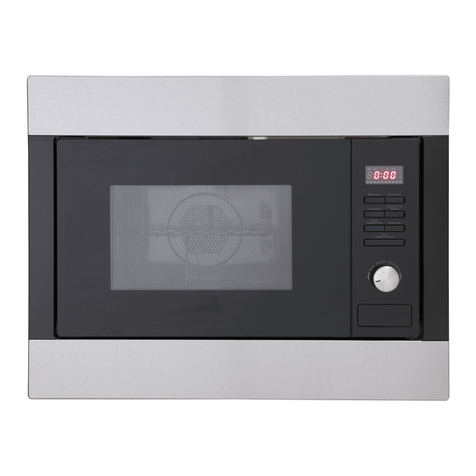
(Picture indicative of model supplied)
2
In
t
roduc
t
ion
Thank you for choosing this montpellier branded appliance.
It has been designed to give years of trouble-free use provided
it is installed and maintained correctly.
Please read these instructions carefully before installing or
using your appliance. It is advisable to keep your purchase
and
installation receipts with these instructions in a safe place for
future reference. Included is some important safety informat
ion
in addition to guidelines and recommendations that will enab
le
you to take full advantage of all the functions available.
This quality appliance has been tested and certified to meet all
applicable UK electrical and safety standards.
This appliance must be installed and connected in
accordance with current regulations.
After unpacking the appliance ensure that there is no visible
damage. If the appliance has been damaged during transit, do
not use it, contact your retailer immediately.
3
Your 2 year Manufacturer's guarantee
THIS DOES NOT AFFECT YOUR STATUTORY RIGHTS.
Your new Montpellier appliance carries a free guarantee which protects you against the
cost of repairs during the first 24 months from date of purchase provided that:
Any claim is accompanied by evidence of the model reference, model serial number and
proof of purchase, such as a Sales Receipt, showing that the appliance was purchased
within the 24 months prior to the date of claim.
What is not covered under the Guarantee :
Any appliance not correctly installed and operated in accordance with the manufacturer's
instructions.
Any appliance that is used for anything other than domestic purposes.
Any defect caused by accident, misuse, unauthorized modification or inexpert repair.
Cost of Call-out where a fault cannot be found with the appliance.
Cost of Call-out for work covering routine maintenance, such as, but not exclusively,
cleaning of filters or defrosting.
Cost of Call-out for work required to correct the alignment of doors following door reversal
procedures carried out by you.
Use of the appliance by anyone other than the Householder.
Use in any commercial environment.
Consumable items, such as, but not exclusively, fuses in plugs, bulbs and breakable
items which require routine replacement.
Repair costs incurred that have not been authorised by Repairtech and/or carried out by a
non-approved Repairtech engineer.
YOUR GUARANTEE IS VALID ONLY IN THE UK.
To Register your Appliance simply complete the card in your appliance
pack and return it
with a stamp affixed or Alternatively you can Register online at
www.repairtechuk.com

SERVICE HELP-LINE
Should your appliance develop a fault, please call the
Repairtech Service Helpline on: 01527-888133
Please remember to have all your product details available, including the
model number, serial number, date of purchase and your retailer’s details
before registering a fault.
Your service call cannot progress without this information.
4
Description
Of
The
Appliance
1. Door & Viewing Window
2. LED Display Panel
3. Control Panel
4. Push Button Door Control
(Picture indicative of model supplied)
1. 2.
3.
4.
5
CONTENTS:
Section 1. Installation
Sect
i
o
n 2.
Safety
A
d
v
i
ce
Section 3. Operating the Appliance
Section 4. Maintenance
6
Section
1.
Installation
-Remove all packaging, protective film and securing tape from
the appliance.
-Wash the interior of the appliance with warm soapy water.
-Position the appliance in a dry atmosphere.
-Keep the microwave oven away from the TV, Radio or
antenna as picture disturbance or noise may occur.
- Please note that certain parts of this appliance have been
protected with a light film of oil. During initial use you may
see light smoke coming from the oven as the oil is
burnt off. This is quite normal.
-Connect the plug to an adjacent ‘easily accessible’ 13amp
socket outlet and ensure that the appliance is not standing on
the supply cable.
-Never operate this oven without food or liquids inside
-Remove the turntable and rotating ring from the packaging,
wash in warm soapy water and dry thoroughly. Fit the rotating
ring on the base of the interior and then carefully place the
turntable onto the rotating drive, ensuring that it ‘locks’ into
place.
-The turntable and rotating ring can be removed from the
appliance and washed using warm soapy water
-Replace the rotating ring on the base of the interior and then
carefully place the turntable onto the rotating drive, ensuring
that it ‘locks’ into place
-This appliance is fitted with a safety door interlock. Do not
operate the appliance if either of the two interlock levers are
damaged. Please note that the appliance will fail to operate if
the door has not been closed correctly.
-The turntable rotates whilst the appliance is operating – this
helps the food/liquids to cook/heat more evenly.
7
To install this appliance, please proceed as follows:
-The plug fitted to this appliance must be connected to an
adjacent 13amp plug socket.
-If the socket is located behind the appliance and no longer
accessible to the consumer, you must ensure that the
consumer can turn off the appliance via an accessible
switched spur socket.
-You must ensure that the cable is not trapped beneath the
appliance.
-If the power supply cord is damaged, it must be replaced by
the manufacturer, it’s service agent or similarly qualified
persons in order to avoid a hazard.
8
9
Open the door and secure the oven to the cabinet with Screw A, as shown below
10
Section 2. Safety Advice
-Please read this booklet thoroughly before installing and
switching on the appliance. The manufacturer accepts no
responsibility for incorrect installation and usage.
-This appliance is guaranteed for Domestic Use Only.
-The appliance is not intended for use by persons (including
children) with reduced physical, sensory or mental capabilities,
or lack of experience and knowledge, unless they have been
given supervision or instruction concerning the use of the
appliance by a person responsible for their safety. Children
should be supervised to ensure that they do not play with the
appliance.
-This appliance must only be used for cooking/heating foods
and liquids. Do not use it for any other purpose.
-If using an adaptor, this must be used in accordance with the
manufacturers instructions and ensure that the electrical
circuit is not overloaded as this could cause overheating.
-Do not twist or bend the cables, and keep them away from hot
surfaces.
-If the power supply cord is damaged, it must be replaced by
the manufacturer, it’s service agent or similarly qualified
persons in order to avoid a hazard.
-Do not plug ın or unplug this appliance with wet hands.
-Following installation make sure that the power cable is not
trapped underneath the appliance.
-Remove all twist-ties from food bags before placing them in
the oven.
-Do not heat oil or fat inside the oven.
-Do not over cook food inside the oven.
-Do not heat sealed containers or try to cook eggs (inside their
shells) in this oven – they may explode.
-Potatoes, sausages and items such as chestnuts must be
peeled or pierced before placing them in the oven.
-After liquids have been heated in the oven wait a few
moments before removing the container – handle with care as
the container may be hot – use protective gloves.
11
-Liquids and foods should be stirred and the temperature
checked prior to consumption.
-If you cover a container with cling film, remove it very carefully
after the cooking process has finished – steam will escape
and may burn your hands.
-Always let the turntable cool down before washing it.
-Never cook foods directly on the turntable.
-Make sure that plates/dishes do not touch the walls when the
turntable rotates.
-Keep the interior surfaces clean. Failure to do this could lead
to the appliance malfunctioning.
Important Utensil Information
- Do not use metal pans or dishes with metal handles.
- Do not use anything with a metal trim.
- Do not use paper covered wire twist-ties on plastic bags.
- Do not use melamine dishes as they contain a material which
will absorb microwave energy. This may cause the dishes to
crack or burn, and will slow down the cooking speed.
- Use only cookware that is approved to be used in a
microwave oven.
- Do not cook using a container with a restricted opening, such
as bottles, as they may explode.
- Do not heat baby bottles with the teat left on and remove the
teat if replacing the bottle back into the oven.
- Only use thermometers that are approved for microwave
ovens.
- Do not use the microwave oven for heating utensils.
12
Section 3. Operating the Appliance
3.1. Setting The Clock
Press the Clock button, the hours will flash in the LED panel
Turn the Timer/Weight knob to select the correct hour
Press the Clock button, the minutes will flash in the LED panel
Turn the Timer/Weight knob to select the correct minutes
Press the Clock button to confirm the new time setting.
3.2. Microwave Cooking
Press the Micro/Grill/Combi button, the LED will display P100
Press the same button several times to select either P80, P50,
P30 or P10. (You can also use the Timer/Weight knob to do
this).
Press the Start button and then use the Timer/Weight knob to
select the required cooking time
Press the Start button again to begin cooking.
Press Stop/Clear at any time to end or cancel the cooking time
Please note the following power levels:
P100 = 100%
P80 = 80%
P50 = 50%
P30 = 30%
P10 = 10%
G = 100% for the Grill
C1 = 55% Micro and 45% Grill
C2 = 36% Micro and 64% Grill
13
3.3. Grill Or ‘Combi’ Cooking
Press the Micro/Grill/Combi button and the LED will display
P100, press again until you reach the ‘G’, C1 or C2 display.
Press the Start button to confirm and then use the
Timer/Weight knob to select the required cook time.
Press the Start button to start cooking.
Press Stop/Clear at any time to end or cancel the cooking time
3.4. Kitchen Timer
Press the Kitchen Timer button, the LED will display 0:00
Turn the Timer/Weight knob to select the required time
Press the Start button to confirm and start
When the set time has elapsed a buzzer will sound for 5
seconds
N.B. the maximum time you can set is 95 minutes
3.5. Quick Cooking
Press the Start button to immediately start cooking at 100%
power for a period of 30 seconds
Each added press of the Start button will increase the cook
time by 30 seconds
Press Stop/Clear at any time to end or cancel the cooking time
3.6. Defrost by Weight
Press the Weight/Defrost button and the LED will display
‘dEF1’
Turn the Timer/Weight knob to select the weight of the food to
be defrosted
Press the Start button to start defrosting
N.B. The range of weight that can be selected is between 100
to 2000g
Press Stop/Clear at any time to end or cancel the defrosting
It is your responsibility to ensure that food is defrosted
correctly!
14
3.7. Defrost by Time
Press the Time Defrost button and the LED will display ‘dEF2’
Turn the Timer/Weight knob to select the defrost time
Press the Start button to start defrosting
Press Stop/Clear at any time to end or cancel the defrosting
It is your responsibility to ensure that food is defrosted
correctly!
N.B. Defrost power is always P30, you cannot change this!
3.8. Auto Reheat
Press the Auto Reheat button and the LED will display ‘200’
N.B. 200 refers to 200g (weight of food to be cooked)
Press the Auto Reheat button repeatedly to increase the
weight of food, i.e. 400 (g) or 600 (g)
Press the Start button to start reheating.
Press Stop/Clear at any time to end or cancel the reheating
3.9. Auto Menu
Press the Auto Menu button repeatedly to select the required
menu, A1 to A8
Press the Start button to confirm the required menu
Turn the Timer/Weight knob to select the default weight shown
in the chart below
Press the Start button to start cooking
Press Stop/Clear at any time to end or cancel the selected
menu
15
3.10. Child Lock Function
To lock, press and hold Stop/Clear for 3 seconds or until you hear
a long audible ‘beep’. A key sign will be displayed in the LED panel.
To unlock, simply repeat the above procedure.
16
3.11. Suitable Materials/Utensils
3.12. Unsuitable Materials/Utensils
17
3.13. Cooking Tips
a) Place thicker areas of food towards the outer area of the
turntable and thinner food towards the centre
b) Always follow the cooking instructions on the food packaging
c) Turn or stir food during the cooking to ensure even cooking
d) Allow the cooked food to ‘stand’ for a while before consuming
e) If you use a ‘browning’ dish, stand it on a plate in the oven
f) Do not let plastic ‘cling film’ to come in contact with the food
during the cooking process
3.14. Normal Operating Points to Note
You will hear the sound of the motor during operation – this is quite
normal.
There will be an audible ‘buzzer/beep’ at the end of the cooking
period.
You may hear the turntable rotating inside the oven, this is normal.
You may see water on the inside of the door – this is quite normal
due to condensation forming from some foods and/or liquids during
the cooking process.
The microwave oven light may appear dim at times – this may
happen during the cooking process and is quite normal, particularly
during low power cooking.
18
Section 4. Maintenance
Before any maintenance or cleaning work is carried out,
DISCONNECT the appliance from the ELECTRICITY supply and
ensure that the appliance is completely cool.
4.1. Internal Cleaning
Clean the interior and accessories with warm soapy water. Rinse
and dry thoroughly. Do not use detergents, abrasive powders, highly
perfumed cleaning products, wax polishes or cleaning products
containing bleach or alcohol.
4.2. External Cleaning
Wash the fascia and door with warm soapy water. Do NOT use
abrasive products.
4.3. What to do if something goes wrong
There is no power to the appliance:
-Check there is not a power cut
-Check there is power to the electric socket/appliance
-Check the fuse in the plug (Must be 13 amp)
The oven will not operate:
-Is the Timer control set to the required time?
-Has the door been closed correctly?
Should your appliance develop a fault, please call the
Repairtech Service Helpline on: 01527-888133
Please remember to have all your product details
available, including the model number, serial number,
date of purchase and your retailer’s details before
registering a fault.
Your service call cannot progress without this
information.
19
Important Note:
This
appliance is
marked
according
to
the
European
directive
2002/96/EC
on
Waste
Electrical and
Electronic
Equipment
(WEEE).
By
ensuring
this
product
is
disposed
of
correctly,
you
will
help prevent
potential
negative
consequences
for
the
environment
and
human
health,
which
could otherwise
be
caused
by
inappropriate
waste
handling
of
this
product.
The
symbol
on
the
product,
or
on
the
documents
accompanying
the
product,
the
Crossed
Out Wheelie
Bin,
indicates
that
this
appliance may
not
be
treated
as
household
waste. Instead
it
shall
be
handed
over
to
the
applicable
collection
point
for
the
recycling
of
electrical
and electronic
equipment.
Disposal
must
be
carried
out
in
accordance
with
local
environmental
regulations
for
waste
disposal.
For
more
detailed
information
about
treatment,
recovery
and
recycling
of
this product,
please
contact
your
local
authority,
your
household
waste
disposal
service
or
the
retailer
where
you purchased
the
product.
We
continuously
try
to
improve
our
products
for
the
benefit
of
our
customers.
For
this
reason
we
reserve
the
right
to
make
changes
to
any
product
at
any
time,
without
notice
Issue: 04/05-01-2015

Other montpellier Microwave Oven manuals
montpellier MWBI20BK User manual

montpellier

montpellier MWBI20BK User manual

montpellier MCM21SSC User manual

montpellier

montpellier MCM21SSC User manual

montpellier MON-MBIC250 User manual

montpellier

montpellier MON-MBIC250 User manual

montpellier MCM20WSC User manual

montpellier

montpellier MCM20WSC User manual

montpellier MON-MCG259 User manual

montpellier

montpellier MON-MCG259 User manual

montpellier MWBI73B User manual

montpellier

montpellier MWBI73B User manual
montpellier MON-MMW25CTWW User manual

montpellier

montpellier MON-MMW25CTWW User manual

montpellier MON-MMW25CTKB User manual

montpellier

montpellier MON-MMW25CTKB User manual

montpellier MON-MMW25STW User manual

montpellier

montpellier MON-MMW25STW User manual

montpellier MON-MWBI9000 User manual

montpellier

montpellier MON-MWBI9000 User manual
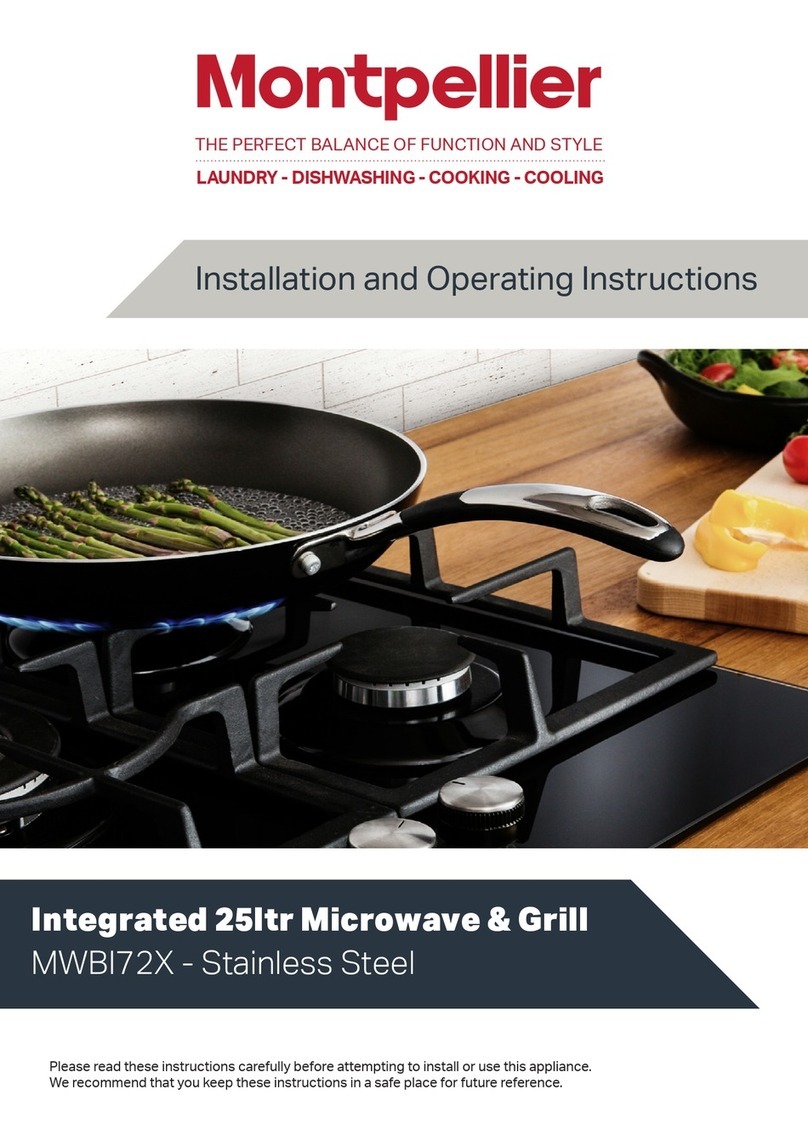
montpellier MON-MWBIC90044 User manual

montpellier

montpellier MON-MWBIC90044 User manual

montpellier MWBI17-300 User manual

montpellier

montpellier MWBI17-300 User manual

montpellier MWBIC90044 User manual

montpellier

montpellier MWBIC90044 User manual

montpellier MWBIC74B User manual

montpellier

montpellier MWBIC74B User manual

montpellier MWBI72X User manual

montpellier

montpellier MWBI72X User manual

montpellier MON-MMW20GTW User manual

montpellier

montpellier MON-MMW20GTW User manual

montpellier MON-MWBIC90029 User manual
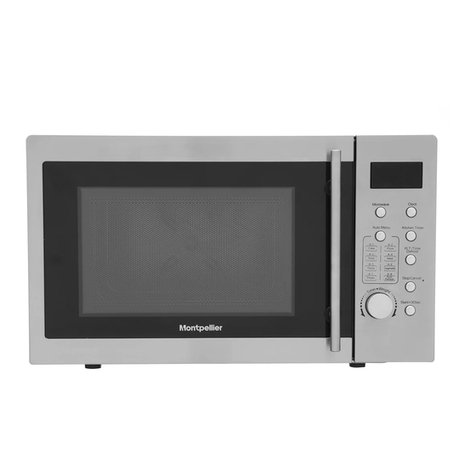
montpellier

montpellier MON-MWBIC90029 User manual

montpellier MWBI90025 User manual

montpellier

montpellier MWBI90025 User manual

montpellier MON-MMW23SSS User manual

montpellier

montpellier MON-MMW23SSS User manual

montpellier MCM21WSC User manual

montpellier

montpellier MCM21WSC User manual

montpellier MMW20SIL User manual

montpellier

montpellier MMW20SIL User manual

montpellier MMW21SCS User manual

montpellier

montpellier MMW21SCS User manual
montpellier MOR-20C User manual

montpellier

montpellier MOR-20C User manual

montpellier MMW20W User manual

montpellier

montpellier MMW20W User manual
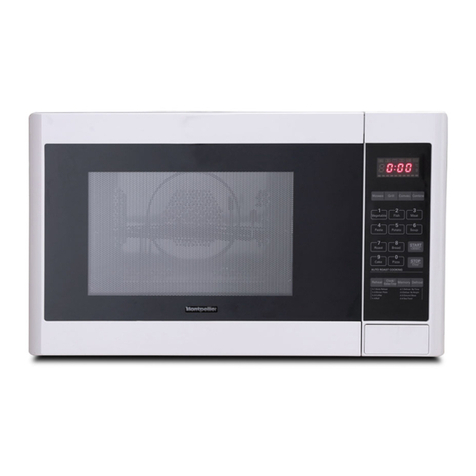
Popular Microwave Oven manuals by other brands

Akai A24001 instruction manual

Akai

Akai A24001 instruction manual

Samsung SMH1611W/XAA Troubleshooting

Samsung

Samsung SMH1611W/XAA Troubleshooting

Denver OM-2310 instruction manual

Denver

Denver OM-2310 instruction manual

AEG KMK721880M user manual

AEG

AEG KMK721880M user manual

Midea TM131M Series instruction manual

Midea

Midea TM131M Series instruction manual

GE JVM1630 Owner's owner's manual

GE

GE JVM1630 Owner's owner's manual

Electrolux EMG23K38GB user manual

Electrolux

Electrolux EMG23K38GB user manual

emerio MW-124745 instruction manual

emerio

emerio MW-124745 instruction manual

V-ZUG Miwell-Combi XSL operating instructions

V-ZUG

V-ZUG Miwell-Combi XSL operating instructions

LG MS2043BP owner's manual

LG

LG MS2043BP owner's manual

Cookworks P70J17P-VB Care & instruction manual

Cookworks

Cookworks P70J17P-VB Care & instruction manual

TIA WAVEJET manual

TIA

TIA WAVEJET manual

Nordmende NM824BBL instruction manual

Nordmende

Nordmende NM824BBL instruction manual

Elba MM717 instruction manual

Elba

Elba MM717 instruction manual

LG MS2338P instruction manual

LG

LG MS2338P instruction manual

Whirlpool YMH1160XSQ1 Use & care guide

Whirlpool

Whirlpool YMH1160XSQ1 Use & care guide

Maytag Services ACE5302 Service manual

Maytag Services

Maytag Services ACE5302 Service manual

Aurora AU 3681 manual

Aurora

Aurora AU 3681 manual

manuals.online logo
manuals.online logoBrands
  • About & Mission
  • Contact us
  • Privacy Policy
  • Terms and Conditions

Copyright 2025 Manuals.Online. All Rights Reserved.