manuals.online logo
Brands
  1. Home
  2. •
  3. Brands
  4. •
  5. Morphy Richards
  6. •
  7. Hair Clipper
  8. •
  9. Morphy Richards IB26010 User manual

Morphy Richards IB26010 User manual

HELPLINE
(8.30-5.00 Monday-Thursday/8.30-4.00 Friday)
UK 0870 060 2614
Republic of Ireland 1800 409119
Morphy Richards products are intended for household use only.
Morphy Richards has a policy of continuous improvement in product
quality and design. The company therefore reserves the right to
change the specification of its models at any time.
Part Number – PC26010M UK REV 1
Registered address:
Morphy Richards Ltd
Mexborough, South Yorkshire S64 8AJ
www.morphyrichards.com
PROFESSIONAL CORDLESS
CLIPPER SET
INSTRUCTIONS
WIRING
This product is fitted with a 13A (BS1363) plug. A 3 amp fuse (BS1362) must be used.
Check that the voltage on the rating plate of your appliance corresponds with your
house electricity supply which must be AC (Alternating Current).
If the socket outlets in your home are not suitable for the plug supplied with this
appliance the plug should be removed and the appropriate one fitted.
IMPORTANT: THE PLUG REMOVED FROM THE MAINS LEAD, IF SEVERED, MUST BE
DESTROYED AS A PLUG WITH BARED FLEXIBLE CORD IS HAZARDOUS IF ENGAGED
INTO A LIVE SOCKET OUTLET.
IMPORTANT SAFEGUARDS
When using your appliance, basic safety precautions should always be followed.
1. Read all instructions carefully.
2. Use the appliance for its intended use only.
3. To protect against the risk of electric shock, do not immerse the appliance in water
or other liquids.
4. Before use, make certain blades are aligned properly.
5. Do not use this appliance with damaged or broken combs or with teeth
missing from the blades as injury may occur.
6. Never use the clipper on wet hair.
7. Switch off before placing down.
8. Switch off before fitting or removing attachments.
9. Do not use this appliance near bathtubs, showers, basins or other vessels containing water.
BATTERY DISPOSAL
The batteries in this product are not replaceable. This product
contains sealed nickel cadmium batteries. When it reaches
the end of its useful life they must be disposed of at an
authorised recycling plant. Your local authority will have
a centre which accepts such waste for recycling.
OUTLINING
Outlining does not require any attachments. Take the clipper and push the lever up to the
close cut position. Comb hair into the style. Position clipper between the side burns and
the ear. Make sure the corner edge of the blade is against the hairline. With the outline of
the hair as your guide, slowly move the clipper over, around and behind the ears. For the
back of the neck and side burns, hold the clipper upside down and holding it against the
skin at the desired length, move downwards.
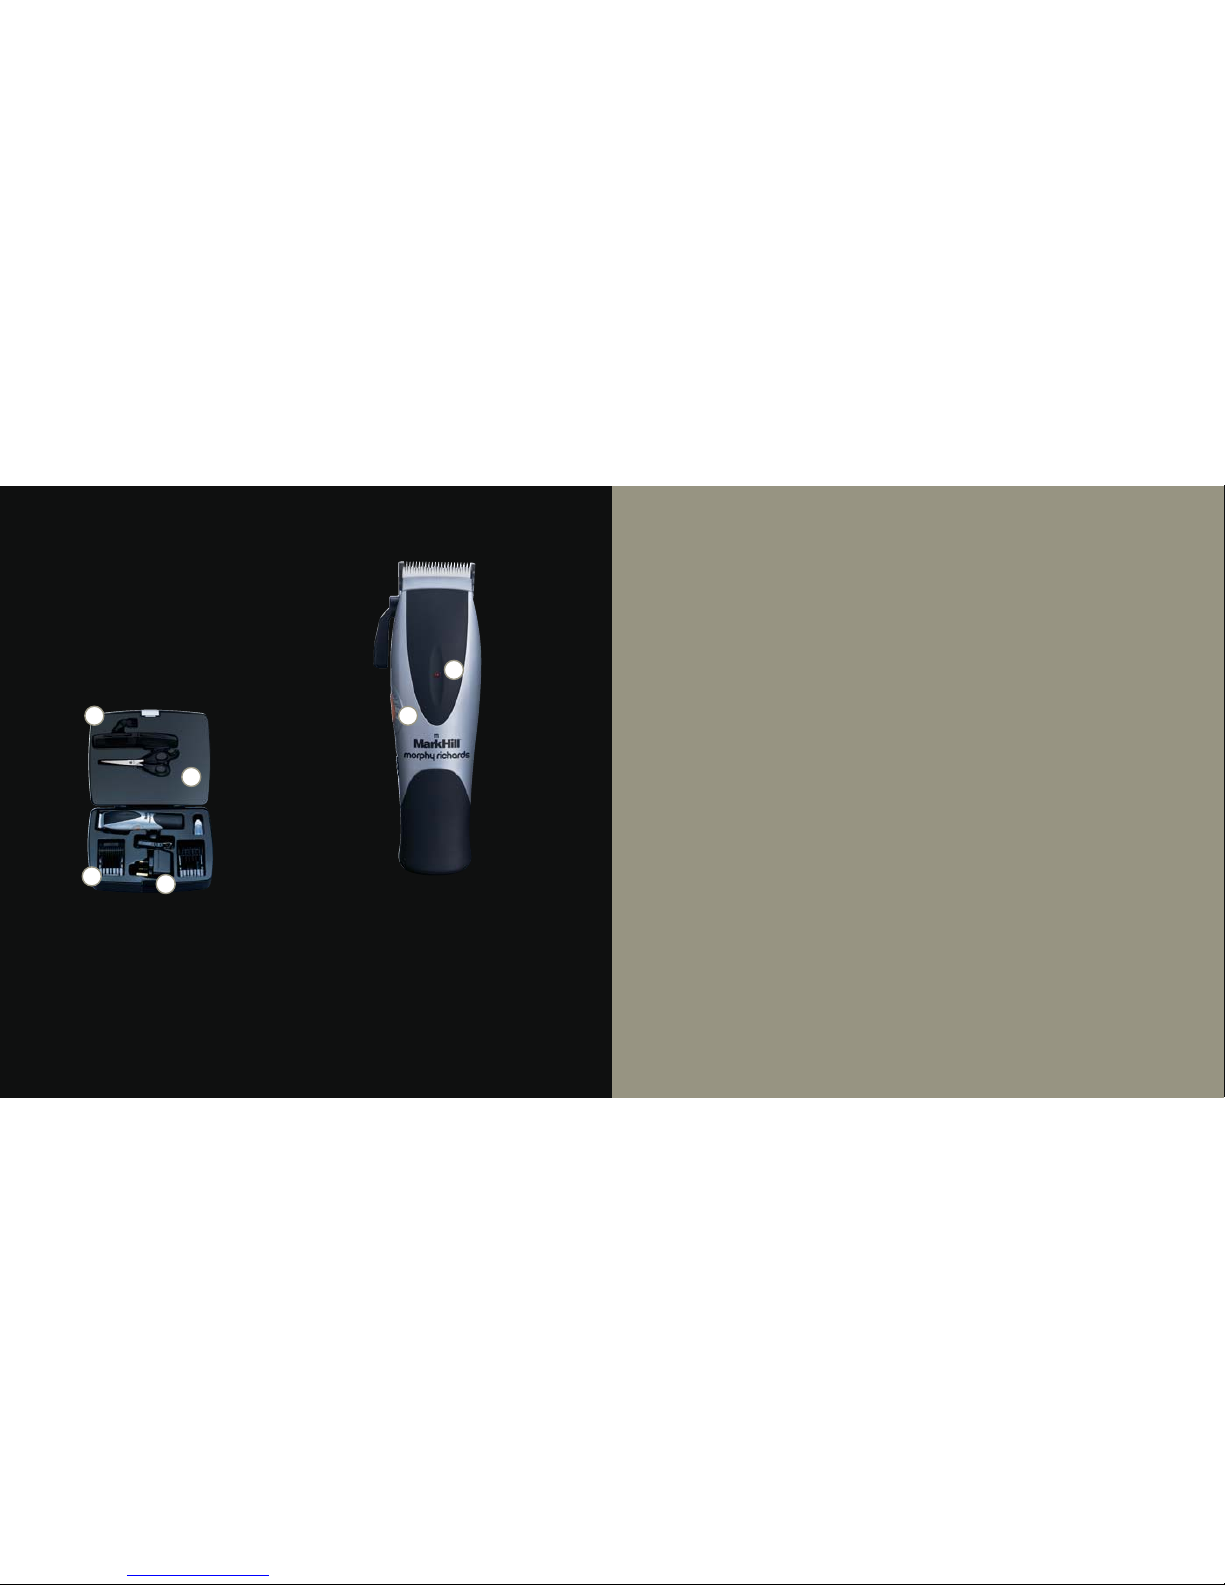
MAINTENANCE
Your clippers were examined to ensure that the blades were oiled and aligned before leaving
our factory. Blades must be realigned if they have been removed for cleaning or replacement.
Ensure the AC power adaptor is not plugged into the clipper. To realign the blades, simply
match the upper and bottom blades teeth up, point for point. If blade alignment is incorrect,
add a few drops of oil to the blades, turn the clipper on for a few moments, turn off, loosen
screws slightly and adjust. Tighten screws after blade is aligned. To maintain the clipper in
peak condition, the blades should be oiled every few haircuts. Simply place a few drops of
oil on the teeth of the blades. Use only oil included in the pack. Due to the high speed of the
clipper the correct oil must be used. Do not use hair oil, grease, oil mixed with kerosene or any
other solvent. Solvent will evaporate and leave the oil thick, which may slow down the blades.
Clipper oil is a very thin natural oil which will not evaporate and will not slow down the blades.
ADJUSTABLE LEVER
The lever is conveniently located near your thumb (if you are right handed), so that it can
be easily adjusted while the clipper is in your hand. The lever adds versatility to your clipper
by allowing you to gradually change the closeness of your cut without an attachment comb.
When the lever is in the uppermost position, the blades will give you the closest cut and
leave the hair very short. Pushing the lever downwards gradually increases the cutting length.
To give your clipper extra power, press and hold the turbo button during use.
TWO YEAR GUARANTEE
It is in your interest to retain the retailer’s receipt as proof of purchase.
Please quote the model number if the product develops a fault. This number
can be found on the handle of the product.
All Morphy Richards products are individually tested before leaving the factory.
In the unlikely event of any appliance proving to be faulty within 28 days of purchase
it should be returned to the place of purchase for it to be replaced.
If a fault develops after 28 days and within 24 months of original purchase, you should
contact the helpline number quoting the model number of the product, or write to the address
below. You will be asked to return the product (in secure packaging) to the address below
along with a copy of proof of purchase.
THE AFTER SALES DIVISION
Registered address: Morphy Richards Ltd. Mexborough, South Yorkshire S64 8AJ England
Helpline (8:30-5:00 Mon-Thur/ 8:30-4:00 Fri) UK 0870 060 2614
Replacement parts 0870 167 6645, Republic of Ireland 1800 409119
Morphy Richards products are intended for household use only. Morphy Richards has a
policy of continuous improvement in product quality and design. The Company, therefore,
reserves the right to change the specification of its models at any time.
Part number: PC26010M Rev 1
Imported by: Morphy Richards Ltd, Talbot Road, Mexborough, South Yorkshire S64 8AJ
Thank you for buying your new Morphy Richards Mark Hill Clipper set. Please read these
instructions carefully before use and keep in a safe place for future reference.
KEY FEATURES
1. Mains and battery powered
2. Four cutting attachments
3. Includes: AC power adaptor,
comb, scissors and oil
4. Accessory storage case
5. Turbo button
6. Power on light
CUTTING GUIDE
Never use the product to cut wet hair. It is designed to work on dry hair only.
TIPS
Make sure that the clipper is clean, properly oiled and in perfect working condition.
Place a towel around the neck of the person to prevent hair from falling down inside the collar.
Position the person whose hair is to be cut on a chair so that his/her head is at your eye level.
Comb the hair to remove all tangles.
CUTTING HAIR WITH ATTACHMENTS (for medium to long cut)
To attach combs, hold comb with teeth up, slide and clip comb attachment firmly to the bottom
of the clipper blade.
Attachment comb 1 leaves hair approx. 3mm in length
Attachment comb 2 leaves hair approx. 6mm in length
Attachment comb 3 leaves hair approx. 9mm in length
Attachment comb 4 leaves hair approx. 12mm in length
At the beginning, cut only a small amount of hair until your hair becomes accustomed to the
length each comb attachment leaves the hair. Comb the hair into its natural direction.
Place the largest attachment comb onto your clipper and start by trimming the sides from
the bottom upwards.
Hold the clipper lightly against the hair with teeth of the attachment comb pointing up but flat
against the head. Slowly lift the clipper up and outward through the hair, cutting only a small
amount at a time. Repeat around the sides and back of the head. If you require shorter hair,
change to a lower number attachment comb or apply more pressure and less lift away from
the head with the present attachment comb.
FOR THE PERFECT SHORT STYLE...
Always cut from the back of the neck to the crown, using the longest attachment comb.
Holding it flat against the head, slowly move the clipper up through the hair. Using the same
technique for the sides, cutting from the bottom to the upper side of the head.
CHARGING
Plug your AC power adaptor into the base of the clipper set, then plug your charger into the
mains supply, the power indicator light will illuminate to show that your clipper is charging.
For best results you should charge your clipper for 24 hours for the first time. After this,
your clipper should be fully charged within seven hours. When fully charged your clipper
set will give approximately 40 minutes continuous full power.
6
5
3
4
21

This manual suits for next models

1

Other Morphy Richards Hair Clipper manuals

Morphy Richards IB26008 User guide

Morphy Richards

Morphy Richards IB26008 User guide

Morphy Richards IB20012 User manual

Morphy Richards

Morphy Richards IB20012 User manual

Morphy Richards IB26001 User manual

Morphy Richards

Morphy Richards IB26001 User manual

Morphy Richards IB26005 User manual

Morphy Richards

Morphy Richards IB26005 User manual

Morphy Richards IB26009 User guide

Morphy Richards

Morphy Richards IB26009 User guide

Popular Hair Clipper manuals by other brands

Marta MT-2218 user manual

Marta

Marta MT-2218 user manual

Saturn ST-HC7385 manual

Saturn

Saturn ST-HC7385 manual

Remington NE100C manual

Remington

Remington NE100C manual

Carmen Elite HC2600 manual

Carmen

Carmen Elite HC2600 manual

Sinbo SHC 4347 instruction manual

Sinbo

Sinbo SHC 4347 instruction manual

Sinbo STR 4918 operating instructions

Sinbo

Sinbo STR 4918 operating instructions

exonda OC20 manual

exonda

exonda OC20 manual

Zoofari HG06290 Operation and safety notes

Zoofari

Zoofari HG06290 Operation and safety notes

Sinbo SHC 4342 instruction manual

Sinbo

Sinbo SHC 4342 instruction manual

Scarlett SC-HC63C69 instruction manual

Scarlett

Scarlett SC-HC63C69 instruction manual

Remington HC5811 manual

Remington

Remington HC5811 manual

Eldom Rex MZ300 instruction manual

Eldom

Eldom Rex MZ300 instruction manual

Aurora AU 083 manual

Aurora

Aurora AU 083 manual

Scarlett SC-HC63C22 instruction manual

Scarlett

Scarlett SC-HC63C22 instruction manual

Moser 1588 operating manual

Moser

Moser 1588 operating manual

Philips HC5441/15 manual

Philips

Philips HC5441/15 manual

BDN Cosmetics wad Accura CW002 user manual

BDN Cosmetics

BDN Cosmetics wad Accura CW002 user manual

AFK HC-15.1 instruction manual

AFK

AFK HC-15.1 instruction manual

manuals.online logo
manuals.online logoBrands
  • About & Mission
  • Contact us
  • Privacy Policy
  • Terms and Conditions

Copyright 2025 Manuals.Online. All Rights Reserved.