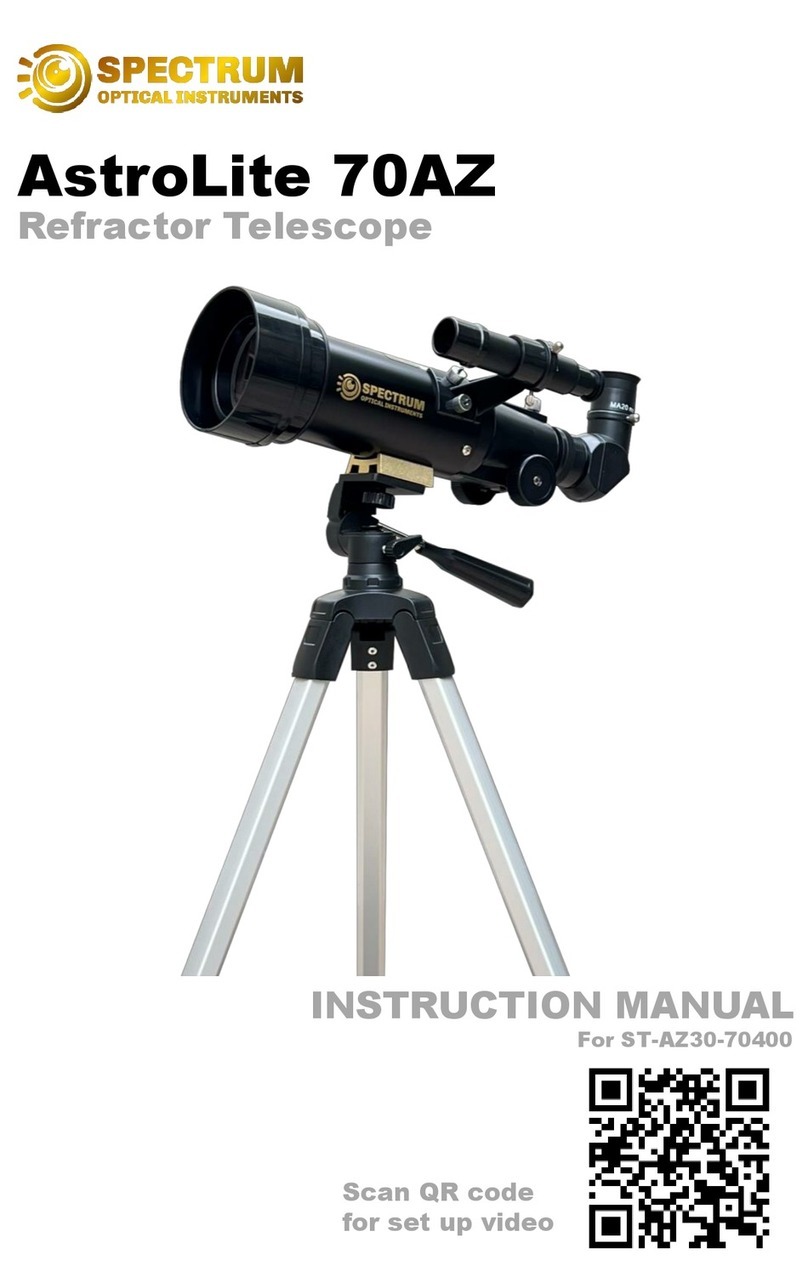
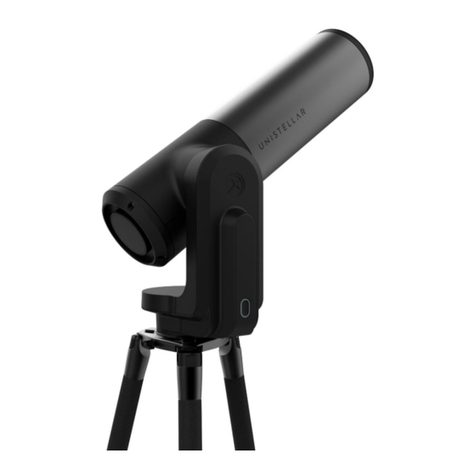
Move Shoot Move miniAstro 80400 User manual


Table of Contents
Introduction
Assembly
Operating
Telescope Basics
Caring and Cleaning the Optics
Support
Set the Tripod up
Using the Tripod
What is Refractor Telescope
Calculating the Magnication (power)
Using Red Dot Finder Scope
Focusing the Telescope
What's in Box
Put the Telescope on the Tripod
Warning
Set the Telescope up
What Can You See with this Telescope
1
1
1
1
2
3
3
4
5
5
6
7
7
7
8
8
8

What Can You See with this Telescope
Introduction
Thank you for purchasing miniAstro 80400 telescope. Whatever your astronomical
target is, this guide will help you jumpstart your journey to universe.
This 80400 telescope is an entry level telescope. It is ideal for viewing larger,
brighter astronomical objects such as the Moon and planets as well as wildlife and
city viewing.
What's in the Box
• Telescope optical tube
• Tripod
• Erect Image Diagonal
• Red Dot Finderscope
• 2 Eyepieces(10mm and 20mm)
• Phone Mount for Telescope
• Wireless Remote
• 3x Barlow Lens
• Stickers
WARNING!!!
• NEVER look directly at the sun with the naked eye or with a telescope (unless you
have the proper solar lter). Permanent and irreversible eye damage may result.
• NEVER use your telescope to project an image of the sun onto any surface.
Internal heat build-up can damage the telescope and any accessories attached to it.
• NEVER use an eyepiece solar filter or a Herschel wedge. Internal heat build up
inside the telescope can cause these devices to crack or break, allowing unltered
sunlight to pass through to the eye.
• DO NOT leave the telescope unsupervised, either when children are present
or adults who may not be familiar with the correct operating procedures of your
telescope.
1

Assembly
A Dust Cap 1 Pan Locking Knob
BObjective Lens 2Platform Locking Knob
CTelescope Optical Tube 3Center-Column Locking Knob
D Red Dot Finder 4 Pan Handle
EFocus Locking Knob 5 Crank Handle
F Erect Image Diagonal 6 Handle for Carrying
GBarlow Lens 7Spreader Lock
H Phone Mount 8 Leg Flip-Locks
I Eyepiece
J Tripod Socket
2

Set the Tripod up
Step 1: Rotate the spreader
lock counterclockwise to
release the center brace.
Step 2: Gently pull the legs
out to spread position.
Step 3: Rotate the spreader
lock clockwise until secure.
Step 4: Pull out each leg ip-
lock (9 ip-locks in total).
Step 5: Extend legs to desired
height.
Step 6: Close all the ip-locks
to secure the legs.
Put the Telescope on the Tripod
Step 1: Pull and hold the
quick-release plate locking
lever.
Step 2: Lift the quick-release
plate up and out.
Step 3: Screw the quick-
release plate to the tripod
socket at the bottom of the
telescope.
Step 4: Twist the screw-head
to make a snug connection.
Step 5: Pull and hold the
quick-release plate locking
lever.
Step 6: Insert the telescope-
plate assembly back into the
tripod head.
3

Set the Telescope up
Step 1: Loosen the two
locking screws on the
focuser.
Step 2: Remove the protective
cap from the focuser of the
telescope.
Step 3: Make sure the two
thumbscrews do not protrude
into the opening.
Step 4: Take off both
protective caps on the
diagonal.
Step 5: Insert diagonal all the
way into the focuser tube.
Step 6: Tighten the two
locking screws on the
focuser.
Step 7: Insert an eyepiece
into the diagonal.
Step 8: Tighten the screw on
the diagonal.
Step 9: Push the red dot
finder scope into the finder
slot.
4

Using the Tripod
Operating
• Using the Pan and Tilt Head
- Tilting
Step 1: Rotate the pan
handle counterclockwise.
Step 2: Tilt the tripod head
to the desired angle.
Step 3: Rotate the pan
handle clockwise to secure
the new position.
- Panning
Step 1: Rotate the
pan locking knob
counterclockwise.
Step 2: Pan the tripod head
to the desired direction.
Step 3: Rotate the pan
locking knob clockwise to
secure the new position.
• Adjusting the Center-Column Height
Step 1: Rotate the center-
column locking knob
counterclockwise.
Step 2: Turn the crank
handle clockwise/
counterclockwise to extend
the center-column to your
desired height.
Step 3: Rotate the center-
column locking knob
clockwise to lock the
center-column.
5

Using Red Dot Finder Scope
• Aligning it with the Telescope
Step 1: Locate a distant
daytime object (at least a
quarter mile away) through
the telescope and centre
it in the eyepiece. In this
example, a chimney tip of
a house is centered in the
eyepiece.
Step 2: Pull out the plastic
piece in the red dot finder
scope.
Step 3: Turn on the
switch.
Step 4: Look through the
red dot nder window with
one eye from 15 to 30cm
away.
Step 5: Move your head to
make the red dot appear
at the center of the finder
window. (because this
point best represents
where the finder scope is
pointing at)
Step 6: Now without
moving the telescope,
adjust the panning screw
and tilting screw on the
finderscope until the red
dot, when kept at the
center of the nder window
by moving your head,
overlaps what is centered
in the view field of the
telescope. In our example,
it should overlap the tip of
the chimney.
Due to the very limited eld of view, locating stars directly by looking through the telescope is
difcult. A nder scope provides a wide eld of view to help you locate celestial objects before
observing them through the telescope, but it must be aligned accurately to the telescope before
use.
• Aligning it with the Telescope
1. Pan and tilt the tripod head to put the red dot on a new target.
2. Look into the eyepiece of the telescope and check to see if the target is in the view of the
telescope. If yes, they are aligned. If not, redo the alignment process.
6

• Locating Objects with Red Dot Finder Scope
Now with the nder scope aligned with the telescope, you can center your desired object in the
nder scope with little effort and then observe it in the eyepiece of the telescope.
Focusing the Telescope
Step 1: Loosen the focus
locking knob.
Step 2: Rotate the focus knob
on either side of the telescope
until the object becomes clear
in the eyepiece.
Step 3: Tighten the focus
locking knob to make sure the
focus doesn't slip.
Telescope Basics
A refracting telescope (also called a refractor) is a type of optical telescope that uses a lens as
its objective to form an image (also referred to as a dioptric telescope). They focus the light and
make distant objects appear brighter, clearer, and magnied. Most refracting telescopes use two
main lenses. The largest lens is called the objective lens, and the smaller lens used for viewing is
called the eyepiece lens.
When a wave such as light passes from one medium to another at an angle it changes direction.
This is called refraction. A lens is a piece of glass designed to bend the light that passes through it
in such a way that an image may be produced.
A refracting telescope uses a combination of lenses to produce an image of a distant object, e.g.
a star or planet. Basically, the objective lens produces an image of a distant object at its focus and
the eyepiece lens magnies this image. We can represent this using a ray diagram which shows
the path of imaginary rays of light passing through the telescope.
What is Refractor Telescope
7

Magnication is given by
Telescope's Focal Length / Eyepiece's Focal Length
For example,
Telescope's focal length is 400mm;
Eyepiece's focal length is 20mm;
Magnication = 400mm / 20mm = 20x
This means that a 20mm eyepiece provides 20x power (magnication) when paired with a 400mm
telescope.
Calculating the Magnication (power)
Caring and Cleaning the Optics
• Replace the dust cap over end of telescope whenever not in use.
• This prevents dust from settling on mirror or lens surface.
• Do not clean mirror or lens unless you are familiar with optical surfaces. Clean nder scope and
eyepieces with special lens paper only.
• Eyepieces should be handled with care, avoid touching optical surfaces.
Support
For any questions, please feel free to contact support @moveshootmove.com, we are always
here to help you!
Share your photo on Instagram with @moveshootmove
Talk with other miniAstro telescope users in Facebook group @move shoot move rotator
Clear skies,
Move Shoot Move Team
8
Table of contents
Popular Telescope manuals by other brands
SKY-WATCHER
SKY-WATCHER AZ GOTO instruction manual

SHARPSTAR
SHARPSTAR 94EDPH instruction manual

Celestron
Celestron CGE800 instruction manual
National Geographic
National Geographic Bresser 9062000 operating instructions
Celestron
Celestron PowerSeeker Square 60 instruction manual
Meade
Meade LX-90 instruction manual


