MOVISUN DOKKI User manual
User Manual
MOVISUN
FCC ID:2ANLVDOKKI
Model Name:DOKKI
1.appearance :

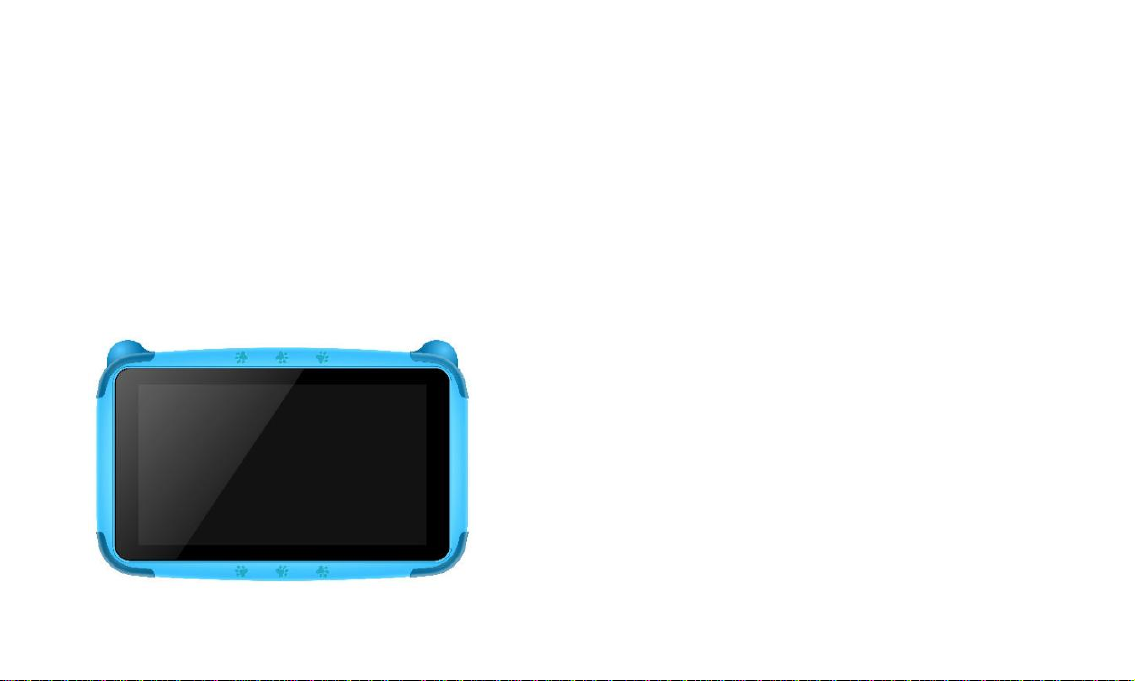
1.1 Touch panel
7” Capacitive touch panel: In The Operation, to click, drag on the touch panel.
1.2 POWER
Start up: Long Press and hold the power button, the system will enter the main interface.
shut down: In the main menu interface, Press the power button about 5 seconds to shut down. The system will
hint "power off" option, Click ”ok”. You can safely shut it down.
Lock screen: Short press power button to lock screen or unlock screen.
【Remark】
a. When power is used, system will shut down automatically.
b. Illegally turn off the device, restart will scan and restore the disk. It may take longer time to enter into system or
cause system crash.
1.3 DC port

Charging through DC charger.
1.4 Micro USB
Micro USB jack: Charging through USB charger or you can use it to connect the computer for data transmission
and external connection USB flash drive through OTG cable.
1.5 MIC
Record microphone.
1.6 earphone jack
3.5 mm standard earphone jack.
1.7 Volume +, Volume-
The buttons Volume +, Volume- achieve changes in the volume.
1.8 TF card
TF-CARD slot: external T-FLASH card
1.9 Camera
There are front camera and rear camera to take photos.
2. First use
2.1 Battery management and charge

Before first use, please make sure the device is fully charged. If not, just need to connect the USB adaptor or
connect to Computer by USB cable, then you can charge.
The first two times please keep charging about 6 hours, after that you just need to charge 4 hours.
【Remark】: This tablet using Built-in polymer battery, Charge must choose.
standard adaptor (Input: AC110~240V 50/60Hz Max:180MA.. Output: DC5.0~5.5V/1.5-2A)
During the charging, the battery icon will scroll or have flashing indicate in battery icon.
When finish charging, battery icon will become green and stop rolling.
In order to prolong the service life of the machine, you are advised to use up the battery power to about 15%
before charging it.
【Remarks】:
a. If you don’t to use this Tablet for long time, in order to avoid no power damage, please charge/play the device
once a month.
b. After shut down for low battery, connect USB adaptor, device will remind low battery, need to wait some time
until the battery is enough power to enter into main menu.
c. Device charging should be in standby status for normal charging time.
Because with device and screen power consumption, it may cause longer charging time.
2.2 Connection with PC
Use USB cable to connect device to PC. The unit is a “generic USB Device” and does not need any extra
software drivers to connect to your PC. After your PC has recognized the unit, you will see a message on the
bottom of your PC screen informing you. (If your PC warns: Drivers not installed, ignore this)

To complete the connection, you need to reveal the Notifications Screen on the unit. You will see the notification
menu similar to this:
Select USB connected.
You will then see this screen:
Select Turn on USB storage.
In the load mode, you can copy, delete the file on the device and the file on the memory card.

3. Equipment operation interface
3.1 Main interface After start-up, it will enter the home screen.
In home screen, you can manage the software ICONS: long press the
ICONS 3 seconds, after the icons will be bigger, then you can drag
anywhere in the interface.
Delete ICONS: long press the ICON for 3 seconds, drag the icons to the mark “X”, after that you can delete icon.
In the home screen, when you press “ ”, it will go to main interface.

In the main interface, you can touch the icon to open the APPs
3.2 status bar
The status bar above of the screen
Top right corner display : battery charge icons, current time.
Bottom display: ESC button, Menu, Recent applications, Screenshot, Volume -, Volume +.
4. Equipment basic setting
Setting: Click setting icons , enter setting interface
4.1 Wi-Fi
Drag “OFF” to “On”, it will show the available Wi-Fi signal.Choose yours, then connect it by entering password.

You can browse website then.
4.2 3G setting
There are various ways to use your tablet while outside of a WIFI hotspot.
Using a 3G USB Dongle:
• The Software drivers for 3G dongles are supplied by Google for the Android operating system, which is
installed in your unit.
The compatible 3G dongles currently are outlined here:
3G WCDMA: HUAWEI: E160E / E1750 / E230 / E1782 / E182G / E176G / UMG1691,ZTE: MF637U / MF633 /
MF633BP-1
3G CDMA2000/EVDO: HUAWEI : E150 / EC1261 / EC122 / EC156 / EC1270
ZTE: AC580 / AC2736 / AC2746
Before you purchase a 3G dongle, please double check with the Telco store
that it is compatible with one of the above models and that they have NOT
ALTERED THE INTERNAL FIRMWARE OF THE DONGLE.
Then, follow the instructions below on how to install it:
Connect 3G dongle to device by OTG cable, wait about 3-10 seconds. Then 3G dongle will be recognized by the
device. 3G network will be connected automatically.
Using your Smart Phone instead of a 3G Dongle
Another choice you have is to set up your Smart Phone as a portable WIFI router. This works in the same way as
3G dongles, however, you do not need to connect it to the USB port of the tablet. This way, there are no software
drivers compatibility issues.
Essentially, this method is like having a portable WIFI router in your pocket (your smart phone) and

works like this: “3G in—Wi-Fi out”. Just setup your Smart Phone to be a WIFI Hot Spot and then “tune” the tablet
to it using the normal Wi-Fi feature.
Please consult your Smart Phone manual, however, here is a snapshot of how its done:
IPHONE
SETTINGS
PERSONAL HOTSPOT—TURN IT ON
NOTE THE PASSWORD SHOWN ON THE PHONE
ANDROID SMART PHONE (HTC / SAMSUNG ETC)
SETTINGS
WIRELESS and NETWORKS
MOBILE ACCESS POINT SETTINGS
ACTIVATE
4.3 Sound: Volume, Default notification sound, Touch sounds, Screen lock sound.
4.4 Display: Brightness, wallpaper, auto-rotate screen, sleep, Daydream, front size, Cast screen ,
Sensors ,HDMI , output screen resize.
4.5 Storage
Remove TF card, view the available storage space.
【Remark】: please touch option ” Unmount Removable SD card”, so that you can remove SD card safely.
4.6 Application Management
How to Install Android Applications:
Purchased or free Android applications that you have downloaded to your computer can be installed
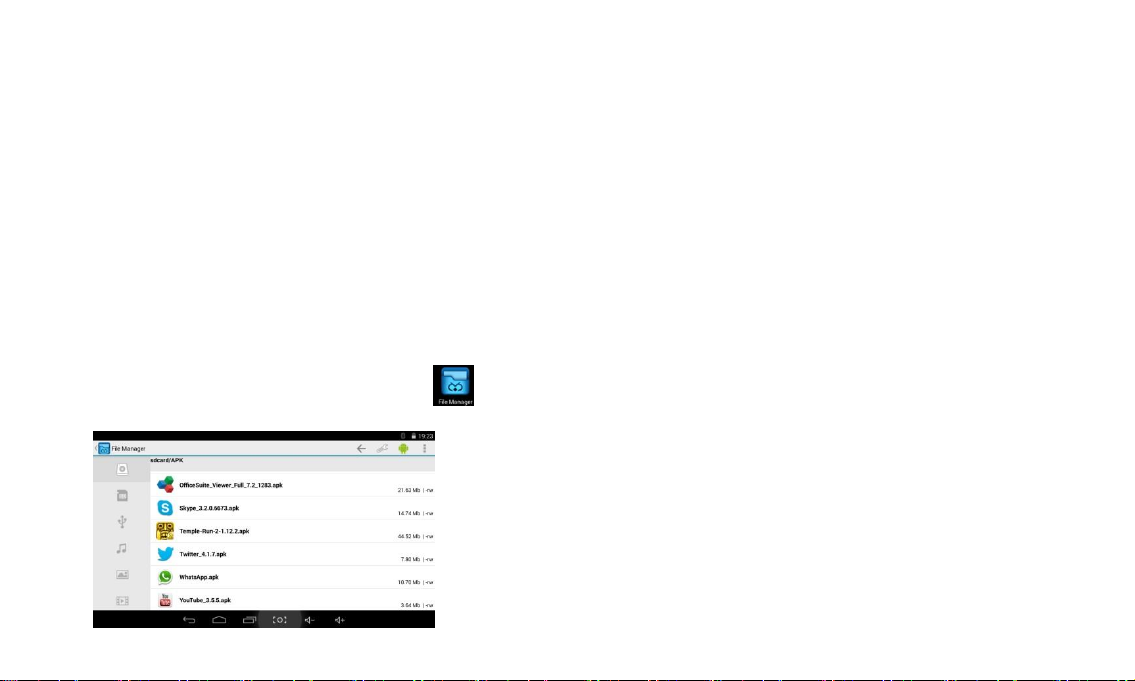
quickly & easily on the unit by using the File Manager application.
a. Copy the .apk files that you want to install onto a SD card or USB device, then
insert or connect it to your Device.
Tap the File Manager application icon to reveal this screen:
b. Tap or and locate the folder in which the .apk application files were saved.
c. Tap on an .apk file to start to install. Tap NEXT to continue the installation, and then see the confirmation of
install.
Tap Open to launch the application now, or tap Done to return to File Manager.
Manage and uninstall Application
【Remark】:
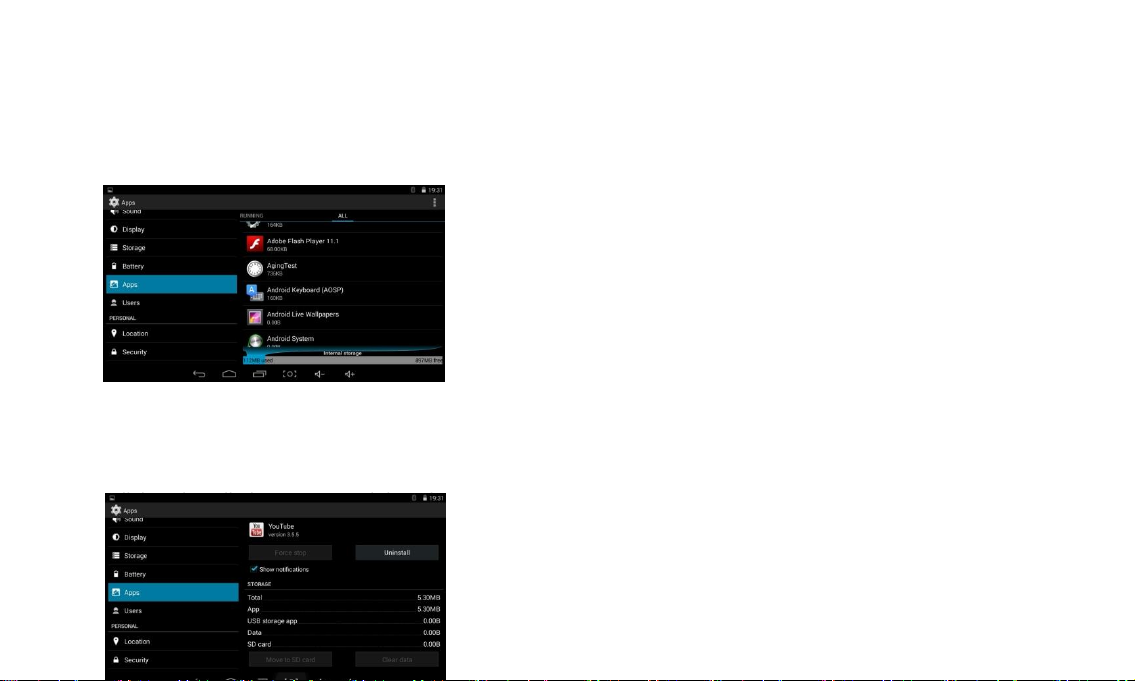
Uninstall
1. enter “setting”>”Apps”>”ALL” And there will be all the program list
2. Click the application you want to uninstall, will enter the following interface
3. Click Uninstall, then you can delete the application.
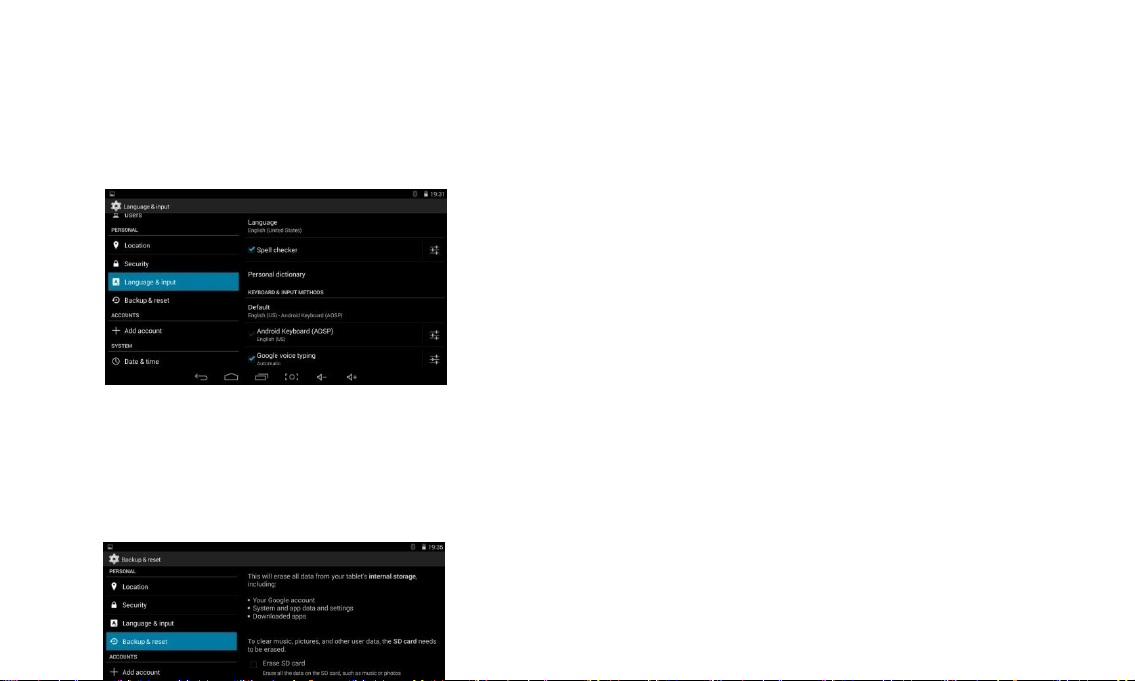
4.7 Language & input
Select Language: multi languages are available
Android keyboard: Android keyboard setting.
4.8 Backup & reset
Backup &RESTORE: Back up my data, Backup account, Automatic restore, Factory data reset.
Personal Data: Erases all data on tablet.

4.9 Date & time
Select time zone and select date format, time format.

5.0
Bluetooth:
Bluetooth function operation
1. Click setting application in main menu interface
2. Click bluetooth and open it.
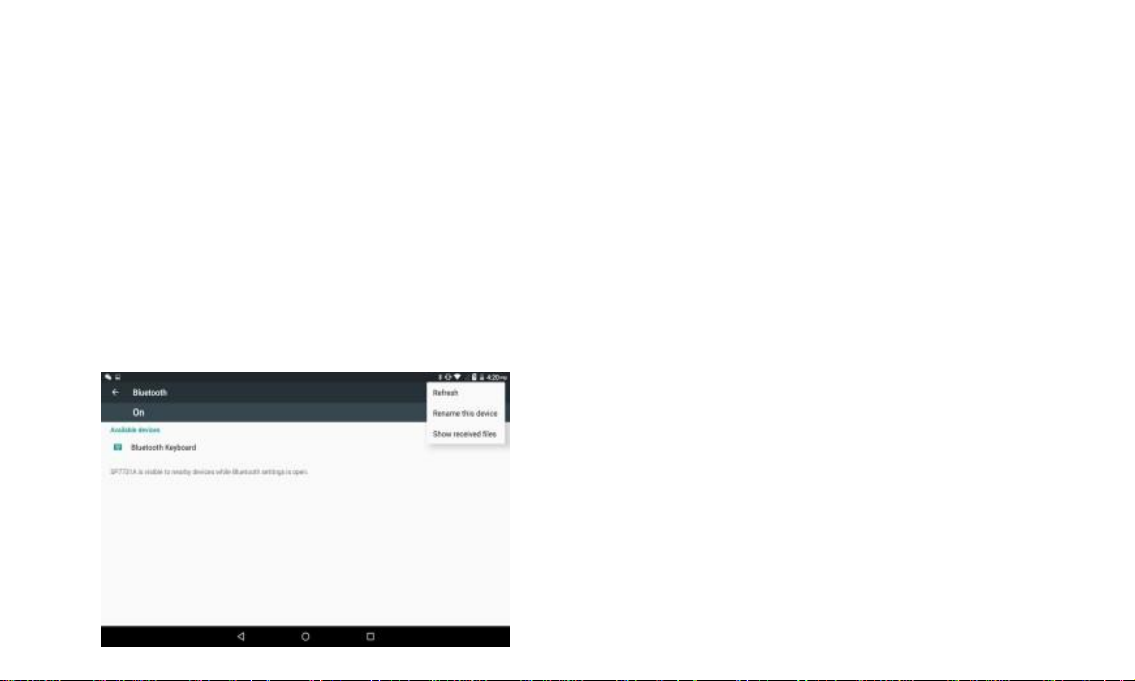
3. If somebody open bluetooth in your surrounding. click search device in right above, then MID will
automatically serach the bluetooth device nearby.As picture below:
4.Click the available bluetooth device, it will popup
requset wondow enter into related password, and matach the device to connect.
5.After matach successfully, choose the operation you want to, click to enter into picture below.
Bluetooth setting
1.Rename tablet
Click icon in right top of picture , as picture below, select rename tablet, you can rename it as you want
2.Display the file you received, choose display the file you received in picture below, you can view download and
upload files.

FCC Warning
This device complies with part 15 of the FCC Rules. Operation is subject to the following two
conditions: (1) This device may not cause harmful interference, and (2) this device must accept any
interference received, including interference that may cause undesired operation.
Any Changes or modifications not expressly approved by the party responsible for compliance could
void the user's authority to operate the equipment.
Note: This equipment has been tested and found to comply with the limits for a Class B digital device,
pursuant to part 15 of the FCC Rules. These limits are designed to provide reasonable protection
against harmful interference in a residential installation. This equipment generates uses and can
radiate radio frequency energy and, if not installed and used in accordance with the instructions, may
cause harmful interference to radio communications. However, there is no guarantee that
interference will not occur in a particular installation. If this equipment does cause harmful
interference to radio or television reception, which can be determined by turning the equipment off
and on, the user is encouraged to try to correct the interference by one or more of the following
measures:

-Reorient or relocate the receiving antenna.
-Increase the separation between the equipment and receiver.
-Connect the equipment into an outlet on a circuit different from that to which the receiver is
connected.
-Consult the dealer or an experienced radio/TV technician for help.
Specific Absorption Rate (SAR) information:
This TABLET meets the government's requirements for exposure to radio waves. The guidelines
are based on standards that were developed by independent scientific organizations through periodic
and thorough evaluation of scientific studies. The standards include a substantial safety margin
designed to assure the safety of all persons regardless of age or health.
FCC RF Exposure Information and Statement
The SAR limit of USA (FCC) is 1.6 W/kg averaged over one gram of tissue. Device types: TABLET
(FCC ID:2ANLVDOKKI) has also been tested against this SAR limit. The highest SAR value reported
under this standard during product certification for use at the body is 0.555W/kg. the simultaneous
transmission SAR value is 0.555W/kg on the head This device was tested for typical body-worn
operations with the back of the handset kept 0mm from the body. To maintain compliance with FCC
RF exposure requirements, use accessories that maintain a 0mm separation distance between the

user's body and the back of the handset. The use of belt clips, holsters and similar accessories should
not contain metallic components in its assembly. The use of accessories that do not satisfy these
requirements may not comply with FCC RF exposure requirements, and should be avoided.
Body-worn Operation
This device was tested for typical body-worn operations. To comply with RF exposure requirements, a
minimum separation distance of 0mm must be maintained between the user’s body and the handset,
including the antenna. Third-party belt-clips, holsters, and similar accessories used by this device
should not contain any metallic components. Body-worn accessories that do not meet these
requirements may not comply with RF exposure requirements and should be avoided. Use only the
supplied or an approved antenna.
Table of contents


