Teletrac FLEET DIRECTOR User manual

FLEET DIRECTOR TABLET
Navigation & Messaging
User Guide


COPYRIGHT NOTICE
This is an unpublished work protected by the United States copyright laws and is
proprietary to Teletrac, Inc. and its affiliates. Disclosure, copying, reproduction, merger,
translation, modification, enhancement or use by anyone other than authorized
employees or licensees of Teletrac, Inc. and its affiliates without the prior written
consent of Teletrac, Inc. and its affiliates is prohibited.
This copyright notice should not be construed as evidence of publication.
DISCLAIMER
Teletrac, Inc. and its affiliates make a genuine effort to ensure the accuracy and
quality of these materials. However, Teletrac, Inc. and its affiliates make no warranty
whatsoever, express or implied, with respect to the completeness or accuracy of the
contents herein and accepts no liability of any kind including (but not limited to)
performance, merchantability, fitness for any particular purpose, or any losses
or damages of any kind caused or alleged to be caused directly or indirectly from
this document.
TRADEMARK NOTICES
Fleet Director® is a registered trademark of Teletrac, Inc.
Copyright © 2014 Teletrac, Inc.
All Rights Reserved
Teletrac, Inc.
7391Lincoln Way
Garden Grove, CA 92841
www.teletrac.com
1.800.TELETRAC


TABLE OF CONTENTS
Introduction...................................................................................................................................1
Message Indicator.................................................................................................................1
Messaging Icons....................................................................................................................1
Viewing a Message...............................................................................................................2
Create and Send Messages......................................................................................................3
Types of Messages................................................................................................................3
Sending Canned Messages................................................................................................3
Sending Form-Fill Messages .............................................................................................4
Sending Free-Text Messages .............................................................................................5
Navigation ......................................................................................................................................6
Setting a Home Address .....................................................................................................6
Navigating to an Address...................................................................................................7
Navigating to a Location Stored in History...................................................................8
Navigating to a Point on the Map....................................................................................9
Navigating to GPS Coordinates......................................................................................10
GPS Coordinates Using Decimal ..................................................................................10
GPS Coordinates Using Degree, Minutes and Seconds........................................11
Adding a Location to Favorites.......................................................................................12
Navigating to a Location in Favorites...........................................................................13
Viewing Active Routes.......................................................................................................14
Viewing Blocked Roads.....................................................................................................14
Stopping Navigation..........................................................................................................15
Muting Navigation..............................................................................................................15
Tablet Settings ............................................................................................................................16
Adjusting Volume and Brightness ..........................................................................................16
Adjusting Navigation Routing or Settings ...........................................................................16
Adjusting Display Settings........................................................................................................16

Navigation & Messaging User Guide1
INTRODUCTION
The Fleet Director Tablet allows drivers to send and receive messages using a QWERTY
keyboard via a color touch screen, in addition to supporting a full-featured Turn-By-
Turn (TBT) navigation. This guide shows how to use the messaging and navigation
functions of the Tablet.
MESSAGE INDICATOR
The envelope icon on the right of the screen noties a driver when a message has
been received by doing the following:
nThis helpful icon shows (numerically on the top right) how many messages
have been received by the Tablet. In addition, a beep sound quickly alerts the
Driver that new messages are waiting in the messaging inbox. The beep repeats
every 30 seconds until the Driver reviews the messages.
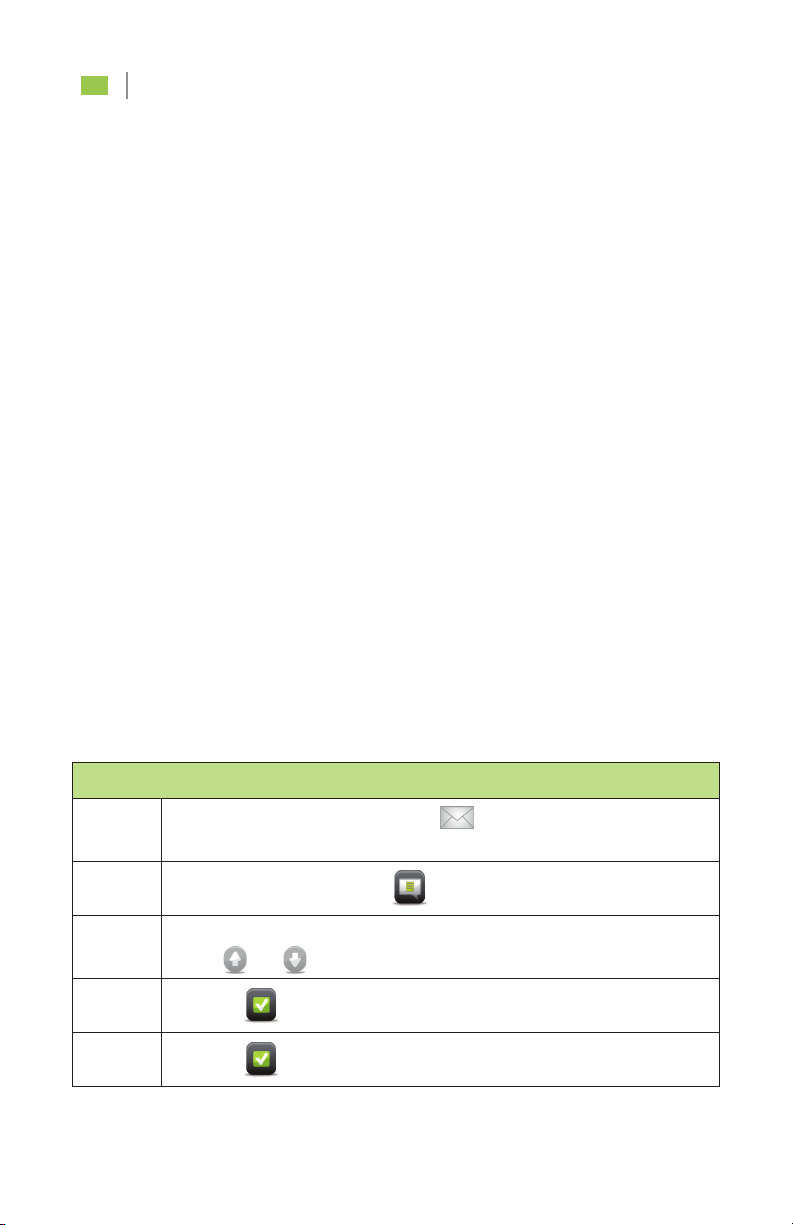
MESSAGING ICONS
Users will nd these messaging icons when viewing or creating messages in the Tablet.
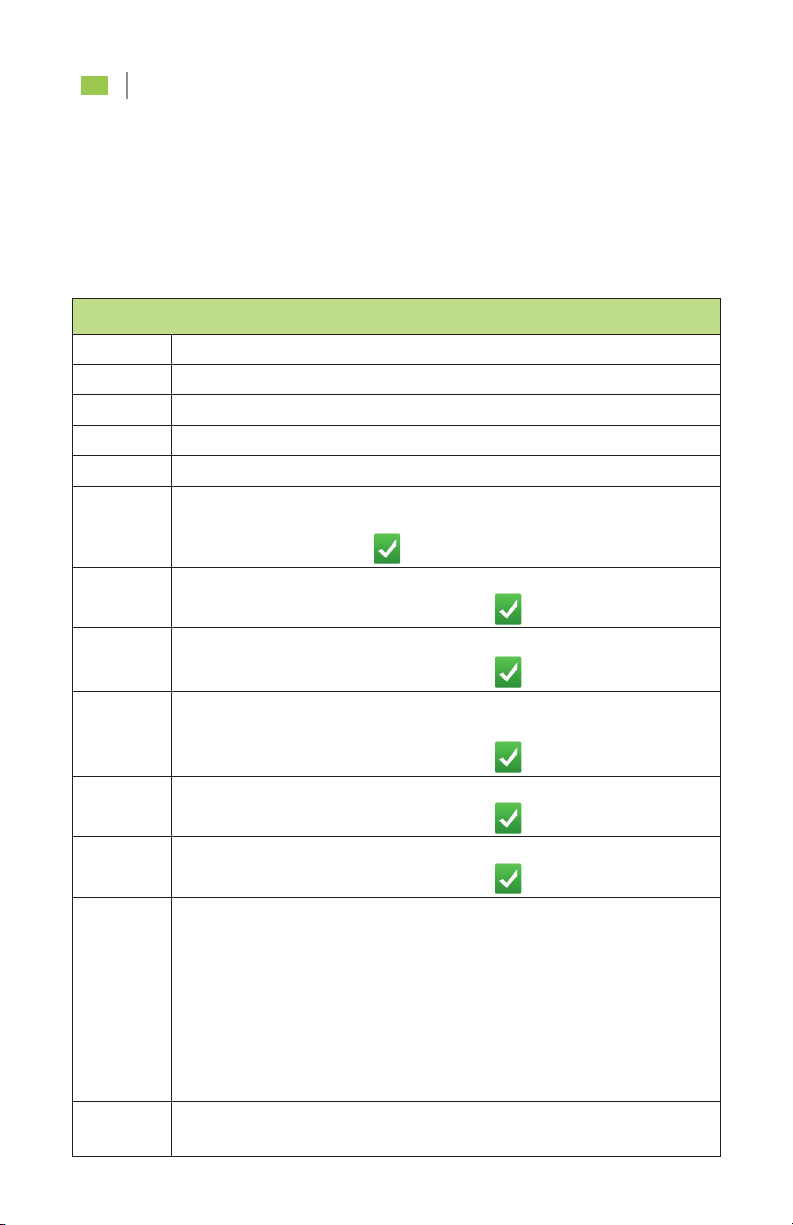
Messaging Icons
To view the rst and previous message page.
To view the next message page(s).
To delete the current message.
To save the message shown.
To exit the Messaging screen and return to the Inbox.

2Navigation & Messaging User Guide
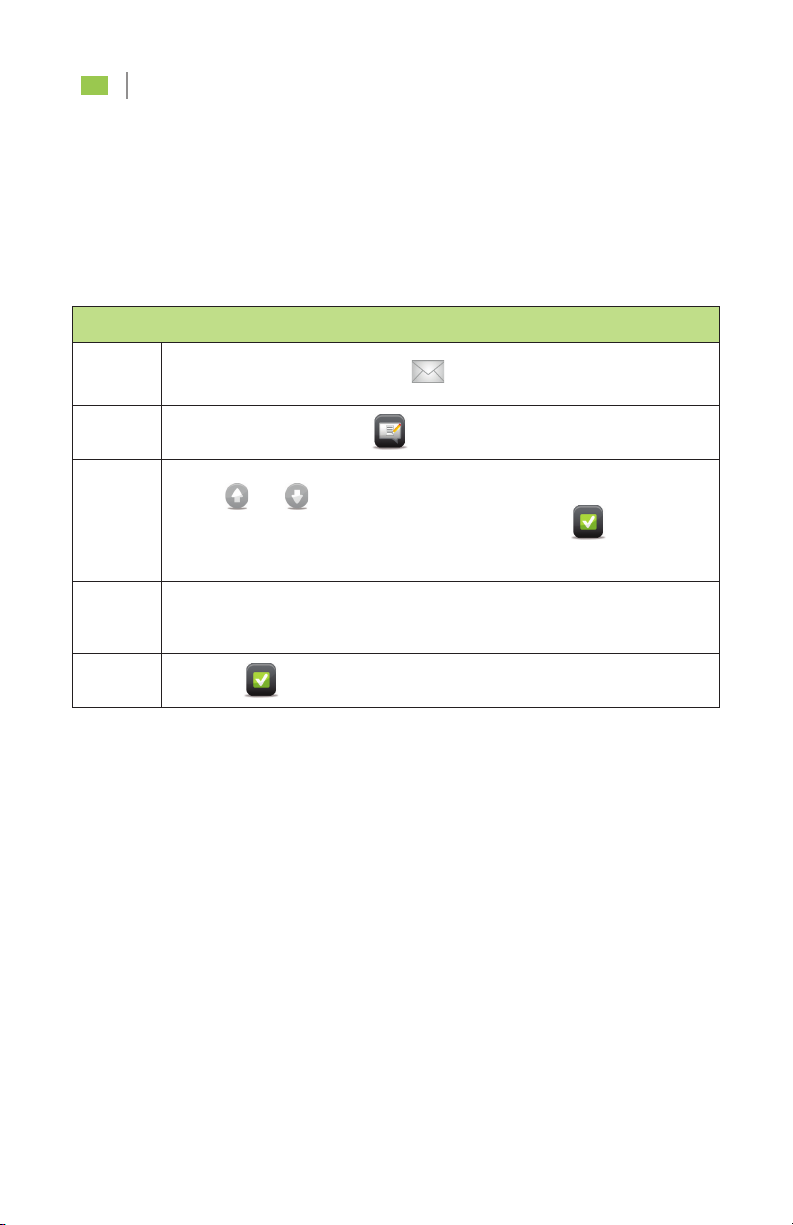
Note: Some messages may be six lines or more. To view the entire message,
touch or to scroll up or scroll down while viewing the message contents.
Viewing a Message
Step 1 Touch . The Message Inbox screen appears.
The Tablet displays the most recent messages first (top to bottom).
Step 2
Touch any one message to highlight your selection. Touch .
The View Message window appears. At this point, Drivers can view
the entire message and scroll down (if necessary). (See Note.)
Step 3 Touch Save to save the message or touch Delete to delete.
VIEWING A MESSAGE
Quickly view incoming messages on the Tablet.
Navigation & Messaging User Guide3
CREATE AND SEND MESSAGES
TYPES OF MESSAGES*
Drivers have the ability to send three types of messages from the Tablet:
• Canned Messages – Pre-installed messages that do not require data entry
before sending. These messages are the most common type of message sent
by a driver to dispatch and are either default or custom, based on a company’s
business needs. Useful for quick work updates and two-way messaging.
• Form-Fill Messages – Template-based messages that ask Drivers to enter
information into available fields. These messages can be used to send delivery
and pick up information, such as a stop number, parcels picked up or delivered,
weight of parcel and time of pick up, depending on the available fields.
• Free-Text Messages – Messages that allow Drivers to include up to
500 characters in free form. This option is useful for detailed messages.
*Canned and Form-Fill messages can be customized via the Teletrac system.
SENDING CANNED MESSAGES
The following shows Drivers how to send pre-set Canned messages via the Tablet
at any time.
Sending a Canned Message
Step 1 From the right side menu, touch .
This opens the Messaging Inbox.
Step 2 Touch Canned messages .
Step 3 Touch the message to highlight your selection or
use and to scroll through the message pages to search.
Step 4 Touch . The“Confirm Canned Message” screen appears.
Step 5 Touch to send the message.

4Navigation & Messaging User Guide
Sending a Form-Fill Message
Step 1 From the right side menu, touch . This opens the
Messaging Inbox.
Step 2 Touch Form Messages .
Step 3 Touch the message to highlight your selection or
use and to scroll through the message pages to search.
Step 4 Touch to retrieve the message. The Form-Fill message appears
with brackets where you can enter information.
Step 5
Use the or to move the bracket to a field. Touch anywhere in
the message: the keyboard appears. Enter the information you want
to send.
Note: Information entered applies only to the bracketed field regardless
of where the user touches within the message.
Step 6
Touch to send the message. This sends you back to the
Form Message screen.
Note: If your form has more than one field, use the and
to move to the next or previous field. Repeat step 5 for
additional entries.
SENDING FORMFILL MESSAGES
The following shows Drivers how to send template-based Form-Fill messages via the
Tablet at any time.
Navigation & Messaging User Guide5
SENDING FREETEXT MESSAGES
The following shows Drivers how to send detailed Free-Text messages (up to
500 characters) via the Tablet at any time.
Sending a Free-Text Message
Step 1 From right side menu, touch . This opens the Messaging Inbox.
Step 2 Touch Form Messages .
Step 3
Use and to scroll and find the FREE TEXT option.
Touch the message to highlight it and then touch .
This takes you to the Edit Message screen.
Step 4 Touch the message box. The QWERTY keyboard appears.
Enter your characters.
Step 5 Touch to send the message.

6Navigation & Messaging User Guide
Setting a Home Address
Step 1 Touch Navigation.
Step 2 Touch any location on the map. The Navigation options appear.
Step 3 Touch Navigate To.
Step 4 Touch Home in the Navigate To screen.
The Home Settings screen appears.
Step 5 Touch to enter your address.
Step 6
From the City tab, enter the entire city or ZIP code. You may enter
the first two/three letters/numbers of the city or ZIP and touch
the orange drop-down arrow (if active) to select from a list. When
complete, touch .
Step 7
From the Road (street) tab, enter the entire street name. You may
enter the first two/three letters of the street name and touch the
orange drop-down arrow (if active) to select from the list. When
complete, touch .
Note: To edit the city, touch the City tab.
Step 8
From the Road Number tab. Enter the address number. When
complete, touch .
Note: To edit the city or the street, touch the City or the Road tab.
Step 9 Touch to return to the Navigate To screen.
NAVIGATION
This section shows Drivers how to launch the turn-by-turn navigation application,
navigate to an address or Point of Interest (POI), navigate to locations saved in the
history, and how to save and navigate to locations in Favorites.
SETTING A HOME ADDRESS
Quickly set up a home address to instantly navigate to the“home” location, such as
headquarters or a frequent customer location, from any travel point, at any time.

Navigation & Messaging User Guide7
Navigating to an Address
Step 1 Touch Navigation.
Step 2 Touch any location on the map.
Step 3 Touch Navigate To.
Step 4 Touch Address.
Step 5
From the City tab, enter the entire city or ZIP code. You may enter
the first two/three letters/numbers of the city or ZIP and touch
the orange drop-down arrow (if active) to select from a list. When
complete, touch .
Step 6
Touch the Road (street) tab and enter the entire street name. You
may enter the first two/three letters of the street name and touch
the orange drop-down arrow (if active) to select from the list. When
complete, touch .
Note: To edit the city, touch the City tab.
Step 7
From the Road Number tab. Enter the address number. When
complete, touch . The Launch Navigation screen appears.
At this point, touch the middle icon to change the default route
settings to one of the following:
• Shortest time • No Toll
• No Highway • Shortest way
• No Highway and No Toll
Touch the Vehicle icon to change the vehicle type.
Note: To edit the city or the street, touch the City or the Road tab.
Step 8 Once you have selected an address, touch either Xto cancel your
selection or touch Go to navigate to the address.
NAVIGATING TO AN ADDRESS
Quickly navigate to a targeted address at any time.
8Navigation & Messaging User Guide
Navigating to a Location Stored in History
Step 1 Touch Navigation.
Step 2 Touch any location on the map.
Step 3 Touch Navigate To.
Step 4 Touch History.
Step 5
Touch an address in the History list. Then touch Go.
The Launch Navigation screen appears.
At this point, touch the middle icon to change the default route
settings to one of the following:
• Shortest time • No Toll
• No Highway • Shortest way
• No Highway and No Toll
Touch the Vehicle icon to change the vehicle type.
Step 6 Once you have selected an address, touch either Xto cancel your
selection or touch Go to navigate to the previously used address.
NAVIGATING TO A LOCATION STORED IN HISTORY
Quickly navigate to a previous location traveled, at any time.

Navigation & Messaging User Guide9
Navigating to a point on the map
Step 1 Touch Navigation.
Step 2 Touch any location on the map.
Step 3 Touch Navigate To.
Step 4 Touch Point on map. The map screen appears.
Step 5 Touch the +or –keys to adjust the zoom level.
Step 6 Swipe one or two fingers up, down, right, or left to adjust the
placement of the location on the map.
Step 7
When you find the location, tap the Tablet screen in the desired
place, and then touch Go. The Launch Navigation screen appears.
At this point, touch the middle icon to change the default route
settings to one of the following:
• Shortest time • No Toll
• No Highway • Shortest way
• No Highway and No Toll
Touch the Vehicle icon to change the vehicle type.
Step 8 Once you have selected an address, touch either Xto cancel your
selection or touch Go to navigate to the point on the map.
NAVIGATING TO A POINT ON THE MAP
Quickly navigate to a specic point on the map, at any time.
10Navigation & Messaging User Guide
NAVIGATING TO GPS COORDINATES
Quickly enter GPS coordinates (latitude/longitude by using a decimal or minutes,
degree and seconds) and navigate to the location, at any time.
GPS Coordinates Using Decimal
Note: Drivers must have exact latitude/longitude coordinates for a precise
navigation. The GO icon will not highlight if values entered are invalid.
Navigating to a GPS Coordinate Using Decimal
Step 1 Touch Navigation.
Step 2 Touch any location on the map.
Step 3 Touch Navigate To.
Step 4 Touch GPS Coordinates. The GPS Coordinates screen appears.
Step 5 Below the GPS Coordinates header, touch the 0.0000 option.
Step 6 Touch the Latitude bar. The numeric keypad appears.
Enter the value, including the decimal. When complete, touch .
Step 7 Touch the Longitude box. The numeric keypad appears.
Enter the value, including the decimal. When complete, touch .
Step 8
Touch Go. The Launch Navigation screen appears.
At this point, touch the middle icon to change the default route
settings to one of the following:
• Shortest time • No Toll
• No Highway • Shortest way
• No Highway and No Toll
Touch the Vehicle icon to change the vehicle type.
Step 9
Once you have selected your settings, touch either Xto cancel
your selection or touch Go to navigate to your location
(decimal coordinates).
Navigation & Messaging User Guide11
Navigating to a GPS Coordinate Using Degree, Minutes and Seconds
Step 1 Touch Navigation.
Step 2 Touch any location on the map.
Step 3 Touch Navigate To.
Step 4 Touch GPS Coordinates. The GPS Coordinates screen appears.
Step 5 Below the GPS Coordinates header, touch the 0°0’0” option.
Step 6
Touch below Latitude to change from North to South. Touch the
Degree (°) box. The numeric keypad appears. Enter the value.
When complete, touch .
Step 7 Touch the Minutes (‘) box. The numeric keypad appears.
Enter the value. When complete, touch .
Step 8 Touch the Seconds (“) box. The numeric keypad appears.
Enter the value. When complete, touch .
Step 9
Touch below Longitude to change from East to West.
Touch the Degree (°) box. The numeric keypad appears.
Enter the value. When complete, touch .
Step 10 Touch the Minutes (‘) box. The numeric keypad appears.
Enter the value. When complete, touch .
Step 11 Touch the Seconds (“) box. The numeric keypad appears.
Enter the value. When complete, touch .
Step 12
Touch Go. The Launch Navigation screen appears.
At this point, touch the middle icon to change the default route
settings to one of the following:
• Shortest time • No Toll
• No Highway • Shortest way
• No Highway and No Toll
Touch the Vehicle icon to change the vehicle type.
Step 13 Once you have selected your settings, touch either Xto cancel your
selection or touch Go to navigate to your location.
GPS Coordinates Using Degree, Minutes And Seconds
Note: Drivers must have exact latitude/longitude coordinates for a precise
navigation. The GO icon will not highlight if values entered are invalid.

12Navigation & Messaging User Guide
Adding a Location to Favorites
Step 1 Touch Navigation.
Step 2 Touch any location on the map.
Step 3 Touch Navigate To.
Step 4 Touch History.
Step 5 Touch an address in the History list and then touch the star icon.
The keyboard appears.
Step 6 Enter a unique name for this location. When complete, touch .
Your entry is saved in Favorites.
Step 7 Touch to return the History list screen.
Step 8 Touch to return to the Navigate To screen.
ADDING A LOCATION TO FAVORITES
Quickly add locations to your Favorites for a fast and easy search.

Navigation & Messaging User Guide13
NAVIGATING TO A LOCATION IN FAVORITES
Quickly navigate to locations listed as Favorites at any time.
Navigating to a Location in Favorites
Step 1 Touch Navigation.
Step 2 Touch any location on the map.
Step 3 Touch Navigate To.
Step 4 Touch Favorites. The Favorites list appears.
Step 5
Touch a location in the Favorites list. Then touch Go.
The Launch Navigation screen will appear.
At this point, touch the middle icon to change the default route
settings to one of the following:
• Shortest time • No Toll
• No Highway • Shortest way
• No Highway and No Toll
Touch the Vehicle icon to change the vehicle type.
Step 6 Once you have selected your settings, touch Xto cancel your
selection or touch Go to navigate to your Favorites location.

14Navigation & Messaging User Guide
VIEWING ACTIVE ROUTES
Quickly view the remaining distance of the active route from the most
recent travel point on the navigation map.
Viewing Blocked Roads
Quickly view and avoid blocked roads.
Viewing an Active Route
Step 1 Touch Navigation.
Step 2 Touch any location on the map. The Navigation screen appears.
Step 3 Touch Map Explorer. The map shows the remainder of the
active route.
Step 4 Touch to return the Navigation screen.
Step 5 Touch to return to the map screen.
Viewing Blocked roads
Step 1 Touch Navigation.
Step 2 Touch any location on the map. The Navigation screen appears.
Step 3 Touch Blocked road. The Avoid road on… screen appears with
each segment of the route.
Step 4
Touch the appropriate segment you want to avoid.
Note: The Tablet automatically recalculates the route, redirecting you
away from the current road to an alternate route.

Navigation & Messaging User Guide15
MUTING NAVIGATION
Quickly mute voice-guided navigation.
Muting Navigation
Step 1 Touch Navigation.
Step 2 Touch any location on the map. The Navigation screens appears.
Step 3 Touch Mute.
Note: To unmute, touch Mute again.
Step 4 Touch to return to the map screen.
STOPPING NAVIGATION
Quickly stop any current or ongoing navigation.
Stopping Navigation
Step 1 Touch Navigation or touch anywhere in the navigation map. The
Navigation screens appears.
Step 2 Touch Stop Navigation. Navigation stops.
Table of contents


