MP MP-HT800-LCRS-8 User manual

25º
25º25º
25º
CENTER
Specification:
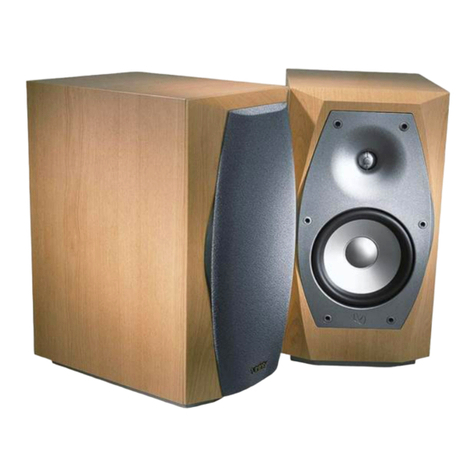
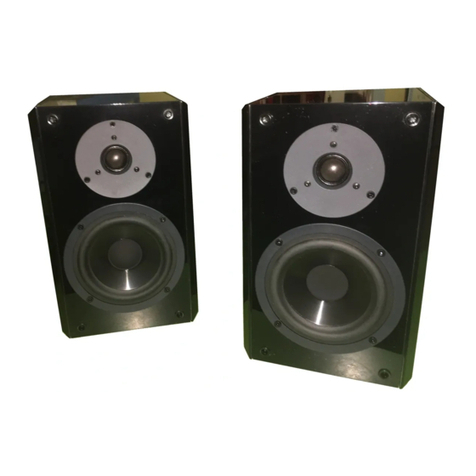
MP-HT800-LCRS-8
8" On-wall Speaker Systems
Grill:Wood grill
Box :MDF Matt black cabinet
Woofer: 8" Fiberglass cone woofer
Midrange: 4" Fiberglass cone midrange driver
Tweeter:1" Magnesium dome tweeter
Frquency: 70Hz - 35KHz
Sensitivity: 90 dB 1m/1w
Nominal Impedance: 4 ohm
Power: 10-150 watts
Dimensions(HxWxD): 550 x 302x 104 mm
Cutout Dimensions(HxW) :520 x 285 mm
Pack: Single pack
Specifications are those in effect at the time of printing.
MP Loudspeaker reserves the right to change specifications
or appearance at any time without notice.
Before Installation:
-Where is the best place to install the speaker
-Where do the speaker sound the best
-Try to separate the speaker 6-10 feet apart
-When placing the speakers in the ceiling, try to install them
so that the fixed 15° angle woofer is pointed towards the
main listening area. (For LCR only)
Room Acoustics:
Hard surfaces create lots of sound reflections in the room
while soft surfaces tend to absorb sound. Note the speakers’
location in terms of proximity to glass and other highly sound
reflective or absorptive surfaces. A simple set of curtains or
an area rug can make a major difference in sound quality and
intelligibility by reducing excessive reflections.
The more similar the speaker’s surroundings, the more
consistent the sound will be. So placing one speaker directly
adjacent to a glass wall, with the other speaker by an open
archway, will make for two dramatically different sounding
speakers.
Note that as bass frequencies reflect within the room, some
locations may be bass heavy while other areas may be bass
shy. With an external subwoofer, changing its placement
within the room may reduce these effects.
But when in-wall speakers are utilized full range, the only real
option is to change the listening position, if you end up in a
difficult bass area.
Speaker Product Warranty:
All in-ceiling, in-wall, in-room speakers and volume controls
have a limited lifetime warranty. This warranty includes lifetime
parts and repair labor on all components. The warranty extends
only to the original purchaser of the product and not to any
subsequent owner.
MPs obligation under these warranties is limited to repairing or
replacing any component found defective in material or work
-manship under normal conditions of use with an equal and/or
current product.
These warranties shall not apply to products which have been
abused, modified, or disassembled. Products to be repaired or
returned under this warranty must be returned to the factory
through an authorized MP dealer with all transportation and i
nsurance charges prepaid.
It is the policy of MP Speaker to continuously incorporate
Improvements into our product. All Specifications are subject
to change without notice.
If you have any questions regarding this or any other MP Product
Pls contact MP dealer directly.
Speaker Position:
For all the situations, it’s recommended that you first place
small box speakers in the proposed locations, just to get a
good idea of how that location will sound. On-wall speakers a
re tough to move once they’re installed!
For stereo music reproduction the speakers are best located
at approximately ear level when seated, both on the same
wall, facing the prime listening location.
A separation of approximately six to eight feet between the
left and right speakers is usually good. Ideally, the distance
between the two speakers will be the same as the distance
from the speakers to the listening position.
www.marnap.com

MP Loudspeaker Quick Start Guide
Choose the Speaker Location:
.
Thank you purchase this MP product, like all of our
product, if installed correctly, these speakers will
bring you years of outstanding listening enjoyment.
This On-wall speaker can be mounted either horizontally
or vertically with almost identical performance.
Place the left and right speakers on either side on the
Video screen. You should try to place the tweeter as
close to ear level as possible.
Ideally you want to place the center channel at the
same level as the left and right speakers. If you must
place the center channel above or below the screen,
keep the distance to a minimun between L/R.
Prepare before Speaker Installation:
.
If the home pre-wired for speakers at construction time,
There should also be speaker cable at this location.
After the drywall is installed and the hole is cut, the speaker
is then easily installed. Once the hole is cut in the drywall,
the pre-wired speaker cable should be in the wall near the
hole. If rough-in speaker rings were used, move on to
“Speaker Installation”.
Find the location to where the speaker wire was pre-wired
to. Locate the wood studs or joists nearest the desired loca
-tion and make sure they will not interfere with speaker loca
-tion.
Mark small holes in the center of your outline 4 pcs mounting
brackets. If there are no problems with your mounting loca
-tion, proceed and drill the holes, put screw in. At this point,
you should be able to see or find the speaker cable.
Speaker Installation:
These speakers are mono so you will need two speakers for
stereo sound,one for the right channel and one for the left.
There should be a two conductor speaker cable pre-wire to
each of the speaker locations. Make sure you find each of t
he speaker cables and pull them though the cut speaker
holes.
Remove the speaker from the box and inspect for any
damage. If there is any damage, contact MP Dealer
immediately.
Prepare the Speaker cable:
You should have located the speaker cable by now, so it’s
time to prep it for connection to the speaker. Strip back the
outside insulation so the individual conductors are showing.
Depending on the cable, there should be two or four separate
conductors. Strip back the insulation on each conductor to
show the bare copper wire.
We suggest stripping enough so that 3/8” of copper wire is
showing. Push down each post and insert the speaker cable.
The posts will be located on the back of the speaker on the
crossover. Make sure that only BARE wire is touching the
speaker post once it slides back into place.
Mounting the Speaker:
.
Warning:
.
Make sure to observe polarity, R + (positive) from the
amp or volume control to speaker R + and R – (negative)
to R –. Make sure to do the same for the left channel.
When connecting the other end of the speaker cable to
the amplifier or receiver make sure to observe the same
polarity as you did at the speaker connection.
Put the speaker into the hole (the speaker cable should
be connected) and make sure the speaker cable stays
connected to the speaker.
Carefully tuck the speaker cable up into the hole as you
put the speaker into place.
INSTALL & REMOVE THE G .
After determing the best location for the speaker, use
the attached four Mounting bracket to install the speaker
on the Wall.
We also Prepar four M6 threaded insert behind the box
as your more options.
www.marnap.com
