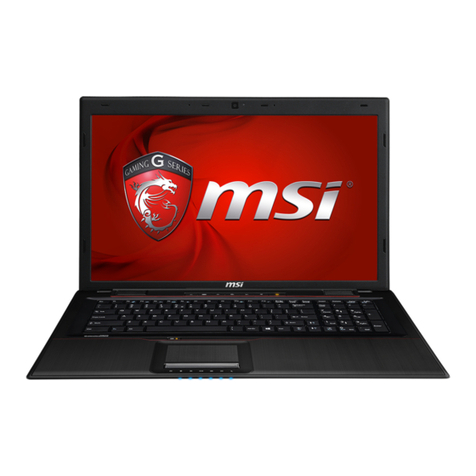
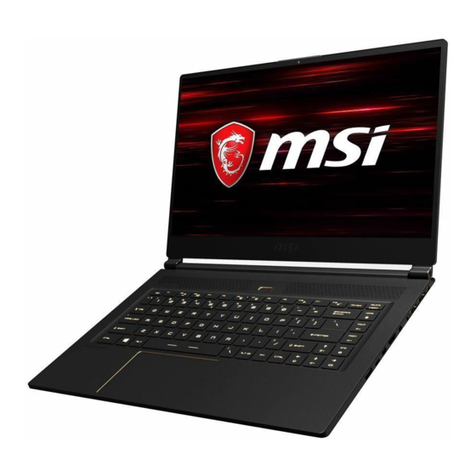
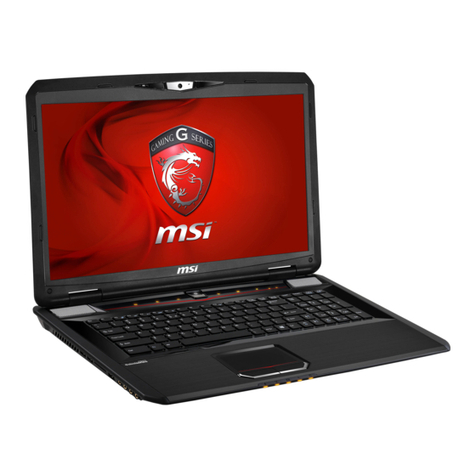
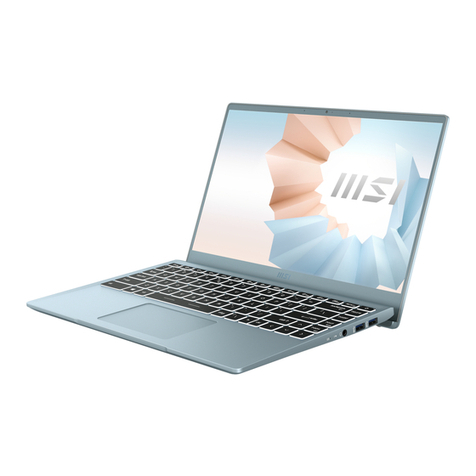
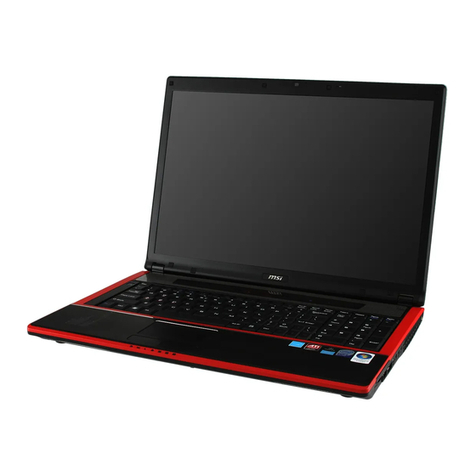
MSI Gaming G Series User manual

Notebook User's Manual
Congratulations on becoming an user of this notebook, the finely designed
notebook. You will have a delightful and professional experience in using this
exquisite notebook. We are proud to tell users that this notebook is thoroughly
tested and certified by our reputation for unsurpassed dependability and customer
satisfaction.
Unpacking
First, unpack the shipping carton and check all items carefully. If any item contained
is damaged or missing, please contact your local dealer immediately. Also, keep
the box and packing materials in case you need to ship the unit in the future. The
package should contain the following items:
▶Notebook
▶Quick Start Guide
▶AC/DC adapter and AC power cord
▶Optional carry bag
▶Optional all-in-one application disk, containing the full version of user’s manual,
drivers, utilities, and so on.

Introductions
Product Overview
This section provides the description of basic aspects of the notebook. It will help
you to know more about the appearance of this notebook before using it. Please be
aware that the figures shown here are for reference only.
Top-open View
The figure of top-open view and description shown below will lead you to browse
the main operating area of your notebook.

Notebook User's Manual
1. Webcam/ Webcam LED/ Internal Microphone
•This built-in webcam can be used for picture taking, video recording or
conferencing, and so on.
•Webcam LED indicator, next to the webcam, glows when webcam function is
activated; LED goes out when this function is turned off.
•The built-in microphone and its function is the same with microphone.
2. Power Button / Power LED/ GPU Mode LED
Power
Power Button
•Use this button to turn the notebook power ON and OFF.
•Use this button to awake the notebook from the sleep
state.
Power LED/ GPU Mode LED
•Glowing red when the notebook power is turned on, and
the UMA GPU mode is selected.
•Glowing amber when the optionally supported discrete
GPU mode is selected.
•LED goes off when this function is turned off.
3. Touchpad
This is the pointing device of the notebook.
4. Keyboard
The built-in keyboard provides all the functions of a full-sized keyboard. Refer to
How to Use the Keyboard for details.

Introductions
Front Side View
1. Stereo Speakers
This notebook may be equipped with built-in stereo speakers which deliver the
high quality sound, and supports the HD audio technology.
2. Status LED
WLAN(WiFi)
Wireless LAN (WiFi)
•LED glows when Wireless LAN (WiFi) function is
enabled.
•LED goes out when this function is disabled.
Battery Status
•LED glows when the battery is being charged.
•Continuously blinking if the battery fails.
•Always consult an authorized retailer or service center
for purchasing or replacing an equivalent type of
battery recommended by the manufacturer.
•Battery LED goes out when it is fully charged or when
the AC/DC adapter is disconnected.
Drive Activity Indicator
LED blinks when the system is accessing the internal
storage drives.

Notebook User's Manual
Right Side View
1. USB 3.1 Port (Type C)
USB 3.1, the SuperSpeed+ USB, delivers the higher interface speeds for
connecting various devices, such as storage devices, hard drives, or video
cameras, and offers more advantages over high-speed data transferring.
The slim and sleek USB Type C connector features reversible plug orientation
and cable direction, and supports scalable performance to future-proof solution,
including USB 3.x, DisplayPort, PCIe, Audio, and Thunderbolt 3 (Optional).
2. USB 3.0 Port
USB 3.0, the SuperSpeed USB, delivers the higher interface speeds for
connecting various devices, such as storage devices, hard drives, or video
cameras, and offers more advantages over high-speed data transferring.
3. HDMI Connector
HDMI (High-Definition Multimedia Interface) technology is the industry-leading
interface and de-facto standard connecting high-definition (HD) and ultra high-
definition (UHD) equipment.
Introductions
Left Side View
1. RJ-45 Connector
This connector is used to connect a LAN cable for network connection.
2. Power Connector
This connector is to connect the AC/DC adapter and supply power for the
notebook.
3. USB 3.0 Port
USB 3.0, the SuperSpeed USB, delivers the higher interface speeds for
connecting various devices, such as storage devices, hard drives, or video
cameras, and offers more advantages over high-speed data transferring.
4. Card Reader
The built-in card reader supports various types of memory cards. Check the
Specifications for details.
5. Audio Port Connectors
Microphone
Used for an external microphone.
Headphone out/ S/PDIF-out
•A connector for speakers or headphones.
•Used for speakers or headphones. The S/PDIF
connector is also provided for digital audio transmission
to external speakers through an optical fiber cable.

Notebook User's Manual
Rear Side View
1. Ventilator
The ventilator is designed to cool the system. DO NOT block the ventilator for air
circulation.
2. Mini-DisplayPort
The Mini-DisplayPort is a miniaturized version of the DisplayPort, with a suitable
adapter, the Mini-DisplayPort may be used to drive displays with a VGA, DVI or
HDMI interface.

Introductions
Bottom Side View
1. Ventilator
The ventilator is designed to cool the system. DO NOT block the ventilator for air
circulation.
2. Battery Reset Hole
Whenever the system firmware (EC) is upgraded or the system hangs, please
1) power off the notebook; 2) remove the AC power; 3) use a straightened
paperclip to insert this hole for 10 sec; 4) connect the AC power; 5) power on the
notebook.

Notebook User's Manual
How to Use the Keyboard
This notebook provides a full functioned keyboard. To ensure that the keyboard
will be functional properly, it is a must to install SCM application before using the
keyboard function keys.
€
Windows Key
You can find the Windws Logo key on the keyboard which
is used to perform Windows-specific functions, such as
opening the Start menu and launching the shortcut menu.

Introductions
Quick Launch Keys
Use the [Fn] combination keys on the keyboard to activate the specific applications
or tools. With the help of these keys, users will be able to do work more efficiently.
+
Shift
•Press Fn and F1 keys to switch among Sport / Comfort /
Green modes and shift the performance.
•This function will only be activated when AC Power is
connected, and the default setting is Sport mode.
+
ECO Engine
(Power Saving)
•Press Fn and F10 keys repeatedly to switch among
various power saving modes provided by ECO Engine, or
to turn this function off recurrently.
+
Airplane mode
•Press Fn and F11 keys repeatedly to turn Airplane mode
on or off recurrently.
•Refer to the Airplane mode switch icon under [Start/
Settings/ Change PC settings/ Network / Airplane
mode] on the desktop to check the device status.
Disable or Enable Touchpad
+Enable or disable the touchpad function. (Optional)
Enter Sleep Mode
+
Force the computer into sleep state (depending on the
system configuration). Press the Power button to wake up
the system from sleep state.

Notebook User's Manual
Switch Display
+
Switch the display output mode between the LCD, external
monitor and both.
Adjust the Brightness Level of the Display
+Increase the LCD brightness.
+Decrease the LCD brightness.
Adjust the Sound Level of the Speaker
+Increase the built-in speaker’s volume.
+Decrease the built-in speaker’s volume.
+Mute the built-in speakers.

Introductions
Adjust the Brightness Level of the Keyboard Backlight
LED
+Enable or disable the keyboard backlight LEDs.

Notebook User's Manual
Specifications
The specifications listed here is reference only, and may change without notice. The
actual products sold are different from areas.
Physical Characteristic
Dimension 345 (W) x 245(D) x 21.8-22.8 (H) mm
Weight 1.6 kg with battery
CPU
Package BGA
CPU Processor Type Intel®Quad Core Mobile Processor
Core Chip
Platform Controller
Hub Intel®PCH-H
Memory
Technology DDR4, 2133MHz
Memory SO-DIMM slots x 2
Maximum Up to 32GB
Power
AC/DC Adapter (1)
(optional)
150W, 19.5V
Input: 100~240V 50~60Hz
Output: 19.5V 7.7A
AC/DC Adapter (2)
(optional)
120W, 19.5V
Input: 100~240V 50~60Hz
Output: 19.5V 6.15A
Battery Type 6-cell
RTC Battery Yes

Introductions
Storage
HDD form factor 2.5" HDD
SSD M.2 SSD NVMe PCI-e (optional)
M.2 SATA SSD
I/O Port
USB x 2 (version 3.0)
x 1 (version 3.1) (Type C)
Mic-in x 1
Headphone-out x 1 (S/PDIF-Out supported)
RJ45 x 1
HDMI x 1 (v1.4)
Mini-DisplayPort x 1 (v1.2)
Card Reader x 1 (SD3.0/ SD/ MMC)
Communication Port
LAN Supported
Wireless LAN Supported
Bluetooth Supported
Display
LCD Type 14" eDP FHD
Video
Graphics NVIDIA®GeForce®discrete graphics with NVIDIA®
Optimus™ supported
VRAM GDDR5, based on GPU structure
Webcam
Full HD Type 30fps@1080p
Audio
Internal Speaker 2 speakers

Notebook User's Manual
Begin to Use the Notebook
For a new user of this notebook, we would like to suggest you follow the illustrations
below to begin to use the notebook.

How To Get Started
How to Use the Notebook Comfortably
If you are a beginner to the notebook, please read the following instructions to
assure your own safety, and make yourself comfortable during the operations.
▶Good illumination is essential in the work area.
▶Choose a chair and desk with good ergonomics and adjust their heights
according to your posture.
▶Adjust the backrest to support your lower back comfortably when you are
sitting upright.
▶Place your feet flat on the floor with your knees bent to a 90 degrees.
▶Adjust the angle/position of the LCD panel to have an optimal view.
▶Stretch and relax your body regularly. Always take a break after working for a
period of time.
38-76 cm
15-20
90-120

Notebook User's Manual
How to Manage Power Supply
This section provides users basic safety precautions to take when using an AC/DC
adapter and battery power properly.
AC/DC Adapter
Ensure that your notebook is connected to an AC power source via the AC adapter
before turning it on for the first time. If the notebook automatically shuts down due
to low battery power, it is likely to cause system failure. Below are some Dos and
Don'ts of an AC/DC adapter.
▶Dos
•Use the adapter that shipped with your notebook only.
•Always be aware of heat coming from the in use AC/DC adapter.
•Unplug the AC power cord before disassembly the notebook.
▶Don'ts
•Cover an in-use adapter since it can generate heat.
•Have the AC power cord plugged after powering off the system when the
notebook is going to be left unused for a longer time.
Battery
When you get a new notebook or a new notebook battery, it is important to know
how to charge and care for your battery in order to get the most out it for as long as
you can.
Be aware of that the battery may not be replaced by users.
▶Safety guidelines
•Danger of explosion if battery is incorrectly replaced. Replace only with the
same or equivalent type recommended by the manufacturer.
•Discard used batteries according to manufacturer's instruction.
•Always unplug the AC power cord before installing any module to the
notebook.
▶Battery type
•This notebook may be equipped with a high-capacity Li-ion or Li-polymer
battery pack depending on the model you have.
•The rechargeable battery pack is an internal power source of the notebook.
•To keep the battery safely, always keep the battery away from liquid and the
place which has extreme temperature changes.

How To Get Started
▶Battery charging behavior
To optimize battery life and avoid a sudden power loss, read the tips below:
•Suspend system operation if the system will be idle for a while or shorten the
suspend timer’s time period.
•Turn off the system if you won’t be using it for a period of time.
•Disable unnecessary settings or remove idle peripherals.
•Connect an AC/DC adapter to the system whenever possible.
▶How to charge the battery properly
Please pay attention to the following tips before recharging the battery:
•If a charged battery pack is not available, save your work and close all
running programs and shut down the system.
•Plug in an AC/DC adapter.
•You can use the system, suspend system operation or shut down and turn
off the system without interrupting the charging process.
•The Li-ion or Li-polymer battery has no memory effect. It is unnecessary
to discharge the battery before recharging. However, to optimize the life of
battery, we suggest that consuming the battery power completely once a
month is necessary.
•The actual charging time will be determined by the applications in use.

Notebook User's Manual
How to Set Up a Power Plan in Windows 10
A power plan is a collection of hardware and system settings that manages how
your computer uses and conserves power. Power plans can save energy, maximize
system performance, or balance energy conservation with performance. The default
power plans — Balanced and Power saver — meet most people's needs. But you
can modify settings for existing plans or create your own plan.
Choose or Customize a Power Plan
1. Find [Windows] icon in the lower-left corner of the screen. Right click it to show
selection menu. Select [Power Options] in the menu.
2. Choose a Power Plan by left clicking on one of the selections from the Power
Plan list. The Power Plan of [Balanced] is selected as an example here. Click
on the [Change plan settings] to the right of the power plan to customize a
power plan.
3. Choose the sleep and display settings you want your computer to use. Click
on [Change advanced power settings] to make changes to the selected power
plan settings to meet your needs.
4. To restore the selected Power Plan back to its default settings, click on
[Restore plan defaults] and then click [Yes] to confirm.
5. Click [OK] to finish.
Other manuals for Gaming G Series
5
Table of contents
Other MSI Laptop manuals

MSI
MSI GE603 User manual

MSI
MSI GF65 Thin 10SER-690 User manual

MSI
MSI CR500 User manual

MSI
MSI GT62VR Dominator Pro User manual

MSI
MSI EX401 User manual

MSI
MSI Workstation WP65 User manual

MSI
MSI CR400 User manual

MSI
MSI 11UG-631IT User manual

MSI
MSI Gaming G Series User manual

MSI
MSI Wind U123-019US User manual
Popular Laptop manuals by other brands

Panasonic
Panasonic Toughbook CF-74JCL02AM operating instructions

Toshiba
Toshiba Satellite M105-S3074 Specification sheet

Lenovo
Lenovo ThinkPad 770 Specifications

Lenovo
Lenovo ThinkPad X140e Safety, warranty, and setup guide

Asus
Asus Eee PC 1002HA XP user manual

Dell
Dell Inspiron 15 3000 Series Service manual