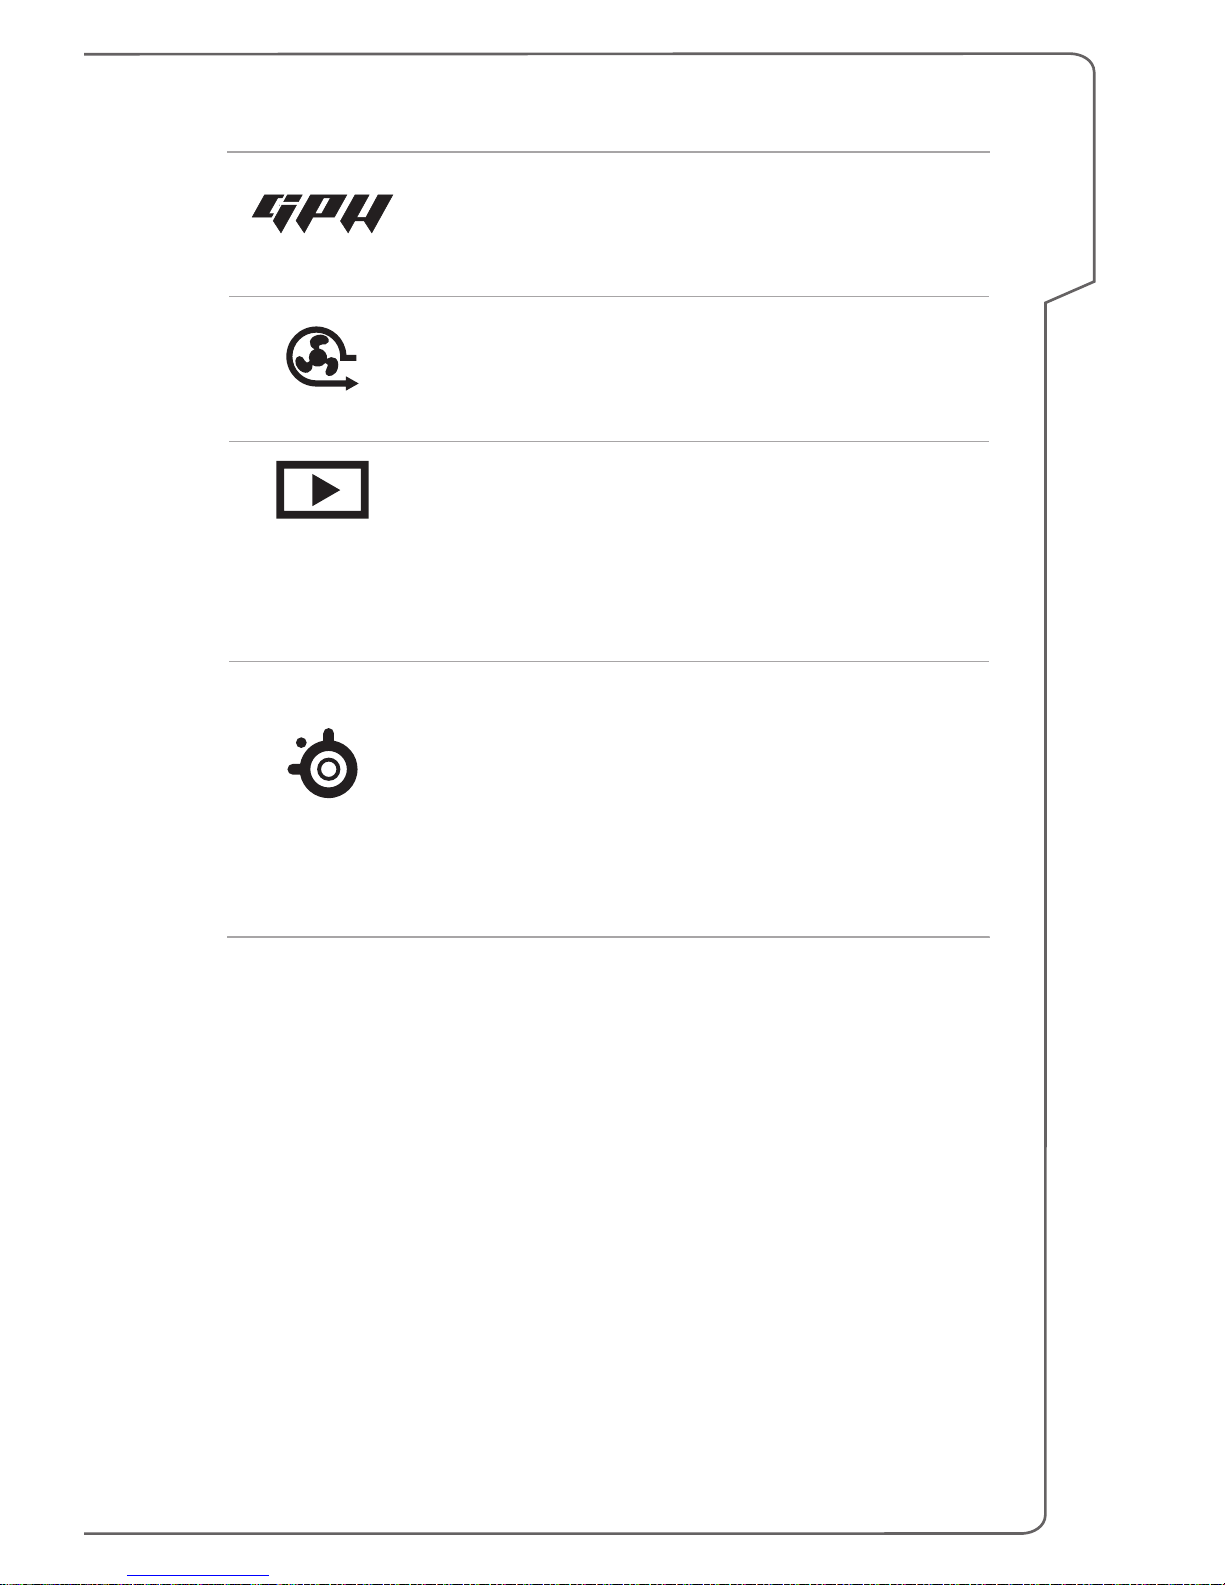
MSI Gaming G Series User manual

Notebook User's Manual

Notebook User's Manual
Congratulations on becoming an user of this notebook, the finely designed
notebook. You will have a delightful and professional experience in using this
exquisite notebook. We are proud to tell users that this notebook is thoroughly
tested and certified by our reputation for unsurpassed dependability and customer
satisfaction.
Manual Map
This User’s Manual provides instructions and illustrations on how to operate
this notebook. It is recommended to read this manual carefully before using this
notebook.
Chapter 1, Preface, gives users the basic safety information and caution that is
interrelated to using this notebook.
Chapter 2, Introductions, gives the brief introductions to the notebook, including
overviews, function buttons, quick launch buttons, connectors, LEDs, etc.
Chapter 3, How to Get Started, gives the basic operation instructions to help users
getting familiar with this notebook.
Unpacking
First, unpack the shipping carton and check all items carefully. If any item contained
is damaged or missing, please contact your local dealer immediately. Also, keep
the box and packing materials in case you need to ship the unit in the future. The
package should contain the following items:
▶Notebook
▶Quick Start Guide
▶AC/DC adapter and AC power cord
▶Optional carry bag
▶Optional all-in-one application disk, containing the full version of user’s manual,
drivers, utilities, and recovery function

Introductions
Product Overview
This section provides the description of basic aspects of the notebook. It will help
you to know more about the appearance of this notebook before using it. Please be
aware that the figures shown here are for reference only.
Top-open View
The figure of top-open view and description shown below will lead you to browse
the main operating area of your notebook.

Notebook User's Manual
1. Webcam/ Webcam LED/ Internal Microphone
•This built-in webcam can be used for picture taking, video recording or
conferencing, and any other interactive applications.
•Webcam LED indicator, next to the webcam, glows when webcam function is
activated; LED goes out when this function is turned off.
•The built-in microphone and its function is the same with microphone.
2. Stereo Speakers
Give high quality sound blaster with stereo system and Hi-Fi function supported.
3. Status LED
Caps Lock
•LED glows when Caps Lock function is enabled.
•LED goes out when this function is disabled.
Num Lock
•LED glows when Num Lock function is enabled.
•LED goes out when this function is disabled.
4. Touchpad
This is the pointing device of the notebook.
5. Quick Launch Buttons
Use the quick launch buttons to activate the specific applications or tools. The
following quick launch buttons will only be functional in the operating system with
the SCM application installed. Find the SCM application in the optional all-in-
one disk that comes with the package for easy and convenient operation. It is
strongly recommended to install the SCM application.
Power
Power Button
•Use this button to turn the notebook power ON and OFF.
•Use this button to awake the notebook from the sleep
state.
Power LED
•LED glows when the notebook power is turned on.
•LED goes off when the notebook is turned off.

Introductions
Graphics Switch
•Use this button to select either discrete GPU mode or
UMA GPU mode.
•Button LED glows white when the discrete GPU mode is
selected.
Cooler Boost
•Use this button to maximize the fan speed to cool down
the overall temperature of the notebook.
•Button LED glows when the fan speed is set to maximum
level; LED goes off when AUTO mode is selected.
XSplit
Gamecaster/
User Dened
Application
(optional)
•Use this button to activate video recording and real-time
online broadcasting while playing games.
•Button LED glows white when this function is activated.
•If XSplit Gamecaster is not installed, this button will be
used to launch the User Defined application.
SSE
(optional)
•This notebook may be pre-installed a unique keyboard
manager application, SSE (SteelSeries Engine). With this
application, users will be able to own several combinations
of keyboard hot keys defined separately for specific
occasions.
•Use this button repeatedly to switch between keyboard 1
(layer 1,) keyboard 2 (layer 2,) keyboard 3 (layer 3) and
keyboard 4 (layer 4) recurrently.
6. Keyboard
The built-in keyboard provides all the functions of a full-sized keyboard.
Quick Launch [Fn] Keys
Use the [Fn] keys on the keyboard to activate the specific applications or tools.
With the help of these keys, users will be able to work more efficiently.
The following keys will only be functional in the operating system with the SCM
application installed.

Notebook User's Manual
+
Dragon
Gaming Center
or
User Dened
(optional)
•This notebook may be pre-installed with a gaming
utility, Dragon Gaming Center, providing users an
astonished and efficient solution in game playing.
•With Dragon Gaming Center pre-installed, press and
hold the Fn key, and then press the F4 key to bring
up the tab of [Instant Play: Play Key Setting] to define
the quick launch button for launching a particular
application. Once the setting has been made, press
Fn and F4 keys to launch the appointed application. If
users left this button undefined, press Fn and F4 keys
will again bring up the tab of [Instant Play: Play Key
Setting].
•However, if Dragon Gaming Center is not installed or
removed, press both Fn and F4 keys to launch the
User Defined application.
+
ECO Engine
(Power Saving)
•Press and hold the Fn key, and then press the F5
key repeatedly to switch among various power saving
modes provided by ECO Engine, or to turn this
function off recurrently.
+
Webcam
•Press and hold the Fn key, and then press the F6 key
to turn the Webcam function on. Press again to turn it
off.
+
Shift
•Press and hold the Fn key, and then press the F7 key
to switch among Sport / Comfort / Green modes and
shift the performance.
•This function will only be activated when AC Power is
plugged-in, and the default setting is Sport mode.
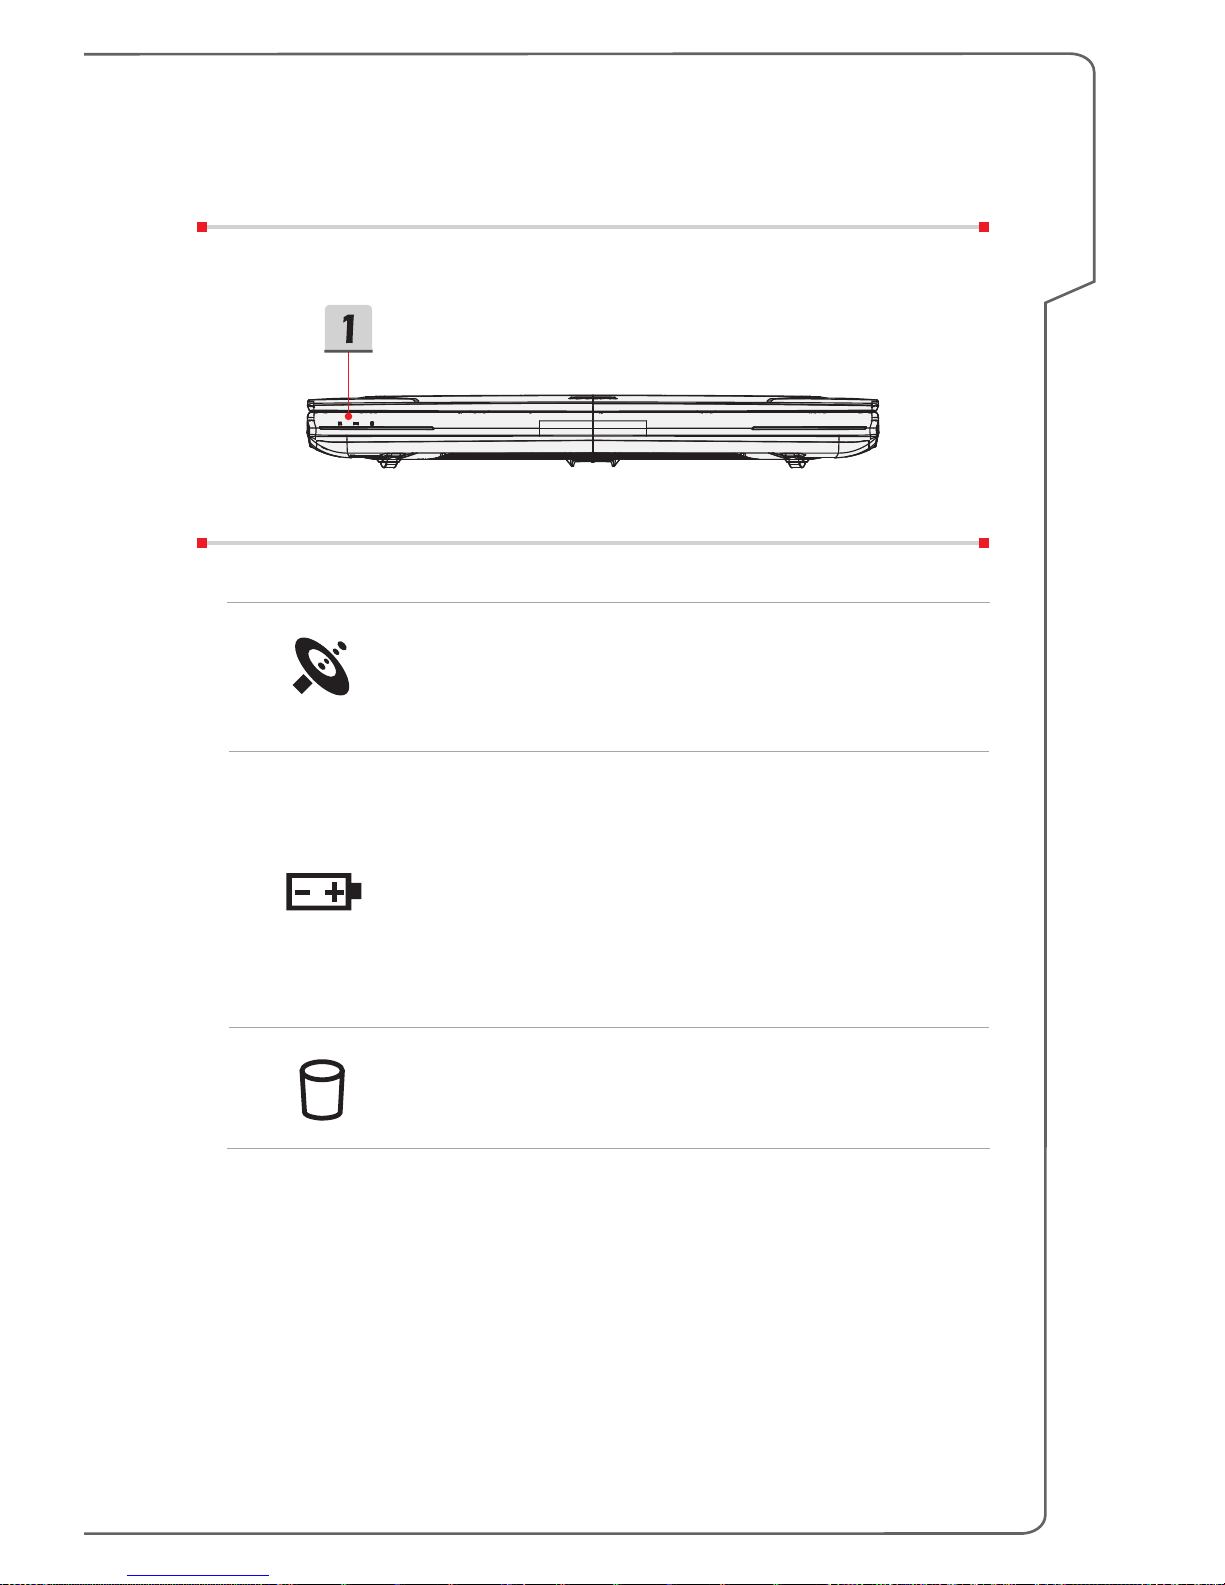
+
Airplane mode
•Press and hold the Fn key, and then press the F10 key
repeatedly to turn Airplane mode on or off recurrently.
•For flight safety consideration, it is always
recommended to turn Airplane mode on when you are
in flight.
•Refer to the Airplane mode switch icon under [Start/
Settings/ Change PC settings/ Network / Airplane
mode] on the desktop to check the device status.

Introductions
Front Side View
1. Status LED
WLAN(WiFi)
Wireless LAN (WiFi)
•LED glows when Wireless LAN (WiFi) function is
enabled.
•LED goes out when this function is disabled.
Battery Status
•LED glows when the battery is being charged.
•Continuously blinking if the battery fails and it is
recommended to replace a new battery.
•Consult the local dealer for purchasing an equivalent
type of battery recommended by the manufacturer.
•Battery LED goes out when it is fully charged or when
the AC/DC adapter is disconnected.
Drive Activity Indicator
LED blinks when the system is accessing the internal
storage drives.

Notebook User's Manual
Right Side View
1. Optical Disc Drive
This notebook is equipped with an optical disc drive. The actual device
preinstalled in the notebook depends on the model you purchased.
2. USB 3.0 Ports
USB 3.0, the SuperSpeed USB, delivers the higher interface speeds for
connecting various devices, such as storage devices, hard drives, or video
cameras, and offers more advantages over high-speed data transferring.

Introductions
Left Side View
1. USB 3.0 Ports
USB 3.0, the SuperSpeed USB, delivers the higher interface speeds for
connecting various devices, such as storage devices, hard drives, or video
cameras, and offers more advantages over high-speed data transferring.
2. USB 3.0 Port/ Super Charger USB Port
USB 3.0, the SuperSpeed USB, delivers the higher interface speeds for
connecting various devices, such as storage devices, hard drives, or video
cameras, and offers more advantages over high-speed data transferring.
Super Charger USB port provides faster power charging function for Apple
devices when the notebook is in power off mode.
3. Audio Port Connectors
Make high quality sound blaster with stereo system and Hi-Fi function supported.
Headphone
A connector for speakers or headphones.
Microphone
Used for an external microphone.
Line In
•Used for an external audio device.
•Connect the Rear speakers here.

Notebook User's Manual
Line Out
•A connector for speakers.
•Connect the Surround speakers here.
4. Card Reader
The built-in card reader may support SD4.0 (Secure Digital) card. Contact the
local dealer for further and correct information and be noted that the supported
memory cards may vary without notice.

Introductions
Rear Side View
1. Kensington Lock
This notebook provides a Kensington lock hole, which allows users to secure
the notebook in place with a key or some mechanical PIN device and attached
through a rubberized metal cable. The end of the cable has a small loop which
allows the whole cable to be looped around a permanent object, such as a heavy
table or other similar equipment, thus securing the notebook in place.
2. Mini-DisplayPort
The Mini-DisplayPort is a miniaturized version of the DisplayPort, with a suitable
adapter, the Mini-DisplayPort may be used to drive displays with a VGA, DVI or
HDMI interface.
3. USB SuperPort (Type C) (optional)
The USB SuperPort (Type C), exclusively designed by MSI, supports
Thunderbolt 3 (optional), DisplayPort and USB 3.1 connections with a single
connector.
4. RJ-45 Connector
The 10/100/1000 Ethernet connector is used to connect a LAN cable for network
connection.
5. Ventilator
The ventilator is designed to cool the system. DO NOT block the ventilator for air
circulation.

Notebook User's Manual
6. HDMI Connector
HDMI (High Definition Multimedia Interface) is a new interface standard for PCs,
displays and consumer electronics devices that supports standard, enhanced
and high-definition video, plus multi-channel digital audio on a single cable.
7. Power Connector
This connector is to connect the AC/DC adapter and supply power for the
notebook.

Introductions
Bottom Side View
1. Ventilator
The ventilator is designed to cool the system. DO NOT block the ventilator for air
circulation.
2. Subwoofer Speaker
The subwoofer speaker is to reproduce low-pitched audio frequencies known as
bass.
3. Battery Reset Hole
Whenever the system firmware (EC) is upgraded or the system hangs, please
1) power off the notebook; 2) connect the AC power; 3) use a straightened
paperclip to insert this hole and reset the notebook; 4) power on the notebook.

Notebook User's Manual
Specifications
The specification may change without notice. The actual products sold are different
from areas. Please check the detailed specification with your local dealers.
Physical Characteristic
Dimension 428 (W) x 249 (D) x 48 (H) mm
Weight 3.85kg with battery
CPU
Package FCBGA
Processor Type
(optional) Intel®Quad/ Dual Core processor
L3 Cache Up to 8MB (Based on CPU)
Core Chip
PCH Intel®SkyLake HM170/CM236
Memory
Technology DDR4 2133/ 2400MHz
Memory DDR4 SO-DIMM slots x 4
8G/ 16G DDR4 SDRAM
Maximum Up to 64GB
Power
AC/DC Adapter 230W, 19.5V
Input: 100~240V, ~3.2A, 50~60Hz
Output: 19.5V 11.8A
Battery Type 9-cell
RTC Battery Yes
Storage (items listed here may very without notice)
HDD form factor 2.5" HDD

Introductions
SSD (optional) x2
M.2 type (SATA or PCIe type, optional) slots supporting
128GB or larger at RAID 0 mode.
Optical Drive Device
(optional) Super Multi / Blu-ray
MultiBay Supported
I/O Port
USB
x 6 (version 3.0)
x 1 SuperPort
(Thunderbolt+DP+USB 3.1 10Gbps)(optional)
Mic-in x 1
Line-in x 1
Side-out x 1
Headphone-out x 1 (S/PDIF-Out supported)
RJ45 x 1
HDMI x 1
Mini-DisplayPort x 1
Card Reader x 1 (SD4.0/ MMC)
The supported memory cards may vary without notice.
Communication Port
LAN 10/ 100/ 1000Mb Ethernet
Wireless LAN+
Bluetooth (optional) M.2 type
Display
LCD Type 17.3" LED panel
Brightness Controlled by K/B hot-keys

Notebook User's Manual
Video
Graphics NVIDIA®GeForce®discrete MXM graphics card or Intel®
HD UMA graphics card
VRAM 3/ 4/ 6/ 8GB, based on GPU structure
HDMI output Supported
DisplayPort output Supported
Multi-Display Function Supported
WebCam
CMOS Camera FHD
Audio
Internal Speaker 2 speakers + 1 subwoofer
Sound Volume Adjusted by keyboard hot-key and switches.
Software & BIOS
USB Flash Boot USB floppy and USB flash boot up DOS
BIOS Fast Boot Support
Others
Compatibility WHQL
Kensington Lock Hole x 1

Notebook User's Manual
Begin to Use the Notebook
For a new user of this notebook, we would like to suggest you follow the illustrations
below to begin to use the notebook.

How To Get Started
How to Use the Notebook Safely
If you are a beginner to the notebook, please read the following instructions to
assure your own safety, and make yourself comfortable during the operations.
▶Your work area should have enough illumination.
▶Choose an ergonomic chair and have it adjusted for your height.
▶Adjust the backrest to support your lower back comfortably when you are
sitting upright.
▶Place your feet flat on the floor with your knees bent to a 90 degrees.
▶Adjust the angle/position of the LCD panel to have an optimal view.
▶Use your notebook where you find easy to stay more comfortable position.
▶Change your sitting posture often.
▶Stretch and exercise your body regularly.
▶Remember to take a break after working for a period of time.
38-76 cm
15-20
90-120

Notebook User's Manual
How to Manage Power Supply
This section provides users basic safety precautions to take when using an AC/DC
adapter and battery power properly.
AC/DC Adapter
To safely and properly power on a notebook, it is strongly recommended to connect
the supplied power adapter before turning it on for the first time. Below are some
Do's and Don'ts of an AC/DC adapter.
▶DOs
•Use the adapter that shipped with your notebook only.
•Always be aware of heat coming from the in use AC/DC adapter.
▶DON'Ts
•Use other adapter of other brand since it may damage the notebook or
devices attached to it.
•Cover an in-use adapter since it can generate heat.
Battery Power
This notebook may be equipped with a high-capacity Li-ion or Li-polymer battery
pack depending on the model you have. The rechargeable Li-Polymer battery pack
is an internal power source of the notebook. Be aware of that this battery may not
be replaced by users.
▶Conserving Battery Power
Efficient battery power is critical to maintain normal operation. If the battery
power is not managed well, the saved data and customized settings may be
lost. To optimize battery life and avoid a sudden power loss, read the tips
below:
•Suspend system operation if the system will be idle for a while or shorten the
suspend timer’s time period.
•Turn off the system if you won’t be using it for a period of time.
•Disable unnecessary settings or remove idle peripherals.
•Connect an AC/DC adapter to the system whenever possible.

How To Get Started
▶Charging the Battery Pack
The battery pack can be recharged while it is installed in the notebook. Please
pay attention to the following tips before recharging the battery:
•If a charged battery pack is not available, save your work and close all
running programs and shut down the system.
•Plug in an external AC/DC adapter.
•You can use the system, suspend system operation or shut down and turn
off the system without interrupting the charging process.
•The Li-ion or Li-polymer battery has no memory effect. It is unnecessary
to discharge the battery before recharging. However, to optimize the life of
battery, we suggest that consuming the battery power completely once a
month is necessary.
•The actual charging time will be determined by the applications in use.
Other manuals for Gaming G Series
5
Table of contents
Other MSI Laptop manuals

MSI
MSI 12UHS-282IT User manual

MSI
MSI MS-1651 - Whitebook ID2 - 15.4 User manual

MSI
MSI Summit E14 A11SCS-208FR User manual

MSI
MSI Titan GT77HX User manual

MSI
MSI A12VF-096 User manual

MSI
MSI Titan GT77 User manual

MSI
MSI Prestige 14EVO User manual

MSI
MSI STEALTH 15 User manual

MSI
MSI CR70 User manual

MSI
MSI PR300 User manual