MSTS Tolls OBU User manual

1
EETS OBU
User Manual

2
• Warning
• What’s in the Box
• OBU Placement
• Power Source
• Main Screen Display
• Physical Box
• Main Control Buttons
• Main Menu Items
• Error Light and Sound Guide
• Warning Light and Sound Guide
• Normal Light and Sound Guide
• Changing Vehicle Axles Guide
• Changing Vehicle Weight Guide
• Preparation before driving
• Transporting the OBU
• Power Supply
• Emergency Procedures
Table of Contents
Section 1 | Introduction
03
04
06
10
13
14
Section 2 | Installation Guide
Section 3 | Unit Structure
Section 4 | LED Light and Sound
Section 5 | Vehicle Axles and Weight
Section 6 | Other Information

3
Carefully follow the installation instruction. Customer is liable if they do not
read the OBU (LED and acoustic) signals correctly and continue driving.
• Do not attempt to tamper the device.
• Do not use the unit if it appears damaged.
• Do not connect the OBU to the USB port.
If the unit emits smoke, remove it from the support and take it out of the
vehicle. Return it to the service provider. If liquid leaks from the unit, do not
touch it with your bare hands.
Do not use the unit in a vehicle other than the one for which it was supplied.
In the event the license plate has been changed, make sure to use the unit
on the correct vehicle.
Do not use more than one unit with the same active services in the same
vehicle, otherwise interferences between unit, malfunctioning and double
transit charges may occur. In such cases, OBU cannot reimburse the extra
amount paid.
For domain specic requirements, please refer to the Terms and Conditions.
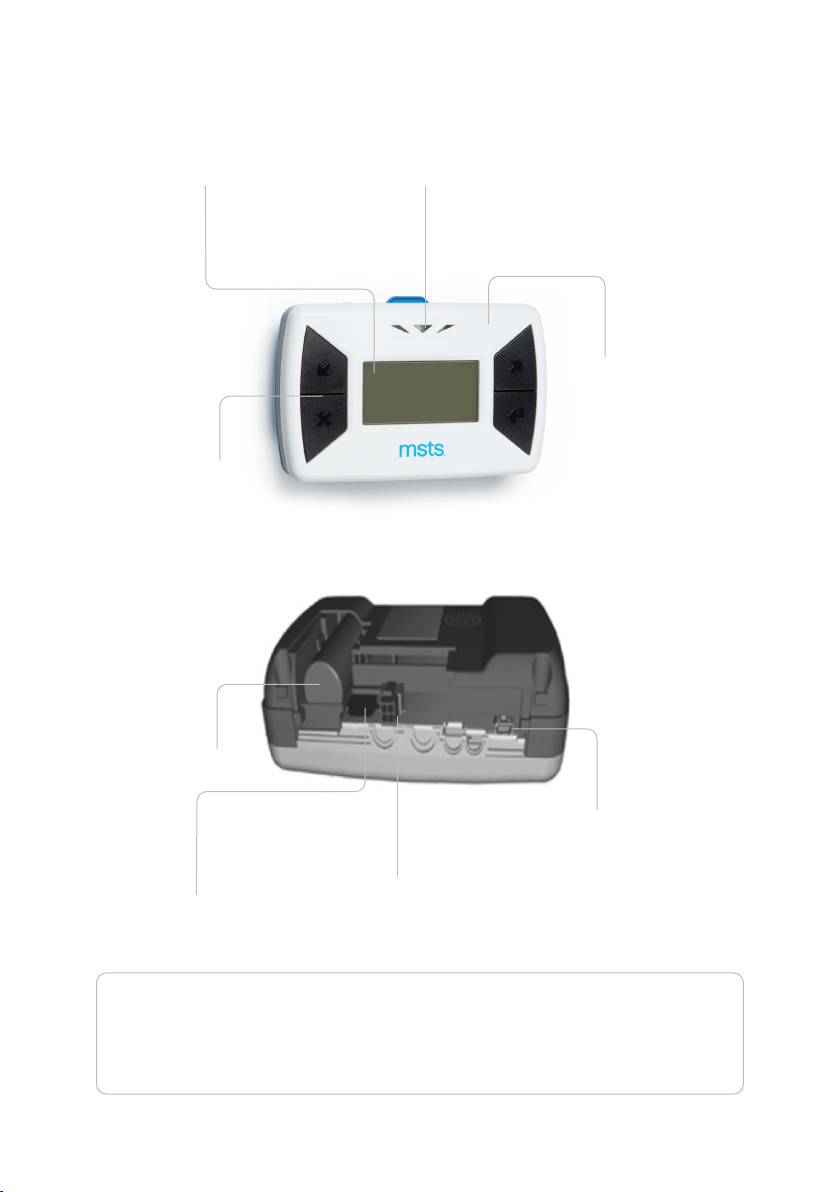
• OBU device with cigarette power cord
• OBU holder with 4 suction cups
• Disposable cloth
• Quick Guide
This user manual will help you understand how to install and use the OBU.
Introduction
Warning
What’s in the Box
SECTION 1

4
Hydrate the suction cups placed on the back of the OBU
and wipe the inside of the windshield.
Place the holder with four suction cups in the desired
location on the windshield.
Insert the OBU in the support by its lower part then
press the upper part until you hear the audible click.
Installation Guide
OBU Placement
Step 1
Step 2
Step 3
SECTION 2

5
If you are using a smaller diameter DIN socket, rst remove (by turning to the
left and pulling) the red extension of the power cable connector. Insert the
connector of the power cable into the cigarette lighter socket.
Power Source Option 1: Cigarette Lighter Socket
Power Source Option 2: Fixed Installation
Connect the OBU xed installation power cable to the vehicle’s electrical
system according to the wiring diagram above, including the protective fuses
for conductors 15 and 30.
red - power +
conductor 30
conductor 15
5A
5A
conductor 31
brown - ignition
black - skeleton
• Ensure that the fuses and their holders are approved for use in the
vehicle’s electrical system
• Position the fuses so that they are easily accessible

6
SECTION 3
The OBU is equipped with display, which shows to user the basic information
concerning the current state of the OBU.
GSM
Signal
Strength
Picture of the Truck
(tractor) Bus and selected
number of axels
Picture of the Trailer and
selected number of axles.
Battery
charge
level
Power
supply
status
OBU is
collecting
toll normally
Message
indication
Vehicle actual
weight category
Vehicle
license plate
number
Country
code of
active Toll
Domain
Bluetooth
indication
(only when
connected)
Position
Indication
Toll Domain
abbreviation
(Toll charger)
Unit Structure
Main Screen Display

7
The USB port can only be used by support technicians. Intervention
or alteration may cause malfunctions of the OBU or payment system.
Rechargeable
battery
Connector of
rechargeable
battery
Power supply
connector
Control
Buttons
USB
Physical Box
Acoustic
signalization
(built-in buzzer)
Display unit
(Display)
Light signalization
(LED above display)

8
The OBU is equipped with four control buttons and 3 signalization elements.
For safety reasons, the function of the buttons is locked at a
speed higher than 15 km/h.
Please conrm the information on the Main Screen before driving.
Contract your advisor if the information is incorrect. Especially:
• License Plate Number
• Vehicle Type
• Axle number of tractor and trailer Actual Vehicle weight
Browse downwards in the list of menus
Vehicle Info: LPN, Emission class, etc.
Activated Toll Domains
Actual Axles
Bluetooth
Actual Weight
Maintenance
Messages
Browse upwards in the list of menus
Enter Main Menu, initiation of external communication, and submit
selection in the menu
Cancel on Conrmation Screen and return to Main Menu
Important
!
Main Control Buttons
Main Menu Items

9
Battery disconnected or defective
GSM Signal Strength
OBU is connected to supply system of the vehicle
OBU is locked for techincal reasons or from the portal. User
cannot use toll roads
OBU received request to switch to transport mode. Disconnect
power supply and the OBU will go into sleep mode
Discharged battery. Connect battery to power supply (page 4)
Communication in progress via GSM/GPS. Activated manually by
long pressing of the main menu button (longer than 3 seconds)
OBU is not connected to supply system of the vehicle. Please
connect the OBU to a power supply (page 4)
Battery charged to 50%
Battery charged to 100%
Data transfer not successful due to weak signal. Start again by
long press of the main menu button (longer than 3 seconds)
Battery
External Communication
External Power Supply
Locked Status
Transport Regime
Display Symbols

10
SECTION 4
OBU Background Light ashes when a “Successful Payment Msg” or one of
the “Error Msgs” is displayed on the screen .
Error Msgs disappears from the screen when user presses any button.
No Beeping
No Beeping
No Beeping
Current Toll Domain
is not activated, and
does not show.
OBU is deactivated,
and the screen is
blank.
Battery depleted or
OBU deactivated or in
Deep Sleep Mode
Do not drive on Toll Road. Contact Fleet Manager or MSTS.
Do not drive on Toll Road. Connect OBU to Power Supply or
Contact Fleet Manager or MSTS to activate OBU.
No Light
No Light
Blinking Red 2s
LED Light and Sound
Action
Action
Action

11
Beeping 15s
Beeping 15s
Beeping 10s
No Beeping
No GNSS signal in
GNSS Toll domain.
DSRC Transaction (Toll
Payment) Failed.
DSRC Transaction (Toll
Payment) incomplete.
OBU Locked for
technicalities, faults, or
by remote command.
Do not drive on Toll Road. Follow emergency procedure of Toll Domain.
Do not drive on Toll Road. Follow the instructions of Toll Charger and
use the degraded payment solution.
Do not drive on Toll Road. Follow the instructions of Toll Charger and
use the degraded payment solution.
Do not drive on Toll Road. Follow emergency procedure of Toll Domain.
Fast Blinking Red
Blinking Red
Blinking Red
Stable Red
Action
Action
Action
Action

12
Beeping once
Beeping 20s
Beeping 10s
No Beeping
GNSS signal loss in
DSRC toll domain
Successful DSRC
Transaction
OBU Running from
Battery Regime
OBU battery is
running out soon
No action required
No action reqired
Check connection of power supply, and connect OBU to external
power supply (see page 4).
Check connection of power supply immediately, and connect OBU to
external power supply (see page 4).
Blinking Green
Blinking Green 2s
Blinking Yellow
Blinking Yellow
Action
Action
Action
Action

13
Vehicle Axles & Weight Categories
Weight ChangeAxles Change
SECTION 5
2. Select Axles
1. Press “ “
In some Toll Domains, the driver is required to conrm the actual axles
or weight of the vehicle before using Toll Roads (e.g. Austria). In these Toll
Domains, the user of the OBU is required to conrm if the vehicle picture is
displayed on the Main Screen is consistent with the actual number of axles or
weight of the vehicle. Each time after the vehicle conguration is changed, it
is highly recommended to set correct number of axles immediately to match
with the current vehicle axles or weight status.
1. Press “ “
2. Select Weight
3. Choose Axles 3. Choose Weight
4. Conrm 4. Conrm
3
4
5
6
7.5T<
<9T
7.5T<
<10.5T
9T<
<12T
10.5T<
<9T
7.5T<

14
Other Information
Conrm the following information on the Main Screen. Contact your advisor
if the information is incorrect:
Check the activated Toll Domain list on this OBU:
Conrm no error indication such as yellow/red light, or beeping sounds.
Connect OBU to the Power Supply.
• License Plate Number
• Vehicle type (Truck/Bus)
• Axle number of Tractor and Trailer
• Actual vehicle weight
• Press “ “ to enter the Main Menu
• Select “Activated Toll Domains “ to enter the list of activated Toll Domains
Step 1
Step 2
Step 3
Step 4
SECTION 6
Preparation before driving

15
Before transporting the OBU, set the OBU into Transport Mode:
Transporting the OBU
• Use the Portal to send a request to set the OBU into Transport Mode.
• Transport Mode Symbol “ “ will show on the screen with a green LED
light. The OBU still works and creates transactions at this stage.
• Disconnect the OBU from the power supply and the OBU will go into
Transport Mode (or Deep Sleep Mode)
• The OBU can now be safely transported without creating transactions.
The on-board unit is equipped with back up battery to supply the unit during
the short-term outage of supply. Under normal conditions, the on-board unit
should be connected to the supply system of the vehicle. If you notice, that
the operation from back-up battery is signalized, check (in given order):
• Correct connection of connector of supply cable into the socket of
cigarette lighter.
• The integrity of supply cable.
• The functionality of socket of cigarette lighter.
If everything works correctly and despite of this the on-board unit indicates
operation from battery only, please call our customer support team.
Power Supply
When the transaction is not successful in front of the barrier, the driver
shall follow the instructions of the Toll Charger and/or to use the degraded
solutions to complete the transaction.
Self lock happens when the device has no signal and no light is turned on.
This happens when No GNSS(GPS) Signal has been detected or No GSM
Signal has been detected. In this instance, the driver should stop driving and
call customer service at +31 70 3199 000.
Emergency Procedures
Table of contents