NorthStar NS100 SS User manual

1
NS100 SS (Single Station)
NS100 DS (Dual Station)
Quickstart
Guide
and
Reference
Manual
NORTHSTAR*
PLACEHOLDER ONLY
PICTURE OF
COMPLETE RADIO
REQUIRED
PLACEHOLDER ONLY
ACTUAL TYPEFACE and
STAR TO BE ADDED

2
3
FCC Statement
This equipment has been tested and found to comply with the limits for a Class B digital device, pursuant to Part 15 of FCC Rules.
These limits are designed to provide a reasonable protection against harmful interference in a residential installation. This equipment
generates, uses and can radiate radio frequency energy and, if not installed and used in accordance with the instructions, may
cause harmful interference to radio communications. However, there is no guarantee that interference will not occur in a particular
installation. If this equipment does cause harmful interference to radio or television reception, which can be determined by turning
the equipment off and on, the user is encouraged to try and correct the interference by one or more of the following measures:
• reorient or relocate the receiving antenna.
• ncrease the separation between the equipment and receiver.
• connect the equipment into an outlet on a circuit different from that to which the
receiver is connected.
• consult the dealer or an experienced radio/TV technician for help.
RF Emissions Notice:
This equipment complies with FCC radiation exposure limits set forth for an uncontrolled environment. This device’s antenna must
be installed in accordance with provided instructions; and it must be operated with minimum 96 cm spacing between the antennas
and all person’s body (excluding extremities of hands, wrist and feet) during operation. Further, this transmitter must not be co-
located or operated in conjunction with any other antenna or transmitter.
IMPORTANT
1. DSC functions will not operate until a valid MMSID has been entered into the radio. The user MMSID is a unique nine digit
number, similar to a personal telephone number. It is used on marine transceivers that have DSC (Digital Selective Calling)
capability. You must obtain your user MMSID from the appropriate authorities in your country. If you are not sure who to
contact, consult your Northstar dealer for advice.
2. The radio channels installed into the radio may vary from country to country, depending on the model and on government
or national communications authority regulations.
3. Depending on your location, you may need a radio station license for the radio. You may also need an individual operator’s
licence. We recommend that you check the radio operating licensing requirements of your country before using the radio. The
operator is solely responsible for observing proper radio installation and usage practices.
4. A DSC warning label is supplied with the radio. To comply with FCC regulations, this warning label must be afxed in a
location that is clearly visible from the operating controls of this radio. Make sure that the chosen location is clean and dry
before applying this warning label.

2
3
Northstar
NS100
Quickstart Guide
and
Reference Manual

4
5

4
5
Contents
Getting Started 7
Using this manual 8
Conventions 9
Maintaining the radio 9
Technical support 9
Quickstart Guide 11
LCD screen symbols 12
Enter alphanumeric data 13
Handset button functions 14
Display and navigate a menu 15
Customise your radio 16
Adjust the volume 16
Select the TX power 16
Adjust the backlighting 16
Adjust the squelch 17
Select the channel bank 17
Select a channel 17
Select a favorite channel 18
Store 3 favorite channels 18
Make a call 18
Delete a favorite channel 19
Select a weather channel 19
Dual/Tri watch scan 19
All scan and channel lock out 20
Shadow watch scan 20
Use the foghorn 20
Use the intercom on the NS100 DS 21
Use the hailer on the NS100 DS 21
Handset alarm for the NS100 DS 22
Use the dual handsets on the NS100 DS 22
Reference Section 1
Radio Menu Options 23
Add a new buddy 25
Edit a buddy’s details 25
Delete a buddy’s details 26
Set the radio sensitivity 26
Select the channel bank 27
Set your position and time manually 27
Set the time offset 28
Select the time format 29
Show or hide the time 29
Show or hide the boat’s position 30
GPS alert setting 30
Edit or delete a channel name 31
Set the contrast 31
Select dual or triple watch mode 32
Weather alert setting 32
Com port setting 33
Reset to factory defaults 33
Reference Section 2
Setup the DSC functions 35
The DSC setup menu 36

6
7
Enter your MMSID 37
Enter a new group MMSID 37
Edit a group MMSID 38
Delete a group MMSID 39
Select your response to individual calls 39
Select your response to LL polling calls 40
Turn the DSC functions on/off 40
Enter your ATIS ID 41
Turn the ATIS functions on/off 41
Reference Section 3
Making DSC calls 42
Reply to the last incoming call 44
Make a routine call to an individual 44
Make a routine call to a group 45
Retry a routine call 46
Call all ships 46
Call back using the call log data 47
Request the LL position of a buddy 47
Reference Section 4
Receiving DSC calls 49
Automatically acknowledge an individual call 51
Reply to a group call 51
Reply to an all ships call 52
Automatically reply to an LL position request 53
Manually reply to an LL position request 53
Do not reply to an LL position request 54
Reply to a geographic call 54
Reference Section 5
Distress calls 55
Receive and reply to a distress call 57
Call back using the distress logs 57
Receive a distress relay 58
Receive a distress acknowledgement 59
Appendix A Technical Specications 61
NS100 SS 62
NS100 DS 63
Appendix B Troubleshooting 65
Appendix C VHF Marine Channel Banks 67
International channel banks 68
USA channel banks 71
Canadian channel banks 74
Country-specic inland waterways (Europe) 77

6
7
Getting Started
Welcome to the NS100 radio................................................
Using this manual.................................................................
Conventions..........................................................................
Maintaining the radio............................................................
Technical support.................................................................
This chapter introduces this manual and the NS100 radio, and explains a few things
you should know to keep your radio in top condition.

8
9
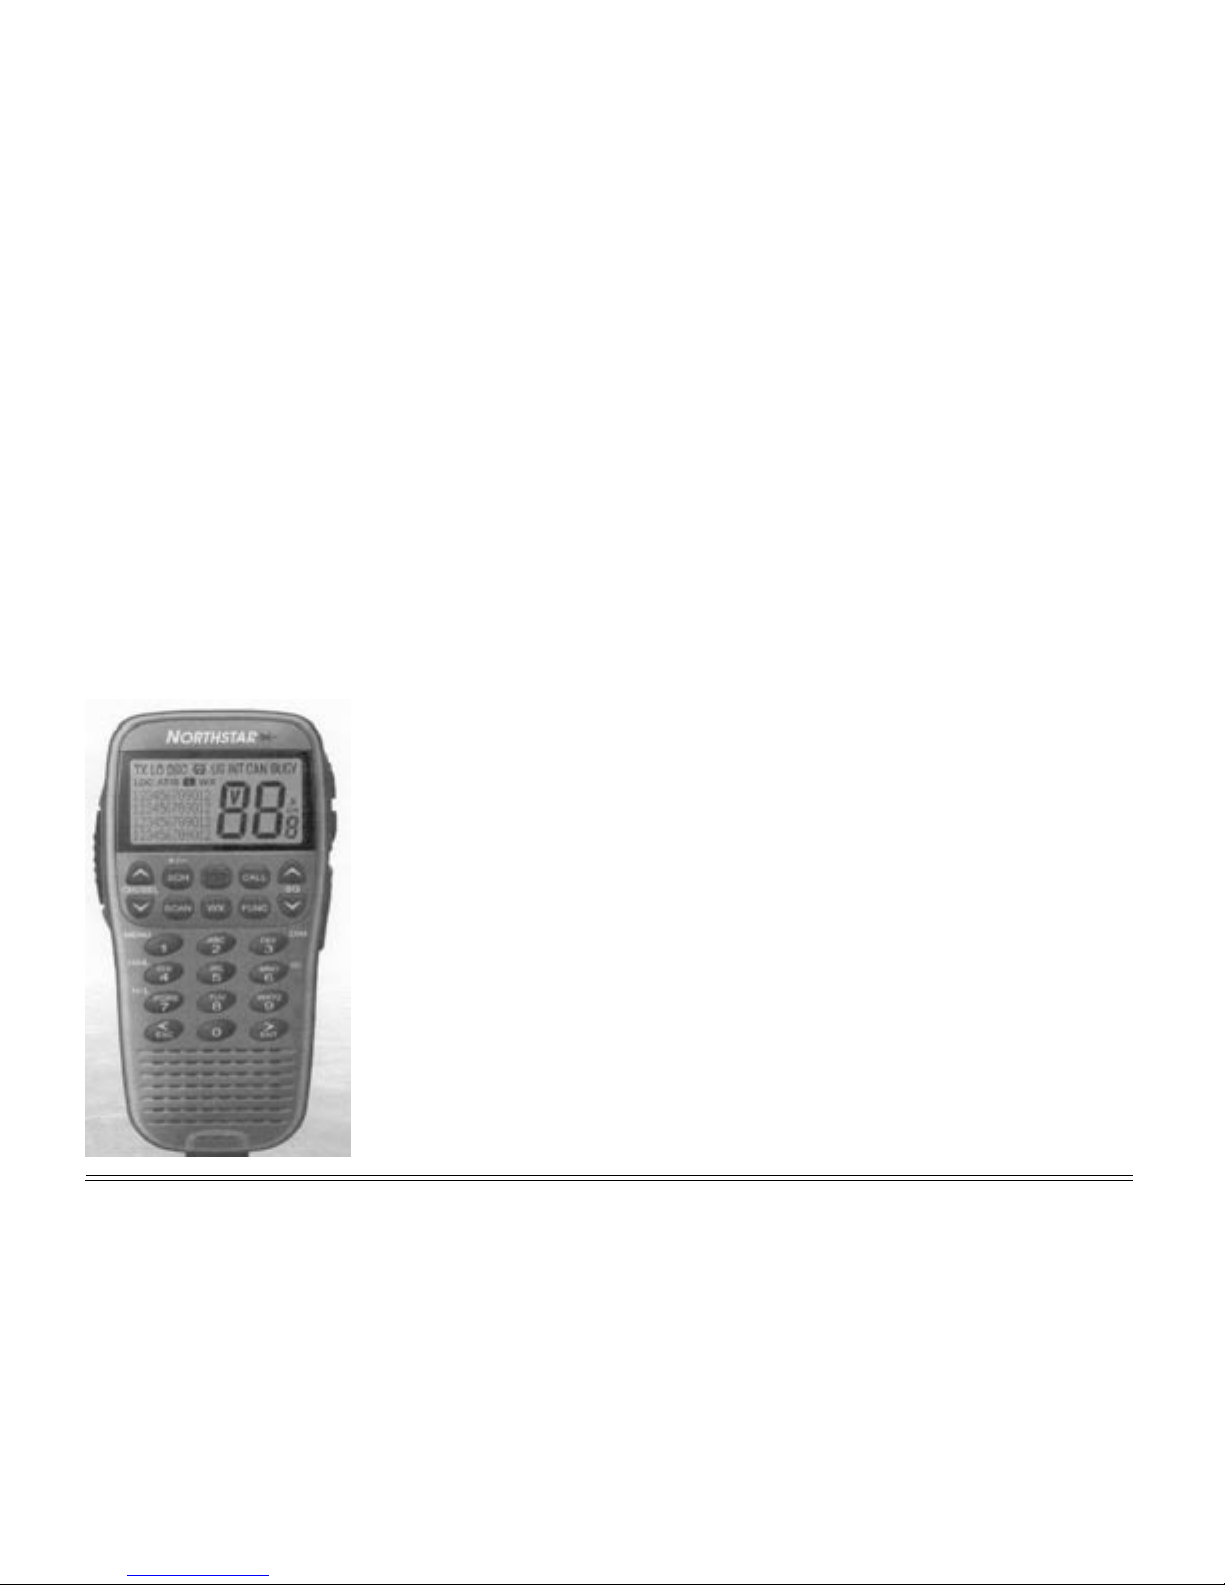
Congratulations on your purchase of a
Northstar NS100 radio! There are two models
available; the NS100 SS (Single System) and
the NS100 DS (Dual System). Both provide the
following useful features:
• an alphanumeric handset with built-in LCD
screen for easy operation and information
display.
• local/distance mode to eliminate noise in
high trafc urban areas
• adjustable contrast settings for the handset
screen
• adjustable keypad backlighting for easy
night-time use
• waterproof and submersible handset to
comply with JIS-7
• powerful 4W external speaker audio output
• access to all currently-available marine
VHF channel banks (USA, Canada,
International) including weather channels
where available
• special 3CH button to select your three
favourite channels
• MMSID storage for your three favourite
groups
Welcome to the NS100 radio
• DSC (Digital Selective Calling) capability
that
meets USCG SC101 Standards. USA only.
• DSC (Digital Selective Calling) capability that
meets EC Class D Standards. Europe only.
• PSCAN (similar to dual watch) facility
• DISTRESS call button to automatically
transmit your MMSID and position until an
acknowledgement is received
• easy access to a buddy list (maximum of 20
favourite people)
• group calling and all ships calling facility
• LL position polling information
• weather alert facility. US only.
• ATIS facility for inland waterways. Europe
only.
The NS100 DS provides the following additional
features:
• a second alphanumeric handset
• a second 4W external speaker
• intercom facility between the two handsets
• foghorn mode for use in reduced visibility
• hailer function with powerful 20W output
through a Hailer Horn (optional).
Using this manual
This manual is divided into two main sections:
• The QuickStart Guide has all the basic
information you need to operate your radio.
Be sure to read this section as you start to
use the radio.
• The Reference Sections provide more
detailed information about each function.
Use these sections to learn more about the
radio and get the most out of it.
Check the mini table of contents at the start
of each section, or the index at the end of
the manual, to quickly nd information on a
particular topic.

8
9
Maintaining the radio
To help maintain your radio at peak operating
performance, we recommend that you:
• hang the handset on the customized bracket
when you're not using it.
• use a soft cloth dampened in water to wipe
any dirt or salt from the handset, cable, or
speaker.
• use a small amount of window cleaner on
a soft cloth to remove any grease, oil, or
ngerprints from the LCD screen.
Conventions
This manual uses certain conventions to provide
a consistent means of recognizing specic
information, as follows:
• is used for warning information related
to your personal safety or possible damage
to the radio. These warning notes contain
critical information - please read them!
• "Press" means push and immediately
release the button.
• "Hold down" means keep the button
depressed for the specied time.
• LOCAL. Words looking like this indicate
a menu option on the LCD screen of the
handset, OR a button name.
Technical support
If you need technical support, or have any other
questions that this manual or your dealer cannot
answer, you can contact the factory as follows:
by telephone (USA only):
1-800-628-4487
1-978-897-6600
by email:
Service: service@NorthstarNav.com
Sales: sales@NorthstarNav.com
by mail:
BNT Marine Electronics
30 Sudbury Road
Acton, MA 01720
USA
Additional information is available at Northstar's
website:
www.NorthstarNav.com

10
11

10
11
Quickstart Guide
Turn the radio on and off.....................................................
LCD screen symbols............................................................
Enter alphanumeric data......................................................
Handset button functions....................................................
Display and navigate a menu..............................................
Customise your radio...........................................................
Adjust the volume.................................................................
Select the TX power..............................................................
Adjust the backlighting........................................................
Adjust the squelch................................................................
Select the channel bank.......................................................
Select a channel....................................................................
Make a call.............................................................................
Store three favorite channels..............................................
Select a favorite channel......................................................
Delete a favorite channel......................................................
Select a weather channel.....................................................
Dual/Tri watch scan....................................................................
All scan and channel lock out.............................................
Shadow watch mode............................................................
Use the foghorn....................................................................
Use the intercom on the NS100 DS.....................................
Use the hailer on the NS100 DS..........................................
Handset alarm for the NS100 DS.........................................
Use the dual handsets on the NS100 DS............................
This section explains the basic operation of the NS100 radio. We suggest that you
read this section carefully when you rst start using your radio, and then refer to the
Reference Sections for more information if necessary.

12
13
LCD screen symbols
Symbol Meaning
TX transmitting.
LO transmission power is LO (low) 1W.
If blank, the transmission power is
HI (high) 25W.
DSC DSC functions are available.
BUSY receiver is busy with an incoming
signal.
Symbol Meaning
USA INT CAN channel bank selected for VHF
radio operations and regulations
(USA/Canada only).
WX weather channel (USA/Canada
only).
LOC receiver sensitivity for local calling
is selected. If blank, distance
calling is selected.
Turn the radio on and off
Use the rotary knob on the speaker to turn the
radio on and off, and to adjust the volume.
Turn clockwise (right) to turn on. A white
indicator light appears. Turn counter-clockwise
(left) to turn off. When you turn off the radio,
it remembers the last working channel and
displays this when you turn the radio on again.
The radio has a variety of beep tones to indicate
different operations, but the beeps will not sound
if you set the volume level to zero.

12
13
Enter alphanumeric data
Use the handset buttons to enter channel
numbers or names, for radio functions, and for
menu editing. Each button has the functionality
shown in the table.
Press >ENT to move the cursor to the next
position when you enter a Buddy Name or a
Channel Name. Otherwise, the cursor moves
automatically to the next position when entering
data (similar to a cell phone). Also press >ENT
to conrm any input or changes.
Press <ESC to backup if you make a mistake,
or to cancel any changes and return to the
previous mode.
Symbol Meaning
ATIS ATIS is enabled. (Europe only).
Otherwise blank.
indicates an incoming DSC call, or
blinks to notify you of any unread
call log messages.
low battery warning (activates at
10.8V DC).
GPS indicates that the NMEA GPS
input is missing or invalid.
88 channel selected. V indicates an
EU special channel, e.g. M1.
X channel is temporarily deleted
from the ALL SCAN operation.
8 channel sufx, if applicable to the
selected channel. Usually A or B.
PLACEHOLDER
A typical operational display is shown. In this,
...........
Press: x1 x2 x3 x4 x5
button 1 1 - . ° /
button 2 2 A B C ?
button 3 3 D E F !
button 4 4 G H I :
button 5 5 J K L #
button 6 6 M N O +
button 7 7 P Q R S
button 8 8 T U V ;
button 9 9 W X Y Z
button 0 0 Space ( ) %

Handset button functions
All possible buttons and their functions are
described. Some of the buttons may not work
or may not be available, depending on your
location and your NS100 radio model.
A single beep sounds whenever you press a
button. A double beep sounds to indicate an
invalid key or an error. (The beeps won't sound
if the volume is set to zero.)
Button Function
Channel selection. In normal
mode, press to step through the
channels one at a time or hold
down for rapid selection.
In menu mode, press to step
through the menu options.
Three favorite channels. Press
repeatedly to cycle through your
three favorite channels.
Priority channel. USA/Canada
only. Press to cancel the current
mode and tune into the priority
channel. Press again to return to
your original mode.
CH16 is the default. To make
CH9 the default instead, hold
down 16/9 until 09 is displayed on
the LCD screen.
Priority channel. Europe only.
Press to cancel the current mode
and tune into CH16. Press again
to return to your original mode.
Button Function
DSC call menu. Press to display
the DSC call menu and to make
different types of DSC calls.
Scan. Press to start a dual (DW) or
triple (TRI) watch scan. Hold down
to start an all scan. Press again to
stop scanning.
Weather channel. USA/Canada
only. Press to hear the most
recently used weather channel.
Press again to return to your
previous mode.
Squelch adjustment. Press ^SQ
to increase or SQv to decrease the
squelch (threshold level). (Also see
Adjust the squelch.)
Volume. (Buttons located on
the right hand side of handset).
Press ^VOL to increase or VOLv
to decrease the speaker volume.
(Also see Adjust the volume.)
Press To Talk. (Button located on
left hand side of handset). Press
at any time to transmit on an
allowed channel. (Some channels
are restricted and do not allow
transmissions. Appendix C has
detailed information on channels.)
FOG

3. Press >ENT to display that option. Make any
entries or changes, if required.
4. Press >ENT to conrm changes OR press
<ESC to keep the original entry. Any changes
are active as soon as you exit the menu.
5. Press <ESC to backup to the previous screen
or to exit the menu completely.
Only a few menu options can be displayed at
any one time on the LCD screen. To show the
menu options:
1. Press FUNC then press 1 to display the rst
four radio menu options OR press CALL to
display the DSC call menu.
2. Press ^CH/SEL or CH/SELv to scroll up and
down the menu until the cursor is postioned at
the desired option.
Display and navigate a menu
Button Function
Escape. Press to cancel any
changes, return to the previous
mode, or backup.
Enter. Press to conrm and accept
any input or changes.
Function. Provides access to the
following useful radio functions
when combined with the button
number indicated:
FUNC 1 Radio Menu mode. Press
FUNC then 1 to display the radio
menu and DSC setup options
and to enter menu mode. (Also
see Reference Section 1 and
Reference Section 2.)
FUNC 3 Backlighting. Press FUNC then
3 to set the backlight level for the
LCD screen and handset buttons.
(Also see Adjust the backlighting.)
FUNC 4 Hailer. NS100 DS only. Press
FUNC then 4 to enter hailer mode.
(Also see Use the hailer on the
NS100 DS.)
Button Function
FUNC 6 Intercom. NS100 DS only. Pick up
your handset, then press FUNC
then 6 to activate the intercom.
(Also see Use the intercom on the
NS100 DS.)
FUNC 7 Transmission power. Press
FUNC then 7 to change the
transmission power setting. Press
FUNC then 7 again to return to the
previous setting.
FUNC 9 Fog mode. Press FUNC then 9 to
enter the fog mode. (Also see Use
the foghorn.)
Distress. (Red button located
on right hand side of handset).
To make a distress call, lift the
hinged protective cover from
the button. Then either press
DISTRESS to show the Nature of
Distress categories OR hold down
DISTRESS to send an undened
distress call. (Also see Reference
Section 5 - Send a Distress call.)

16
17
Adjust the backlighting
You can adjust the backlighting of the LCD
screen and keypad simultaneously. (To adjust
the contrast, see Reference Section 1 - Set the
contrast.)
There are four backlight settings;
• OFF (no backlighting)
• LO (low)
• MID (medium)
• HI (maximum)
To adjust the backlighting, press FUNC then 3
to enter the backlight mode. The current setting
is shown on the LCD screen, e.g DIMMER LO.
Use ^CH/SEL and CH/SELv to select your
desired setting. If you select OFF, the LO setting
will operate for 5 seconds whenever you make
a keypad entry so you can check your entry is
correct.
If you have the NS100 DS radio, you can adjust
the backlighting for each handset independently.
Some channels
allow only low power
transmissions. Error
beeps will sound if
the power setting is
incorrect.
You can set the transmission power to either
high (25W output) or low (1W output).
If LO is shown in the LCD screen, low
transmission power is selected; if the LCD
screen does not show LO, high transmission
power is selected.
To change from one selection to the other, press
FUNC then press 7. Press FUNC then 7 again to
change back.
Select the TX power
Use the VOL buttons on the right hand side of
the handset to adjust the volume. There are
ten volume levels available.
Press ^VOL once to increase the volume
by one level. Press VOLv once to decrease
the volume by one level. The current level is
shown as a percentage on the LCD screen, e.g.
VOLUME 30%.
Hold down either of the buttons to change the
volume levels automatically until the limit is
reached.
Adjust the volume
Customise your radio
You can customize the radio to suit your
individual preferences. You can set some
preferences directly, using the handset buttons
as explained in this section.
Other preferences can be set up only through
the menus and these are explained in the
Reference Sections.

16
17
Adjust the squelch
You can adjust the squelch (the threshold level)
for the minimum receiver signal. There are ten
settings available.
Press ^SQ once to increase the squelch by one
step. Press vSQ once to decrease the squelch
by one step. The current setting is shown as a
percentage on the LCD screen, e.g. SQUELCH
30%.
Hold down either button to change the squelch
automatically until the threshold limit is reached.
If you have the NS100 DS radio and change
the squelch on one handset, the new level is
automatically applied to the other handset too.
The optimum squelch setting will improve
reception. Decrease the squelch until random
noise is heard, then increase it one step at a
time until the random noise disappears. For
best reception in open sea conditions, increase
the squelch one more step.
In areas of high noise (e.g. close to large cities
or pager broadcast sites) reception may improve
if the squelch is increased or the LOCAL setting
is used. (See Reference Section 1 - Set the
radio sensitivity.)
A special antenna RF reverse current monitoring
circuit will automatically reduce the transmission
power to 1W if a failed or open antenna is
detected.
Select the channel bank
If you are based in the USA or Canada, there
is a choice of 3 channel banks; USA, INT
(International), and CAN (Canadian). The
channel bank that is currently selected is
shown on the LCD screen.
Use the radio menu if if you want to change the
channel bank. See Reference Section 1 - Select
the channel bank.
Select a channel
When you turn the radio on, it automatically
tunes to the last working channel OR to the
sufx channel if the normal channel is not
available in the channel charts.
The channel number is shown in very big
digits on the LCD screen. The channel sufx (if
applicable) is shown at a smaller size.
To change the channel, you can EITHER enter
the channel number directly using the keypad
OR
press ^CH/SEL to step up or
CH/SELv
to step
down to the next channel.
To
rapidly scroll
through the channels, just hold down ^CH/
In Europe, only the
INT (International)
channel bank is
available and it cannot
be changed.

18
19
Make a call
Hold down the PTT (Press To Talk) button on
the left hand side of the handset to transmit on
an allowable channel. The channel number
and TX are shown on the LCD screen.
When you press PTT the NS100 radio
automatically exits from any menu and stops
scanning. You must release PTT to receive a
call.
A built-in timer will automatically shut down a
transmission after ve minutes and sound a
warning beep. A warning message is also shown
on the LCD screen.
Some channels are restricted and do not allow
transmissions. Check out Appendix C for a
complete listing of channels.
Store 3 favorite channels
You can store one, two or three channels as
favorites.
Select the rst channel that you want to store,
then hold down 3CH for about two seconds to
store it as CH1. Repeat the procedure to store
two more favorite channels as CH2 and CH3
respectively.
If you try to store another favorite channel, the
radio asks: OVERWRITE CH3?
If you press >ENT to conrm, CH3 is overwritten
with the new channel.
Select a favorite channel
Press 3CH to display the rst favorite channel.
Repeat the procedure, if necessary, to cycle
through the three favorite channels.
The LCD screen displays CH1, CH2, or CH3
as appropriate, to show which favorite channel
is operational.
When you are nished using a favorite channel,
press <ESC to return to previous working
channel.
SEL or
CH/SELv
until the desired channel is
reached.
Error beeps will sound if you try to select a
channel that is not allowed.
Some examples on selecting a channel (USA
channel bank) are given:
• Press 1 then 8 to select CH18A.
• Press 2 then 0 to select CH20, then press
^CH/SEL to select CH20A (sufx A channel).
• Press 2 then 0 then 2 again to select CH20A
(sufx A channel).

18
19
Delete a favorite channel
Press 3CH to display the rst favorite channel.
Repeat the procedure, if necessary, until the
favorite channel that you want to delete is
displayed.
With the favorite channel displayed, hold down
3CH for about two seconds until the radio asks:
DELETE CHxx?
If you press >ENT to conrm, the channel is
deleted from your favorite channel selection.
Select a weather channel
Press WX to tune to the most recently used
weather channel. WX is displayed on the LCD
screen.
Press ^CH/SELv to tune to a different weather
channel, if desired.
If a weather alert is transmitted on 1050Hz
by a weather station, the radio picks it up
automatically and sounds the loud weather alert
warning tone.
Press any key while the loud alarm is sounding
to cancel the warning tone and listen to the
weather alert voice message.
When you are nished using the weather
channel, press WX again to return to previous
working channel.
This option is only
available with the USA
or Canadian channel
banks.
Dual/Tri watch scan
You can use the radio setup menu to select
DUAL or a TRI watch mode. (See Reference
Section 1 - Select dual or triple watch mode.)
Dual watch mode will automatically scan
between the working channel and CH16 (the
priority channel).
When you are on a working channel, just press
SCAN to start scanning. DUAL WATCH is
shown on the LCD screen.
If the USA or CAN channel banks are selected,
and you have set the weather alert facility to
ON, the weather channel is also scanned.
If a signal is received, scanning stops at that
channel and BUSY appears on the LCD screen.
Scanning starts again four seconds after the
BUSY annunciator disappears.
To stop at the current channel and cancel the
scan mode, press SCAN again or <ESC.

20
21
All scan and channel lock out
While scanning, USA
radio models will
shadow watch on
CH70 for incoming
DSC calls.
When you are on a working channel, hold
down SCAN for at least two seconds to start
scanning all working channels. CH16 (the
priority channel) is scanned once every two
seconds. ALL SCAN is shown on the LCD
screen.
Press <ENT to lock out (skip over) an 'always
busy" channel when in ALL SCAN mode. An
X is shown on the LCD screen to indicate a
locked out channel. You cannot lock out CH16
or CH70.
Shadow watch scan
The USA radio models use shadow watch
mode to scan for incoming DSC signals on
CH70 in any channel bank (USA, CAN, INT).
Shadow watch mode means that the scanning
operation is not shown on the LCD screen
To unlock a locked out channel, press <ENT
when the channel is displayed. The X disappears
to show it is now unlocked.
If a signal is received, scanning stops at that
channel and BUSY appears on the LCD screen.
Scanning starts again four seconds after the
BUSY annunciator disappears.
To stop at the current channel and cancel the
SCAN mode, press SCAN again or <ESC.
When visibility is reduced by fog, you can
operate a manual or automatic foghorn through
the external speaker. The manual foghorn
will sound whenever you press or hold down
PTT. The automatic foghorn will sound for ve
seconds once every minute.
You can also adjust the foghorn volume or
leave it at the default level.
1. Press FUNC then 9 to enter fog mode. FO is
shown on the LCD screen.
2. Press >ENT to select the automatic foghorn
OR
move the cursor to MANUAL and then press
unless a DSC signal on CH70 is detected.
The European radio models have a dedicated
DSC CH70 receiver and don't use shadow
watch mode.
>ENT to select the manual foghorn.
4. When the foghorn is blowing you can press
^VOL to increase or VOLv to decrease the
foghorn volume. The LCD screen will show
the current foghorn volume as a percentage
e.g. 50% VOLUME.
5. The foghorn’s listening function allows sounds
picked up by the hailer horn to be heard
over the radio. When the LCD screen shows
LISTENING, you can press ^VOL to increase
or VOLv to decrease the volume.
Press <ESC when you want to exit from the
foghorn mode.
Use the foghorn
This manual suits for next models
1
Table of contents
Other NorthStar Marine Radio manuals

NorthStar
NorthStar EXPLORER 725 User guide

NorthStar
NorthStar VHF Marine Explorer 721EU Specification sheet

NorthStar
NorthStar EXPLORER 721 User guide

NorthStar
NorthStar VHF Marine Explorer 721EU Specification sheet

NorthStar
NorthStar EXPLORER 705 - User manual

NorthStar
NorthStar Explorer 710 VHF Specification sheet
Popular Marine Radio manuals by other brands

Furuno
Furuno RC-1800F Service manual

Simons Voss Technologies
Simons Voss Technologies ALLEGION 3060 Series quick guide

Uniden
Uniden MC 1010 operating guide

jotron
jotron Tron AIS TR-8000 Operator and installation manual

GME
GME GX600DB instruction manual

Thrane&Thrane
Thrane&Thrane Sailor RT5022 VHF DSC manual