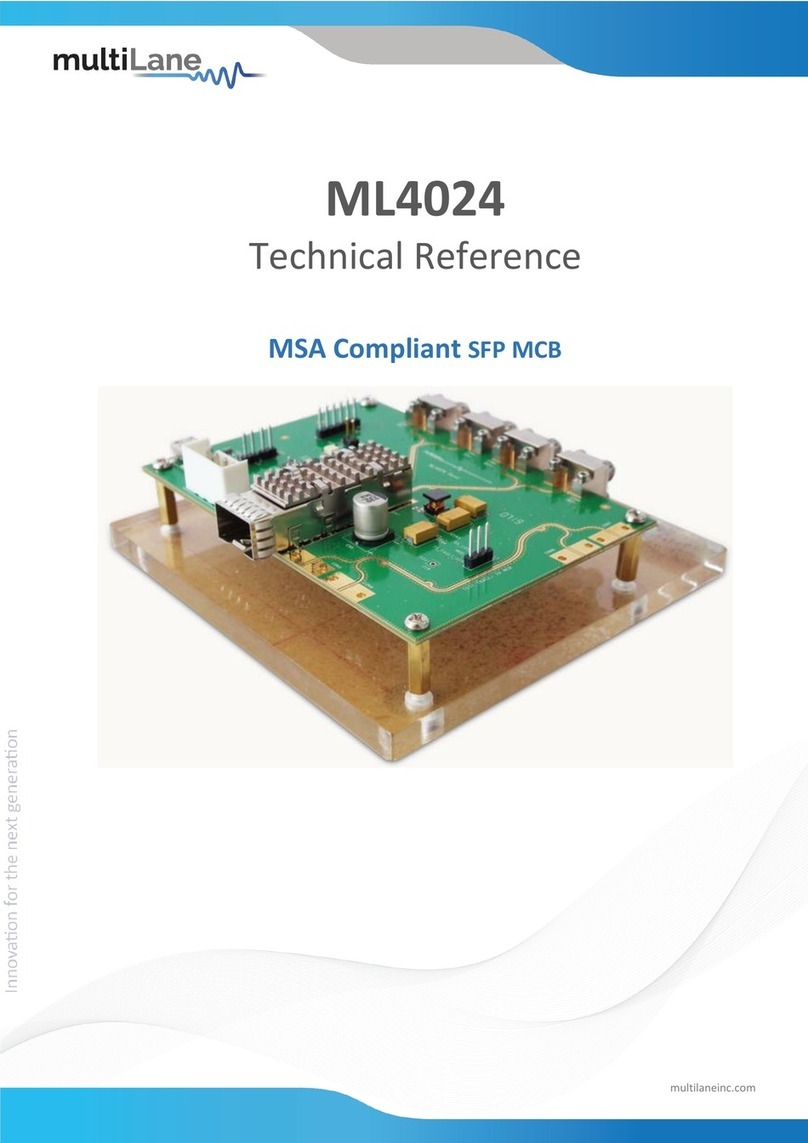
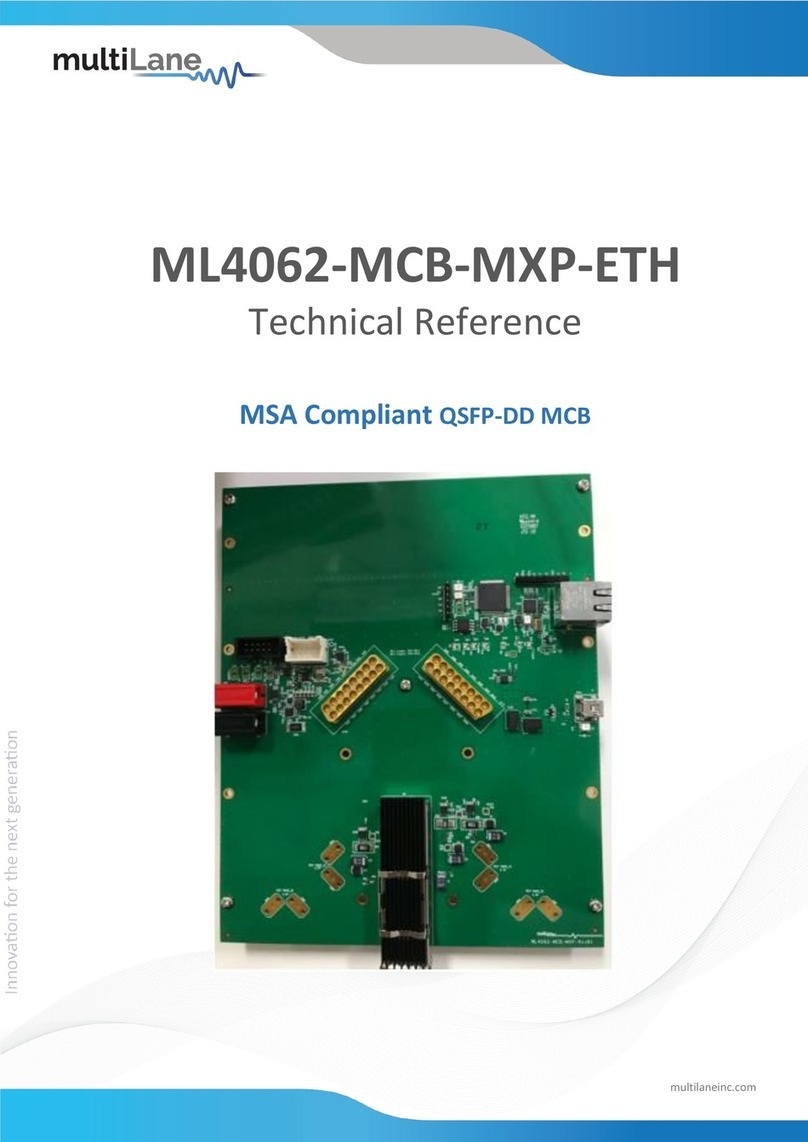
MULTILANE ML4025-TDR Mounting instructions

ML4025-TDR |OperationUser Manual
1 / 44
COMMUNICATION TEST & MEASUREMENT SOLUTIONS
ML4025-TDR User Operation Manual
www.multilaneinc.com
Connection
Installation
Calibration
Measurement
Troubleshooting
User Manual Revision 1.0
Windows GUI Version v.1.0.r6380
API Version 1.0
Firmware Version 3.2
Copyright © MultiLane SAL. All rights reserved. Licensed software products are owned by
MultiLane SAL or its suppliers and are protected by United States copyright laws and
international treaty provisions.
Use, duplication, or disclosure by the Government is subject to restrictions as set forth in
subparagraph (c)(1)(ii) of the Rights in Technical Data and Computer Software clause at
DFARS 252.227-7013, or subparagraphs (c)(1) and (2) of the Commercial Computer
Software -- Restricted Rights clause at FAR 52.227-19, as applicable.
MultiLane SAL products are covered by U.S. and foreign patents, issued and pending.
Information in this publication supersedes that in all previously published material.
Specifications and price change privileges reserved.
MultiLane, S.A.L., Houmal Technology Park, Houmal, Mount Lebanon.
ML4025-TDR software, hardware and documentations are registered trademarks of
MultiLane, S.A.L.

ML4025-TDR |OperationUser Manual
[ii]
COMMUNICATION TEST & MEASUREMENT SOLUTIONS
GENERAL SAFETY PRECAUTIONS ......................................................................................................... 1
PREFACE ............................................................................................................................................ 2
CONTACT MULTILANE SAL .................................................................................................................. 3
PRODUCT DESCRIPTION...................................................................................................................... 4
MODEL AND PACKAGE CONTENT ........................................................................................................................ 4
OVERVIEW...................................................................................................................................................... 4
KEY FEATURES ................................................................................................................................................. 5
TARGET APPLICATIONS...................................................................................................................................... 5
PRODUCT SOFTWARE ......................................................................................................................... 6
MINIMUM PC REQUIREMENTS ........................................................................................................................... 6
INSTRUMENT PORTS........................................................................................................................... 7
HOW TO CONNECT THIS INSTRUMENT ................................................................................................ 8
CONNECTING THROUGH AN ETHERNET CABLE........................................................................................................ 8
CONNECTING THROUGH USB CABLES .................................................................................................................. 9
INSTALLATION.................................................................................................................................. 10
SYSTEM START-UP..........................................................................................................................................10
CONNECT TO THE INSTRUMENT VIA ETHERNET:.................................................................................................... 10
MEASUREMENTS:............................................................................................................................. 12
IMPEDANCE PROFILE:...................................................................................................................................... 12
Calibration ............................................................................................................................................ 12
Impedance Profile Measurement......................................................................................................... 12
Calibration for DAC Testing ..................................................................................................................13
Measurement for DAC..........................................................................................................................13
INSERTION LOSS:............................................................................................................................................ 15
Calibration ............................................................................................................................................ 15
Insertion Loss Measurement ................................................................................................................ 16
DAC Testing .......................................................................................................................................... 16
De-embedding ......................................................................................................................................17
RETURN LOSS:...............................................................................................................................................18
Calibration ............................................................................................................................................ 18
Return Loss Measurement.................................................................................................................... 19
Gating for DAC Testing......................................................................................................................... 19
NEAR-END CROSSTALK:................................................................................................................................... 21
Calibration ............................................................................................................................................ 22
NEXT Measurement.............................................................................................................................. 22
FAR-END CROSSTALK:..................................................................................................................................... 23
Calibration ............................................................................................................................................ 23
FEXT Measurement .............................................................................................................................. 23
INTEGRATED CROSSTALK NOISE: ....................................................................................................................... 24
CORRELATION WITH OTHER MEASUREMENTS:...................................................................................................... 25
SAVING DATA:............................................................................................................................................... 28
SAMPLING OSCILLOSCOPE: ............................................................................................................... 29
USB DRIVER INSTALLATION............................................................................................................... 34
USB DRIVER INSTALLATION ON WINDOWS XP, WINDOWS 7PLATFORMS ................................................................34
USB DRIVER INSTALLATION ON WINDOWS 8PLATFORMS:..................................................................................... 35
USB DRIVER INSTALLATION ON WINDOWS 10 PLATFORMS:................................................................................... 36

ML4025-TDR |OperationUser Manual
[iii]
COMMUNICATION TEST & MEASUREMENT SOLUTIONS
FIRMWARE UPGRADE....................................................................................................................... 38
INSTRUCTIONS TO UPGRADE THE FIRMWARE .......................................................................................................38
ORDERING INFORMATION ................................................................................................................ 40
MANUAL REVISION HISTORY............................................................................................................. 40
List of Figures
Figure 1: ML4025-TDR GUI ................................................................................................. 6
Figure 2: ML4025-TDR cPCI Front Panel ............................................................................. 7
Figure 3: ML4025-TDR connected to PC via Ethernet ........................................................ 8
Figure 4: ML4025-TDR connected to PC Wirelessly ........................................................... 8
Figure 5: ML4025-TDR with USB connection...................................................................... 9
Figure 6: Connect Via Ethernet......................................................................................... 10
Figure 7: Ethernet Configuration ...................................................................................... 11
Figure 8: Measure Impedance Profile............................................................................... 13
Figure 9: Calibration for DAC ............................................................................................ 13
Figure 10: Setup for DAC Measurement........................................................................... 14
Figure 11: Impedance Profile of a DAC............................................................................. 14
Figure 12: S21 Reference Circuit....................................................................................... 15
Figure 13: Insertion Loss Measurement ........................................................................... 16
Figure 14: S21 Measurement for DAC .............................................................................. 17
Figure 15: De-embedding S-parameters........................................................................... 17
Figure 16: Termination for Calibration ............................................................................. 18
Figure 17: Channel Selection ............................................................................................ 18
Figure 18: Run Calibration ................................................................................................ 18
Figure 19: TDR Calibration Steps ...................................................................................... 19
Figure 20: Load VNA Kit .................................................................................................... 19
Figure 21: Gating for S11 Measurement .......................................................................... 20
Figure 22: Gating Process.................................................................................................. 20
Figure 23: Applying Markers for Gating............................................................................ 20
Figure 24: Apply Gating..................................................................................................... 21
Figure 25: S11 Measurement for DAC .............................................................................. 21
Figure 26: Setup for NEXT Measurement ......................................................................... 22

ML4025-TDR |OperationUser Manual
[iv]
COMMUNICATION TEST & MEASUREMENT SOLUTIONS
Figure 27: Setup for FEXT Measurement.......................................................................... 23
Figure 28: FEXT Measurement.......................................................................................... 24
Figure 29: ICN Instructions................................................................................................ 24
Figure 30: ICN Measurement............................................................................................ 25
Figure 31: Load S2P/S4P Files ........................................................................................... 26
Figure 32: Load S2P/S4P Files ........................................................................................... 27
Figure 33: S21 Correlation with VNA ................................................................................ 27
Figure 34: Save Calibration ............................................................................................... 28
Figure 35: Load Calibration ............................................................................................... 28
Figure 36: Save Measurements ........................................................................................ 28
Figure 37: Connection Setup............................................................................................. 29
Figure 38: Clock Synchronization Mode ........................................................................... 29
Figure 39: Eye Diagram on ML4025-TDR .......................................................................... 30
Figure 40: Configure DSO.................................................................................................. 30
Figure 41: Graph Selection................................................................................................ 30
Figure 42: Pattern Graph .................................................................................................. 31
Figure 43: Scope Settings.................................................................................................. 31
Figure 44: Filter Settings ................................................................................................... 32
Figure 45: Axis Properties ................................................................................................. 32
Figure 46: Adding Channels .............................................................................................. 32
Figure 47: Choose Measurements.................................................................................... 33
Figure 48: Eye Diagram with Measurements.................................................................... 33
Figure 49: USB Driver Not Installed .................................................................................. 34
Figure 50: Scan for Hardware Changes............................................................................. 34
Figure 51: Scanning for Plugs............................................................................................ 35
Figure 52: Bootloader Software........................................................................................ 38
Figure 53: Connect Bootloader Software ......................................................................... 39
Figure 54: Erase Program Verify ....................................................................................... 39
List of Tables
Table 1: ML4025-TDR cPCI Ports......................................................................................... 7
Table 2: Order Information............................................................................................... 40

ML4025-TDR |OperationUser Manual
1|P a g e
COMMUNICATION TEST & MEASUREMENT SOLUTIONS
General Safety Precautions
Review the following safety precautions to avoid injury and prevent damage to this
product or any products connected to it. To avoid potential hazards, use this product
only as specified.
Only qualified personnel should perform service procedures.
While using this product, you may need to access other parts of the system. Read the
General Safety Summary in other system manuals for warnings and cautions related to
operating the system.
To Avoid Fire or Personal Injury
Use Proper Power Cord. Only use the power cord specified for this product and certified
for the country of use.
Observe All Terminal Ratings. To avoid fire or shock hazard, observe all ratings and
markings on the product. Consult the product manual for further ratings information
before making connections to the product.
Do not apply a potential to any terminal, including the common terminal that exceeds the
maximum rating of that terminal.
Do Not Operate Without Covers.
Do not operate this product with covers or panels removed.
Avoid Exposed Circuitry. Do not touch exposed connections and components when
power is present.
Do Not Operate with Suspected Failures.
If you suspect there is damage to this product, have it inspected by qualified service
personnel.
Do Not Operate in Wet/Damp Conditions.
Do Not Operate in an Explosive Atmosphere.
Keep Product Surfaces Clean and Dry.
CAUTION: Caution statements identify conditions or practices that could
result in damage to this product or other property.
CAUTION: Provide adequate cooling. Provide adequate cooling to the board to
avoid damaging any part of it specifically for the ATE version of the
board. Refer to the power section to know the power dissipation values

ML4025-TDR |OperationUser Manual
2|P a g e
COMMUNICATION TEST & MEASUREMENT SOLUTIONS
Preface
This is the user operation manual for the ML4025-TDR. It covers the following
information:
▪Describes the capabilities of the instrument: How to install it and its software.
▪Explains how to operate the instrument as a time domain reflectometer, time
domain transmitter and sampling scope to measure: Impedance Profile, Insertion
Loss, Return Loss, Near-End Crosstalk, Far-End Crosstalk, Integrated Crosstalk
Noise.
▪Lists the instrument’s specifications

ML4025-TDR |OperationUser Manual
3|P a g e
COMMUNICATION TEST & MEASUREMENT SOLUTIONS
Contact MultiLane SAL
ultiLaneSAL is an engineering services company and an OEM supplier of
specialty test and communication equipment for the semiconductor and optical
transport industries. Multilane delivers ultra-compact test instruments of the
highest value and performance for high speed communication and signal integrity
applications. The Company has a large engineering team and a fully equipped lab with
state of the art equipment, having recently moved to a 6000sq foot facility in Houmal
Technology Park (HTP).
Multilane SAL customers can leverage great flexibility and capability in product
customization thanks to our team’s in-depth expertise in high speed I/O, Signal Integrity,
and access to advanced development and test tools. MultiLane has the resources and
know-how to meet customers’ product development and design requirements. Our R&D
has a proven track record in delivering leading edge products and development tool kits
to the Automated Test market while applying the production processes to deliver high
quality products on schedule and within budget.
Multilane Sal’s team is composed of experienced and disciplined engineers offering
products and turnkey solutions of modules and systems for high speed IO, Signal Integrity,
SOC development and optical communication from verbal requirements (Architecture,
PRD, HW/FW/SW design implementation and characterization).
Address
MultiLane SAL
Houmal Technology Park
Askarieh Main Road
Houmal
Website
www.multilaneinc.com
Sales support
Support
support@multilaneinc.com
If any further help is needed, please contact MultiLane SAL, by sending general enquiries
to info@multilaneinc.com.
M

ML4025-TDR |OperationUser Manual
4|P a g e
COMMUNICATION TEST & MEASUREMENT SOLUTIONS
Product Description
This section describes your instrument, operating under Windows.
Model and Package Content
This manual supports the instrument ML4025-TDR (cPCI)
Hardware Packages
ML4025-TDR (cPCI): 4 differential ports operating as TDR/TDT/Sampling Scope lanes, 4
single-ended ports (Optional), reference clock input, external reference clock output
(Optional)
User Guide Manual
Manual containing user operation guide, software installation and start up procedure.
Software package and documentations:
▪Main ML4025-TDR GUI.
▪USB driver. The Ethernet interface is controlled though the API version 2.0 that
includes the Ethernet package.
Overview
ML4025-TDR is a state of the art Digital Sampling Oscilloscope with CDR, Time Domain
Reflectometry, and Time Domain Transmission. The DSO automatically performs accurate
eye diagram analysis at 35 GHz to characterize the quality of transmitters and receivers,
implementing a statistical under-sampling technique with comprehensive software
libraries used for eye measurements, jitter analysis and processing of NRZ/PAM4 data.
The true differential TDR/TDT is used to determine the performance of different features
in many applications including Time Domain Reflectometry/Transmission, impedance
testing, propagation and time delay while testing up to 4X35 GHz true-differential
channels. It is designed for characterization as well as manufacturing.
MultiLane offers the ML4025-TDR instrument in a cPCI card format that fits into the
ML4000 MultiLane Signal Integrity Analyzer 6U cPCI Chassis.

ML4025-TDR |OperationUser Manual
5|P a g e
COMMUNICATION TEST & MEASUREMENT SOLUTIONS
Key Features
•High Resolution TDR/TDT measurements
•Determination of the magnitude and polarity of any back reflected signal
•4 ports per module expandable up to 32 and more
•Low power dissipation
•Sample aperture jitter below 60 fs
•Return Loss
•Insertion Loss
•Near-End Crosstalk
•Far-End Crosstalk
•Integrated Crosstalk Noise
•Low cost quadruple 35 GHz Digital Sampling Scope optimized for high speed data
analysis
•High Fidelity Signal Capture
•CDR up to 30 Gbps
•Low intrinsic Jitter
•cPCI friendly interface, allows control of multiple modules through either Fast
Ethernet or USB
•User friendly GUI, high throughput APIs and libraries.
•Supports external API calls from other software e.g. LabView
•Repeatable performance and traceable to standards
•Single ended and differential electrical inputs for each of the four channels
•Color graded persistence in eye and pattern capture modes
•Ability to analyze and load captured data into the simulator
•Capability to save statistical measurement and data files for multiple DSOs
•Full eye measurements can be attained in the tens of milliseconds
Target Applications
•Time Domain Reflectometry
•Localization of the position of discontinuity
•Impedance Profile
•Propagation/Time delay
•Copper board-trace, connector, and cable evaluation
•Communication Systems/Backplane Test
•DAC testing
•Electro-optical Transceiver Testing
•Multi-port system testing or Line Cards
•In-Situ testing of high port count systems
•Telecom Equipment Test for Installation and Maintenance.

ML4025-TDR |OperationUser Manual
6|P a g e
COMMUNICATION TEST & MEASUREMENT SOLUTIONS
Product Software
Figure 1: ML4025-TDR GUI
The instrument includes the following software:
▪ML4025-TDR GUI.
▪MultiLane ML4025-TDR USB driver.
▪ML4025-TDR ETH Configuration Software.
Instrument GUI runs on Windows XP (32/64 bit), Windows 7,8 and 10.
NOTE. These applications require the Microsoft .NET Framework 3.5.
If the Microsoft.NET Framework 3.5 is needed, it can be downloaded through this link:
http://download.microsoft.com/download/2/0/e/20e90413-712f-438c-988e-
fdaa79a8ac3d/dotnetfx35.exe.
For more products updates, check the following webpage:
www.multilaneinc.com/products.html
Minimum PC Requirements
The Windows PC properties for the ML4025-TDR software should meet the following
specifications:
▪Windows XP SP3 or greater
▪Minimum 1 GB RAM
▪1 Ethernet card to establish connection with the device
▪USB Connector
▪Pentium 4 processor 2.0 GHz or greater
▪.NET Framework 3.5 sp1

ML4025-TDR |OperationUser Manual
7|P a g e
COMMUNICATION TEST & MEASUREMENT SOLUTIONS
Instrument Ports
The ML4025-TDR has 4 differential ports. Each of the ports can either be configured as a
TDR port to measure reflections, as a pattern generator only, or as a sampling scope
(receiver) only. Transmission measurements require one differential port to act as
pattern generator while another will be the receiver.
Figure 2: ML4025-TDR cPCI Front Panel
Port Name
Description
1
Clk In
This is the trigger input for the sampling scope (DSO). It is used in DSO
mode only. Note that the DSO can also work in clock recovery mode
where it does not need an external trigger.
2
CH1 - CH4
The positive legs of the differential ports. Each port can be configured
either as TX or as RX
3
𝐂𝐇𝟏
-𝐂𝐇𝟒
The negative legs of the differential ports. Each port can be configured
either as TX or as RX
4
USB
Mini-B USB port for firmware updates and for changing the IP address
only
5
LAN
RJ-45 port for data transfer and communication with the GUI
Table 1: ML4025-TDR cPCI Ports

ML4025-TDR |OperationUser Manual
8|P a g e
COMMUNICATION TEST & MEASUREMENT SOLUTIONS
How to connect this instrument
This session covers the connection options of the instrument, addressing the following
topic:
▪ML4025-TDR Fast Ethernet / USB Connections method.
NOTE. This release supports Ethernet connection for the software applications (note that
the IP
1
should be in the same range of the network).
Connecting Through an Ethernet cable
To establish an Ethernet connection between the ML4025-TDR panel and the PC,
connect an Ethernet straight cable between the panel and the Router or Switch, and
connect your PC to the router via cable or wireless. The device can be pinged to verify
that a connection has been established.
Make sure to have the instrument’s correct IP address.
Figure 3: ML4025-TDR connected to PC via Ethernet
Figure 4: ML4025-TDR connected to PC Wirelessly
1
http:// en.wikipedia.org/wiki/IP_address

ML4025-TDR |OperationUser Manual
9|P a g e
COMMUNICATION TEST & MEASUREMENT SOLUTIONS
Connecting Through USB cables
Connect a USB Mini-B type cable between the instrument and the PC.
Figure 5: ML4025-TDR with USB connection

ML4025-TDR |OperationUser Manual
10|P a g e
COMMUNICATION TEST & MEASUREMENT SOLUTIONS
Installation
This chapter covers installation of the instrument, addressing the following topics:
▪System Start-up
▪How to connect to the instrument via Ethernet
Note: For windows vista, 7, 8 and 10 users should always run the GUI as administrator.
System Start-up
To use the ML4025-TDR GUI under Windows XP, Windows 7,8, and 10, it is important that
the correct start-up sequence is followed:
•Make sure you have Microsoft .NET Framework 3.5 installed.
•If not installed, refer to the Note in the Product Software section.
•Install the ML4025-TDR software.
•After installation, run the software.
•A new window that says: “Connect to your instrument” will appear; this is the
main software interface which allows you to connect to the ML4025-TDR.
Connect to the Instrument via Ethernet:
•Connect the PC to the front panel via the RJ-45 connector located on the front
panel through an Ethernet cable to be able to control it.
•In order to connect via Ethernet, the IP address of the board is required.
To learn more options on how to connect the Ethernet cable go to the section
Connect through an Ethernet Cable.
Note that no drivers are required; the board’s IP address should simply be
entered in the text box next to the IP label then click on the connect button as
shown in Figure 6.
Figure 6: Connect Via Ethernet
•To make sure that you are connected, you can also ping your device.
•To change the IP address of the board, you need to install the USB drivers (refer
to the section that addresses USB Driver Installation).
•Install the Ethernet configuration software that allows you to read, write the IP
address, Mask and Gateway of the instrument.

ML4025-TDR |OperationUser Manual
11|P a g e
COMMUNICATION TEST & MEASUREMENT SOLUTIONS
Figure 7: Ethernet Configuration
The instrument is now powered up and connected through the right IP address. Next,
the TDR/TDT measurements that can be performed by the ML4025-TDR along with the
needed calibrations will be addressed.

ML4025-TDR |OperationUser Manual
12|P a g e
COMMUNICATION TEST & MEASUREMENT SOLUTIONS
Measurements:
The ML4025-TDR can be used to test any component and has a wizard that facilitates
testing of backplanes and DACs with its ability to measure the impedance profile, the
return loss, insertion loss, near-end crosstalk, far-end crosstalk and integrated crosstalk
noise. Even though the ML4025-TDR is a native differential TDR instrument, single-
ended measurements are also possible if you terminate the unused connector with a 50
Ohm load.
Impedance Profile:
To measure a DUT’s impedance profile, the ML4025-TDR’s ports are used as time
domain reflectometers. A pulse with 12ps rise time is transmitted and the reflections
are measured by the same port to shape the DUT’s impedance profile.
Calibration
Impedance profile measurement using the ML4025-TDR needs no calibration. However,
aligning the TDR pulse to start at the DUT connection point is recommended. This is
done as follows:
•Select the channel(s) on which the calibration will be performed.
•Click on “Calibration” followed by “Run” to start the calibration process.
•Disconnect the DUT from its connection point with the ML4025-TDR as
instructed by the GUI and press “Next Setup”.
•Reconnect the DUT and press “Confirm”.
Impedance Profile Measurement
•After completing the calibration, keep the cables connected to one end of the
DUT, while terminating the other end with a 50Ωload.
•Measurements can either be differential or single ended. For single ended
measurement, “Single_Ended” mode should be selected in the “Advanced
Options” tab and only one port is used for each channel while the second is
terminated with a 50Ω load.
•Select the channel(s) on which the impedance profile measurement will be
performed.
•Click “Confirm” to measure the impedance profile.
•Press “Play” for measuring continuously or “Play Once” for a single capture.

ML4025-TDR |OperationUser Manual
13|P a g e
COMMUNICATION TEST & MEASUREMENT SOLUTIONS
Figure 8: Measure Impedance Profile
Calibration for DAC Testing
Calibration for the impedance profile measurement of direct attach copper cables is
similar to that of backplanes on the software side, but the setup differs.
•Calibration for impedance profile measurements is performed using the DAC and
an MCB having a connector with the appropriate form factor.
•Disconnect the DAC from the MCB as instructed by the GUI and press “Next
Setup”.
•Reconnect the DAC and press “Confirm”.
Figure 9: Calibration for DAC
Measurement for DAC
•After completing the calibration, keep the DAC connected and connect its other
side to a second MCB.
•Connect one ML4025-TDR channel to the first MCB’s TX channel.
•Terminate the respective RX channel on the second MCB with a 50Ωload or
connect it to another ML4025-TDR channel.
DAC

ML4025-TDR |OperationUser Manual
14|P a g e
COMMUNICATION TEST & MEASUREMENT SOLUTIONS
Figure 10: Setup for DAC Measurement
•Measurements can either be differential or single ended. For single ended
measurement, “Single_Ended” mode should be selected in the “Advanced
Options” tab and only one port is used for each channel while the second is
terminated with a 50Ω load.
•Select the channel(s) on which the impedance profile measurement will be
performed.
•Click “Confirm” to measure the impedance profile.
•Press “Play” for continuous measurement or “Play Once” for a single capture.
Figure 11: Impedance Profile of a DAC

ML4025-TDR |OperationUser Manual
15|P a g e
COMMUNICATION TEST & MEASUREMENT SOLUTIONS
Insertion Loss:
To measure a DUT’s insertion loss, some of the ML4025-TDR’s ports are used as time
domain transmitters and others as sampling scopes. A line rate of 25Gbps is used with
PRBS11 and the transmitted signal is measured by another channel configured as a
scope to measure the DUT’s insertion loss.
Calibration
Before performing insertion loss measurements on a DUT, the ports that will be used
should be calibrated by measuring a reference circuit.
Calibration is done before the DUT’s connection point.
•Select the channel(s) on which the calibration will be performed.
•Click on “Calibration” followed by “Run” to start the calibration process.
•Connect the cables coming from the selected channels together using a M-M
connector and press “Confirm”.
Figure 12: S21 Reference Circuit
•To make sure the calibration is correct, keep the cables connected and measure
the insertion loss. It should display a horizontal line at 0dB.

ML4025-TDR |OperationUser Manual
16|P a g e
COMMUNICATION TEST & MEASUREMENT SOLUTIONS
Insertion Loss Measurement
•After completing the calibration, disconnect the reference circuit and connect
the ML4025-TDR’s transmitting channel to one end of the DUT.
•Connect the DUT’s other end to the ML4025-TDR’s receiving channel.
•Measurements can either be differential or single ended. For single ended
measurement, “Single_Ended” mode should be selected in the “Advanced
Options” tab and only one port is used for each channel while the second is
terminated with a 50Ω load.
•Select the channel(s) on which the insertion loss measurement will be
performed.
•Click “Confirm” to measure the DUT’s insertion loss.
•Press “Play” for continuous measurement or “Play Once” for a single capture.
Figure 13: Insertion Loss Measurement
DAC Testing
•After completing the calibration, disconnect the reference circuit and connect
the cables coming out of the ML4025-TDR’s transmitting channel to an MCB’s TX
channel.
•Connect the ML4025-TDR’s receiving channel to a second MCB’s RX channel.
•Connect the two MCB’s with a DAC.
•Measurements can either be differential or single ended. For single ended
measurement, “Single_Ended” mode should be selected in the “Advanced
Options” tab and only one port is used for each channel while the second is
terminated with a 50Ω load.
•Select the channel(s) on which the insertion loss measurement will be
performed.
Table of contents
Other MULTILANE Computer Hardware manuals