MUSIC HALL CD15.2 User manual

music hall
cd15.2
compact disc player
music hall
http://www.musichallaudio.com
- 1 -

Congratulations On Your Purchase
You have selected a state-of-the-art cd player. Each component chosen for
assembly in the construction of the cd15.2 was selected to provide you with
superior performance and the highest level of sound reproduction available today.
We know of no cd player that costs as much to produce that sells for so little.
Please take a few moments to read over the operating instructions to insure that
you get the best performance from your unit and years of trouble-free service.
SAFETY GUIDELINES
This product is designed and manufactured to strict quality and safety standards.
However, you should be aware of the following installation and operation
precautions:
1. Take heed of warnings and instructions
Read all the instructions before connecting or operating the unit.
Keep this manual so you can refer to these safety instructions. Heed all warnings
and safety information in these instructions and on the unit.
2. Water and Moisture
To reduce the risk of fire or electric shock, do not expose the unit to moisture or
water. If the unit is exposed to moisture, immediately disconnect the power cord
from the wall. Take the unit to an authorized Music Hall service center for
inspection. Do not touch the unit, power cord, or plug with wet hands.
3. Object or liquid entry
Do not allow foreign objects or liquids into the unit. If this happens, immediately
disconnect the power cord from the wall and take the unit to an authorized Music
Hall service center for inspection.
4. Ventilation
You must allow 2 inches (5 cm.) of unobstructed clearance around the unit. Do
not place the unit on a bed, sofa, rug, or similar surface that could block
ventilation from the bottom. Do not stack another component on top of the
amplifier. If the component is placed in a bookcase or cabinet, it must be
ventilated to allow proper cooling.
5. Heat
Keep the unit away from naked flames, radiators, heat registers, stoves, or any
other heat-producing appliances (including amplifiers).
6. Climate
The unit has been designed for use in moderate climates. Do not attempt to use
below 41 degrees Fahrenheit (5 degrees Celsius) or above 95 degrees Fahrenheit
(35 degrees Celsius).
7. Rack and Stands
Place the unit on a fixed, level surface strong enough to support its weight. Do
not place it on a moveable cart that could tip over. We recommend only using
stands approved for use with audio equipment.
8. Cleaning
Unplug the unit from the mains supply before cleaning. The case should normally
require only a wipe with a soft lint-free cloth.
9. Power Sources
Only connect the unit to a power supply of the type and voltage described in the
operating instructions or specified on the rear panel of the unit.
10. Power cord protection
Connect the unit to the power outlet only with the cord supplied. Do not modify
the supplied cable in any way. Do not attempt to defeat grounding and/or
polarization provisions. Do not use extension cords. Do not route the power cord
where it will be crushed, pinched, bent at severe angles, exposed to heat, or
damaged in any way.
11. Non-use periods
If the unit is to be left unused for a long period of time, the power cord should be
unplugged from the wall outlet.
12. Damage Requiring Service
Stop using the unit immediately and have it inspected by an authorized Music Hall
service center whenever:
!The power supply cord or plug has been damaged.
!Liquid has been spilled into the unit.
!The unit has been exposed to rain.
!The unit does not operate properly.
!The unit has been dropped or damaged.
!Smoke or any unusual smell is detected from the unit.
- 3 -
- 2 -

Getting Started
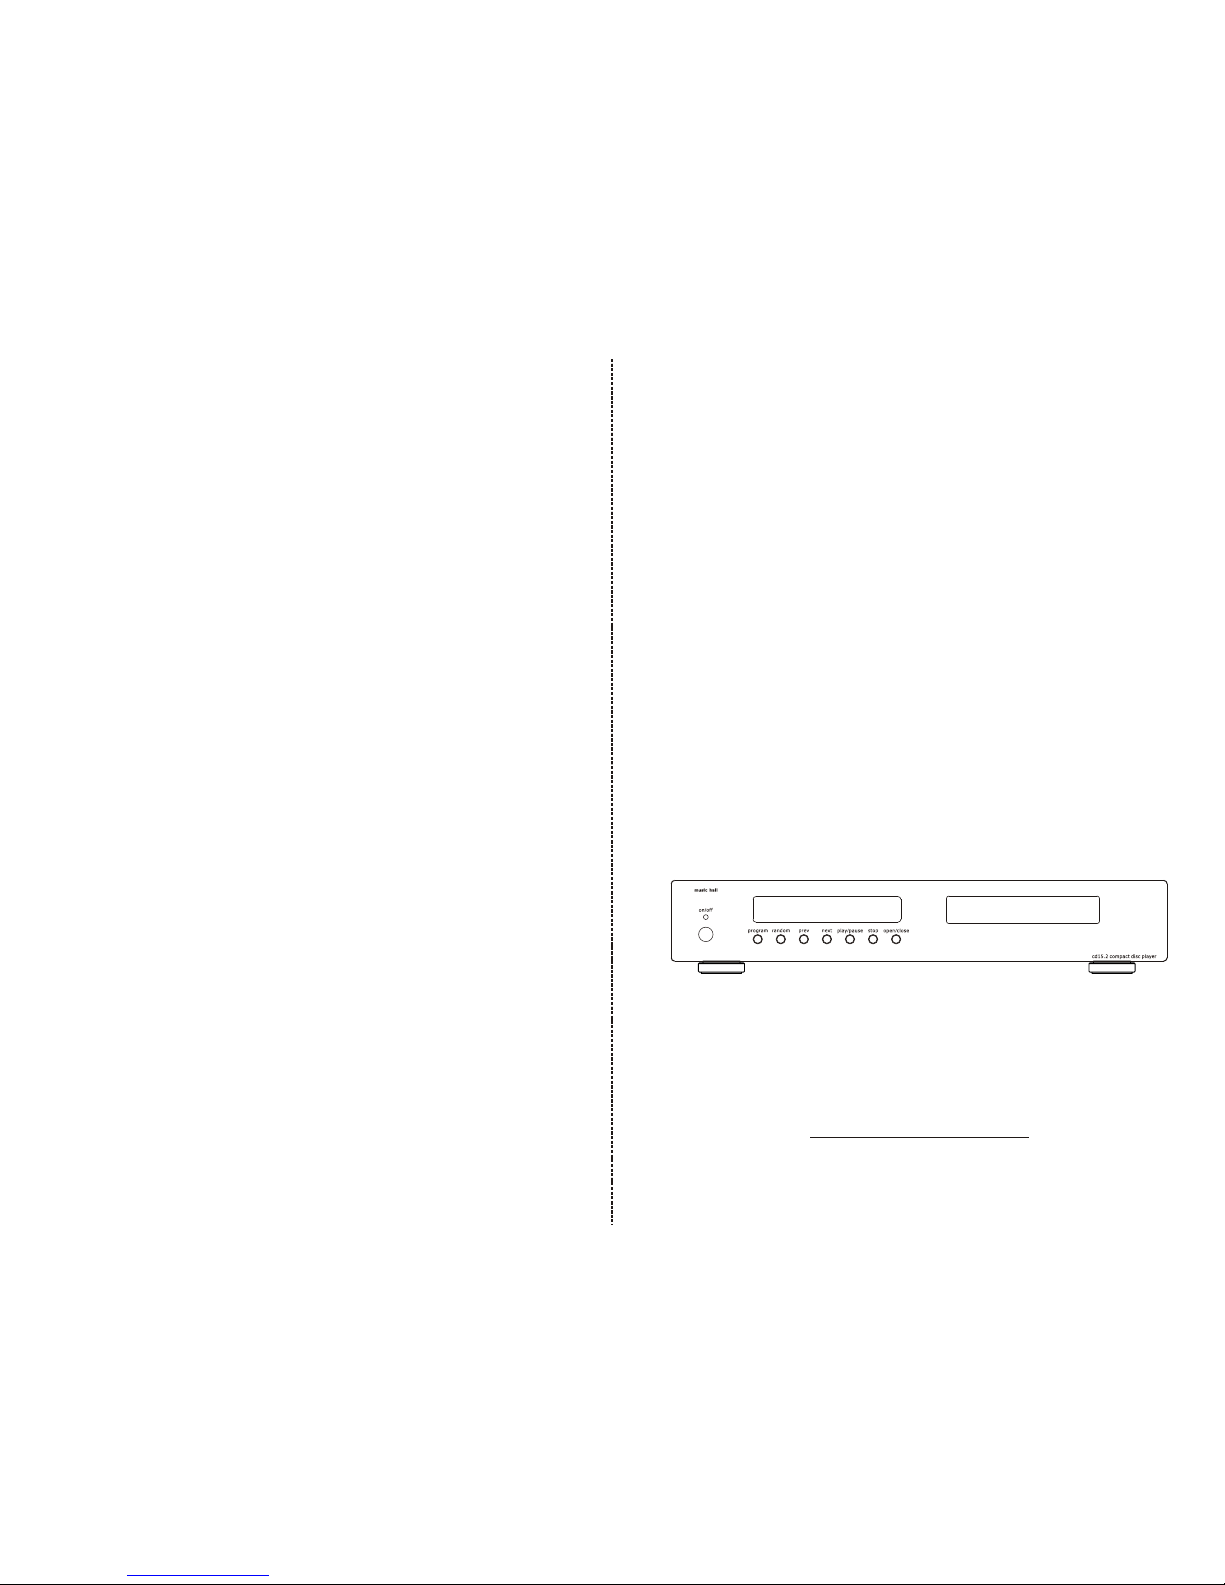
Thank you for purchasing the Music Hall cd15.2 compact disc player. It is
assembled using hand selected parts, a precision CD transport and a Burr Brown
PCM1739 24bit/192Khz DAC. These combined features guarantee that the cd15.2
will deliver the highest level of audio performance. When used in a top-end audio
system, your music hall cd player will provide years of enjoyment. The cd15.2 is
the perfect complement to Music Hall's a15.2 integrated amplifier.
A Few Precautions
Please read this manual carefully. In addition to installation and operating
instructions, it provides valuable information that will help you get optimum
performance from your system. Please contact your authorized Music Hall dealer
for answers to any questions you might have. In addition, all of us at Music Hall
welcome your questions and comments. Save the Music Hall cd15.2 shipping
carton and all enclosed packing material for future use. Shipping or moving the
cd15.2 in anything other than the original packing material may result in severe
damage that is not covered by the warranty. Be sure to keep the original sales
receipt. It is your best record of the date of purchase, which you will need in the
event warranty service is required.
Placement
Use common sense when placing the cd15.2. Always place the cd player on a
level, firm surface. Make sure that the shelf or cabinet can support its weight. Do
not stack heavy components on top of the cd15.2. Avoid placing the unit where it
may be subject to excessive heat, such as on top of a large power amplifier or near
a heat register. For best performance, avoid placing the unit where it may be
subject to vibration, such as near a speaker.
Connecting to Other Equipment
Interconnect Cables
An interconnect cable is supplied. Upgrading this cable to one of higher quality
may or may not improve the sound quality of the cd15.2.
Audio Output
These outputs are located on the back of your cd15.2 and are labeled Stereo
Output. Connect these outputs to your amplifier's cd input using the supplied
cable. Match the Red interconnect lead to the R-Stereo Output and the Black
interconnect lead to the L-Stereo Output.
Digital Outputs
Optical
Use this output to connect to an optical digital input. A suitable optical cable must
be used.
Coaxial
Use this output to connect to a coaxial digital input. A suitable 75 ohm screened
cable should be used. Never connect the digital output socket to a conventional
audio input.
Connecting to the Mains
Plugging In
Check that the power button on the front of the unit is in the off position. Push
the plug (IEC line socket) of the power cable supplied with the cd15.2 into the
socket (POWER INPUT) on the back of the unit. Make sure it is pressed in firmly.
Plug the other end of the power cable into an AC wall outlet.
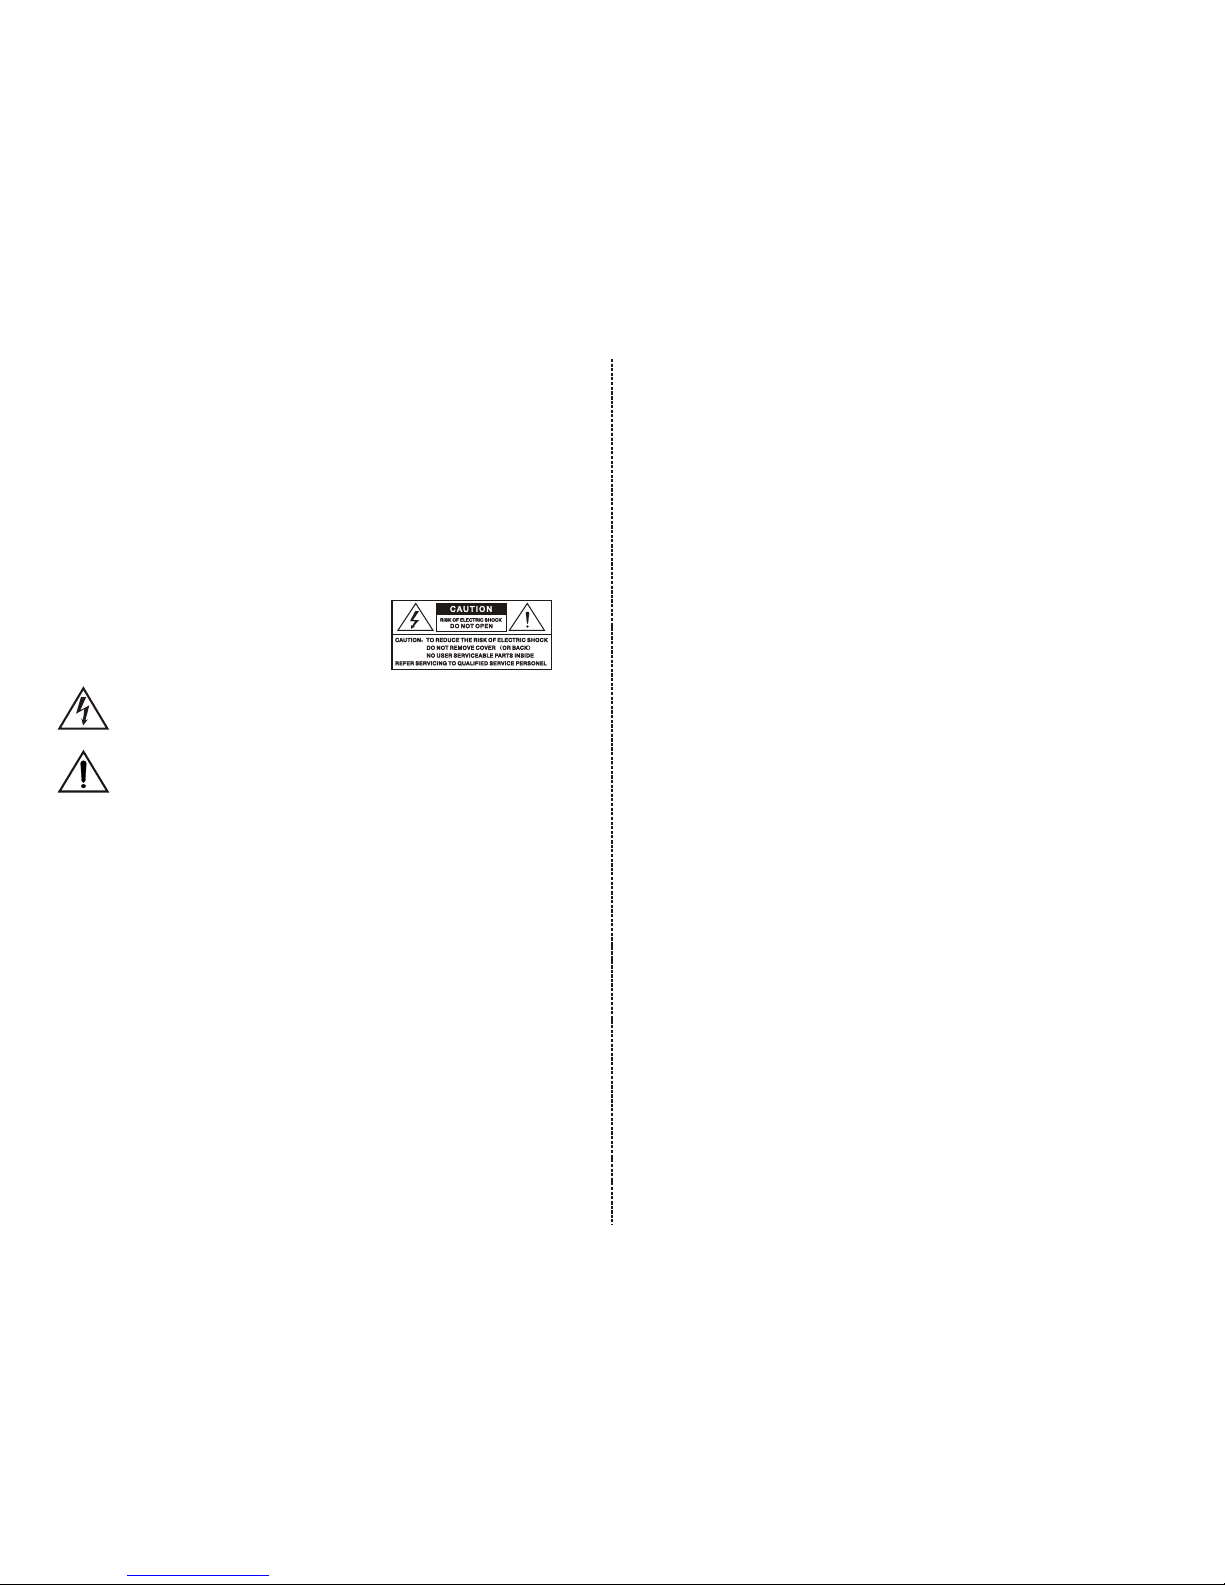
A triangle with a lightning symbol draws the user's attention to
"dangerous voltage" without insulation in the cabinet which may
be high enough to entail a risk of electric shock.
A triangle with an exclamation mark draws the user's attention to
important instructions for use and maintenance in the
accompanying manual, which should be studied.
- 5 -
- 4 -
CAUTION:
IMPORTANT FOR LASER PRODUCTS
1. CLASS 1 LASER PRODUCT
2. DANGER: Visible laser radiation when open and interlock failed or bypassed.
Avoid direct exposure to beam.
3. CAUTION: Do not open the top cover. There are no user serviceable parts inside
the player, leave all servicing to qualified service personnel.
WARNING!
To reduce the risk of electrical shock, fires, etc.:
1. Do not remove screws, covers or cabinet.
2. Do not expose the unit to rain or moisture.
3. Do not touch the power cord or plug with wet hands.
CAUTION: TO REDUCE THE RISK OF ELECTRIC
SHOCK, DO NOT REMOVE COVER. NO USER-
SERVICEABLE PARTS INSIDE.REFER SERVICING
TO QUALIFIED SERVICE PERSONNEL.

- 6 -- 7 -
Using Your CD Player Front panel controls
power
Press this button to turn the cd player on and off. When first connecting the unit,
make sure this button is in the off position.
Program
Press the program button to program a select sequence of tracks. 01 (track)
P:01 (first track to be programmed) will appear on the display. Select your first
track for programming by pressing the prev or next buttons. When you have
located your desired track press the program button once again. The desired
track is now entered into your program and your current track is displayed along
with P:02 (second track to be programmed). Make your selection by pressing the
prev or next buttons then press the program button. Continue making
selections until your program is complete. When complete simply press the play
button and your programmed tracks will play. Press the stop button twice to clear
the program from the player's memory.
random
Press this button to listen to the cd tracks in a random order.
prev
Press to advance to a previous track.
next
Press to advance to the next track.
play/pause
Press to begin playing the cd. Press once again to pause. Press once more to
resume play.
stop
Press to stop play. Press twice to clear programmed selections.
open/close
To install a cd, press the open/close button. The cd tray will open and the
display will show, open. Place a cd in the tray, label facing up. Press the
open/close button again. The cd tray will close and the display will show, close.
In a few seconds, the cd player will read the disc and the display will show the
total number of tracks and total playing time. The disc is now ready to play.
Using the Remote Control
Note: Install the two AAA batteries supplied before trying to use your remote
control.
The supplied remote control is a standard system remote and therefore not all
buttons will function with the cd15.2. The remote controls both the cd15.2 and
the a15.2. For information on using the remote control with the a15.2, refer to
the a15.2 owner's manual.
Do not place anything in front of the display area of the unit, or the remote control
may not work.
standby button
Press to place the cd player in power saving standby mode.
open/close
Press and hold this button to open and close the cd drawer.
buttons numbered 1-0
These buttons allow direct access to individual tracks on the disc.
To select a track, press the corresponding keypad button.
The player will move to the selected track and begin playing.
There is no need to hit the play button. For tracks greater than 10, press the +10
button first then press the single digit that's greater than 10. For example, to play
track 13, press +10, then 3. The display will show 13 and the cd will begin
playing.
stop
Stops disc playing. Pressing twice will delete any stored program.
random
Plays the tracks in random order.
next
Skips to the next track.
fast backward
Scans backward while the disc is playing.
play/pause
Allows you to start or pause disc playing. Pressing once, starts the disc playing.
Pressing again, pauses play. Press one more time to resume play.
fast forward
Scans forward while the disc is playing.

- 9 -
- 8 -
previous
Skips to the previous track.
program
Press to program a select sequence of tracks. For instructions, see the program
section under front panel controls.
repeat
Press once to repeat the selected track. Press twice to repeat all tracks.
Technical Specifications
DAC: Burr-Brown PCM 1739 24 bit/192 Khz
Transport: Sanyo DA11SLM
Digital Output Connection: Coaxial: 75 ohm and Optical: TOSLINK
Frequency Response: 20Hz - 20KHz (+/-0.5dB)
Harmonic Distortion: <0.02% (1KHz)
Channel Separation: 98dB
Signal to Noise Ratio: >100dB
Analog Output: 2.3V
Physical
Dimensions: W17 x D11.5 x H3.3in.
Weight: 13 lbs. pkgd.
Supplied Accessories: Mains Lead, Remote Control, 2 x AAA Batteries,
Interconnect Cable
Radio Interference
The cd15.2 is a digital audio device that has been designed to very high standards
of electromagnetic compatibility.
CD players and DAC's generate and can radiate RF (Radio Frequency) energy. In
some cases this can cause interference with FM and AM radio reception. If this is
the case, keep the cd player and its connecting cables as far from the tuner and its
antenna. Connecting the cd15.2 and the tuner to different mains sockets may
also help to reduce interference.
USA - This product complies with FCC requirements.
Guarantee
This entitles you to have the Music Hall cd15.2 repaired or replaced, at our
discretion, free of charge for one year after purchase, at any authorized Music Hall
dealer, provided the unit was purchased from an authorized dealer. Your original
sales receipt is used as proof of purchase date. Music Hall can take no
responsibility for defects arising from accident, misuse, abuse, wear and tear,
neglect or through unauthorized repair and or adjustment. Neither can Music
Hall accept responsibility for damage or loss occurring during transit to or from
the person claiming under the guarantee.
Warranty
Your Music Hall cd15.2 warranty covers parts and labor costs for one year from the
purchase date. After one year, you must pay for both parts and labor costs. The
warranty does not cover transportation costs at any time.
Claims under guarantee
The unit should be packed in the original packing and returned to the dealer from
whom it was purchased, or to an authorized Music Hall service center. It should be
sent by a reputable carrier, carriage prepaid. Do not send the unit via USPS
(United States Postal Service). No responsibility can be accepted for the unit
while in transit to the dealer, customer, or authorized service agent, therefore,
customers are advised to insure the unit against loss, damage, or theft while in
transit.
For further details contact Music Hall LLC:
108 Station Road
Great Neck, NY 11023
T: 516.487.3663
F: 516.773.3891
W: http://www.musichallaudio.com

Other MUSIC HALL CD Player manuals