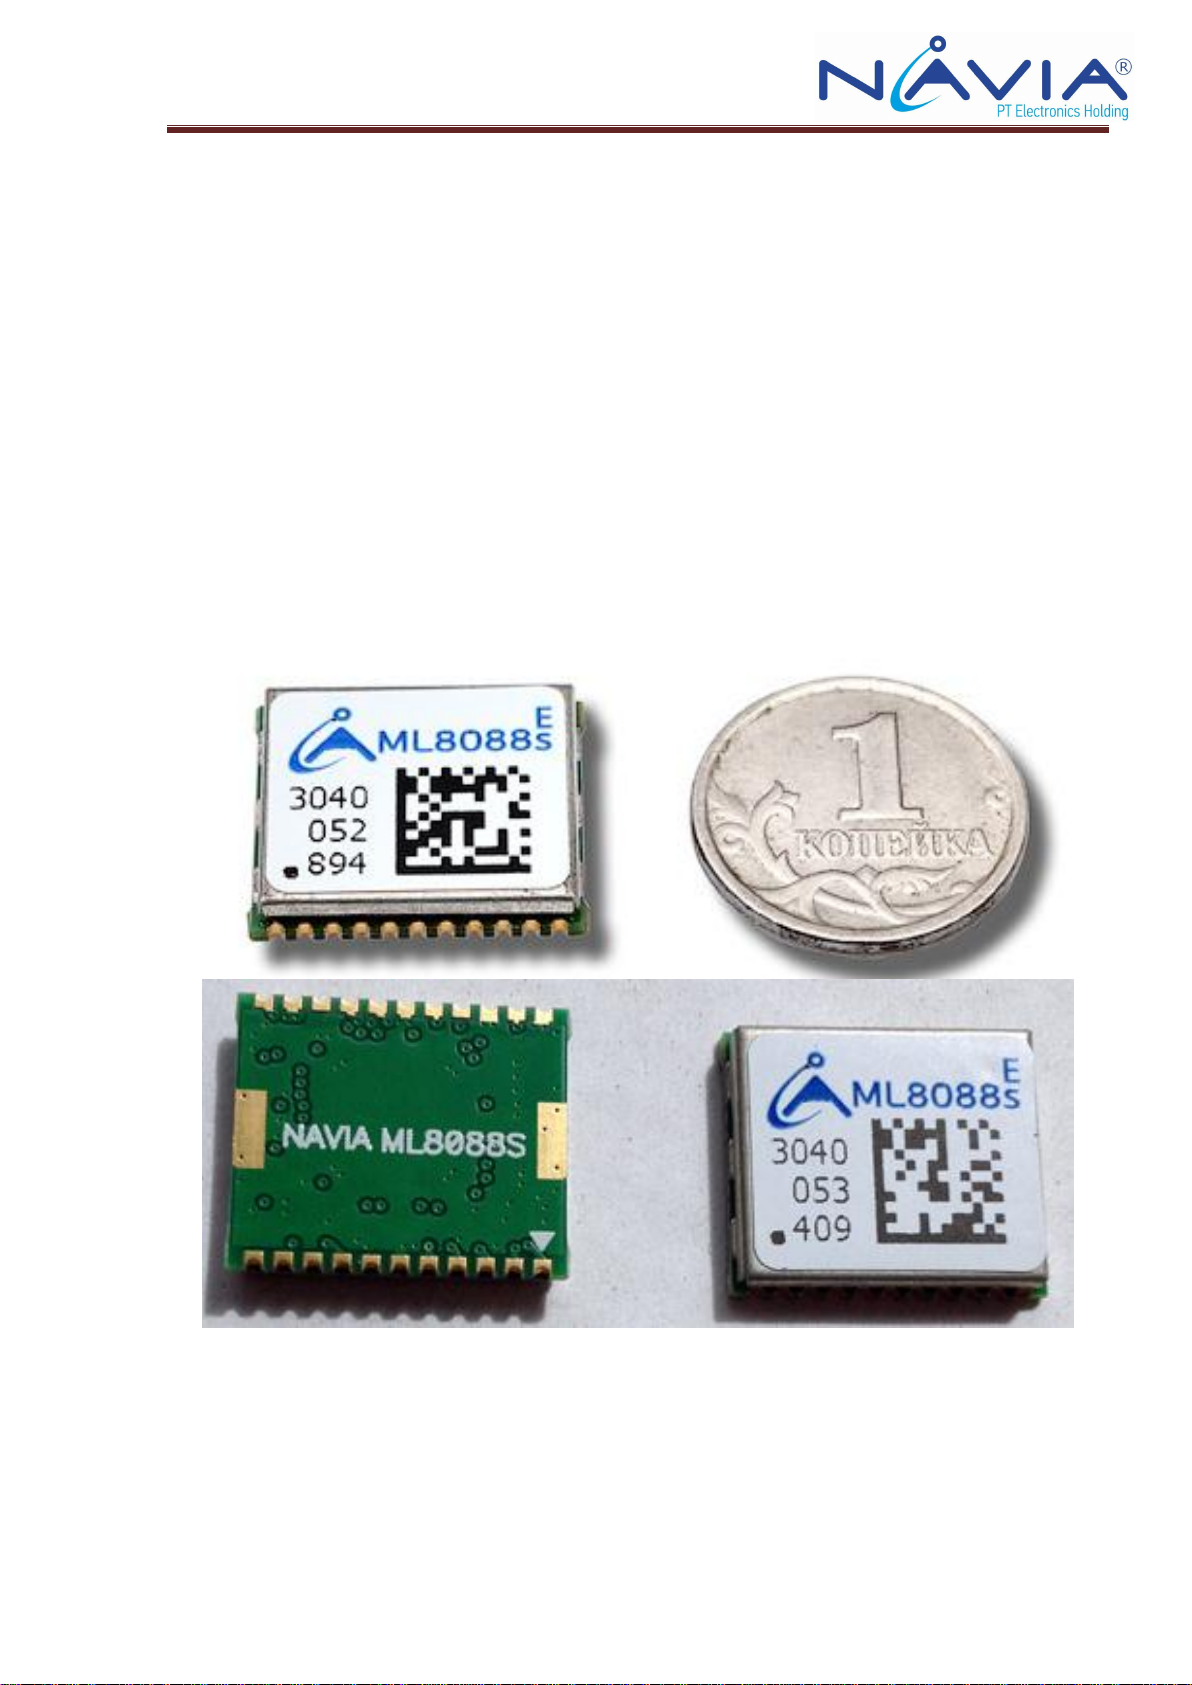
Evaluation Board of ML8088s Receiver
Operating Manual 2.0
2
The Table of Contents
General Information ........................................................................................................................3
Technical Specifications..................................................................................................................5
Location of Indicators and Switching on the Board........................................................................6
Signal Switch of ML8088s Module ................................................................................................7
Components Arrangement on the Evaluation Board.......................................................................9
The Evaluation Board Circuit Diagram.........................................................................................11
Navia GLONASS + GPS Application...........................................................................................12
The Board Activation ................................................................................................................13
Application Configuration.........................................................................................................13
The Application Operation........................................................................................................16
Restart........................................................................................................................................17
Data Output redirection .............................................................................................................17
1PPS ..........................................................................................................................................18
Satellites ....................................................................................................................................18
Messages SET ...........................................................................................................................19
Route log ...................................................................................................................................19
DOP level setting (estimated precision)....................................................................................20
ST-AGPS mode.........................................................................................................................20
Differential mode.......................................................................................................................21
Parameters .................................................................................................................................21
Miscellaneous............................................................................................................................22
Reciever Pinout .............................................................................................................................23
Practical use of the evaluation board.............................................................................................24
Typical connection circuit.............................................................................................................25