manuals.online logo
Brands
  1. Home
  2. •
  3. Brands
  4. •
  5. NEC
  6. •
  7. Projector
  8. •
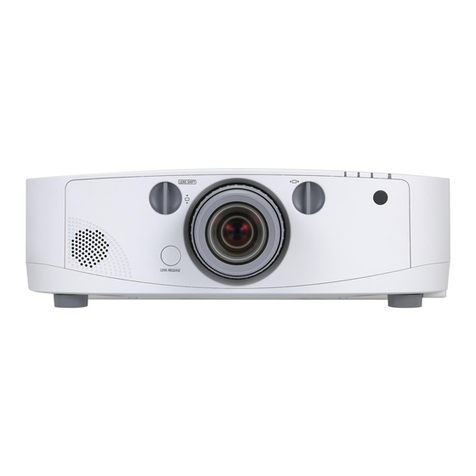
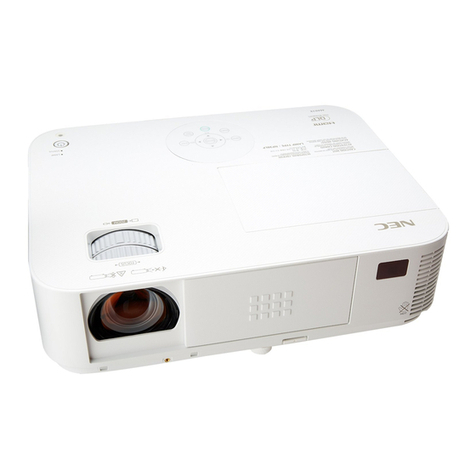
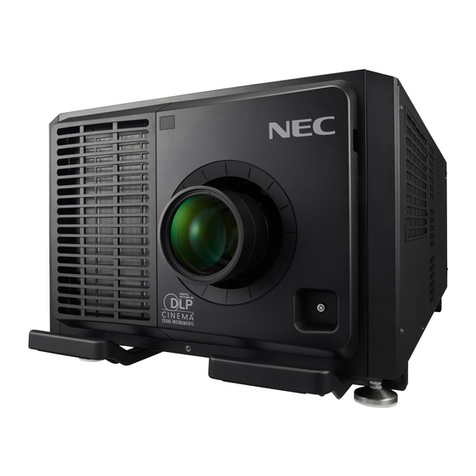
  9. NEC M403W User manual

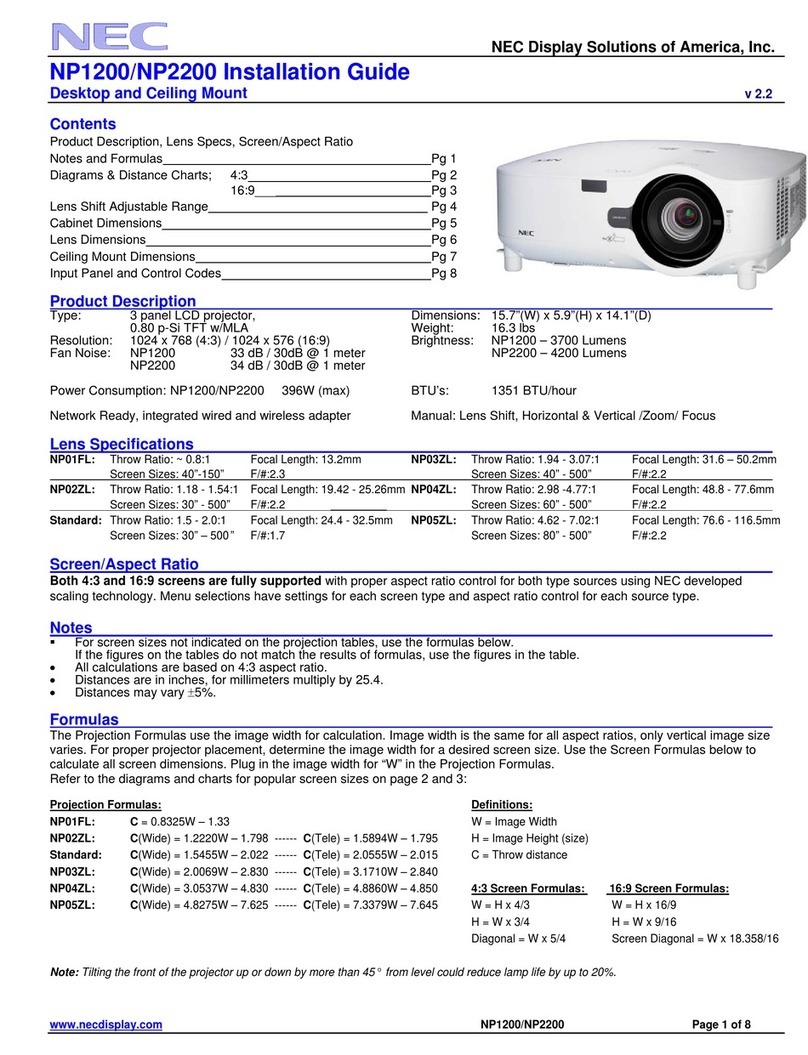
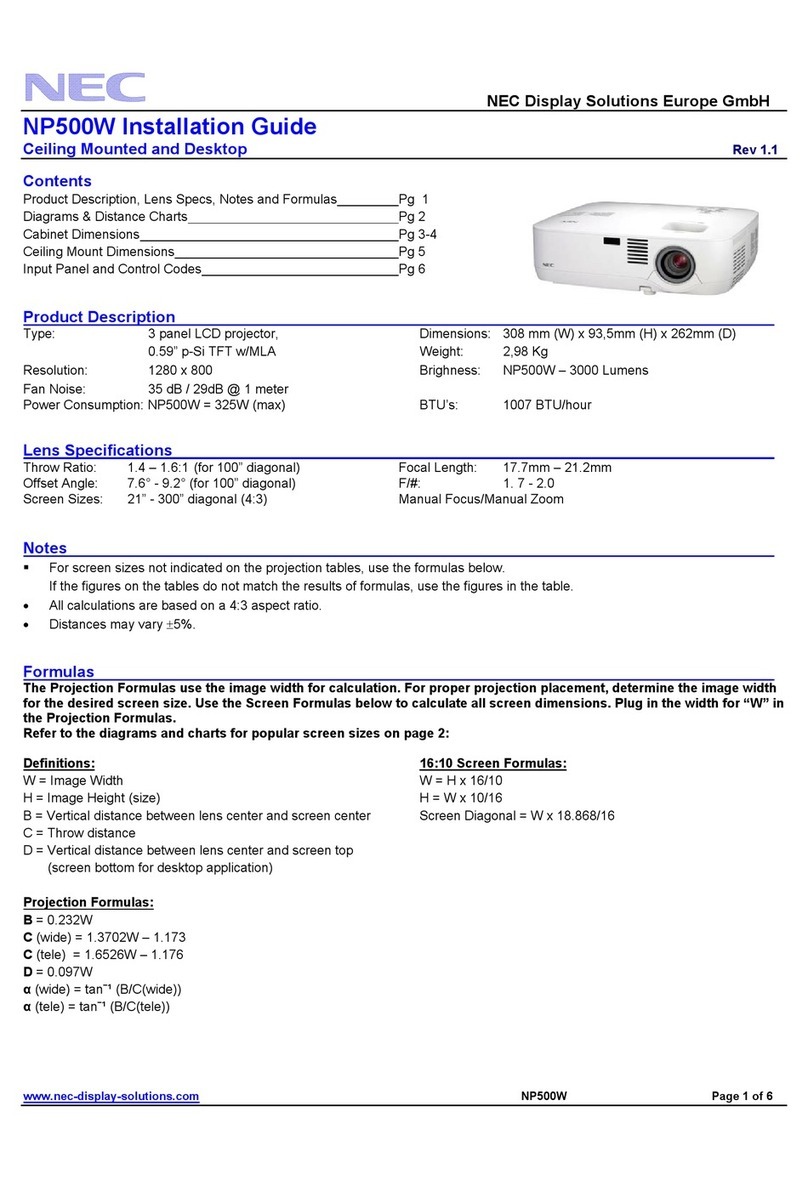
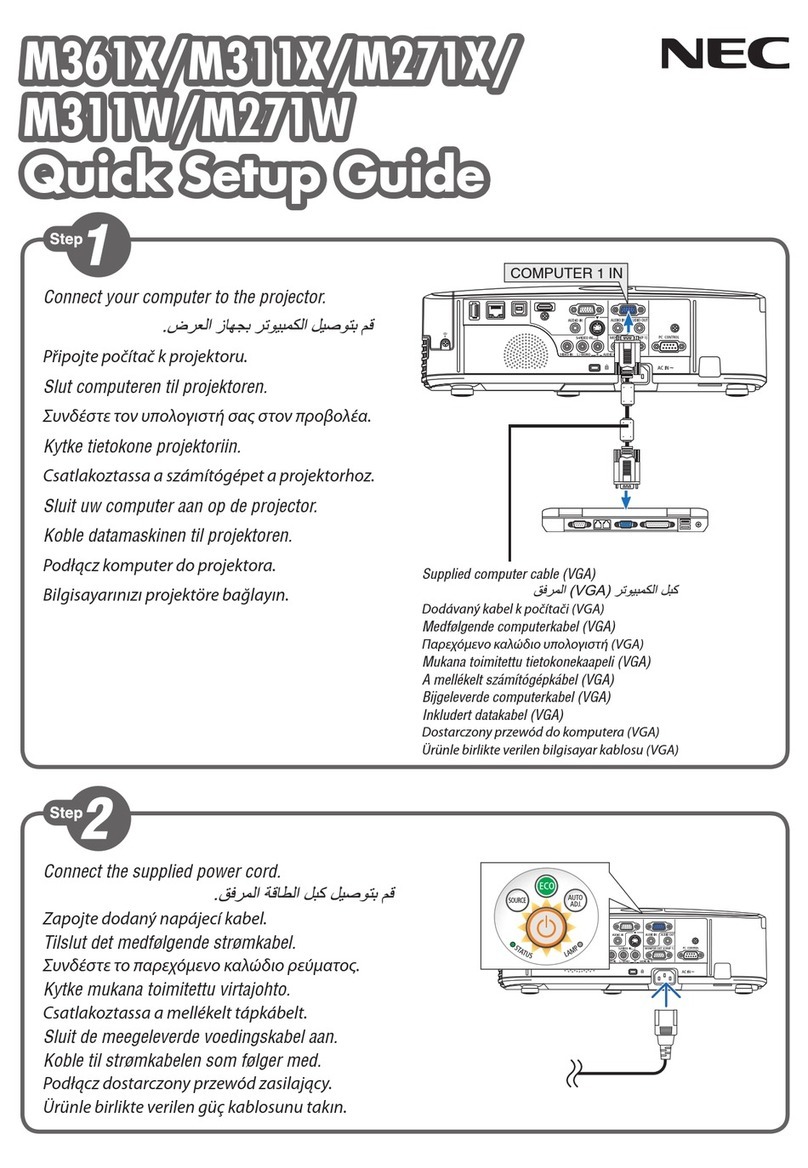
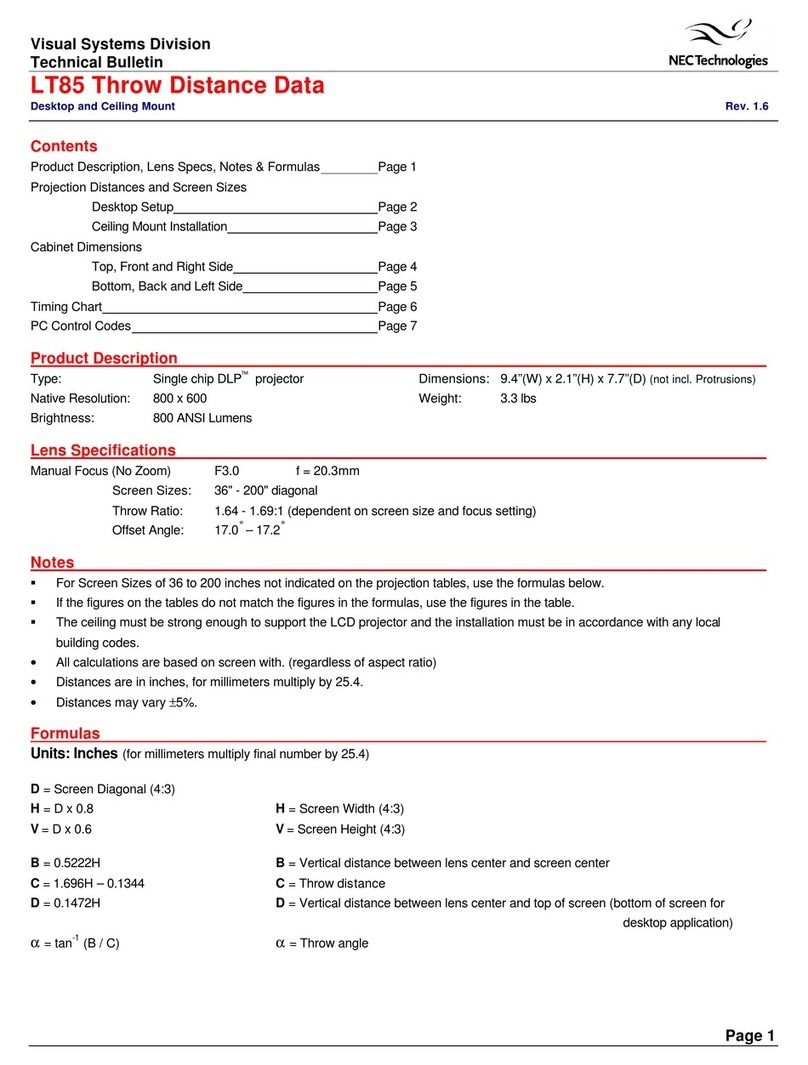
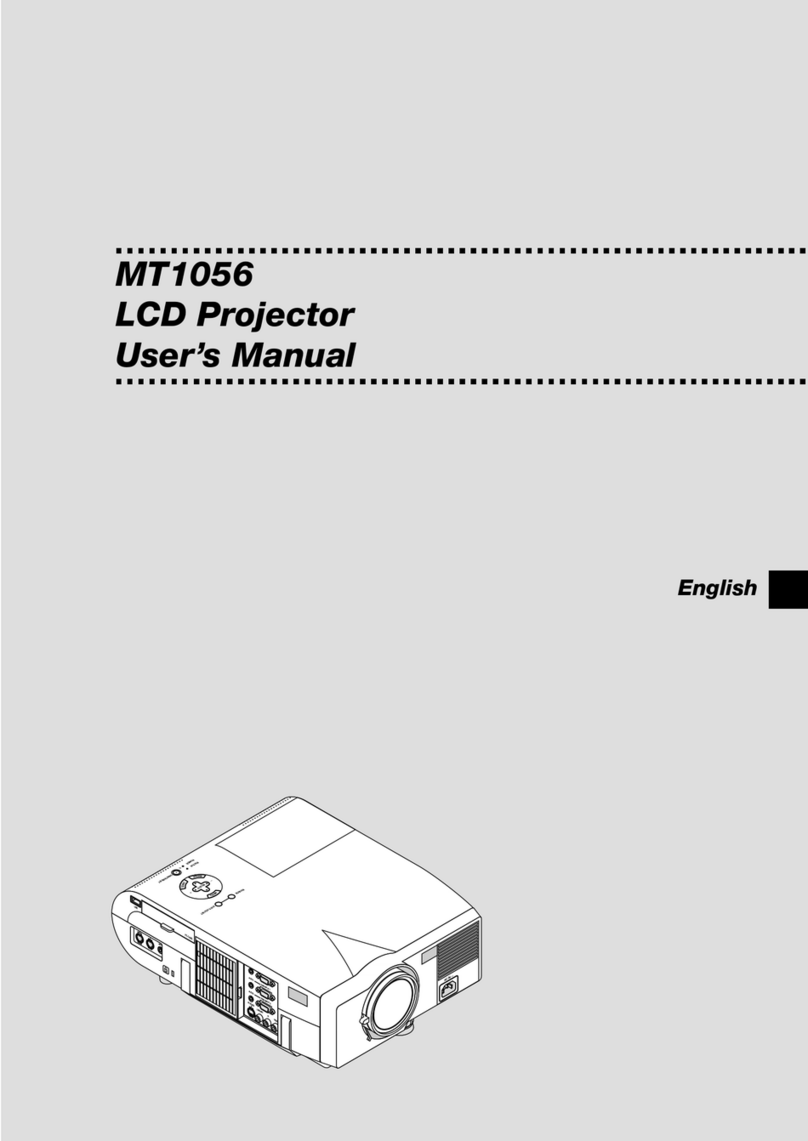
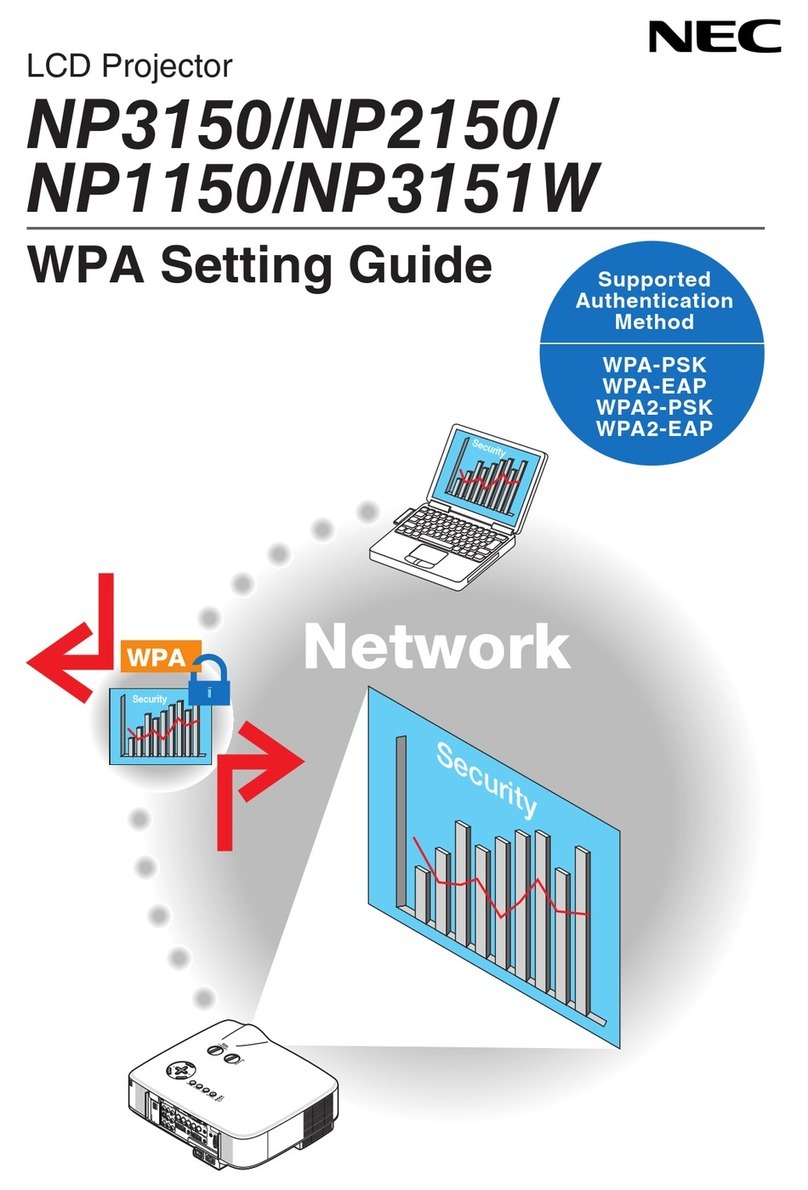
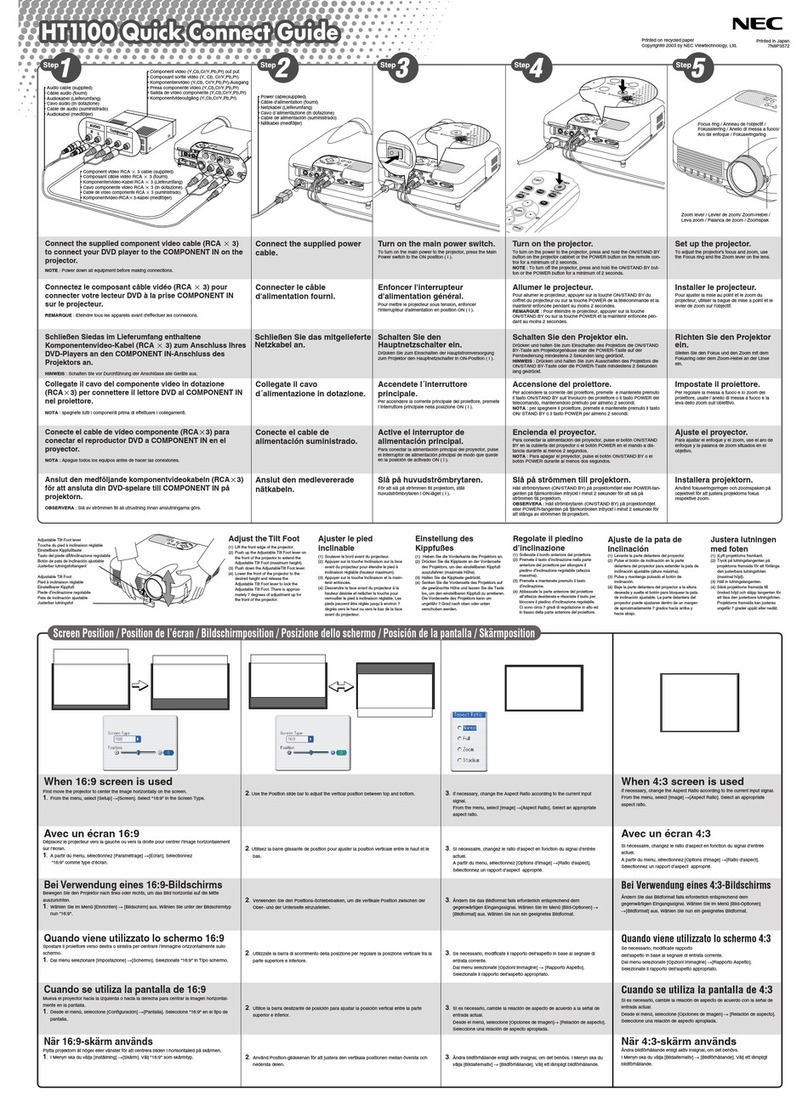
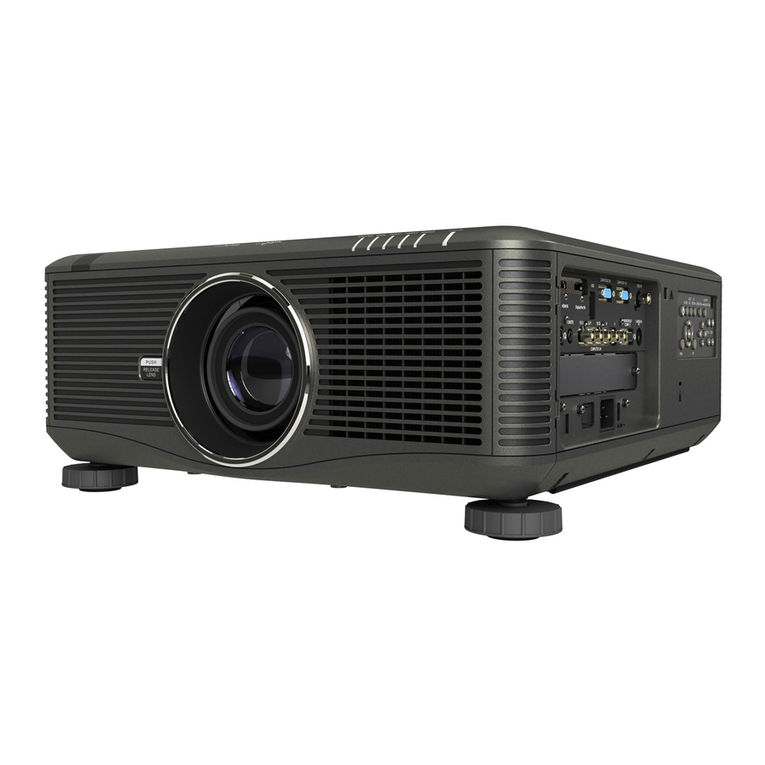
NEC M403W User manual

English Français
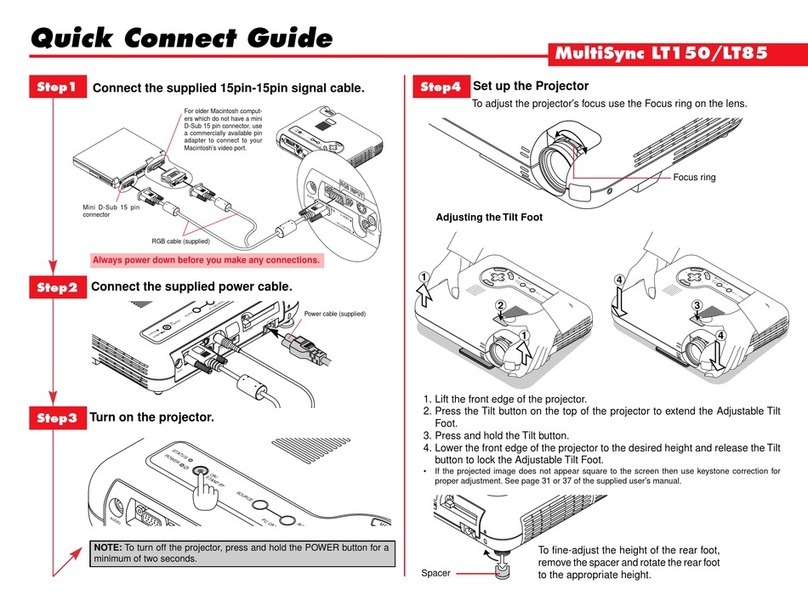
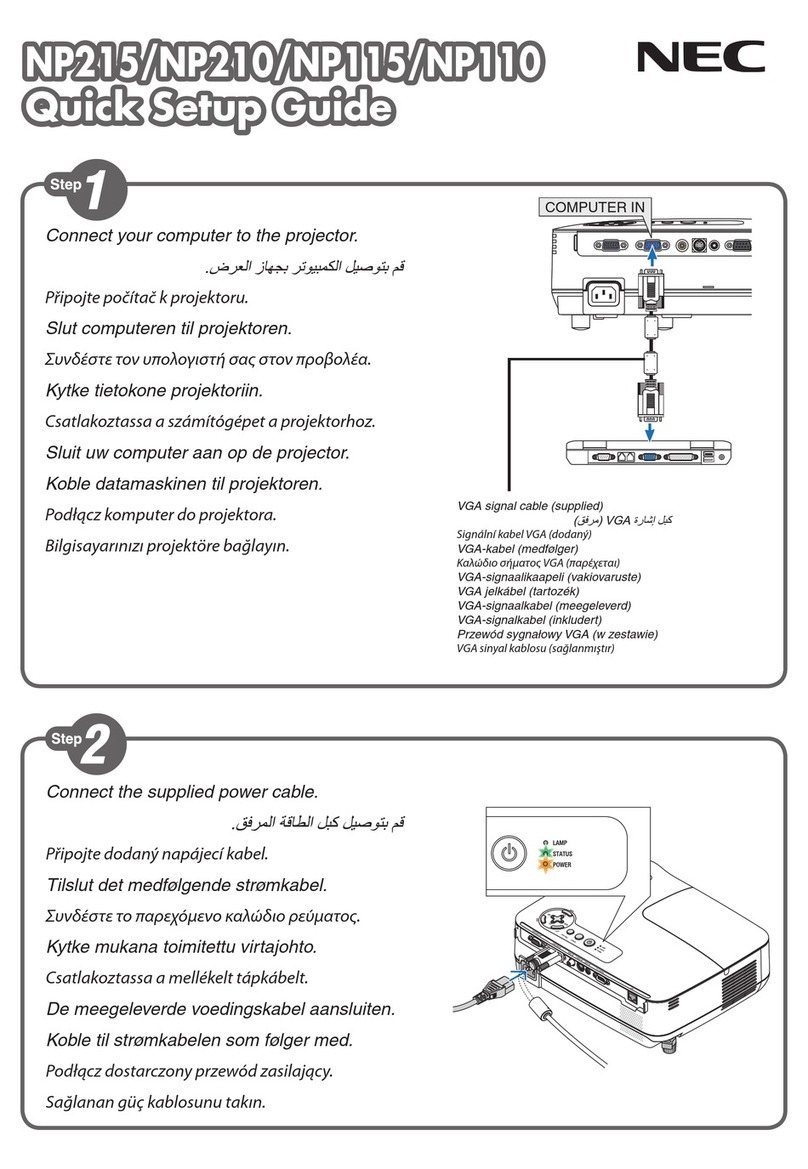
❶Connect your computer to the projector using the supplied
computer cable (VGA).
❷Connect the supplied power cord.
❸Slide the lens cover to the right to uncover the lens.
< Short-Throw model >
Remove the lens cap.
❹Turn on the projector.
Press the (POWER) button on the projector cabinet or the POWER ON button on the remote
control.
❺Select a source.
TIP:
Press the AUTO ADJ. button to optimize an RGB image automatically.
❻Adjust an image size and the throw angle.
[Focus]
Turn the focus ring or focus lever.
[Zoom]
Turn the zoom ring.
< Short-Throw model >
Adjusting on the displayed DISITAL ZOOM bar.
1. Press the ZOOM button on the remote control.
2. Press the ◀or ▶button.
[Throw angle (Tilt foot)]
1. Lift the front edge of the projector.
2. Push up and hold the AdjustableTilt Foot Lever.
3. Lower the front of the projector to the desired height.
4. Release the AdjustableTilt Foot Lever.
TIP:
Automatic Keystone Correction function is turned on at the time of shipment.
❼Turn off the projector.
1. Press the (POWER) button on the projector cabinet or the STANDBY button on the remote
control.
2. Press either the (POWER) or the STANDBY button again.
3. Slide the lens cover to the left to cover the lens.
< Short-Throw model >
Mount the lens cap.
4. Disconnect all the cables.
❶Branchez votre ordinateur au projecteur à l’aide du câble d’ordinateur
fourni (VGA).
❷Branchez le cordon d'alimentation fourni.
❸Faites glisser le cache de l'objectif vers la droite pour découvrir l'objectif.
< Modèle à courte focale >
Retirez le bouchon de l’objectif.
❹Allumez le projecteur.
Appuyez sur la touche (POWER) sur le boîtier du projecteur ou sur la touche POWER ON de la
télécommande.
❺Sélectionnez une source.
ASTUCE :
Appuyez sur la touche AUTO ADJ. pour optimiser automatiquement une image RVB.
❻Réglez une taille d’image et l’angle de projection.
[Mise au point]
Tournez la bague de mise au point ou le levier de mise au point.
[Zoom]
Tournez la bague de zoom.
< Modèle à courte focale >
Réglage sur la barre affichée du ZOOM NUMÉRIQUE.
1. Appuyez sur la touche ZOOM de la télécommande.
2. Appuyez sur la touche ◀ou ▶.
[Angle de focale (Pied d’inclinaison)]
1. Soulevez le bord avant du projecteur.
2. Relevez et tenez le levier du pied d’inclinaison réglable.
3. Descendez l’avant du projecteur à la hauteur souhaitée.
4. Relâchez le levier du pied d’inclinaison réglable.
ASTUCE :
La fonction de correction automatique du trapèze Keystone est activée lors de l’expédition.
❼Éteignez le projecteur.
1. Appuyez sur la touche (POWER) sur le boîtier du projecteur ou sur la touche STANDBY de la
télécommande.
2. Appuyez de nouveau sur le bouton (POWER) ou sur le bouton STANDBY.
3. Faites glisser le cache de l’objectif vers la gauche pour recouvrir l’objectif.
< Modèle à courte focale >
Mettez le bouchon de l’objectif.
4. Débranchez tous les câbles.
Deutsch Italiano
❶Schließen Sie Ihren Computer mit dem mitgelieferten
Computerkabel (VGA) an den Projektor an.
❷Schließen Sie das mitgelieferte Netzkabel an.
❸Schieben Sie die Linsenabdeckung nach rechts, um die Linse
freizugeben.
< Kurzdistanz-Modell >
Nehmen Sie den Objektivdeckel ab.
❹Einschalten des Projektors.
Drücken Sie die Taste (NETZSTROM) am Projektorgehäuse oder dieTaste POWER ON auf der
Fernbedienung.
❺Wählen Sie eine Quelle.
TIPP:
Drücken Sie die AUTO ADJ. Taste, um automatisch ein RGB-Bild zu optimieren.
❻Stellen Sie eine Bildgröße und den Projektionswinkel ein.
[Fokus]
Drehen Sie den Fokusring oder Fokushebel.
[Zoom]
Drehen Sie den Zoomring.
< Kurzdistanz-Modell >
Einstellen auf dem angezeigten DIGITAL-ZOOM Balken.
1. Drücken Sie die ZOOM-Taste auf der Fernbedienung.
2. Drücken Sie die ◀oder ▶-Taste.
[Projektionswinkel (Kippfuß)]
1. Heben Sie dieVorderkante des Projektors an.
2. Drücken Sie den Kippfuß-Einstellhebel hoch und halten ihn.
3. Senken Sie dieVorderseite des Projektors auf die gewünschte Höhe.
4. Lassen Sie den einstellbaren Kippfußhebel los.
TIPP:
Die automatische Trapezkorrekturfunktion ist bei der Lieferung aktiviert.
❼Ausschalten des Projektors.
1. Drücken Sie die Taste (NETZSTROM) am Projektorgehäuse oder dieTaste STANDBY auf der
Fernbedienung.
2. Drücken Sie entweder die (NETZSTROM) -Taste oder die STANDBY -Taste erneut.
3. Schieben Sie die Linsenabdeckung nach links, um die Linse abzudecken.
< Kurzdistanz-Modell >
Bringen Sie den Objektivdeckel an.
4. Trennen Sie alle Kabel ab.
❶Collegare il computer al proiettore mediante il cavo computer (VGA) in
dotazione.
❷Collegare il cavo di alimentazione in dotazione.
❸Far scorrere il copriobiettivo verso destra per scoprire l’obiettivo.
<Modello Short-throw>
Rimuovere il tappo dell’obiettivo.
❹Accendere il proiettore.
Premere il pulsante (POWER) sull’involucro del proiettore o il pulsante POWER ON sul telecomando.
❺Selezionare una sorgente.
SUGGERIMENTO:
Premere il pulsante AUTO ADJ. per ottimizzare automaticamente un’immagine RGB.
❻Regolare le dimensioni dell’immagine e l’angolo di proiezione.
[Messa a fuoco]
Ruotare la ghiera o la leva di messa a fuoco.
[Ingrandimento]
Ruotare la ghiera dello zoom.
<Modello Short-throw>
Regolazione sulla barra ZOOM DIGITALE visualizzata.
1. Premere il pulsante ZOOM sul telecomando.
2. Premere il pulsante ◀o ▶.
[Angolo di proiezione (piedino di inclinazione)]
1. Sollevare il bordo anteriore del proiettore.
2. Spingere verso l’alto e tenere premuta la leva del piedino di inclinazione regolabile.
3. Abbassare la parte anteriore del proiettore all’altezza desiderata.
4. Rilasciare la leva del piedino di inclinazione regolabile.
SUGGERIMENTO:
La funzione di correzione automatica della distorsione trapezoidale viene attivata al momento della spedizione.
❼Spegnere il proiettore.
1. Premere il pulsante (POWER) sull’involucro del proiettore o il pulsante STANDBY sul
telecomando.
2. Premere nuovamente il pulsante (POWER) o il pulsante STANDBY.
3. Far scorrere il copriobiettivo verso sinistra per coprire l’obiettivo.
<Modello Short-throw>
Montare il tappo dell’obiettivo.
4. Scollegare tutti i cavi.
© NEC Display Solutions, Ltd. 2015-2016 Ver. 2 2/16 Printed in Thailand
Select a source.
Connect your computer.
Connect the supplied
power cord.
Turn off the projector.
< Short-Throw model >
Remove the lens cap.
Turn on the projector.
x 2 times
or
or
or
Standerd models / Full HD models M403W / M363W / M323W / M403X / M363X / M323X / M283X / M403H / M323H
Short-Throw models M353WS / M303WS / M333XS
Fn F1 F
12
2
1
3
Slide the
lens cover.
[THROW ANGLE (Tilt foot)]
Adjust an image size
and the throw angle.
< Short-Throw model >
Press the ZOOM button.
[ZOOM]
[FOCUS]
TIP:
AUTO ADJ.
COMPUTER IN
Lens cap
ImageImage Image
Adjustable
Tilt foot lever
Focus ring
< Short-Throw model >
Focus lever
Zoom ring
NOTE: The color of the POWER indicator
RED or ORANGE
< Standby > BLUE
< Power On >
TIP: Automatic Keystone Correction function
Español Português 한국어
❶Conecte su ordenador al proyector utilizando el cable de ordenador
suministrado (VGA).
❷Conecte el cable de alimentación suministrado.
❸Deslice la tapa del objetivo hacia la derecha para descubrir la lente.
<Modelo de tiro corto>
Retire la tapa de la lente.
❹Encienda el proyector.
Pulse el botón (POWER) en la carcasa del proyector o el botón POWER ON del mando a
distancia.
❺Seleccione una fuente.
CONSEJO:
Pulse el botón AUTO ADJ. para optimizar una imagen RGB automáticamente.
❻Ajuste un tamaño de imagen y el ángulo de tiro.
[Enfoque]
Gire el anillo de enfoque o la palanca del enfoque.
[Zoom]
Gire el anillo del zoom.
<Modelo de tiro corto>
Ajuste en la barra mostrada ZOOM DIGITAL.
1. Pulse el botón ZOOM en el mando a distancia.
2. Pulse el botón ◀o ▶.
[Ángulo de proyección (Pata de inclinación)]
1. Levante la parte delantera del proyector.
2. Levante y mantenga levantada la palanca de la pata de inclinación ajustable.
3. Baje la parte delantera del proyector a la altura deseada.
4. Suelte la palanca de la pata de inclinación ajustable.
CONSEJO:
La función de corrección de clave automática es activada en el momento del envío.
❼Apague el proyector.
1. Pulse el botón (POWER) en la carcasa del proyector o el botón STANDBY en el mando a
distancia.
2. Pulse de nuevo el botón (POWER) o el botón STANDBY.
3. Deslice la tapa de la lente hacia la izquierda para cubrir la lente.
<Modelo de tiro corto>
Monte la tapa de la lente.
4. Desconecte todos los cables.
❶Conecte seu computador ao projetor usando o cabo de computador
fornecido (VGA).
❷Conecte o cabo de alimentação fornecido.
❸Deslize a tampa da lente para a direita para descobrir a lente.
<Modelo Short-Throw>
Remova a tampa da lente.
❹Ligue o projetor.
Pressione a tecla (LIGA/DESLIGA) no gabinete do projetor ou o botão POWER ON no controle remoto.
❺Escolha uma fonte.
DICA:
Pressione o botão AUTO ADJ. para otimizar automaticamente uma imagem RGB.
❻Ajuste o tamanho da imagem e o ângulo de projeção.
[Foco]
Gire o anel de foco ou a alavanca de foco.
[Zoom]
Gire o anel de zoom.
<Modelo Short-Throw>
Ajustar na barra de exibição ZOOM DIGITAL.
1. Pressione o botão ZOOM no controle remoto.
2. Pressione o botão ◀ou ▶.
[Ângulo de projeção (Pé de inclinação)]
1. Levante a borda frontal do projetor.
2. Erga e segure a alavanca do pé de inclinação ajustável.
3. Abaixe a parte frontal do projetor até a altura desejada.
4. Solte a alavanca do pé de inclinação ajustável.
DICA:
A função Correção Automática de trapezoide vem ativada da fábrica no momento do embarque.
❼Desligue o projetor.
1. Pressione o botão (LIGA/DESLIGA) no gabinete do projetor ou o botão STANDBY no controle
remoto.
2. Pressione o botão (LIGA/DESLIGA) ou o botão STANDBY novamente.
3. Deslize a tampa da lente para a esquerda para cobrir a lente.
<Modelo Short-Throw>
Monte a tampa da lente.
4. Desconecte todos os cabos.
❶제공된 컴퓨터 케이블(VGA)을사용하여 프로젝터에 컴퓨터를
연결합니다.
❷제공된 전원 코드를 연결합니다.
❸렌즈 덮개를 오른쪽으로 밀어 렌즈를 보이게 합니다.
<짧은 투사 모델>
렌즈 캡을 제거합니다.
❹프로젝터를 켭니다.
프로젝트 본체에서 (POWER) 버튼을 누르거나 리모컨에서 POWER
ON 버튼을 누릅니다.
❺소스를 선택합니다.
팁
:
AUTO ADJ.
버튼을
누르면
RGB
이미지를
자동으로
최적화할
수
있습니다
.
❻이미지 크기와 투사 각도를 조정합니다.
[초점]
초점 링또는 초첨 레버를 돌립니다.
[줌]
줌링을 돌립니다.
<짧은 투사 모델>
표시된 디지털 줌막대를 조정합니다.
1. 리모컨에서 ZOOM 버튼을 누릅니다.
2. ◀또는 ▶버튼을 누릅니다.
[투사 각도(기울기 받침)]
1. 프로젝터의 전면 모서리를 들어 올립니다.
2. 조정 가능한 기울기 받침 레버를 계속 밉니다.
3. 원하는 높이로 프로젝터의 전면을 낮춥니다.
4. 조정 가능한 기울기 받침 레버를 놓습니다.
팁
:
자동
키스톤
보정
기능이
켜진
상태로
출하됩니다
.
❼프로젝터를 끕니다.
1. 프로젝트 본체에서 (POWER) 버튼을 누르거나 리모컨에서
STANDBY 버튼을 누릅니다.
2. (POWER) 또는 STANDBY 버튼을 다시 누릅니다.
3. 렌즈 덮개를 왼쪽으로 밀어 렌즈를 덮습니다.
<짧은 투사 모델>
렌즈 캡을 장착합니다.
4. 모든 케이블을 분리합니다.
Svenska Русский
❶Anslut datorn till projektorn med den medföljande datorkabeln
(VGA).
❷Anslut den medföljande nätkabeln.
❸Skjut linsskyddet till höger för att avtäcka linsen.
< Short-Throw modell >
Ta bort linsskyddet.
❹Slå på projektorn.
Tryck på (POWER)-knappen på projektorhöljet eller POWER ON-knappen på ärrkontrollen.
❺Välj en källa.
TIPS:
Tryck på AUTO ADJ.-knappen för att optimera en RGB-bild automatiskt.
❻Justera bildstorlek och projiceringsvinkel.
[Fokus]
Vrid fokusringen eller fokusspaken.
[Zoom]
Vrid zoomringen.
< Short-Throw modell >
Justering på den visade DIGITAL ZOOM-listen.
1. Tryck på ZOOM-knappen på ärrkontrollen.
2. Tryck på ◀- eller ▶-knappen.
[Projektionsvinkel (Lutningsfot)]
1. Lyft upp projektorns framkant.
2. Skjut upp och håll spaken till den justerbara lutningsfoten.
3. Sänk projektorns framkant till önskad höjd.
4. Släpp spaken till den justerbara lutningsfoten.
TIPS:
Funktionen automatisk keystone-korrigering är aktiverad vid leveransen.
❼Slå av projektorn.
1. Tryck på (POWER)-knappen på projektorhöljet eller STANDBY-knappen på ärrkontrollen.
2. Tryck på antingen (POWER) eller STANDBY-knappen igen.
3. Skjut linsskyddet till vänster för att täcka linsen.
< Short-Throw modell >
Sätt fast linsskyddet.
4. Koppla bort alla kablar.
❶Подключите компьютер к проектору, используя прилагаемый
компьютерный кабель (VGA).
❷Подключите прилагаемый шнур питания.
❸Сдвиньте крышку объектива вправо, чтобы открыть объектив.
<Короткофокусная модель>
Снимите крышку объектива.
❹Включите проектор.
Нажмите кнопку (POWER) на корпусе проектора или кнопку POWER ON на пульте
дистанционного управления.
❺Выберите источник.
ПОДСКАЗКА:
Нажмите кнопку AUTO ADJ. для автоматической оптимизации изображения формата RGB.
❻Отрегулируйте размер изображения и угол фокуса.
[Фокус]
Поверните кольцо фокусировки или рычаг фокусировки.
[Увеличить]
Поверните кольцо масштабирования.
<Короткофокусная модель>
Регулировка на отображаемой панели ЦИФРОВОЙ ФОКУС.
1. Нажмите кнопку ZOOM на пульте дистанционного управления.
2. Нажмите кнопку ◀или ▶.
[Угол фокуса (наклонить ножку)]
1. Поднимите передний край проектора.
2. Поднимите и удерживайте рычаг ножки для регулирования наклона.
3. Опустите переднюю часть проектора до нужной высоты.
4. Отпустите рычаг ножки для регулирования наклона.
ПОДСКАЗКА:
Функция автоматической коррекции трапецеидального искажения включена на момент поставки.
❼Выключите проектор.
1. Нажмите кнопку (POWER) на корпусе проектора или кнопку STANDBY на пульте
дистанционного управления.
2. Нажмите либо кнопку (POWER), либо кнопку STANDBY еще раз.
3. Сдвиньте крышку объектива влево, чтобы закрыть объектив.
<Короткофокусная модель>
Установите крышку объектива.
4. Отсоедините все кабели.

Other manuals for M403W

2

This manual suits for next models

11

Other NEC Projector manuals

NEC NP03CM Guide

NEC

NEC NP03CM Guide

NEC NP-L50W User manual

NEC

NEC NP-L50W User manual

NEC M282X User manual

NEC

NEC M282X User manual

NEC NP-M311W Installation instructions

NEC

NEC NP-M311W Installation instructions

NEC NP40 User manual

NEC

NEC NP40 User manual

NEC V230X User manual

NEC

NEC V230X User manual

NEC NP-02HD User manual

NEC

NEC NP-02HD User manual

NEC LCDMT850 Installation and user guide

NEC

NEC LCDMT850 Installation and user guide

NEC LT30 - INSTALLTION GUIDE User manual

NEC

NEC LT30 - INSTALLTION GUIDE User manual

NEC NP-UM352W User manual

NEC

NEC NP-UM352W User manual

NEC NP60 - CEILING PLATE User manual

NEC

NEC NP60 - CEILING PLATE User manual

NEC VT770 Series User manual

NEC

NEC VT770 Series User manual

NEC MultiSync XT5000 User manual

NEC

NEC MultiSync XT5000 User manual

NEC M282X User manual

NEC

NEC M282X User manual

NEC P401W User manual

NEC

NEC P401W User manual

NEC NP4000 User manual

NEC

NEC NP4000 User manual

NEC V300X Series User manual

NEC

NEC V300X Series User manual

NEC PV800UL-W User manual

NEC

NEC PV800UL-W User manual

NEC VT695 User manual

NEC

NEC VT695 User manual

NEC M311W User manual

NEC

NEC M311W User manual

NEC NP-PH1400U User manual

NEC

NEC NP-PH1400U User manual

NEC PA1004UL Series User manual

NEC

NEC PA1004UL Series User manual

NEC NEC PH1400U User manual

NEC

NEC NEC PH1400U User manual

NEC NP-M271X User manual

NEC

NEC NP-M271X User manual

Popular Projector manuals by other brands

Optoma Data Projector user manual

Optoma

Optoma Data Projector user manual

RKM R1 Setup guide

RKM

RKM R1 Setup guide

Sanyo PLC-XU3001 owner's manual

Sanyo

Sanyo PLC-XU3001 owner's manual

Knoll HT221 technical information

Knoll

Knoll HT221 technical information

Eiki LC-WB200W owner's manual

Eiki

Eiki LC-WB200W owner's manual

Epson EB-925 brochure

Epson

Epson EB-925 brochure

Eiki EK-800U Service manual

Eiki

Eiki EK-800U Service manual

BenQ CH100 quick start guide

BenQ

BenQ CH100 quick start guide

Lenovo C500 user guide

Lenovo

Lenovo C500 user guide

Acer P1200 Series Service manual

Acer

Acer P1200 Series Service manual

Sony VPL-VW365ES Quick reference manual

Sony

Sony VPL-VW365ES Quick reference manual

Epson EB-Z8000WU user guide

Epson

Epson EB-Z8000WU user guide

Optoma DX626 datasheet

Optoma

Optoma DX626 datasheet

Fisher PLC-SW20AR owner's manual

Fisher

Fisher PLC-SW20AR owner's manual

Projectiondesign F1 sxga Communication protocol

Projectiondesign

Projectiondesign F1 sxga Communication protocol

Sanyo XGA ULTRA SHORT-THROW PLC-XL51 owner's manual

Sanyo

Sanyo XGA ULTRA SHORT-THROW PLC-XL51 owner's manual

Epson EB-1880 datasheet

Epson

Epson EB-1880 datasheet

Philips PICOPIX PPX1230 Specifications

Philips

Philips PICOPIX PPX1230 Specifications

manuals.online logo
manuals.online logoBrands
  • About & Mission
  • Contact us
  • Privacy Policy
  • Terms and Conditions

Copyright 2025 Manuals.Online. All Rights Reserved.