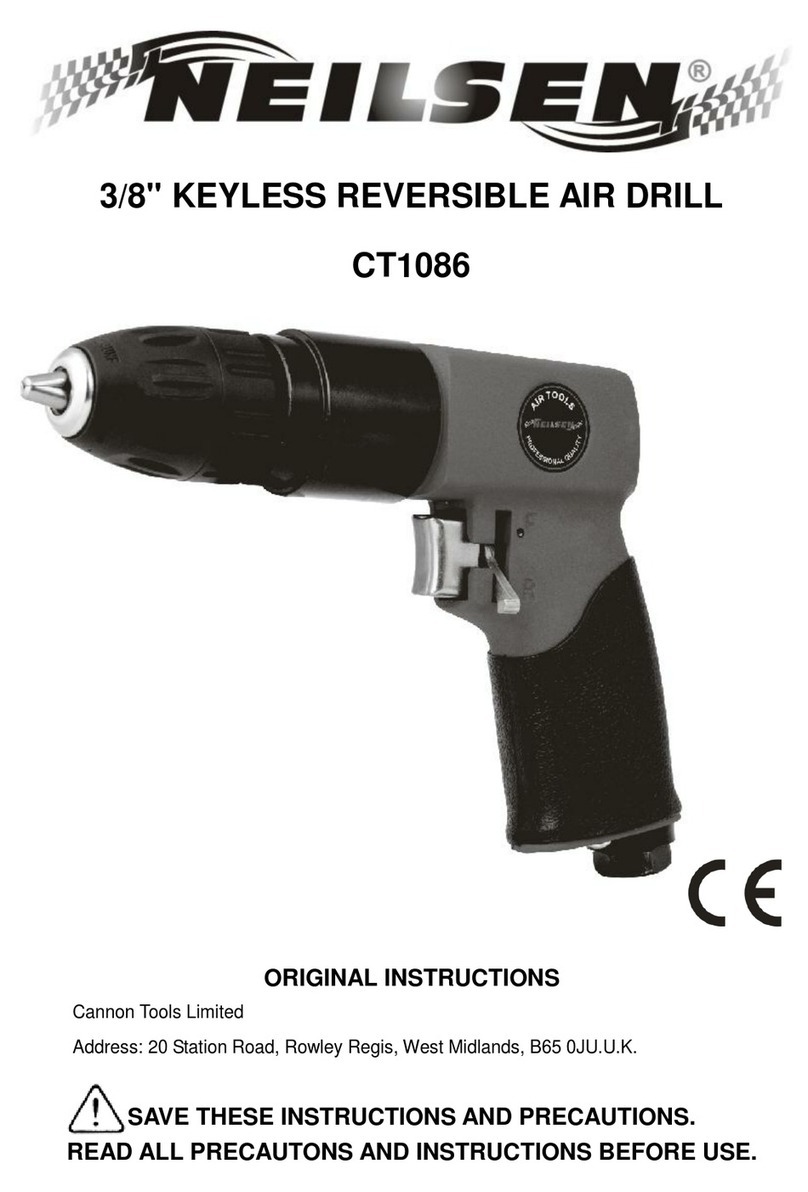
Neilsen CT0679 User manual

3/8"
R
SAV
E
READ ALL
Cannon
T
Address:
R
EVER
S
OR
I
E
THESE IN
PRECAUT
T
ools Limited
20 Station Roa
S
IBLE
A
I
GINAL INS
STRUCTIO
ONS AND I
d, Rowley Regi
A
IR DRI
TRUCTION
NS AND P
R
NSTRUCTI
O
s, West Midlan
d
LL CT
0
S
R
ECAUTIO
N
O
NS BEFO
d
s, B65 0JU.U.
K
0
679
N
S.
RE USE.
K
.

2
EC DECLARATION OF CONFORMITY
We CANNON TOOLS LTD
20 Station road, Rowley Regis, West Midlands,B65 0JU.U.K.
Declare that the following machine complies with the appropriate basic safety and
health requirements of the EC Directive based on its design and type, as brought
into circulation by us.
In case of alteration of the machine, not agreed upon by us, this declaration will
lose its validity.
Product description: 3/8" REVERSIBLE AIR DRILL
Model: CT0679
Applicable EC Directives:
EC Machinery Directive 2006/42/EC
Harmonized standards
EN ISO 11148-3
20 Station Road, Rowley Regis, West Midlands, B65 0JU.U.K.
Mr. Gurcharan Tony Singh Sanghera
Managing Director
CANNON TOOLS LTD
2016-07-28

3
GENERAL SAFETY INSTRUCTIONS
Important!
When using equipment, a few safety precautions must be observed to avoid injuries and
damage. Please read the complete operating manual with due care. Keep this manual in a safe
place, so that the information is available at all times. If you give the equipment to any other
person, give them these operating instructions as well. We accept no liability for damage or
accidents which arise due to non-observance of these instructions and the safety information
herein.
SYMBOLS
In this manual and/or on the machine the following symbols are used:
1. Always wear safety equipment; goggles, face mask, respiratory equipment, ear protection.
2. Always ensure the tool is switched off/the trigger is not depressed before connecting to
the air supply.
3. Disconnect the tool from the air supply before altering the chuck, and before servicing.
4. Always keep your air tool clean and lubricated. Daily lubrication is essential to avoid
internal corrosion and possible failure.
5. Do not wear watches, rings, bracelets or loose clothing when using air tools.
6. Use only lightweight coil hoses from the tool to the compressor coupling.
7. Do not overload the tool. Allow the tool to operate at its optimum speed for maximum
efficiency.
Denotes risk of personal injury, loss of life or damage to the tool in
case of non-observance of the instructions in this manual.
Wear hearing protection.
Wear safety goggles.
Contact with or inhalation of dust coming free during use (e.g.
lead-painted surfaces, wood and metal) can endanger your health
and the health of bystanders. Always wear appropriate protective
equipment, such as a dust mask. Always use proper dust
extraction during use.
Wear gloves.

4
8. Do not increase the air pressure above the manufacturers recommended level, overload
could cause excessive wear on moving parts and possible failure.
9. In the interest of safety and to avoid possible damage to the machine and/or operator,
always ensure that the tool has stopped before setting it down after use.
10. Always ensure that the work piece is firmly secured leaving both hands free to control the
tool.
11. Always ensure that accessories such as the chuck are correctly and securely fastened
before connecting the tool to the air supply.
SPECIFICATIONS
Max. speed: 1800/min
Max air pressure: 6.2bar
Avg. air consumption: 4cfm
Air inlet :1/4"
Max. chuck size: 3/8"
Net weight(without accessories) 1.0kg
OPERATING INSTRUCTIONS
Description
This reversible air drill has durable lightweight aluminum housing, a variable speed trigger
for precision, and includes a quick release coupler. An ergonomic choice for drilling, honing
and hole sawing.
Air supply
1. Ensure air valve (or trigger) is in the “off” position before connecting to the air supply.
2. You will require an air pressure of 90psi, and airflow according to specification.
3. WARNING! Ensure the air supply is clean and does not exceed 90psi while operating the
tool. Too high an air pressure and unclean air will shorten the product life due to excessive
wear, and may be dangerous causing damage and/or personal injury.
4. Drain the air tank daily. Water in the airline can damage the tool.
5. Clean the air inlet filter weekly.
6. Line pressure should be increased to compensate for unusually long air hoses
(over 8 metres). The hose diameter should be 3/8” I.D.
7. Keep hose away from heat, oil and sharp edges. Check hose for wear, and make certain
that all connections are secure.
Lubrication
Always lubricate the tool by introducing a few drops of airline lubricating oil into the air inlet
of the tool before use. An automatic in-line filter-regulator-lubricator is recommended where
the tool is used regularly as it increases tool life and enables it to be used in sustained

5
operations.
In the event that it becomes necessary to store the tool for an extended period of time, ensure
it is thoroughly lubricated before use. The tool should be run for approximately 30 seconds
to ensure oil has been evenly distributed throughout it. It should be stored in a clean and dry
environment.
• It is most important that the tool is properly lubricated at all times to ensure efficient
operation and avoid premature component wearing.
• Use only recommended lubricants, specially made for pneumatic applications. Substitutes
may harm the rubber components, e.g. O-rings and other rubber parts.
LOADING & OPERATION
WARNING: Ensure you read, understand and apply safety instructions before use.
1. Only use chucks which are specifically designed for use with this drill.
2. Lubricate the tool with 6 drops of lubricating oil (supplied) through the air intake.
3. Fit the required drill bit in to the chuck and tighten with the chuck key.
4. Using PTFE tape or a suitable thread sealant fit the quick release adaptor to the air inlet.
5. Connect the drill to the air hose.
6. To change direction push the lever at the top of the handle. Direction of “R” for reverse
and “F” for forward
7. The flow of air can be regulated by adjusting flow valve at the base of the handle.
8. Ensure the air supply is clean and does not exceed 90psi while operating the tool. Too
high an air pressure and unclean air will shorten the product life due to excessive wear,
and may be dangerous causing damage and/or personal injury.
9. Grip the tool firmly and squeeze the trigger to start drilling. Release trigger to stop tool.
DO NOT apply any additional force upon the tool.
DO NOT allow the tool to free run for an extended period of time, as this will shorten its life.
MAINTENANCE
WARNING: Disconnect tool from the air supply before changing accessories, servicing or
performing maintenance. Replace or repair damaged parts. Use genuine parts only.
Non-genuine parts may be dangerous
1. Lubricate the air tool daily with a few drops of air tool oil dripped into the air inlet.
2. Clean the tool after use. DO NOT use a worn, or damaged chuck.
3. Loss of power or erratic action may be due to the following:
a) Excessive drain on the airline. Moisture or restriction in the air line exists. Incorrect size
or type of hose connectors being used. To remedy check your air supply.
b) Grit or debris deposits in the tool may also reduce performance.
5. When not in use, disconnect from air supply, clean tool and store in a safe, dry, childproof
location.
6
TROUBLESHOOTING GUIDE
The following table lists common operational problems and how to remedy.
WARNING:If any of the following symptoms appear during operation, stop using the tool
immediately, or serious personal injury could result. Only a qualified person or an
authorised service centre should perform repairs or replacement of tool.
Disconnect the tool from the air supply before attempting repair or adjustment. When
replacing O-rings or cylinder, lubricate with air tool oil before assembly.
PROBLEMS POSSIBLE CAUSES REMEDIES
Tool runs at normal speed
but loses power under load • Motor parts worn.
• Cam clutch worn or sticking
due to lack of lubricant.
• Lubricate clutch housing.
• Check for excess clutch oil.
Clutch cases need only be
half full. Overfilling can cause
drag on high speed clutch parts.
Tool runs slowly. Air flows
slightly from exhaust
• Motor parts jammed with
dirt particles.
• Power regulator in closed
position.
• Air flow blocked by dirt.
• Check air inlet filter for blockage.
• Drip some air tool lubricating
oil into air inlet as per
instructions.
• Operate tool in short bursts
quickly reversing rotation back
and forth where applicable.
• Repeat above as needed. If this
fails contact the helpline.
Tool will not run. Airflows
freely from exhaust
• One or more motor vanes
stuck due to material build up.
• Pour air tool lubricating tool
into air inlet.
• Operate tool in short bursts of
forward and/or reverse rotation
where applicable.
• Tap motor housing gently with
plastic mallet.
• Disconnect supply. Free motor
by rotating drive shaft manually
where applicable
• If tool remains jammed contact
the helpline.
Tool will not shut off
• 'O' ring's throttle valve
dislodged from seat inlet valve.
• Replace 'O' ring.

7
ASSEMBLY DIAGRAM AND PARTS LIST

8
CANNON TOOLS LTD
Add: 20 station road, Rowley Regis, west midlands,B65 0JU.U.K.
Made in China
Table of contents
Other Neilsen Drill manuals

Neilsen
Neilsen CT1086 User manual

Neilsen
Neilsen CT1787 Operation instructions

Neilsen
Neilsen CT2729 Operation instructions

Neilsen
Neilsen CT3823 User manual

Neilsen
Neilsen CT0721 User manual

Neilsen
Neilsen CT2728 Operation instructions

Neilsen
Neilsen CT3824 User manual

Neilsen
Neilsen CT0584 Operation instructions

Neilsen
Neilsen CT3142 User manual