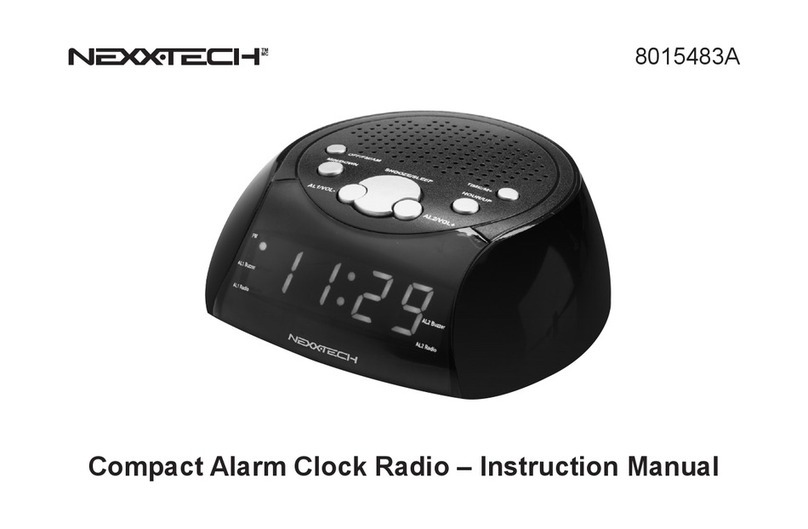
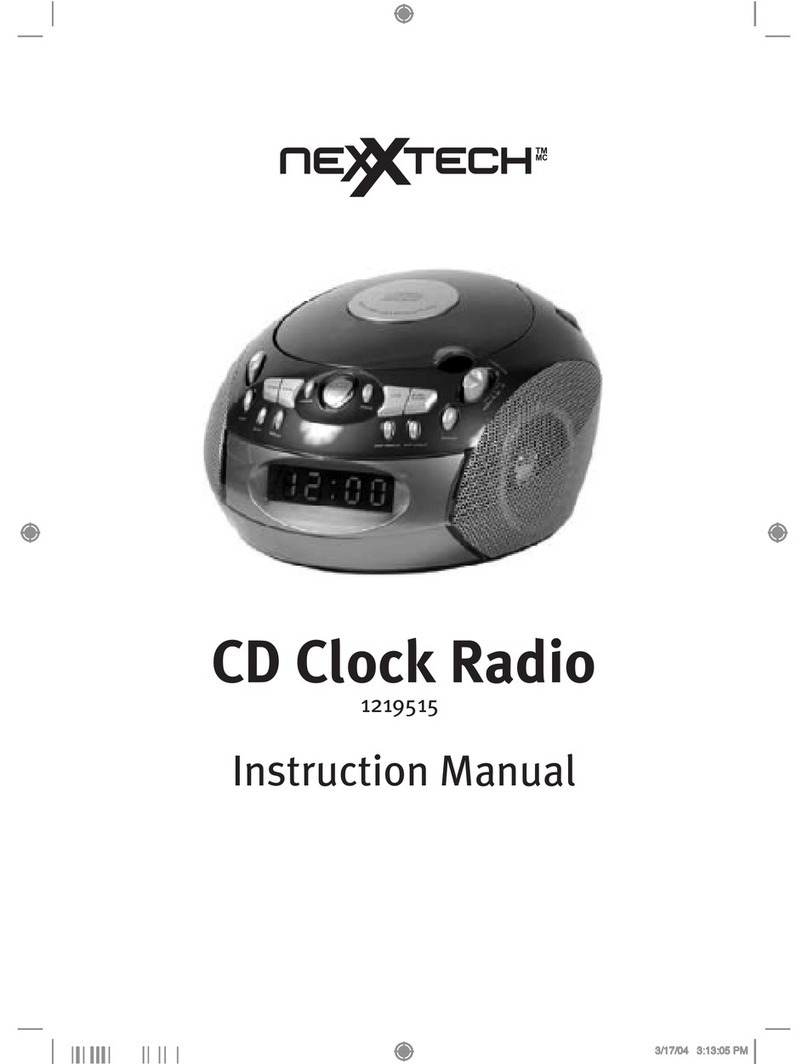
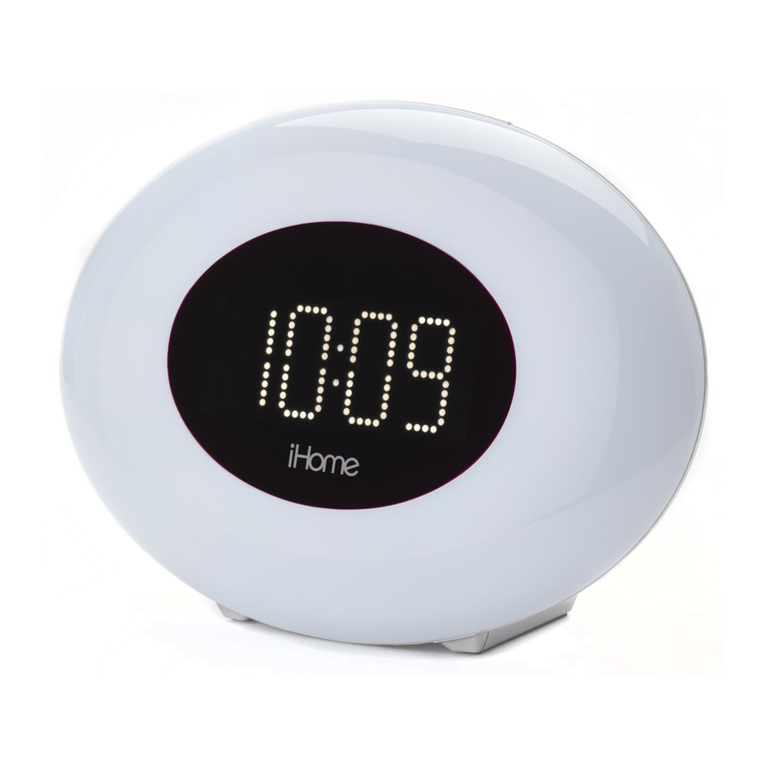
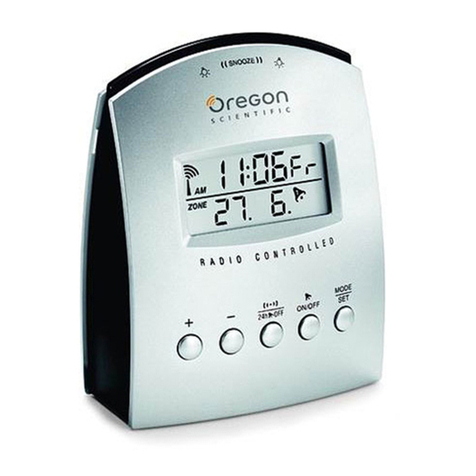
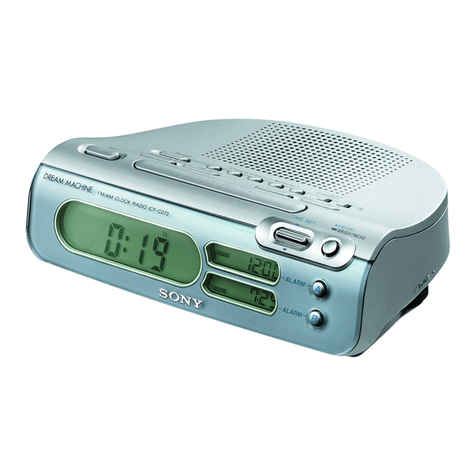
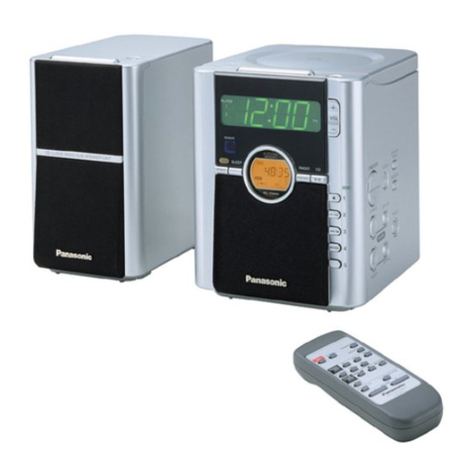
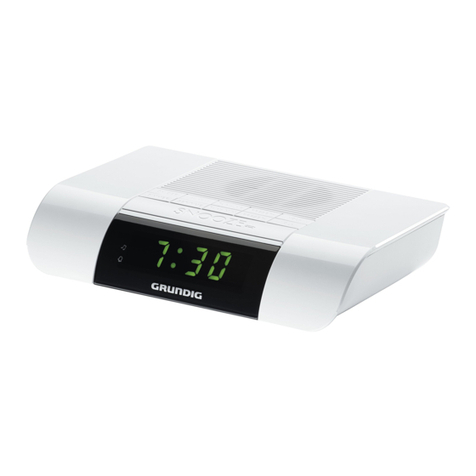
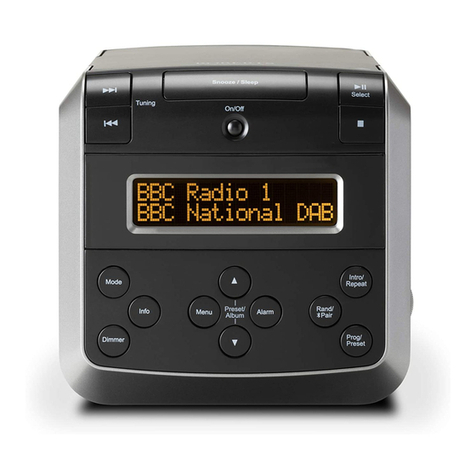
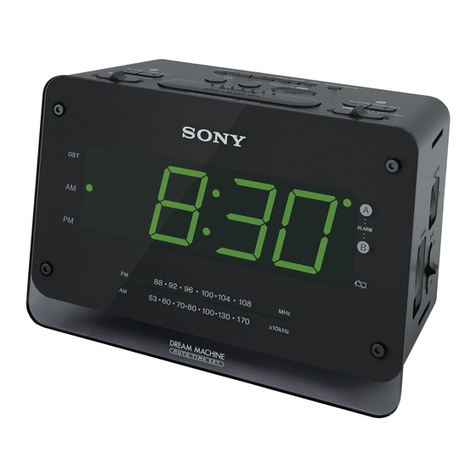
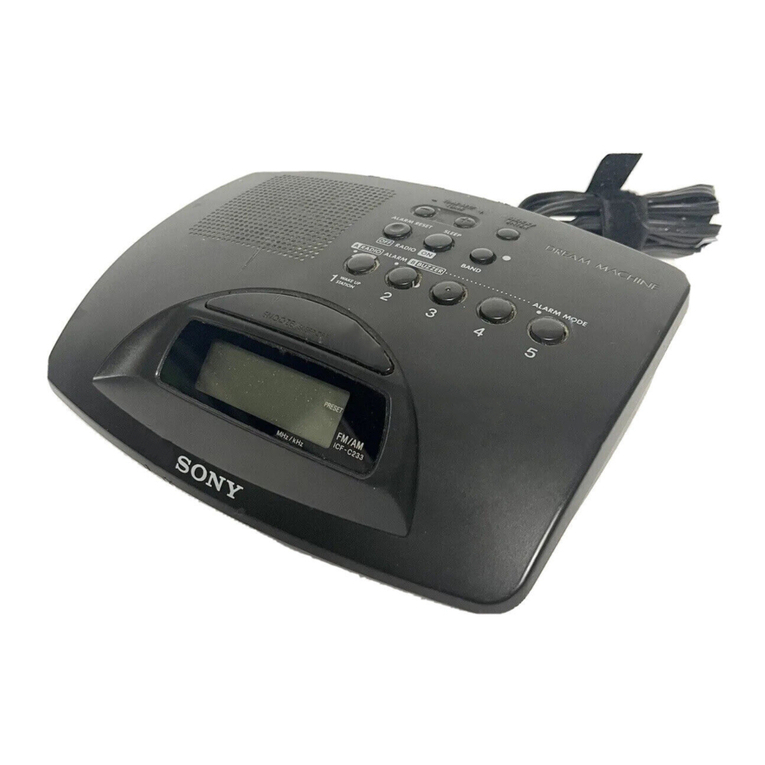
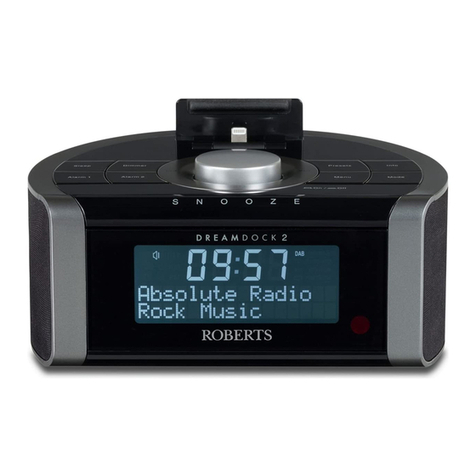
NexxTech 1219769 User manual

1219769
1219770
1219771
1219772
CD ALARM
CLOCK/RADIO
Owner’s Manual

and unused for a long period of time, unplug it from the
outlet and disconnect the antenna or cable system. This
will prevent damage to the product due to lightning and
powerline surges.
13. Damages Requiring Service - Unplug this product from
the wall outlet and refer servicing to qualified service
personnel under the following conditions :
(a). When the power-supply cord or plug is damaged.
(b). If liquid has been spilled, or objects have fallen onto
the product.
(c). If the product has been exposed to rain or water.
(d). If the product does not operate normally after
following the operating instructions. Adjust only those
controls that are covered by the operating instructions
as an improper adjustment of other controls may
result in damage and will often require extensive work
by a qualified technician to restore the product to its
normal operation.
(e). If the product has been dropped or damaged in any
way.
(f). When the product exhibits a distinct change
performance - this indicates a need for
service.
14. Use only with the cart, stand,
tripod, bracket, or table specified by
the manufacturer, or sold with the
product. When a cart is used, use
caution when moving the cart and
product to avoid injury from tip-over.
15. This appliance should not be exposed to dripping or
splashing water and no object filled with liquids, such
as vase, should be placed on the apparatus.
1. Read these instructions.
2. Keep these Instructions.
3. Heed all warnings.
4. Follow all instructions.
5. Do not use this apparatus near water.
6. Clean only with a dry cloth.
7. Ventilation - DO NOT block any ventilation
openings. Install in accordance with manufacturer’s
instructions.
8. Keep Away From Heated Areas - DO NOT place
the unit near heat; for example, near a radiator,
stove, or other heating device.
9. Grounding or Polarization - This product may be
equipped with a polarized alternating current line
plug (a plug having one blade wider then the other).
This plug will fit the power outlet only one way. This
is a safety feature. If you are unable to insert the
plug fully into the outlet, try reversing the plug. If the
plug should still fail to fit, contact your electrician to
replace your obsolete outlet. DO NOT defeat the
safety purpose of the polarized plug.
10. Power Cord Protection - Power supply cords
should be routed so that they are not likely to be
walked on or pinched by items placed upon or
against them. Pay particular attention to cords
at plugs, convenience receptacles, and the point
where they exit from the product.
11. Use only attachments/accessories specified by the
manufacturer.
12. Lightning - For added protection on this product
during a lightning storm, or when it is left unattended
WARNINGS
1
THIS PRODUCT CONTAINS
A LOW-POWER LASER EMITTER.
The lightning flash with an arrowhead within
a triangle alerts you to uninsulated dangerous
voltage within the product’s enclosure that
could cause an electric shock.
The exclamation point within a triangle alerts
you to the presence of important operating,
maintenance and servicing instructions in
this user’s manual.
CLASS 1 LASER PRODUCT
WARNING: TO REDUCE THE RISK OF ELECTRIC SHOCK, DO NOT REMOVE COVER.
NO USER-SERVICEABLE PARTS INSIDE. REFER SERVICING TO QUALIFIED PERSONNEL.
CAUTION
INVISIBLE LASER RADIATION WHEN UNIT IS
OPENED AND INTERLOCKS ARE DEFEATED.
AVOID EXPOSURE TO LASER BEAM.
TO REDUCE THE RISK OF ELECTRIC
SHOCK DO NOT EXPOSE THIS
APPLIANCE TO RAIN OR MOISTURE.
EXPLANATION OF GRAPHIC SYMBOLS
CAUTION
RISK OF ELECTRIC SHOCK
DO NOT OPEN
IMPORTANT SAFETY INSTRUCTIONS

The FCC Wants You To Know
This equipment has been tested and found to comply with the limits for a Class B digital device, pursuant to Part 15 of the FCC Rules. These
limits are designed to provide reasonable protection against harmful interference in a residential installation.
This equipment generates, uses, and can radiate radio frequency energy and, if not installed or used in accordance with the instructions, may
cause harmful interference to radio communications. However, there is no guarantee that interference will not occur in a particular installation.
If this equipment does cause harmful interference to radio or television reception, which can be determined by turning the equipment off and
on, the user is encouraged to try to correct the interference by one or more of the following measures:
1) reorient or relocate the receiving antenna;
2) increase the separation between the equipment and the receiver;
3) connect the equipment to an outlet on a circuit different from that to which the receiver is connected;
4) consult the dealer or an experienced radio/TV technician for additional suggestions.
Any changes or modifications not expressly approved by the party responsible for compliance could void the user’s authority to operate
the equipment. Where shielded interface cables have been provided with the product or specified additional components or accessories
elsewhere defined to be used with the installation of the product, they must be used in order to ensure compliance with FCC regulation.
Canadian DOC statement
DOC Class B Compliance - This Class B digital apparatus complies with Canadian ICES-003.
WARNINGS
2
Power Connection
1. Plug the AC 120V Power Cord into an AC household outlet.
2. For battery back-up in case of power failures, insert two alkaline “AAA” batteries (not included), into the
battery compartment on the underside of the unit.
3. The batteries will remember the time during a power outage, but will not display it.
4. Normal display and function will resume when power is restored. Replace the batteries annually.
NOTE: No battery is needed for normal operation.
POWER SOURCES
Cleaning the Cabinet
IMPORTANT: Disconnect from power supply before cleaning. Wipe with a soft cloth. If the cabinet is very
dirty, dampen the cloth with a weak solution of neutral detergent and water, and then wipe clean.
Cleaning the Lens
A dirty lens may cause sound to skip. If the lens is very dirty,
the CD may not work. Open the disc cover and clean the
lens as follows:
For Dry Dust Particles
Using a camera lens brush/blower, blow on the lens a couple
of times, then wipe it lightly with the brush to remove dust.
Then, blow on the lens once more.
Finger Prints
If the lens cannot be cleaned using a brush/blower, use a dry cotton swab.
PLAYER MAINTENANCE

Cleaning the Disc
1. To clean a disc use the following methods.
NOTE: Do not touch the rainbow colored side.
2. To wipe a disc, use only a soft cloth. Do not
use benzene or thinner which will damage
the disc. The disc should always be wiped in
a straight line from the center to the edge. It
should never be wiped in a circular motion.
3. Never place the disc on other equipment or
near any heat source. Avoid areas where the
disc may be subjected to direct sunlight for
long periods.
Power Failure
When AC power is interrupted, both time and
alarm settings are lost (unless back-up batteries
are installed). Once power is restored the
digital display will blink to show that power was
interrupted and you will have to reset time and
alarms.
Battery Back-up
To keep alarm and time settings in the memory
during a brief power failure or accidental removal
of the AC power cord from power supply, install
2 “AAA” batteries (not included) into the battery
compartment on the underside of the unit.
BATTERY BACK-UP
(Battery not included)
In the event of a power failure, this unit will
automatically switch to a battery stand-by circuit
when batteries are installed. Open the BATTERY
COMPARTMENT on the bottom of the unit and
install 2 x AAA batteries. It is recommended to use
alkaline batteries for back-up and to change the
batteries every year, or after a power outage of
more than 12 hours.
DISC CLEANING, POWER FAILURE
3
Maintenance and Care
1. Electronic products should never be subjected
to extreme temperatures or high humidity to
ensure good performance and a long lifetime.
The clock radio should not be placed in bathing
areas, or around stoves and radiators, etc.
Always leave sufficient space around the unit
for ventillation.
2. If necessary, only clean the cabinet of the
unit with a soft, dampened piece of cloth, (be
sure the AC power cord is unplugged from the
outlet). Never use a polish or a strong detergent
for cleaning since this can damage the finish of
the cabinet.
3. If the electric cable is damaged, it must be
replaced by the manufacturer, or by qualified
personnel, in order to avoid danger.

LOCATION OF CONTROLS
4
Control Functions
1. ON/OFF button
2. CD display button
3. VOLUME control
4. ALARM 1 button
5. (BUZZER/CD/RADIO/LINE IN) switch
6. ALARM 2 button
7. CLOCK/ADJ button
8. SLEEP button
9. ON/OFF indicator
10. SNOOZE button
11. LCD DISPLAY
A. ALARM 1 indicator
B. ALARM 2 indicator
C. SLEEP indicator
D. PROGRAM indicator
E. REPEAT indicator
F. SNOOZE indicator
G. PM indicator
H. FM stereo indicator
I. RANDOM indicator
12. CD door
13. STOP ( ) button
14. MINUTE / button
15. PROGRAM button
16. FUNCTION (CD/AM/FM/LINE IN) switch
17. Dial Scale
18. MODE button
19. TUNING control
20. / HOUR button
21. PLAY/PAUSE ( ) button
22. Stereo Headphone Jack
23. MP3 LINE IN JACK
24. Battery Compartment
25. AC power

Connect the AC power cord to a wall outlet.
1. If setting the clock for the first time, 12:00 will show on the display and begin to flash.
2. Press >>I / HOUR button to set the hour and then press MINUTE / I<< button to set the minutes.
3. Press the CLOCK/ADJ button to confirm the time, the display will stop flashing.
4. You can switch the clock display between 12H and 24H by holding the CLOCK/ADJ button for
2 seconds.
5. To reset the clock during OFF mode, press CLOCK/ADJ button, then follow steps 2 and 3 .
SETTING THE CLOCK/TIME
5
1. Slide the BUZZER/CD/RADIO/LINE IN switch to the CD/RADIO/LINE IN position.
2. Slide the function (CD/AM/FM/LINE IN) switch to the AM or FM position.
3. Press the ON/OFF button to ON, the ON/OFF indicator will light up.
4. Tune to a station using the TUNING control.
5. Adjust the VOLUME control to the desired level.
LISTENING TO THE RADIO
FM: Extend the FM aerial wire to improve FM reception.
AM: Turn the unit for better AM reception.
AERIALS
1. Slide the BUZZER/CD/RADIO/LINE IN switch to the CD/RADIO/LINE IN position.
2. Open the disc compartment.
3. Place a disc in the center with the label side facing up and close the disc door.
4. Slide the function (CD/AM/FM/LINE IN) switch to the CD position, then press the ON/OFF button to
ON status, the ON/OFF indicator will light up.
5. The total number of tracks will show on the display for 2 seconds, then the display will return to clock
display.
6. Press PLAY/PAUSE ( ) button to start playing the disc.
NOTE: You can press CD DISPLAY button to show the current track number that is playing or the total
number of tracks during STOP position in CD mode.
BASIC OPERATION
To stop Playback Press STOP ( ) button
To pause Playback Press PLAY/PAUSE( ) button.
To resume playback, press it again.
To search for the beginning of a track Press MINUTE / I<< or >>I / HOUR button briefly
To locate a desired passage Keep MINUTE / I<< or >>I / HOUR pressed.
Release the button at the start of the desired passage.
CD PLAYING

REPEAT/RANDOM MODE
6
Up to 20 tracks can be programmed to play in a specific order by following these steps:
1. Slide the BUZZER/CD/RADIO/LINE IN switch to the CD/RADIO/LINE IN position.
2. Set the (CD/AM/FM/LINE IN) switch to CD.
3. Press the ON/OFF button to ON status,the ON/OFF indicator will light up.
4. Press the PROGRAM button.
5. Press the MINUTE / I<< or >>I / HOUR to select the track number.
6. Press the PROGRAM button when the desired track number is displayed.
7. Repeat steps 5 and 6 to program more tracks.
8. Press the PLAY/PAUSE ( ) button to start programmed playback.
To check the programmed play:
Press the PROGRAM button during stop mode. The programmed track number will be displayed in the
programmed order each time you press the PROGRAM button.
To erase the programmed play, use one of the following methods:
- Press the PROGRAM button and then the STOP ( ) button when the CD is stopped.
- Press the STOP ( ) button while the CD is playing the programmed track.
- Open the disc compartment to erase the contents of programmed memory.
PROGRAMMED DISC PLAY
Press the MODE button before or during play. A single track, all tracks or random tracks will be played.
Each press changes the mode as follows:
1 REPEAT 2 REPEAT ALL 3 RANDOM 4 REPEAT/RANDOM OFF
(Repeat indicator will flash) (Repeat indicator will be steady on) (Random indicator will be steady on) (Repeat indicator, Random indicator
will turn off)
The radio, buzzer or CD automatically sounds at the designated time every day.
You can set a total of two wake-up times (ALARM 1 and ALARM 2) with this unit.
Wake by CD/AM/FM/BUZZER (set during OFF mode, when the ON/OFF indicator is off).
1. Press the ALARM 1 or ALARM 2 button, the display will flash.
2. Use the MINUTE / I<< or >>I / HOUR button to set the desired wake-up time.
3. Press the ALARM 1 or ALARM 2 button after setting. The ALARM 1 or ALARM 2 active indicator will
light up on the display respectively.
4. Slide the BUZZER/CD/RADIO/LINE IN selector to the BUZZER position for BUZZER wake up. For CD/
AM/FM wake-up, first slide the BUZZER/CD/RADIO/LINE IN selector to CD/RADIO/LINE IN position,
then slide the function selector to CD, AM or FM positions and adjust the volume.
5. To cancel ALARM 1 wake-up, press the ALARM 1 button once, the active indicator will turn off
(repeat the same procedure to cancel ALARM 2).
TO SET THE ALARM TO WAKE-UP TO BUZZER/CD/RADIO

The alarm can be temporarily turned off by pressing the SNOOZE button. The ALARM 1 or ALARM 2
indicator will flash at this time; the alarm will sound again 6 minutes later.
SNOOZE
7
Turn on the desired radio station or start playing a CD as previously instructed.
1. Press the SLEEP button and the SLEEP indicator will light up on the clock display.
2. Repeatedly press the SLEEP button for the desired sleep time, 90, 60, 30, 15 minutes.
The SLEEP indicator will light to indicate the sleep mode is activated.
3. To cancel sleep time, press the SLEEP button again until the SLEEP indicator turns off.
TO ACTIVATE THE SLEEP FUNCTION
RADIO
Receiving Bands: AM/FM
Frequency Range: AM 530 - 1710kHz
FM 88 - 108MHz
GENERAL
Power requirements: AC 120V ˜ 60Hz
2 x “AAA” batteries for back up (not included)
Power Consumption: 12 Watts
Dimension: 9.45 x 3.46 x 6.85 inches (WxHxD)
(240 x 88 x 174 mm) (WxHxD)
Weight: 2.6lbs 1.17kg (not including battery)
PRODUCT SPECIFICATIONS

WARRANTY
8
Who is Providing This Warranty?
• Orbyx Electronics, LLC (“Orbyx”), as the distributor of
this NexxtechTM product (your “Product”).
What Does This Warranty Cover?
• This warranty covers defects in materials or
workmanship in your Product under normal use and
conditions.
What is the Period of Coverage?
• This warranty covers your Product for 12 months from
the original purchase date.
Who Is Covered?
• This warranty covers the original consumer purchaser.
Coverage terminates if you sell or otherwise transfer
your Product.
What Will We Do To Correct Problems?
• We will repair your Product or replace your Product
with a new or reconditioned equivalent product, at our
option.
How Do You Get Service?
• Call Orbyx TOLL FREE at 1-866-363-3059 for
instructions for obtaining warranty service from
Orbyx’s authorized service providers.
• Or, return your Product directly to the retail store from
which you purchased the Product.
• When you obtain service for your Product, you must
provide a purchase receipt (or other proof of the
original purchase date) and a description of the
defect(s).
What Does This Warranty Not Cover?
• This warranty DOES NOT COVER:
• damage due to misuse, abuse, alteration,
unauthorized repair, or accident (such as improper
electrical current);
• damage due to “acts of God” (such as lightning) or
other contingencies beyond our control;
• cosmetic damage;
• externally generated static, signal reception or
antenna problems not caused by your Product; or
batteries.
• This warranty also DOES NOT COVER, and in no case
will we be liable for, any incidental damages (such as
transportation costs to and from an authorized service
provider, or loss of time) or consequential damages
(such as costs of repairing or replacing other property
which is damaged, including tapes, discs, speakers
not included with your Product or other accessories, or
external electrical systems) resulting from the use of
your Product. Some states do not allow the exclusion
or limitation of incidental or consequential damages,
so the above limitation or exclusion may not apply to
you.
• Defacing the serial number, or using your Product
for commercial or institutional purposes, voids this
warranty.
Are There Other Warranties?
• There are no express warranties other than those expressed
herein. Neither the sales personnel nor any other person
is authorized to make any other warranties or to extend the
duration of any warranties.
• ANY IMPLIED WARRANTIES, INCLUDING ANY IMPLIED
WARRANTY OF MERCHANTABILITY (AN UNWRITTEN
WARRANTY THAT A PRODUCT IS FIT FOR ORDINARY USE),
ARE LIMITED TO 90 DAYS. Some states do not allow
limitations on how long an implied warranty lasts, so the
above limitation may not apply to you.
How Does State Law Apply?
• This warranty gives you specific legal rights, and you may
also have other rights which vary from state to state.ORBYX
ELECTRONICS WARRANTY
ORBYX Electronics warrants that this product will be free from
defects in materials and workmanship for a period of one (1)
year from the date of purchase. Within this period, simply take
the product and your proof of purchase to any ORBYX Electronics
store or dealer and the product will be repaired without charge
for parts and labour. ORBYX Electronics reserves the right to
charge for transportation. Any product which has been subject
to misuse or accidental damage is excluded from this warranty.
This warranty is only applicable to a product purchased through
ORBYX Electronics’ company owned stores and dealers and to
a product that is presented for repair in a country where ORBYX
Electronics offers the product for sale. While this warranty does
not confer any legal rights other than those set out above, you may
have additional statutory rights which will vary under the laws of the
various countries, states, province and other governmental entities
in which ORBYX Electronics operates. This warranty is subject
to all statutory rights you may have in the country of purchase.
Limited Warranty/Garantie Limitée
U.S.A & Canada
© 2005 ORBYX Electronics. All Rights Reserved.
Distributed by Circuit City Stores, Inc.
9950 Mayland Drive
Richmond, VA 23233
Imported in Canada for/Importé au Canada pour
Orbyx Electronics,
Concord, Canada, L4K 4M3
Manufactured in China
For product support please contact
www.orbyxelectronics.com or 1-866-363-3059
This manual suits for next models
3
Table of contents
Other NexxTech Clock Radio manuals
