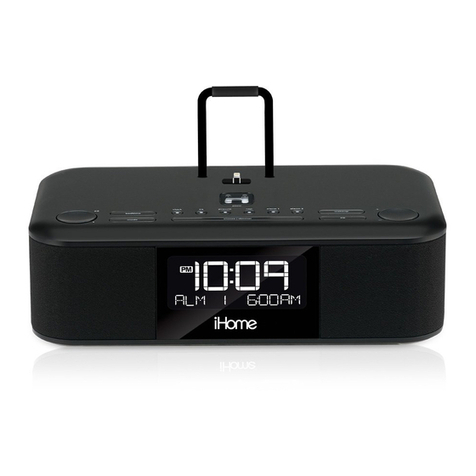
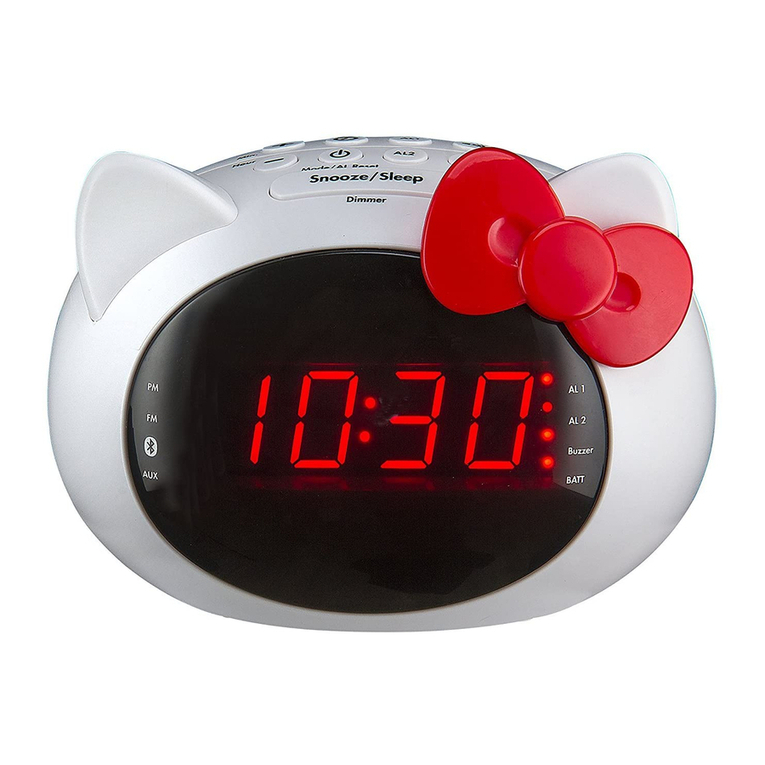
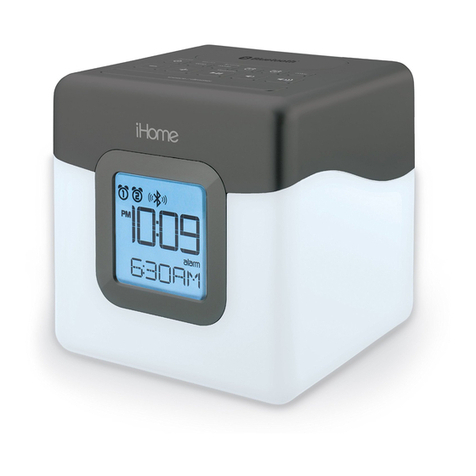
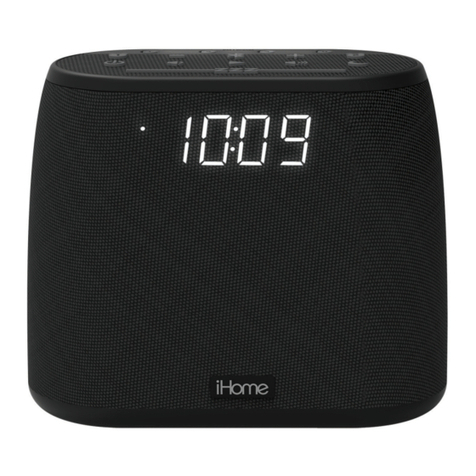
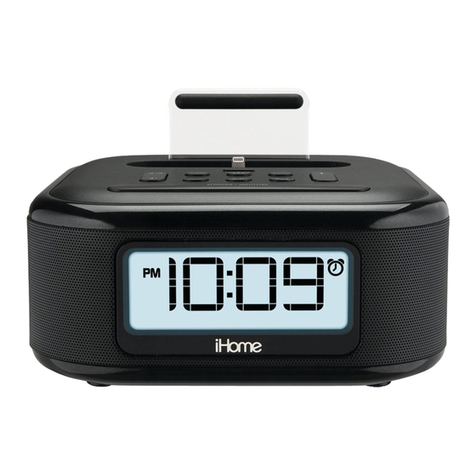
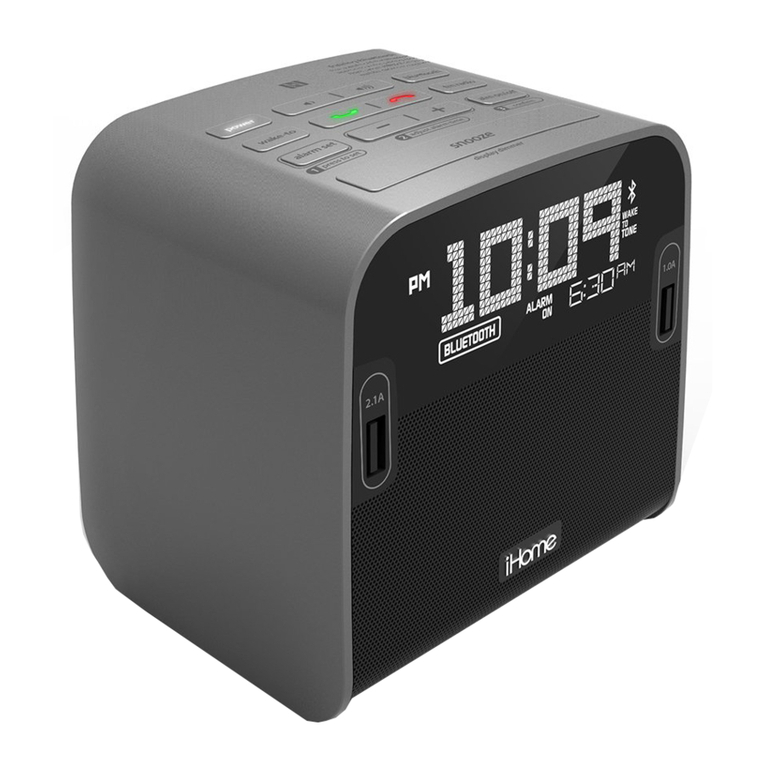
iHome iHv330 User manual

PM
Buzzer AL 1
Radio AL 1
FM
Buzzer AL 2
Radio AL 2
Batt low
BT
Bluetooth Clock Radio
Model: iHv330
Questions? Visit www.ihome.com
or call 1-800-288-2792 Toll Free

1
FCC ID: OKUIHV330
• Warning: Changes or modifications to this unit not expressly approved by the party responsible for compliance
could void the user’s authority to operate the equipment.
• NOTE: This equipment has been tested and found to comply with the limits for a Class B digital device, pursuant
to Part 15 of the FCC Rules.
These limits are designed to provide reasonable protection against harmful interference in a residential installation.
This equipment generates, uses and can radiate radio frequency energy and, if not installed and used in accordance
with the instructions, may cause harmful interference to radio communications.
However, there is no guarantee that interference will not occur in a particular installation. If this equipment does
cause harmful interference to radio or television reception, which can be determined by turning the equipment
o and on, the user is encouraged to try to correct the interference by one or more of the following measures:
• Reorient or relocate the receiving antenna.
• Increase the separation between the equipment and receiver.
• Connect the equipment into an outlet on a circuit dierent from that to which the receiver is connected.
• Consult the dealer or an experienced radio/TV technician for help.
FCC Information
This device complies with Part 15 of the FCC Rules, operation is subject to the following two
conditions: (1) This device may not cause harmful interference, and (2) this device must accept
any interference received, including interference that may cause undesired operation.
This device complies with Industry Canada’s licence-exempt RSSs.
Operation is subject to the following two conditions:
(1) This device may not cause interference; and
(2) This device must accept any interference, including interference that may cause undesired operation of the
device.
IMPORTANT SAFETY INSTRUCTIONS
When used in the directed manner, this unit has been designed and manufactured to ensure your personal safety.
However, improper use can result in potential electrical shock or fire hazards. Please read and follow all safety and
operating instructions carefully before installation and use, and keep these instructions handy for future reference.
Take special note of all warnings listed in these instructions and on the unit.
Heat – The unit should be situated away from heat sources such as radiators, heat registers, stoves or other
appliances (including amplifiers)
that produce heat.”
Damage Requiring Service – The unit should be serviced by qualified service personnel when:
A. the unit has been dropped or the enclosure damaged.
B. the unit exhibits a marked change in performance or does not operate normally
Only use attachments/accessories specified by the manufacturer.
For warranty information:
visit https://www.ihome.com/support

2
Consumer Product Safety Guide
IMPORTANT SAFETY INSTRUCTIONS
When used in the directed manner, this unit has been designed and manufactured to ensure your personal safety.
However, improper use can result in potential electrical shock or fire hazards. Please read all safety and operating
instructions carefully before installation and use, and keep these instructions handy for future reference. Take special note
of all warnings listed in these instructions and on the unit.
1. Water and Moisture – The unit should not be used near water. For example: near a bathtub, washbowl, kitchen sink, laundry
tub, swimming pool or in a wet basement.
2. Ventilation – The unit should be situated so that its location or position does not interfere with its proper ventilation. For
example, it should not be situated on a bed, sofa, rug or similar surface that may block ventilation openings. Also, it should
not be placed in a built-in installation, such as a bookcase or cabinet, which may impede the flow of air through the ventilation
openings.
3. Heat – The unit should be situated away from heat sources such as radiators, heat registers, stoves or other appliances
(including amplifiers) that produce heat.
4. Power Sources – The unit should be connected to a power supply only of the type described in the operating instructions or
as marked on the appliance. Only use the AC adapter that came with the unit.
5. Power-Cable Protection – Power supply cables should be routed so that they are not likely to be walked on or pinched by
items placed upon or against them. It is always best to have a clear area from where the cable exits the unit to where it is
plugged into an AC socket.
6. Cleaning – The unit should be cleaned only as recommended. See the Maintenance section of this manual for cleaning
instructions.
7. Objects and Liquid Entry – Care should be taken so that objects do not fall and liquids are not spilled into any openings or
vents located on the product.
8. Attachments – Do not use attachments not recommended by the product manufacturer.
9. Lightning and Power Surge Protection – Unplug the unit from the wall socket and disconnect the antenna or cable system
during a lightning storm or when it is left unattended and unused for long periods of time. This will prevent damage to the
product due to lightning and power-line surges.
10. Overloading – Do not overload wall sockets, extension cords, or integral convenience receptacles as this can result in a risk of
fire or electric shock.
11. Damage Requiring Service – The unit should be serviced by qualified service personnel when:
A. the power supply cable or plug has been damaged.
B. objects have fallen into or liquid has been spilled into the enclosure.
C. the unit has been exposed to rain.
D. the unit has been dropped or the enclosure damaged.
E. the unit exhibits a marked change in performance or does not operate normally.
12. Periods of Nonuse – If the unit is to be left unused for an extended period of time, such as a month or longer, charge the unit
fully before storage
13. Servicing – The user should not attempt to service the unit beyond those methods described in the user’s operating
instructions. Service methods not covered in the operating instructions should be referred to qualified service personnel.
14. Magnetic Interference: This product’s speakers contain powerful magnets which could cause interference or damage to
sensitive equipment such as hard drives, CRT televisions and monitors, as well as medical, scientific, and navigational devices.
Keep this unit away from these products at all times.
Battery Cautions and Tips
• Only use the recommended/supplied batteries or equivalent.
• Use alkaline batteries for longer life.
• Do not mix old and new batteries, and do not mix alkaline, carbon-zinc or rechargeable nickel-cadmium
batteries.
• Insert batteries with proper polarity (+/–) as indicated.
• Remove exhausted batteries from product.
• Recharge rechargeable batteries under adult supervision.
• Do not attempt to recharge non-rechargeable batteries.
• Do not open batteries or heat them beyond normal ambient temperatures.
• To prevent battery leakage or damage remove batteries from a product if it will not be used for a month or
longer.
• Use extreme caution handling leaking batteries (avoid direct contact with eyes and skin). If battery leakage
comes in contact with eyes, IMMEDIATELY flush the eye with lukewarm and gently flowing water for at least 30
minutes. If skin contact occurs, wash skin with clear water for at least 15 minutes. Seek medical attention if any
symptoms occur.
• Store in cool, dry, ventilated area away from hazardous or combustible material.
• Do not dispose of batteries in the household trash or fire.
• Follow applicable laws and local regulations for the disposal and transportation of batteries.
3
PARTS
FRONT VIEW
TOP VIEW
REAR VIEW
BOTTOM VIEW
Buzzer ringing of Alarm 2
Clock indicator FM frequency indicator
FM Station searching
indicator
Radio ringing of Alarm 2
Buzzer ringing of Alarm 1
Radio ringing of Alarm 1
123 4 5 6
7 8 9
10 11 13
14
12H System indicator
(it will light up in PM time)
PM
Buzzer AL 1
Radio AL 1
FM
Buzzer AL 2
Radio AL 2
Batt low
Bluetooth mode indicator Battery low indicator
FM/BTSET
MEM
/PAIR
5V 1A
FM ANT
DC 5V/1500mA
12
BT
1. Power Button
2. FM/BT Button
3. Tune down/ Previous Button
4. Tune up/ Next Button
5. MEMORY/ PAIR Button
6. SET Button
7. Volume down/ Alarm 1 Button
8. SNOOZE/ Sleep/ Dimmer Button
9. Volume up/ Alarm 2 Button
10. DC IN Jack
11. USB Outcharging Port
12. FM Antenna
13. Speaker
14. Backup Battery Compartment

4
INSERTING BATTERIES FOR MEMORY BACKUP
SETTING THE CLOCK
It is advisable to fit batteries (not supplied) in the battery compartment to prevent the loss of
the display time and settings during a power failure. During a power failure, the unit can save
the time.
1. Disconnect the radio from power.
2. Drive out the screw on the battery cover.
3. Remove the battery compartment door and insert 2 x AAA size batteries, matching the
polarity (+ and -) as shown in the battery compartment.
4. Replace the battery compartment door.
Note: When operating with batteries only, the display will be blank and the clock will only
remain accurate for a short period of time. The clock accuracy will decrease due to the voltage
drop of the backup batteries. It is important that the mains supply is restored as soon as
possible. If no backup batteries are installed or the power interruption is prolonged, you will
need to set the clock again.
1. Insert the the DC IN plug into the DC IN jack on the unit and insert the Adapter plug into AC
100~240V, 50/60Hz mains outlet. The clock time will appear on display.
2. If the PM indicator lights, it means the time is PM time, if the PM indicator is o, it means it is
the AM time.
3. While in OFF mode, press and hold the SET button, the hour digits will blink, press the or
button to set the correct hour digits. Press the SET button to confirm the hour setting.
4. The minute digits will blink, press the or button to set the correct minute digits.
5. Press the SET button again to complete the clock setting.
NOTE:
If the Batt low indicator blinks, it means there are no batteries in the battery compartment, or
the batteries are low.
SETTING THE ALARMS
1.) Press the button to put the Radio into standby mode, the clock time will appear.
2.) Press the ALARM 1/ button once to select the Buzzer AL 1 mode, press again to select the
Radio AL1 mode, press the third time to cancel alarm setting.
3.) Press and hold the ALARM 1/ until the hour digits blinks, press the or button to
adjust desired hour digits. Press the ALARM 1/ button to save the hour setting.
4.) The minute digits will blink, press the or button to adjust desired minutes. Press the
ALARM 1/ button to save the minute setting.
5.) The volume level will appear on display, press the or button to adjust desired alarm
volume level. Press the ALARM 1/ button to save and finish Alarm 1 setting.
NOTE: Using the ALARM 2/ button and the same ways as above stated to set Alarm 2.
STOP THE ALARM RINGING
When the alarm rings, press the button to stop ringing.

5
SLEEP TIMER
SNOOZE FUNCTION
DIMMER FUNCTION
When the alarm rings, press the SNOOZE/DIMMER button once. The alarm will stop ringing
and it will ring again after 9 minutes.
Put the unit into standby mode, press the SNOOZE/DIMMER button to adjust the LED
display brightness to high or low level.
The sleep timer allows you to turn the unit o after the preset time is reached.
1. Press the button to power on the unit.
2. Press the SNOOZE/DIMMER button repeatedly to select a sleep time. Each time the
button is pressed, the sleep time will be decreased in 10 minute increments.
(Sleep time range: 90, 80, 70, 60, 50, 40, 30, 20, 10 minutes)
3. To cancel the Sleep timer function, press SNOOZE/DIMMER button repeatedly until "OFF"
appears on the display.
NOTE: Press SNOOZE/DIMMER button to show the remaining time.

6
FM OPERATION
OPERATIONBLUETOOTH
USB OUTCHARGING FUNCTION
Using the Oucharging Port on the rear of the unit to charge the proper device which adapts
to the power input DC 5V, 1A.
1. Press the button to power on the unit.
2.Press the FM/BT button repeatedly to select the FM mode. The FM frequency indicator will
light up.
3.Press and hold either the or button to automatically search for a station, it will stop
and play when a station is found.
NOTE: Press the or button repeatedly to fine tune the received station.
4. Press and hold the MEM/ PAIR button , "P04" will blink on display, then press the
or button to select the storage location(P01-P20).
5. Press the MEM/ PAIR button again to confirm the setting.
6.Repeat steps 3 - 5 to search and store the desired stations. 20 stations can be stored in total.
Or press and hold the SET button to scan and store the available stations automatically.
7. Press the MEM/ PAIR button repeatedly to recall and select the desired stored station, The
LED display will show the frequency of the preset station selected. Then the unit will start
playback.
8. Press the ALARM 1/ or ALARM 2/ button to adjust the volume.
NOTE: Fully extend and relocate the FM antenna to get better reception.
1.) Press the button to power on the unit.
2.) Press the FM/BT button repeatedly to select the Bluetooth mode. The Bluetooth indicator
will light up and blink.
3.) Activate the Bluetooth function on your Bluetooth enabled device and try to search the
unit.
4.) When the pairing name "iHv330" appears on the pairing list, select it and make connection.
5.) After successful connection, the Bluetooth LED indicator will stop blinking.
6.) During playing:
Press the ALARM 1/ or ALARM 2/ button to adjust the volume.
Press the MEM/ PAIR button to pause, press it again to resume normal playing.
Press the or button to skip to previous or next track.
7.) Press and hold the MEM/ PAIR button to disconnect the current connection if you want
to pair with another Bluetooth Dvice.
NOTE: The unit will be automatically connected with the last paired Bluetooth Device if their
Bluetooth function are activated and they are in working range.

CLEANING AND CARE
TECHNICAL DATA
7
Printed in China
iHv330-061518-A
Danger of electroshock! Do not immerse the appliance in water or in other liquids.
1. Wipe the housing with a dry, soft cloth.
2. Do not use petrol, alcohol or other abraisive cleaners to clean the device.
3. Always pull the plug and remove batteries before storage.
Power source: DC 5V 1500mA
Back-up Battery: DC3V, 2x1.5V AAA batteries (not
included) Frequency range: FM 87.5-108.0 MHz
Outcharging power source : DC 5V 1A
NOTE: This equipment has been tested and found to comply with the limits for
a Class B digital device, pursuant to part 15 of the FCC Rules. These limits are
designed to provide reasonable protection against harmful interference in a
residential installation. This equipment generates uses and can radiate radio
frequency energy and, if not installed and used in accordance with the
instructions, may cause harmful interference to radio communications.
However, there is no guarantee that interference will not occur in a particular
installation. If this equipment does cause harmful interference to radio or
television reception, which can be determined by turning the equipment off and
on, the user is encouraged to try to correct the interference by one or more of
the following measures:
- Reorient or relocate the receiving antenna.
- Increase the separation between the equipment and receiver.
-Connect the equipment into an outlet on a circuit different from that to which
the receiver is connected.
-Consult the dealer or an experienced radio/TV technician for help
Changes or modifications not expressly approved by the party responsible for
compliance could void the user's authority to operate the equipment.
This device complies with Part 15 of the FCC Rules. Operation is subject to the
following two conditions:
(1) this device may not cause harmful interference, and (2) this device must
accept any interference received, including interference that may cause
undesired operation.
Responsible Party Information as follow:
Company Name:SDI Technologies Inc.
Address:1299 Main St.,Rahway New Jersey,United States 07065
Telephone:732 574-9000
Website:www.sditechnologies.com
Table of contents
Other iHome Clock Radio manuals