NICOR LED TITAN XPQ1A User manual

NICOR, Inc. 2200 Midtown Place NE, Albuquerque, NM 87107 P: 800.821.6283 F: 800.892.8393 www.nicorlighting.com November 5, 2018 2:55 PM rev 1.0
TITAN XPQ1A Hazardous Location Flood Light
C1D1 INSTALLATION INSTRUCTIONS
Tools & Materials Needed
This xture requires very few tools for installation.: A drill, a pair of
wire cutter/strippers, allen wrenches, and appropriate mounting
hardware.
• This xture is intended to be connected to a properly installed and grounded UL listed junction box.
• Make sure that the supply voltage is the same as the luminaire voltage.
• Do not install where the marked operating temperatures exceed the ignition temperatures of the hazardous atmosphere.
• Do not operate in ambient temperatures above those indicated on the luminaire nameplate
• All gasket seals must be clean and undamaged
WARNING:
RISK OF ELECTRIC SHOCK
• Turn o electrical power at the fuse or circuit breaker box before wiring xture to the power supply.
• Turn o the power when you perform any maintenance.
• Verify that the supply voltage is correct by comparing it with luminaire label information.
• Make all electrical and grounded connections in accordance with the NEC and any applicable local code requirements.
• All wiring connections should be capped with UL approved wire connectors.
• Luminaire must be supplied by a wiring system with an equipment grounding conductor.
CAUTION
RISK OF INJURY
• Wear gloves and safety glasses at all times when removing luminaire from carton, installing servicing or performing maintenance.
• Avoid direct eye exposure to the light source while it is on.
• Account for small parts and destroy packing material as these may be hazardous to children.
GENERAL SAFETY:
• To reduce the risk of death, personal injury or property damage from re, electric shock, falling parts, cuts/abrasions,
and other hazards, read all warning and instructions included with and on the xture box and all xture labels.
• Before installing, servicing, or performing routine maintenance upon this equipment, follow these general precautions.
• Commercial installation, service and maintenance of luminaires should be performed by a qualied licensed electrician.
• DO NOT INSTALL DAMAGED PRODUCT!
CAUTION
RISK OF FIRE
Keep combustible and other materials that can burn away from
luminaires and lamp/lens. MIN 105°C CONDUCTORS
Operating Characteristics:
Rated Voltage: 100-240/277VAC, 50/60Hz OR 347/480VAC, 50/60Hz
Ambient Temperature Range: -40°C (-40°F) ~ +60°C (140°F)
Environmental Ratings
Suitable for wet location
IP 66 Rating
This xture is suitable for use in the following hazardous (classied)
areas as dened by the National Electrical Code (NEC) and Canadian
Electrical Code (CEC):
Hazardous Locations
Class I, Division 1, Groups C, D
Class I, Division 2, Groups A, B, C, D
Class II, Division 2, Groups F, G
Class III
Compliances
UL 844
UL 1598
UL 1598A
CSA C22.2 No. 137-M1981
Refer to the luminaire name-plate for specic classication information,
maximum ambient temperature suitability and corresponding operating
temperature (T-Code).
What’s In The Box
One (1) XPQ (and associated hardware)
One (1) 3/4” NPT plug

NICOR, Inc. 2200 Midtown Place NE, Albuquerque, NM 87107 P: 800.821.6283 F: 800.892.8393 www.nicorlighting.com November 5, 2018 2:55 PM rev 1.0
TITAN XPQ1A Hazardous Location Flood Light
C1D1 INSTALLATION INSTRUCTIONS
(-)
LED
Driver
Terminal Block
Black (Line)
White (Neutral)
Green (Ground)
(+)
GENERAL INSTALLATION INSTRUCTION For all mounting methods.
1. Carefully unpack the xture from its packaging. Inspect product for defects due to shipping.
2. Turn o power to appropriate circuit at the breaker panel.
3. Identify mounting location and mounting method. Ensure properly rated mounting hardware is used (mounting hardware not included).
TRUNNION BRACKET MOUNT
1. Loosen two (2) 6mm drive hex bolts on the hinge and two (2) 5mm drive orientation hex bolts and remove
trunnion bracket.
2. Drill mounting holes on surface and mount bracket to surface using appropriate fasteners.
3. Install appropriate conduit connector on the desired enclosure conduit port (3/4” NPT) and route 3-wire pigtail
through connector. Seal unused conduit port with conduit plug (included), following all NEC and local codes.
4. Connect wiring as shown in wiring diagram, following all NEC and local codes.
5. Reattach xture to the bracket, adjust xture to desired angle, and set hinge and orientation.
6. Turn on power to appropriate circuit and verify xture operation.
PENDANT MOUNT (Pendant stem by others)
1. Install pendant to desired location.
2. Loosen two (2) 6mm drive hex bolts on the hinge and two (2) 5mm drive orientation hex bolts and remove
trunnion bracket.
3. Route 3-wire pigtail through pendant (top) conduit port. Seal unused conduit port with conduit plug (3/4” NPT,
included), following all NEC and local codes.
4. Thread xture onto pendant (3/4”NPT).
5. Connect wiring as shown in wiring diagram, following all NEC and local codes.
6. Turn on power to appropriate circuit and verify xture operation.
WIRE GUARD INSTALLATION
1. Remove four (4) appropriate 5mm drive hex bolts from face of xture
2. Align wire guard (sold separately) and replace bolts, torquing to 62 in-lb (7 N-m)
Mounting Bracket Pattern (N.T.S.)
7.9” (200)
5.5” (140)
5.4” (137)
13.4” (340)
2.3” (58)
2.0” (51)
3.2” (80)
1.6” (40)
1.1” (28)
2.5” (65)
1.4” (36)
NICOR, Inc. 2200 Midtown Place NE, Albuquerque, NM 87107 P: 800.821.6283 F: 800.892.8393 www.nicorlighting.com November 5, 2018 2:55 PM rev 1.0
TITAN XPQ1A Hazardous Location Flood Light
C1D1 INSTALLATION INSTRUCTIONS
SERVICING:
• To avoid personal injury, disconnect power to xture and allow xture to cool before performing maintenance.
• Perform electrical, mechanical, and visual inspections on a regular basis. The frequency of these inspections is dependent upon the installation environment
and frequency of use; it is recommended that these checks be made annually at a bare minimum.
• The external glass should be cleaned periodically to maintain consistent light output and xture performance. Clean the glass with a clean, damp, non-
abrasive, lint-free cloth. If this is not sucient, a mild soap may be used, but do not use any cleaning agent that is abrasive, strong alkaline, or acidic, as these
may damage the xture.
• Inspect the cooling ns regularly to ensure that they are free of any dust or other contaminants. If necessary, clean with a non- abrasive cloth.
• Check that all mechanical parts are properly assembled and secured.
• Check that all electrical connections are clean, tight, and secure.
LED EXPRESS LIMITED WARRANTY
Subject to the exclusions below, each NICOR LED product, including the LED electronics and components of a property installed NICOR LED product, will be free from defect in materials and workmanship for a period of ve (5) years
from the original date of purchase. The product shall be considered defective only if 10% or more of the product’s LED components fail. NICOR LED product warranty covers the following performance criteria: LED Light Output will
be maintained above 70% of initial output; LED color temperature will not shift more than 200K in CCT; LED driver will operate within NICOR specications; and the xture nish, excluding natural aluminum or brass products, will not
exhibit cracking, peeling, excessive fading, or corrosion during the warranty period. Exceptions apply as dened in NICOR’s product specication sheets, which are incorporated by reference herein.
This limited warranty is provided to you, the purchaser of the product identied on Seller’s invoice, as your exclusive remedy and applies only to NICOR products that have been purchased from an authorized NICOR Distributor; the
product was new and in an unopened NICOR package at the time of installation; and the NICOR product was installed by a licensed electrician or under the supervision of a licensed electrician and used by consumers in the United
States or Canada when accompanied with this warranty. This warranty extends only to the rst consumer purchaser and is not transferable. A consumer wishing to invoke the terms of this limited warranty must rst obtain a RGA
number within 30 days of discovery of the defect, and return the product to NICOR for inspection. Once veried to be covered by this limited warranty, NICOR will, at its sole discretion, repair, replace, or refund the purchase price of
any product that does not conform to this limited warranty. If NICOR, at its sole discretion, determines that the product should be repaired or replaced, this warranty is limited to the reasonable, customary, and necessary costs and
expenses associated with the repair/replacement. This warranty requires that all repair/replacement estimates and costs, including but not limited to equipment rental (if any), and any other cost or expense to be incurred in the
repair/replacement of the product, be approved in advance and in writing by NICOR. FAILURE TO OBTAIN NICOR’S ADVANCE WRITTEN APPROVAL OF ALL REPAIR/REPLACEMENT COSTS AND EXPENSES IN WRITING SHALL VOID THIS
LIMITED WARRANTY.
THIS LIMITED WARRANTY DOES NOT COVER THE FOLLOWING:
• Defects or damages resulting from improper installation, operation, storage, misuse or abuse, accident, or neglect;
• Defects or damages resulting from improper service, testing, adjustment, installation, maintenance, alteration, connection to out-of specication electrical service, corrosive or damp environments, or connection to incompatible
equipment or devices (e.g., connecting non-dimmable lighting products to dimmers);
• Damage which occurs in transit; and
• Power surges or overheating due to external conditions;
• Acts of nature including but not limited to lightning strikes
ANY IMPLIED WARRANTIES, INCLUDING WITHOUT LIMITATION, THE IMPLIED WARRANTIES OF MERCHANTABILITY AND FITNESS FOR A PARTICULAR PURPOSE SHALL BE LIMITED TO THE DURATION OF THIS LIMITED WARRANTY,
OTHERWISE THE REPAIR, REPLACEMENT, OR REFUND AS PROVIDED UNDER THIS EXPRESS LIMITED WARRANTY IS THE EXCLUSIVE REMEDY OF THE CONSUMER, AND IS PROVIDED IN LIEU OF ALL OTHER WARRANTIES, EXPRESS OR
IMPLIED. IN NO EVENT SHALL NICOR BE LIABLE, WHETHER IN CONTRACT OR IN TORT (INCLUDING NEGLIGENCE) FOR DAMAGES IN EXCESS OF THE PURCHASE PRICE OF THE PRODUCT, OR FOR ANY INDIRECT, INCIDENTAL, SPECIAL OR
CONSEQUENTIAL DAMAGES OF ANY KIND, OR LOSS OF REVENUE OR PROFITS, LOSS OF BUSINESS OR OTHER FINANCIAL LOSS ARISING OUT OF OR IN CONNECTION WITH THE ABILITY OR INABILITY TO USE THE PRODUCT TO THE FULL
EXTENT THESE DAMAGES MAY BE DISCLAIMED BY LAW.
Copyright 2014, NICOR, Inc.
Revised October 2017
This device complies with part 15 of the FCC Rules. Operation is subject to the following two conditions: (1) This device may not cause harmful interference, and (2) this device must accept any interference received, including interfer-
ence that may cause undesired operation.
NOTE: This equipment has been tested and found to comply with the limits for a Class A digital device, pursuant to part 15 of the FCC Rules. These limits are designed to provide reasonable protection against harmful interference
when the equipment is operated in a commercial environment. This equipment generates, uses, and can radiate radio frequency energy and, if not installed and used in accordance with the instruction manual, may cause harmful
interference to radio communications. Operation of this equipment in a residential area is likely to cause harmful interference in which case the user will be required to correct the interference at his own expense.
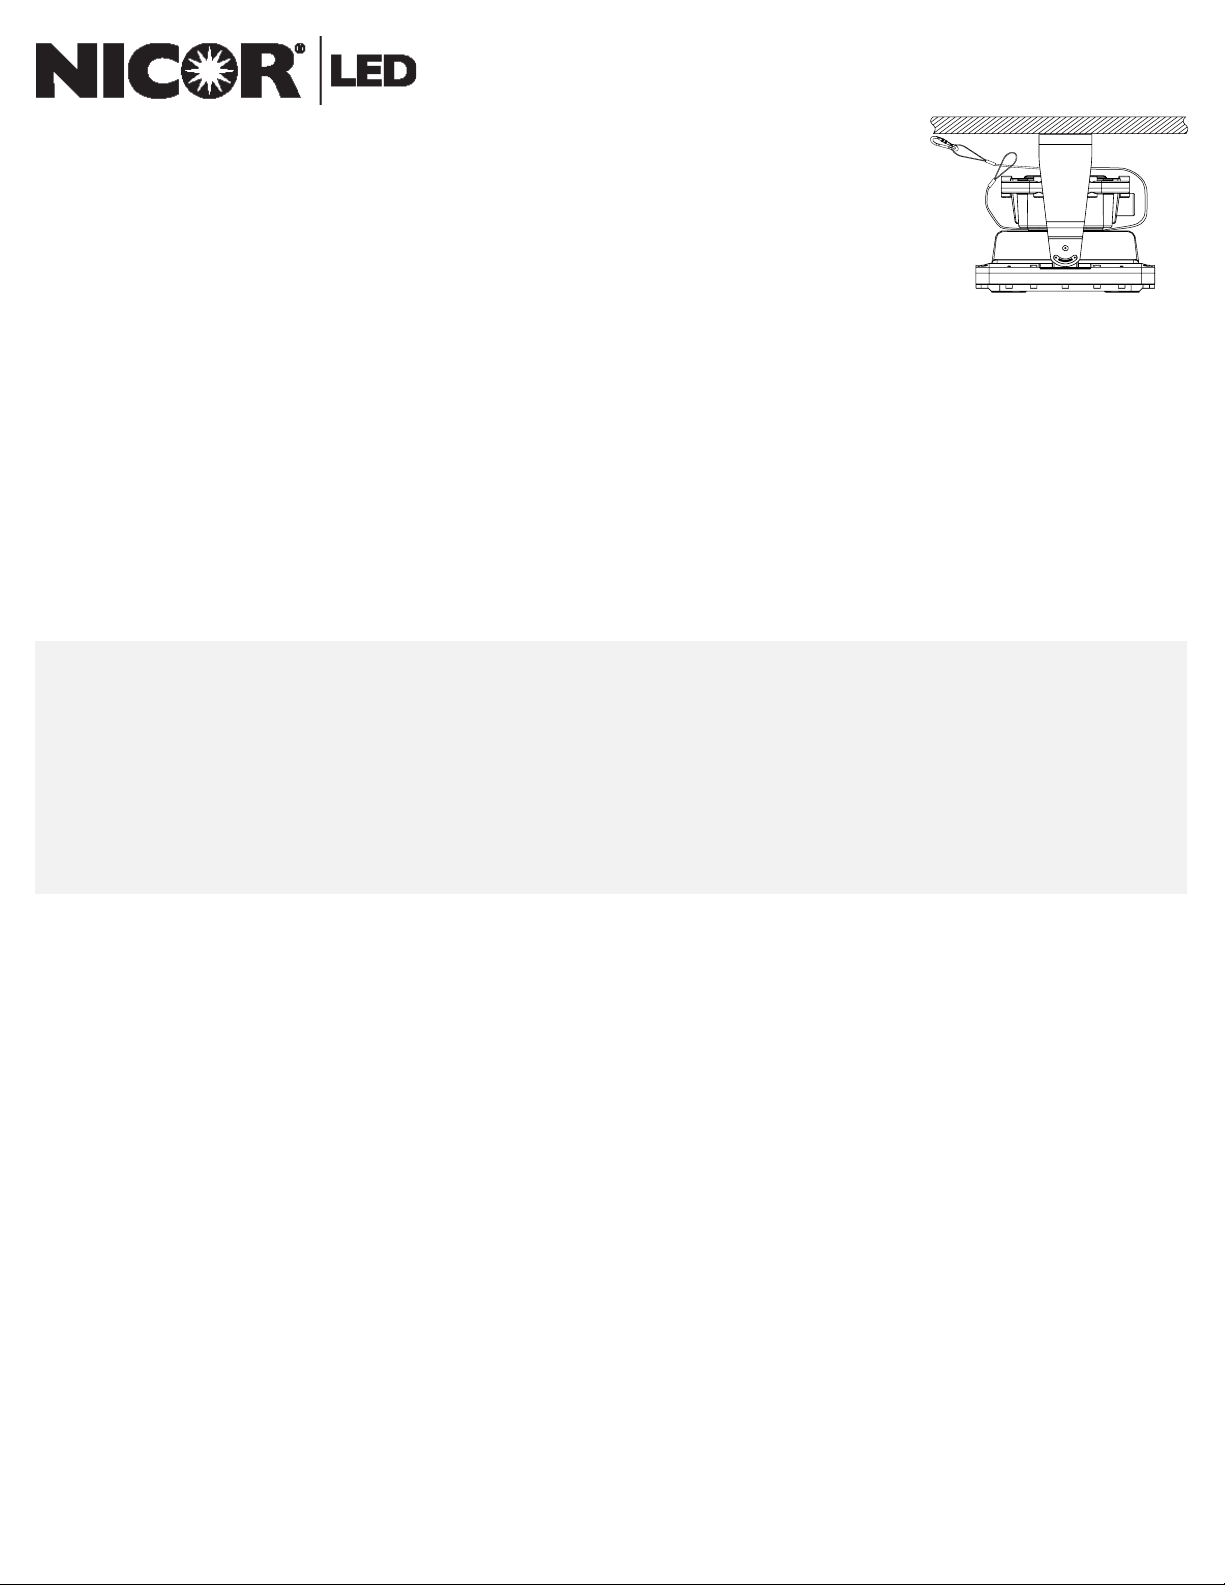
SECONDARY RETETION (kits sold separately)
1. Route retention cable between power supply housing and luminaire ns, ensuring cable is centered on
the housing.
2. Loop cable around housing, pulling the cable through one of the end loops.
3. Fasten carabiner clip to free end loop of cable. Secure carabiner to secure location, following all appli-
cable standards.
THROUGH-WIRING (NICOR has provided quick-connect wire connectors internal to the luminaire for through-wiring applications. )
1. After unit is properly mounted, remove power supply enclosure cover by loosening the ten (10)
5mm drive retention hex bolts.
2. Route wiring between luminaires with appropriate wire and conduit.
3. Locate the three (3) quick-connect wire connectors inside the driver-housing.
4. Connect each wire to the corresponding quick-connect inside the driver housing
(see WIRING INSTRUCTIONS). There is at least one open connector on each quick-connect.
5. Reattach enclosure cover and torque bolts to 3 Nm/27 in lbs.
NOTE: If not using the provided 3-wire pigtail, remove the wires from the quick-connect before sealing the driver enclosure.

NICOR, Inc. 2200 Midtown Place NE, Albuquerque, NM 87107 P: 800.821.6283 F: 800.892.8393 www.nicorlighting.com November 5, 2018 2:55 PM rev 1.0
TITAN XPQ1A Hazardous Location Flood Light
C1D1 INSTALLATION INSTRUCTIONS
3/4 PG LAYOUT
Table of contents
Popular Floodlight manuals by other brands

Chauvet
Chauvet Intimidator Barrel LED 300 user manual

Chauvet
Chauvet COLORado 1 Tour user manual

Colorlight
Colorlight CL20 Series user manual

Hubbell
Hubbell Sling SGF2 installation instructions

Venture Lighting
Venture Lighting AV0004-A user manual

Bright Light Systems
Bright Light Systems NOVA HM LED user manual


