Contents
Contents.........................................................................................................................................2
Introduction..................................................................................................................................... 3
Unit types .......................................................................................................................................4
Temperature sensor overview......................................................................................................... 5
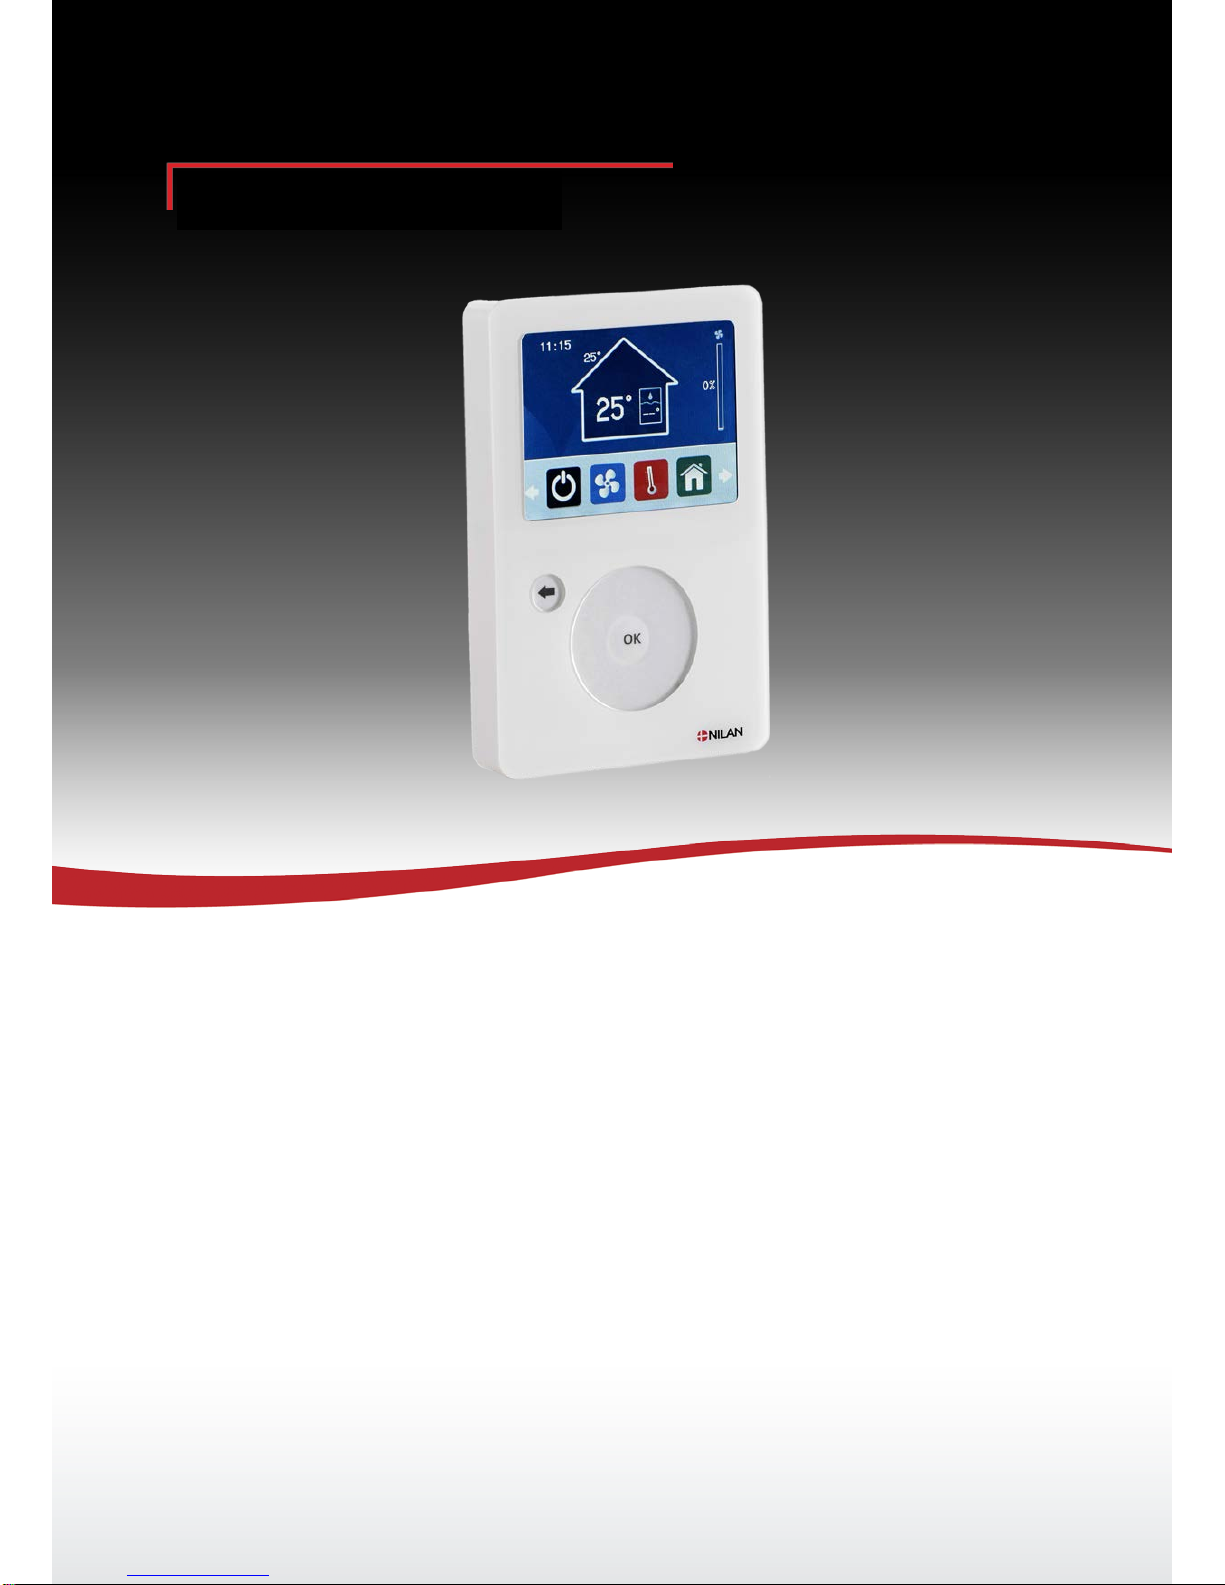
Control panel..................................................................................................................................6
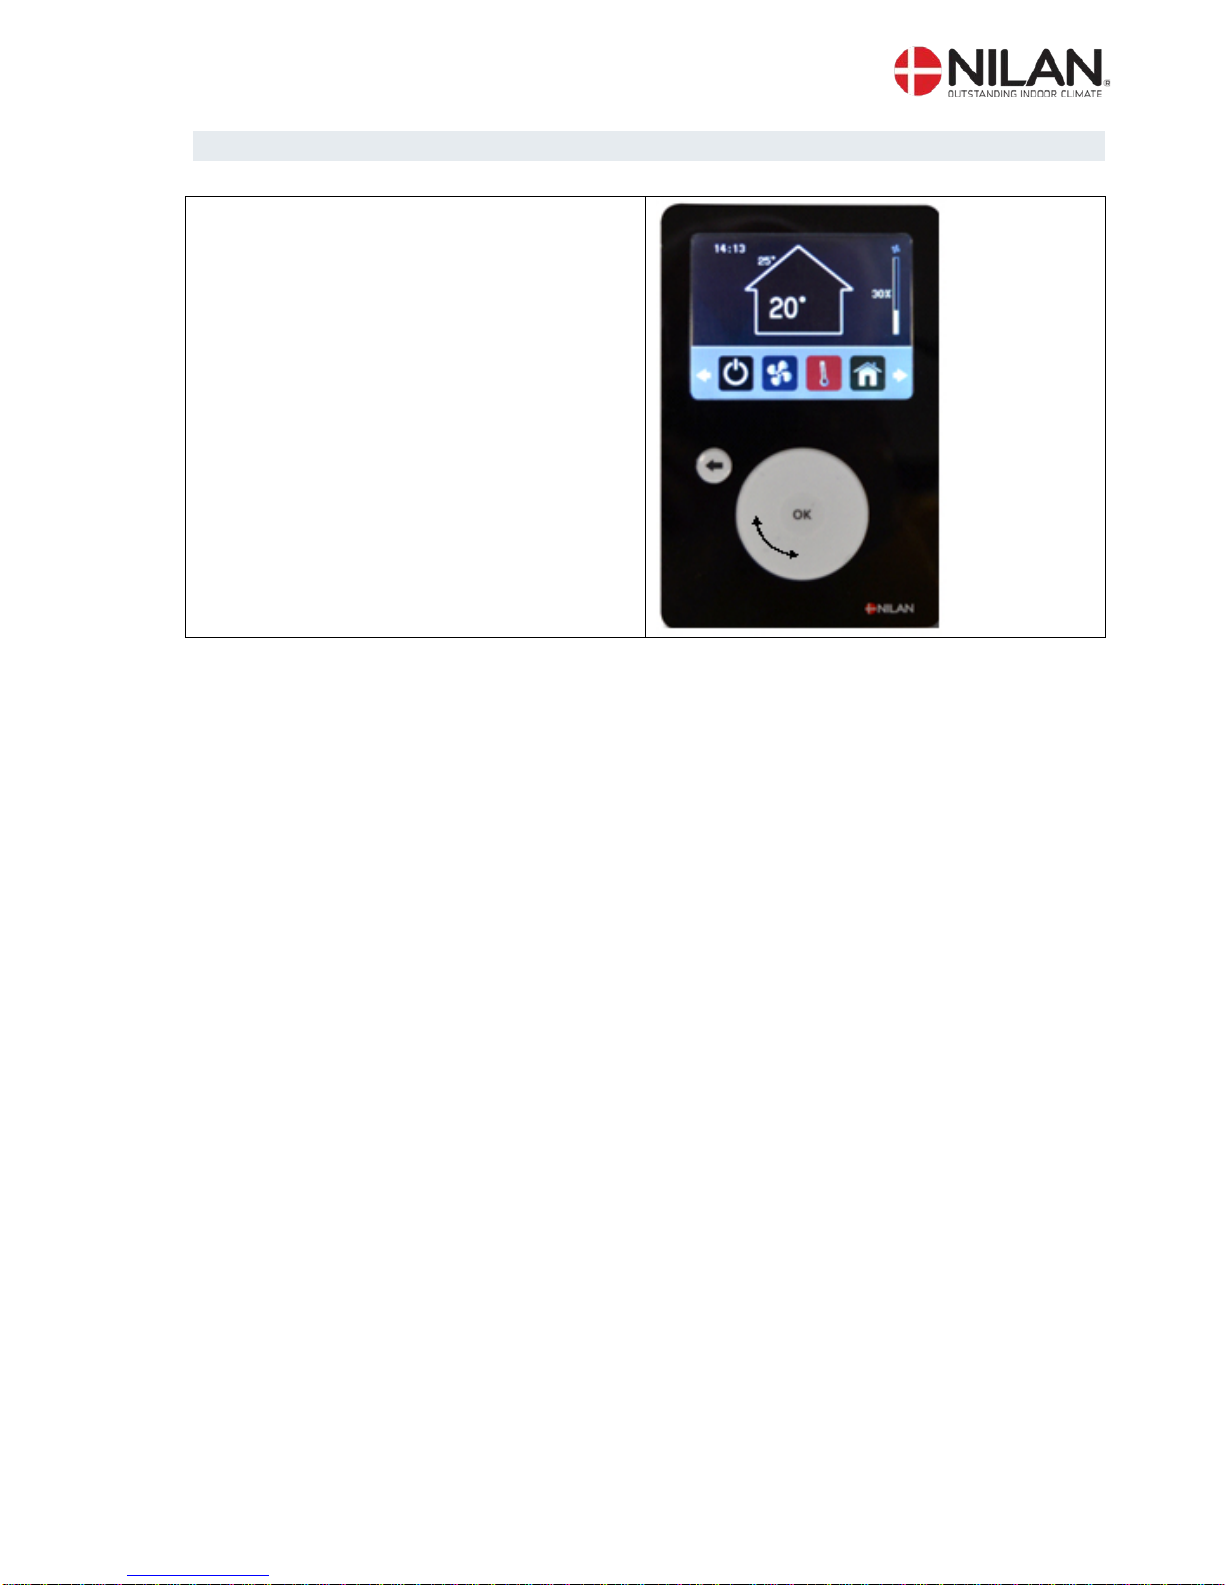
Display ........................................................................................................................................... 7
Menu structure ...............................................................................................................................8
User - Program settings.................................................................................................................. 9
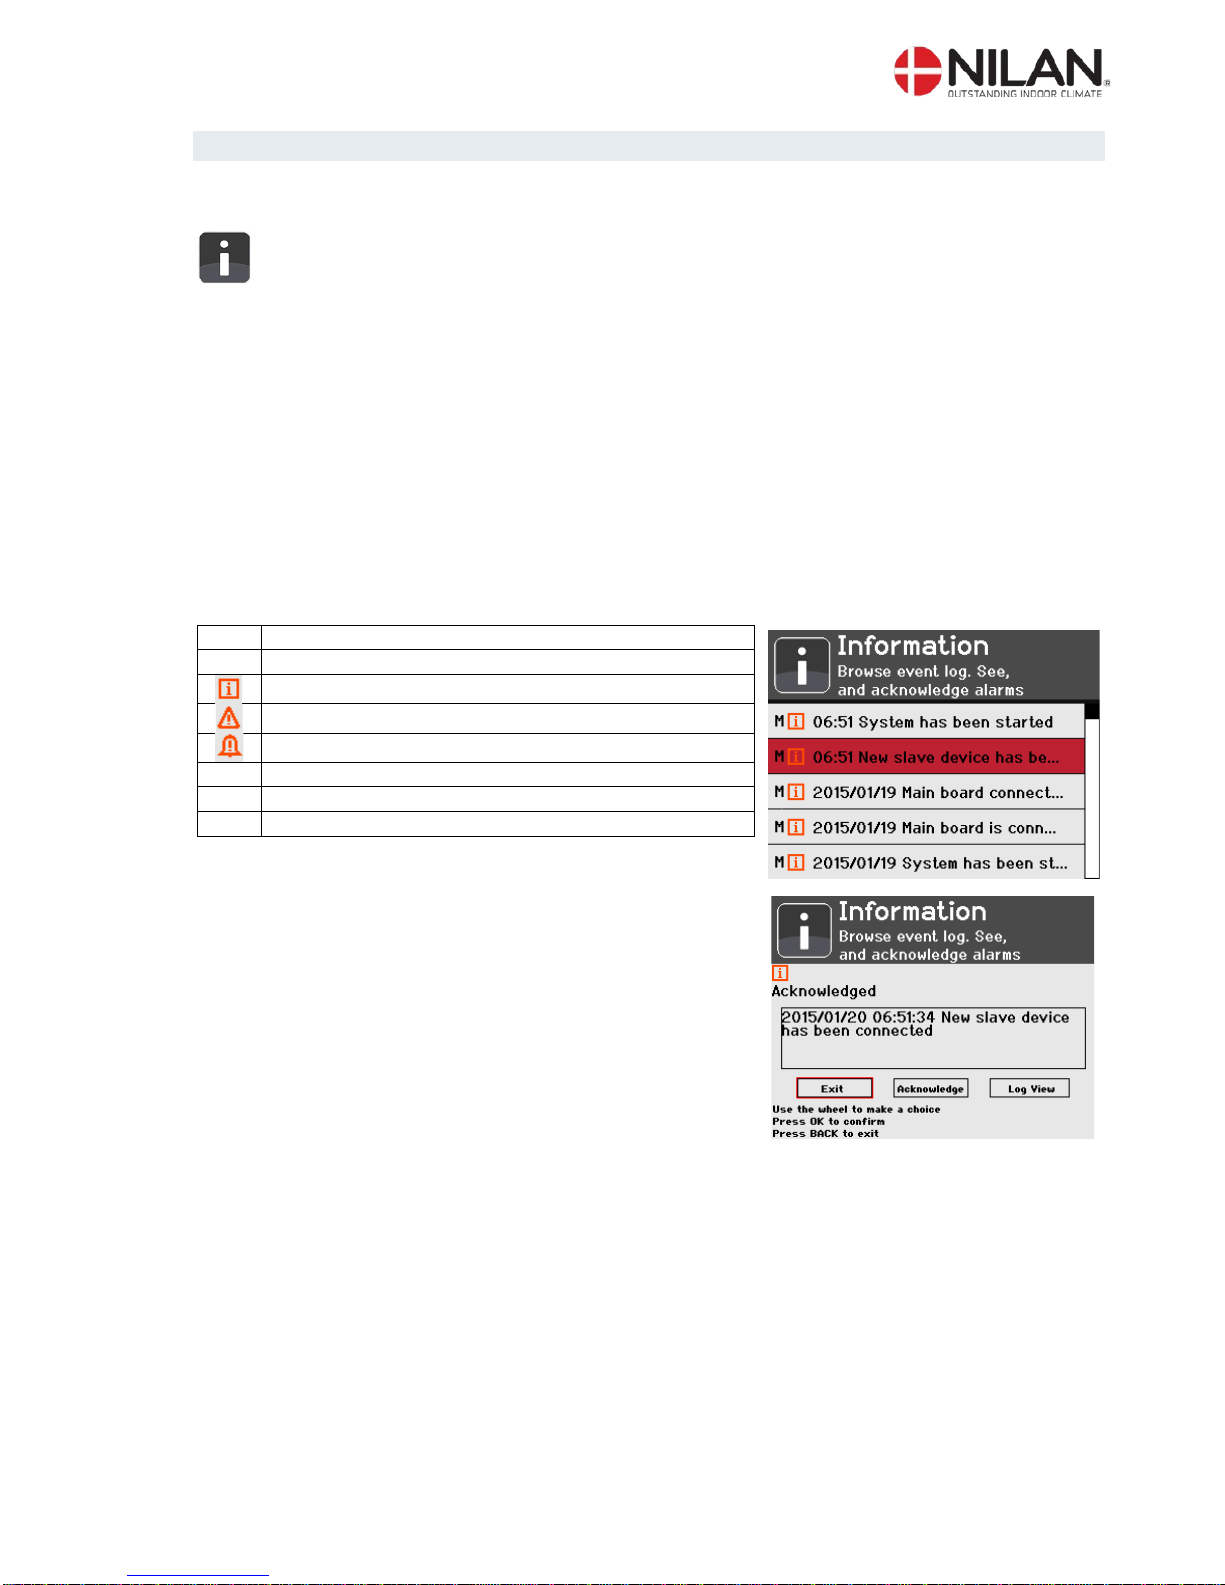
User – Information........................................................................................................................ 10
User – Information.........................................................................................................................11
User – Settings............................................................................................................................. 12
User - Settings.............................................................................................................................. 13
User – Standby............................................................................................................................. 14
User – Standby............................................................................................................................. 15
User – Fan.................................................................................................................................... 16
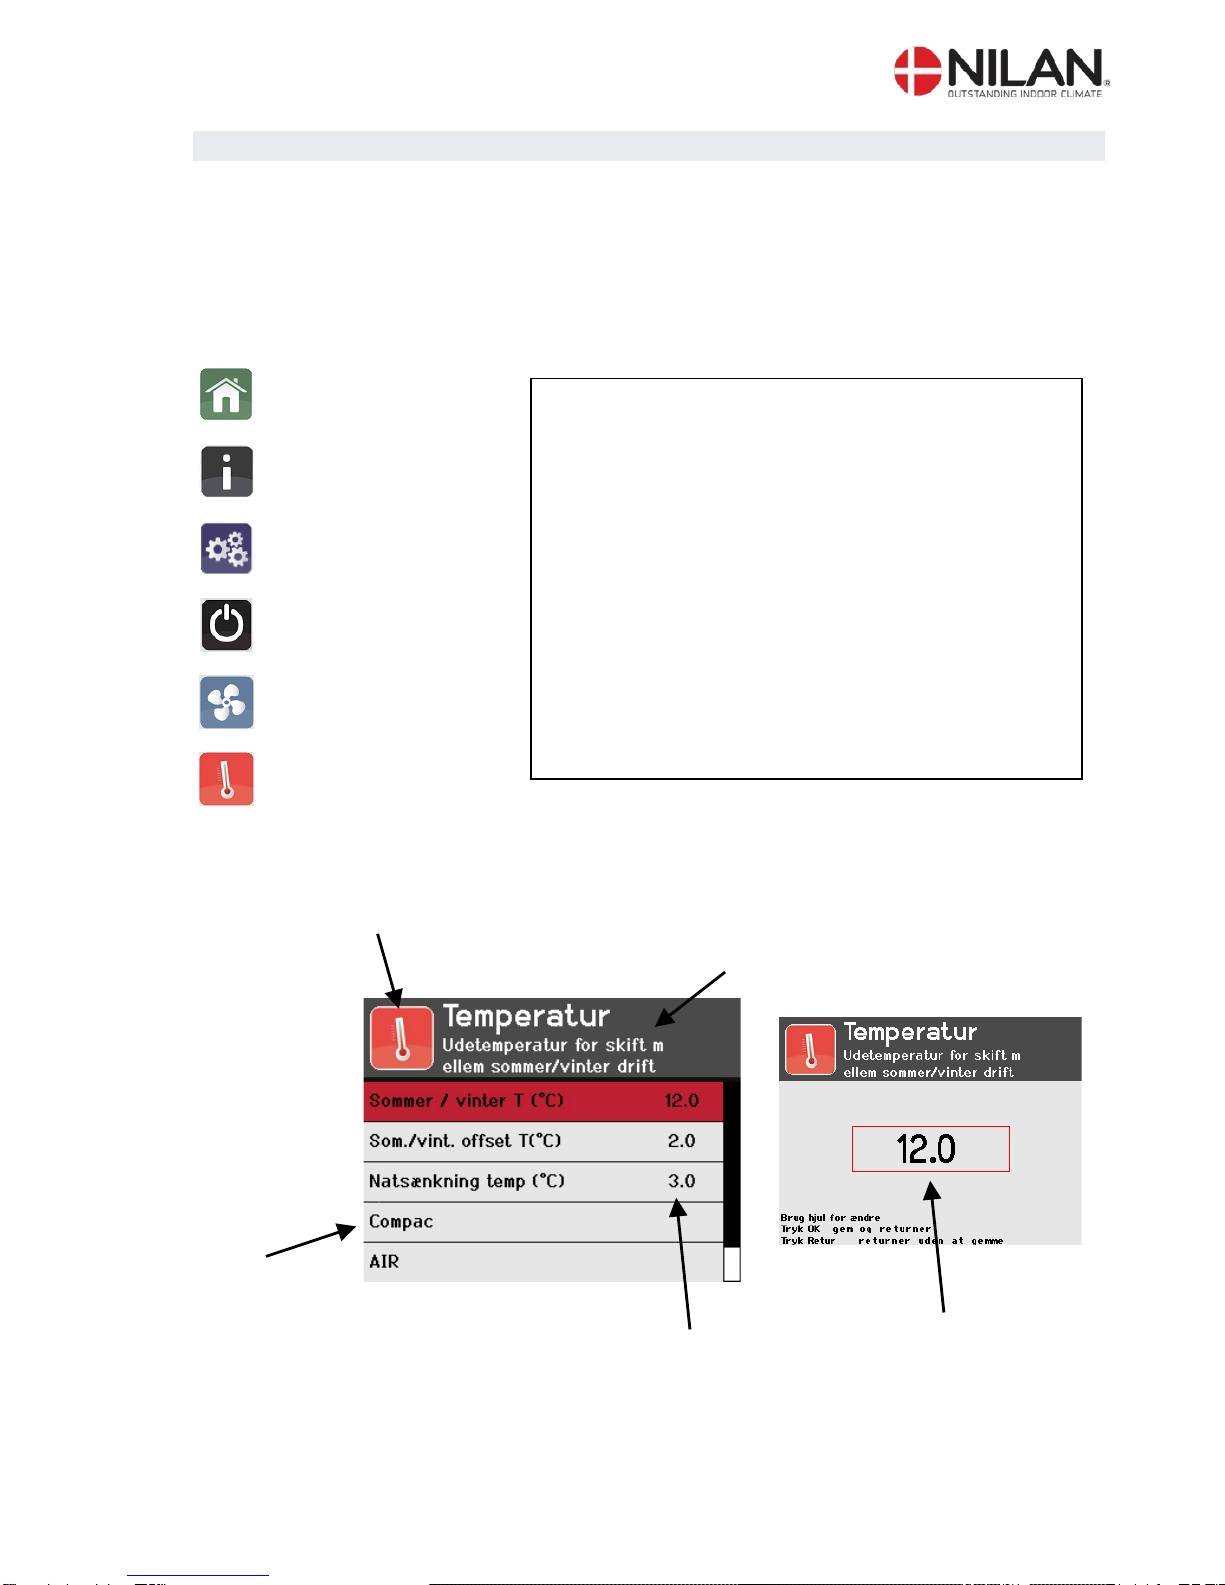
User – Temperature...................................................................................................................... 17
Superuser/ Installer – Program settings........................................................................................ 18
Superuser/ Installer – Program settings........................................................................................ 19
Superuser/ Installer – Program settings........................................................................................ 20
Superuser/ Installer – Information................................................................................................. 21
Superuser/ Installer – Information................................................................................................. 22
Superuser/ Installer – Information................................................................................................. 23
Superuser/ Installer – Settings...................................................................................................... 24
Superuser/ Installer – Settings...................................................................................................... 25
Superuser/ Installer – Settings...................................................................................................... 27
Superuser/ Installer – Settings...................................................................................................... 28
Superuser/ Installer – Standby...................................................................................................... 29
Superuser/ Installer – Standby...................................................................................................... 30
Superuser/ Installer – Fan ............................................................................................................ 31
Superuser/ Installer – Temperature............................................................................................... 32
Superuser/ Installer – Temperature............................................................................................... 33
Superuser/ Installer – Temperature............................................................................................... 34
Management Overview................................................................................................................. 36
Temperature............................................................................................................................... 36
Home......................................................................................................................................... 39
Information ................................................................................................................................ 41
Settings ......................................................................................................................................43
Standby......................................................................................................................................48