5 Das zweite Holzprofil und Wange in
die uskerbung der Montagehilfe
stellen.
Nacheinander die restlichen Schrauben
eindrehen. Bitte jeweils die Montage-
hilfe unterschieben.
6 bschließend die Konstruktion vor-
sichtig zu Zweit aufstellen und in der
gewünschten Raumecke platzieren.
Mit dem ufbau des FNP Regals ge-
mäß der ufbauanleitung fortfahren.
4 nschließend die Montagehilfe wie
abgebildet drehen und positionieren.
1 Die erste Regalseite des FNP Re-
gals auf eine ebene Unterlage legen.
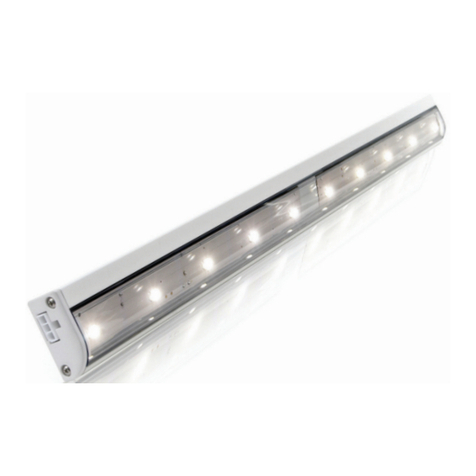
2 Das erste Holzprofil der FNP Eck-
verbindung hochkant auf die Wange
stellen und das luminiumprofil darauf
legen (2a).
Die Montagehilfe wie abgebildet an-
bringen, um den bstand der Profile
von der Wangen-Vorderkante einzuhal-
ten (2b).
Bitte darauf achten, dass Holz- und
luminiumprofil der FNP Eckverbindung
bündig mit der Unterseite bzw. Stand-
fläche der Regalseite abschließen
(2c).
3 Die Schrauben durch die Bohrungen
des luminium- und des Holzprofils
stecken.
Vor dem Eindrehen der Schraube bitte
nochmals den korrekten Sitz der Ein-
zelteile kontrollieren (siehe 2 ).
Hinweis
Die Schraube sehr vorsichtig anziehen,
um ein Durchdrehen derselben zu
verhindern.
1. Lay the first side panel on a flat
surface!
2. Place the first wooden rail of the
FNP corner connection sideways along
the leading edge of the side panel.
Place the aluminium rail on top (2a).
Use the assembly aid as shown in order
to maintain the correct distance and
positioning (2b).
Be sure that the wooden- and the alu-
minium rails of the FNP corner connec-
tion are level with the bottom of the
side panel (2c).
3. Push the screws into the holes loca-
ted on the aluminium- and wooden
rails.
Don't forget to use the assembly aid
to ensure proper position (see 2 ).
note
Drill the screws into the panel with
caution in order to prevent the screws
from rotating freely.
4. Reposition the assembly aid as
shown.
5. Place the second wooden rail and
side panel in the edge of the assembly
aid as shown.
Turn in the screws while making sure
the assembly aid is in the right position.
6. Lastly carefully place the apparatus
upright (we suggest you to ask for
assistance). Put the finished product
in the corner of your choice and starting
building the FNP shelf system, see
assembly instruction FNP.
2a
3
2c
Aufbau/assembly
2b
4 5


