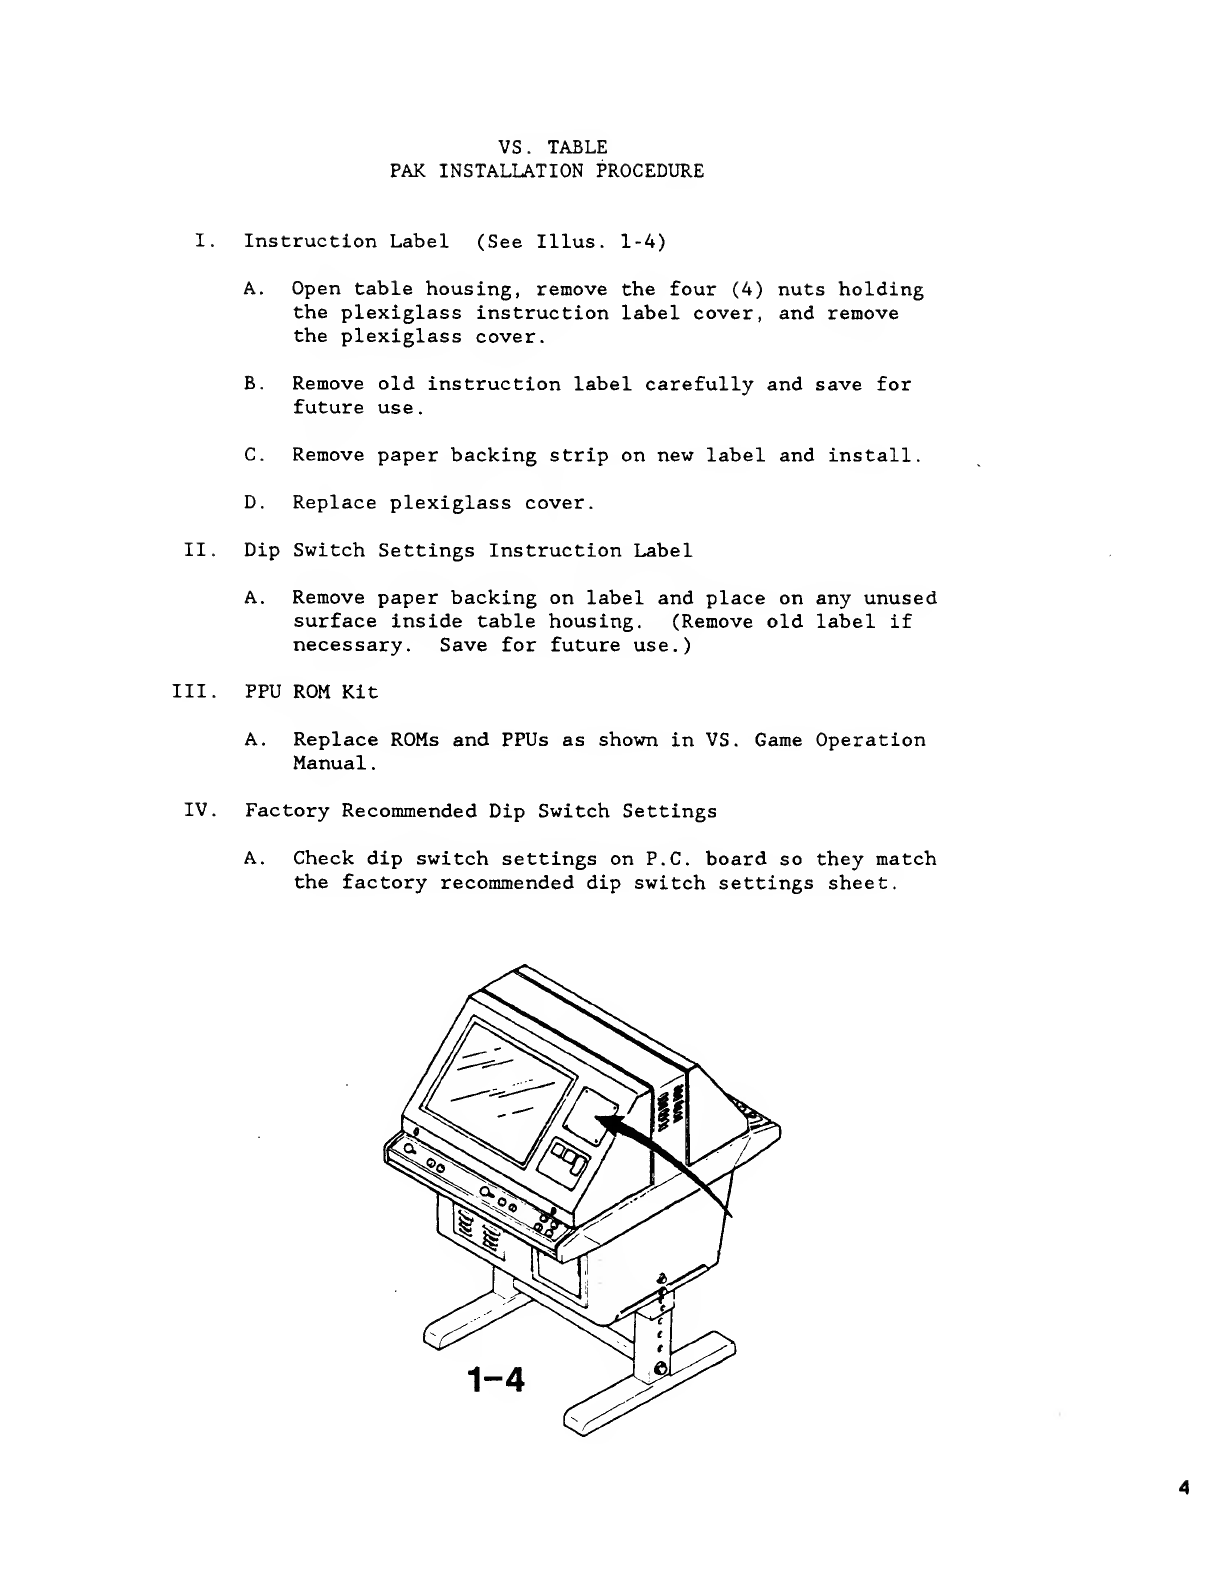
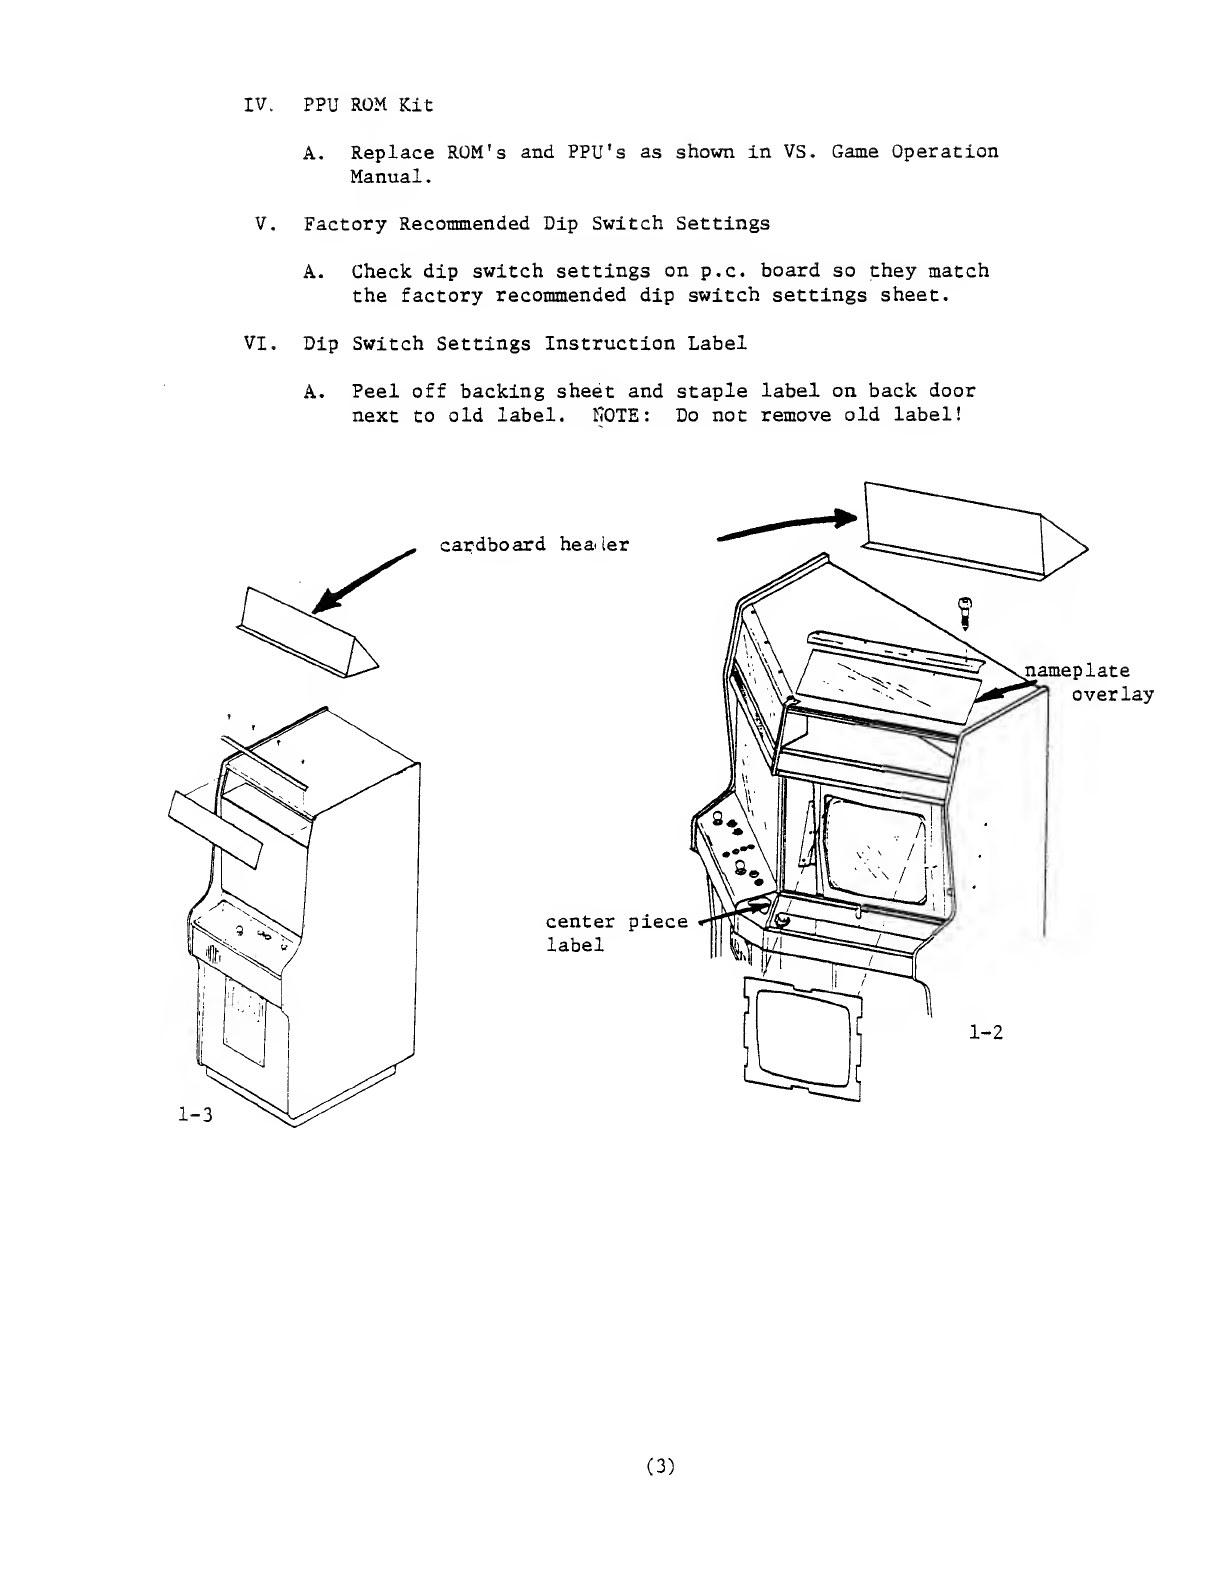
Nintendo VS.-Pak User manual
Other Nintendo Game Console manuals

Nintendo
Nintendo 2DS XL User manual

Nintendo
Nintendo Wii User manual

Nintendo
Nintendo DS User manual

Nintendo
Nintendo Wii U Manual

Nintendo
Nintendo Wii User manual

Nintendo
Nintendo Switch Quick start guide

Nintendo
Nintendo 3DS User manual

Nintendo
Nintendo Wii U User manual

Nintendo
Nintendo Starlight Fun Center User manual

Nintendo
Nintendo RVLSWC User manual

Nintendo
Nintendo 2DS User manual

Nintendo
Nintendo LABO User manual

Nintendo
Nintendo Switch Operating manual

Nintendo
Nintendo Game Boy Advance User manual

Nintendo
Nintendo Entertainment System User manual

Nintendo
Nintendo Wii User manual

Nintendo
Nintendo Switch Operating manual

Nintendo
Nintendo Pokemon Mini User manual

Nintendo
Nintendo Game Boy Link Cable Owner's manual

Nintendo
Nintendo Wii U User manual