Nordisk Midgard 9.2 User manual
Product book
Cotton Castle
MIDGARD 9.2 m2 & 20 m2
Since 1901
NORDISK LEGACY
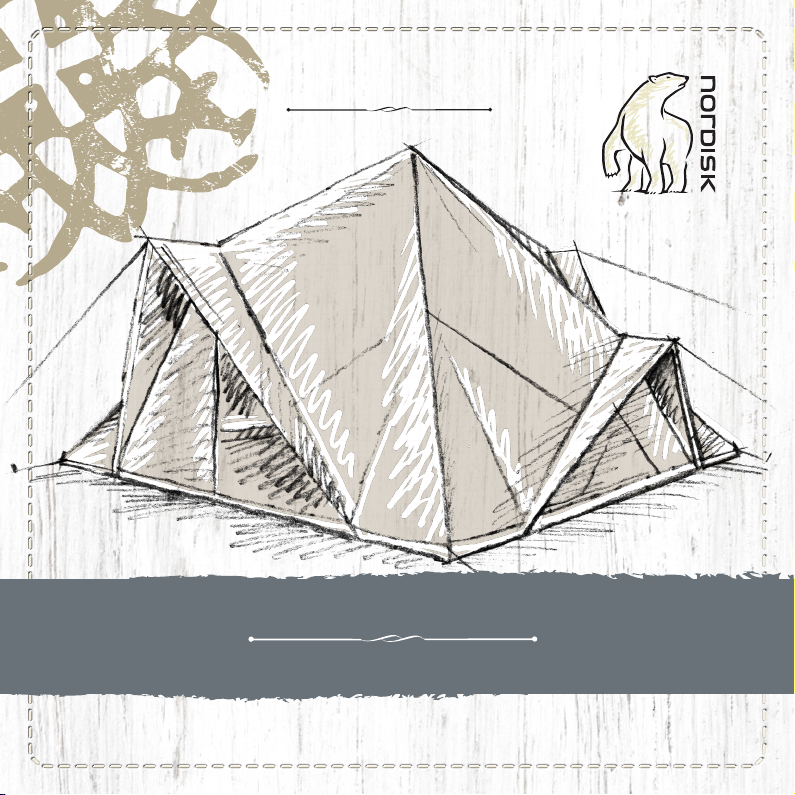
Welcome to the world of Midgard – this product book will help you to
set up the tent
There are 2 Midgard models, a 270 cm high, 9.2 m2 version and a 300 cm
high 20 m2 version This instruction is valid for both of these.
Midgard has opening to 4 sides and is symmetric in opposite directions.
2 main doors with reversed T shaped doors and 2 windows /small doors
with the Nordisk triangular window design. All 4 openings can be opened
completely with an unobstructed view and functionality. All pole
architecture is designed to offer a “pole-free” experience.
Midgard is designed with 10 straight poles, you can identify 3 sizes.
Midgard 9.2 can be setup with only 8 pegs.
Please also note that your Midgard can connect and dock with the
Nordisk Vimur tents. All 4 openings can connect to Vimur tents.
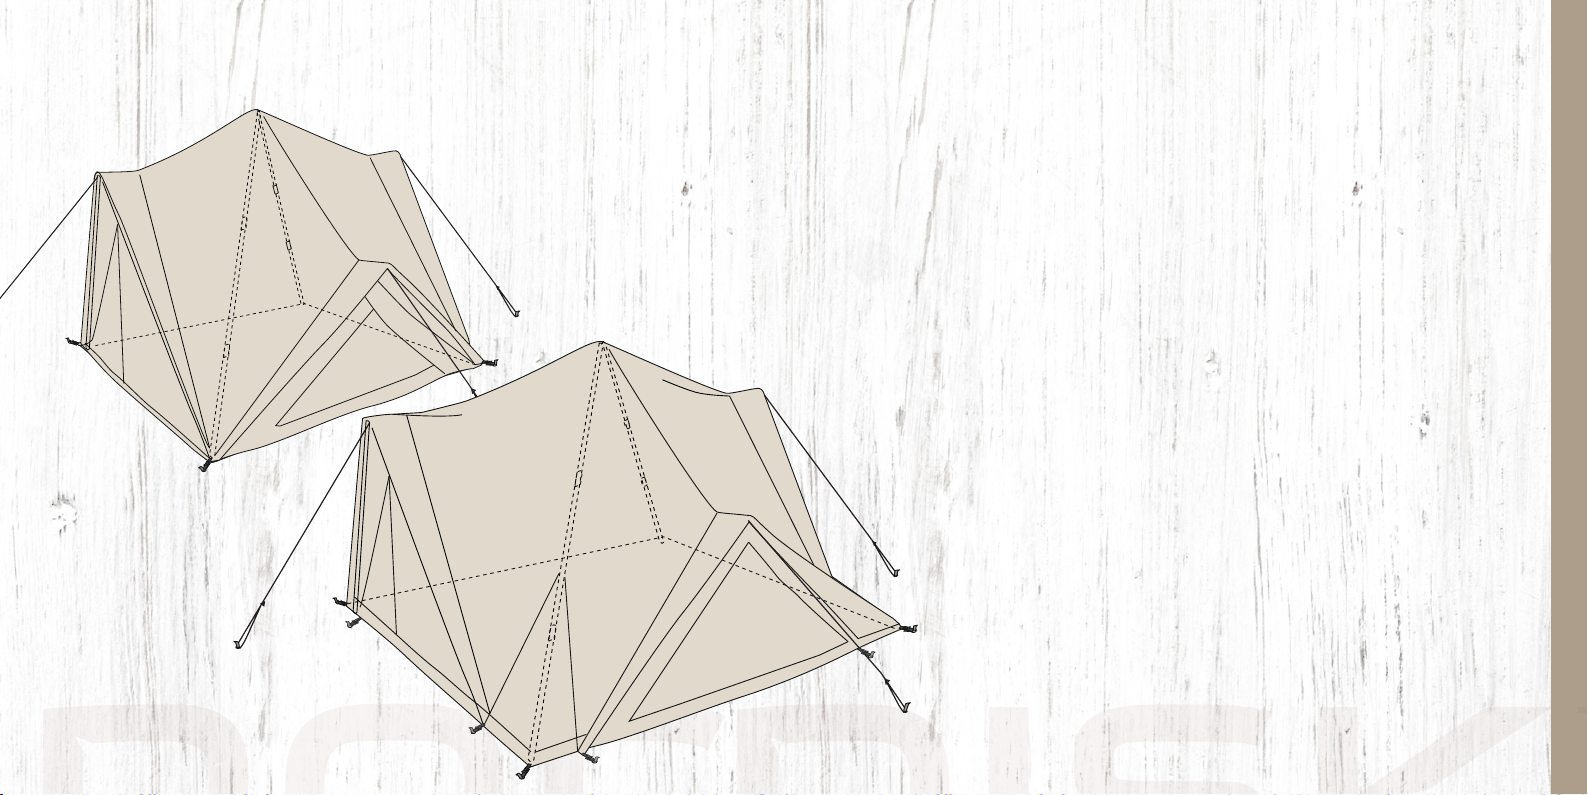
See the graphics here to decide direction of your Midgard by identifying
the size of the openings.
Build up instruction - Midgard 9.2 m2 & 20 m2

Easy pitch
lay out the Midgard with ground sheet facing down - so directions suit your
wish for large door openings (front and back). Stretch out the 4 corners and
peg these. Make sure that the adjustable webbing is extended to allmost
maximum. Drive the peg only half way as you may need to adjust later.
Now identify all 10 poles. There are 4 small ones (for windows) 4 medi-
um (for doors) and 2 large ones for inner A-frame. Lay out the 8 window
and door poles and thread them into the designated pole holder/sleeves
along the overhang. The blunt end towards the middle of the tent, and
t it into the Nordisk turtle hub hole. Do so an opening at a time, when
all 4 openings are done, push the pin end into the designated Nordisk
alu helmet slide – there are 2 each corner (at M20, there is one at each
door overhang end) ) and note the direction towards the opening you
are operating.
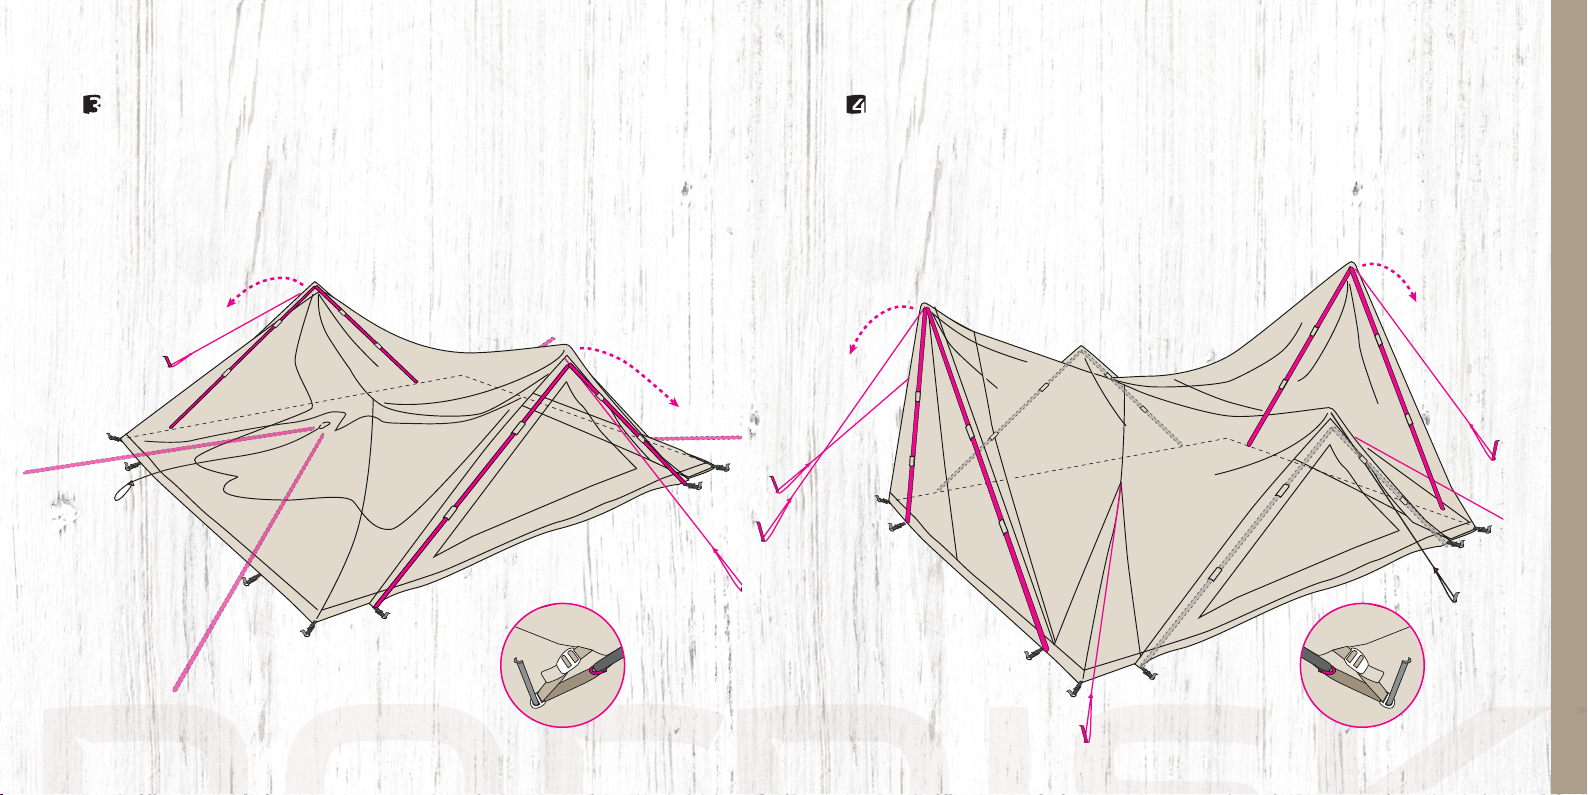
Easy pitch
Now raise each door by pulling the guyrope and attach pegs so the doors are
vertical. Do this loosely rst. Only once the inner center A frame is erected,
should you apply force and tension.
(on Midgard 20, apply the 4 corner guylines if required and peg these out.
Also attach the inner poles with the loop holders)
Easy pitch
There are 2 drylines included. These can be attached to the inner hooks
above each door/window opening for storage or drying. Sliding alu loop rings are
installed for attaching gear / light.
Different for Midgard 20:
There are 4 inner corner sockets, these can be used for adding 2 more inner
poles (Item no. 107164 )
There are 8 more peg points at the doors – and additionally 8 pegs for these
(20 cm nail)
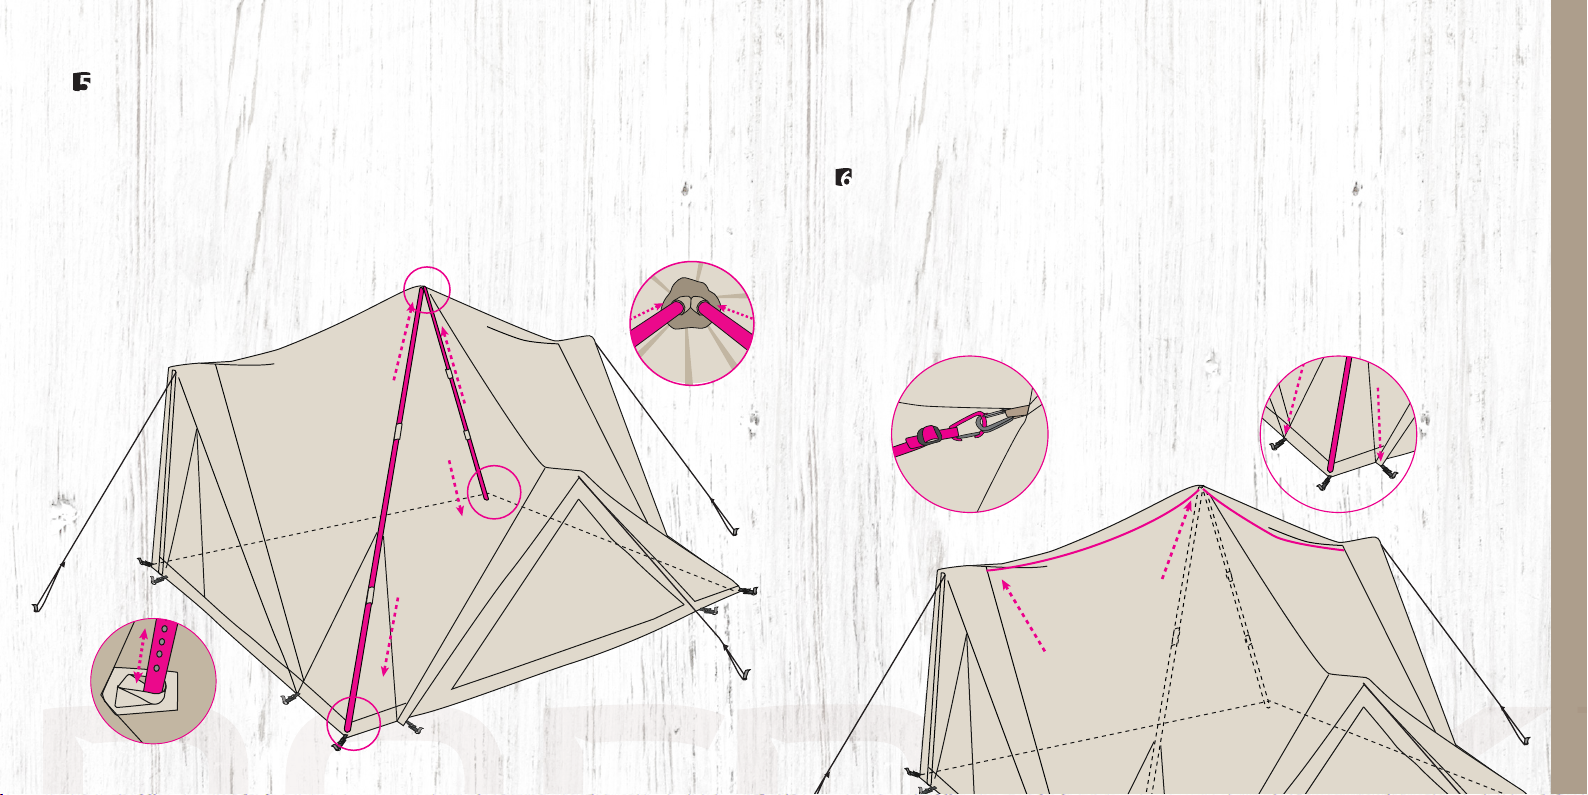
Now bring the 2 large poles inside. The foot / ground end is expandable and this
must be in the collapsed state. Point the non – extractable end towards the cen-
ter top Nordisk turtle hub, and insert, then point the extractable end towards to
matching socket corner and start to extract the pole into tension. Repeat for the
second pole. Then extract both as much as you can to apply tension to the tent.
Once this is done, go outside and apply tension to all 4 doors. Re-stretch the peg
points at the corners, and drive these into a solid state, then apply tension on
the webbing puller so it is tight. You can repeat at all peg and pole
adjuster points for optimal
tension.

Easy pitch
Extend your Midgard concept - Endless possibilities
Midgard must be set up rst.
Now identify the Vimur you wish to attach, 4.8 ts the smaller window and the
5.6 the larger door.
Lay it loosely out on the ground in front of the Midgard. Pull both doors/
ground sheet very close. You can connect the 2 groundsheets by the
connection buttons.
Now attach the hook from the Midgard to the top webbing loop on the
Vimur. Now connect the 2 tents by zipping them together. There are 2
zippers. Each starting at the bottom corners. Connect and zip both to the
top. Then on Vimur identify the end which has the triangular vindow – only
this end has connective zippers. Now identify the zipper on Vimur – it is
hidden underneath the overhang by splitting the top center which is at-
tached by Velcro. The zipper must be totally open to release tension and
allow connection.
Connection to Vimur 4,8 and 5,6

Easy pitch
Then attach the poles inside Vimur as described in the Vimur set up instruc-
tions. At the connection end of Vimur, there is a secondary pegpoint.
This now becomes the corner pegpeoint. The original corner becomes
obsolete and can stay relaxed under the Midgard overhang.
Attach the original guyline from the Midgard center door across the ridge of
Vimur to the opposite Vimur top ridge end loop. Create tension by the slider.
Your Midgard connection is complete.
At the reverse T door end,you will nd a concealed apsis. This can selectively
be used. Setup up by releasing from the loop holders, and extend the center
point and peg this – there are more pegpoints which we suggest to peg as
well. There is now a side zipper which you can use for exit/entry.
Easy pitch
Nordisk Technical Cotton
Technical Cotton is characterised by lower weight and
higher durability, due to the mix of the natural features
of cotton combined with the strength of man-made
polyester yarn.
Water Repellent
The Legacy tent fabrics are engineered to be water
repellent. They are developed with a unique treatment
which eliminates the use of a coating. By applying an
advanced Nordisk dipping process, breathability is main-
tained completely which allows the natural inherent
features of the cotton to work its magic. When wet the
bre will absorb part of the water, thereby expanding
and sealing itself to keep even the most persistent rain
out.
Furthermore,sewing techniques are developed and sup-
portive components applied to optimise the properties.
After sales service / spareparts
If you want to upgrade your gear or need spareparts.
Please contact your local retailer.
303 4343
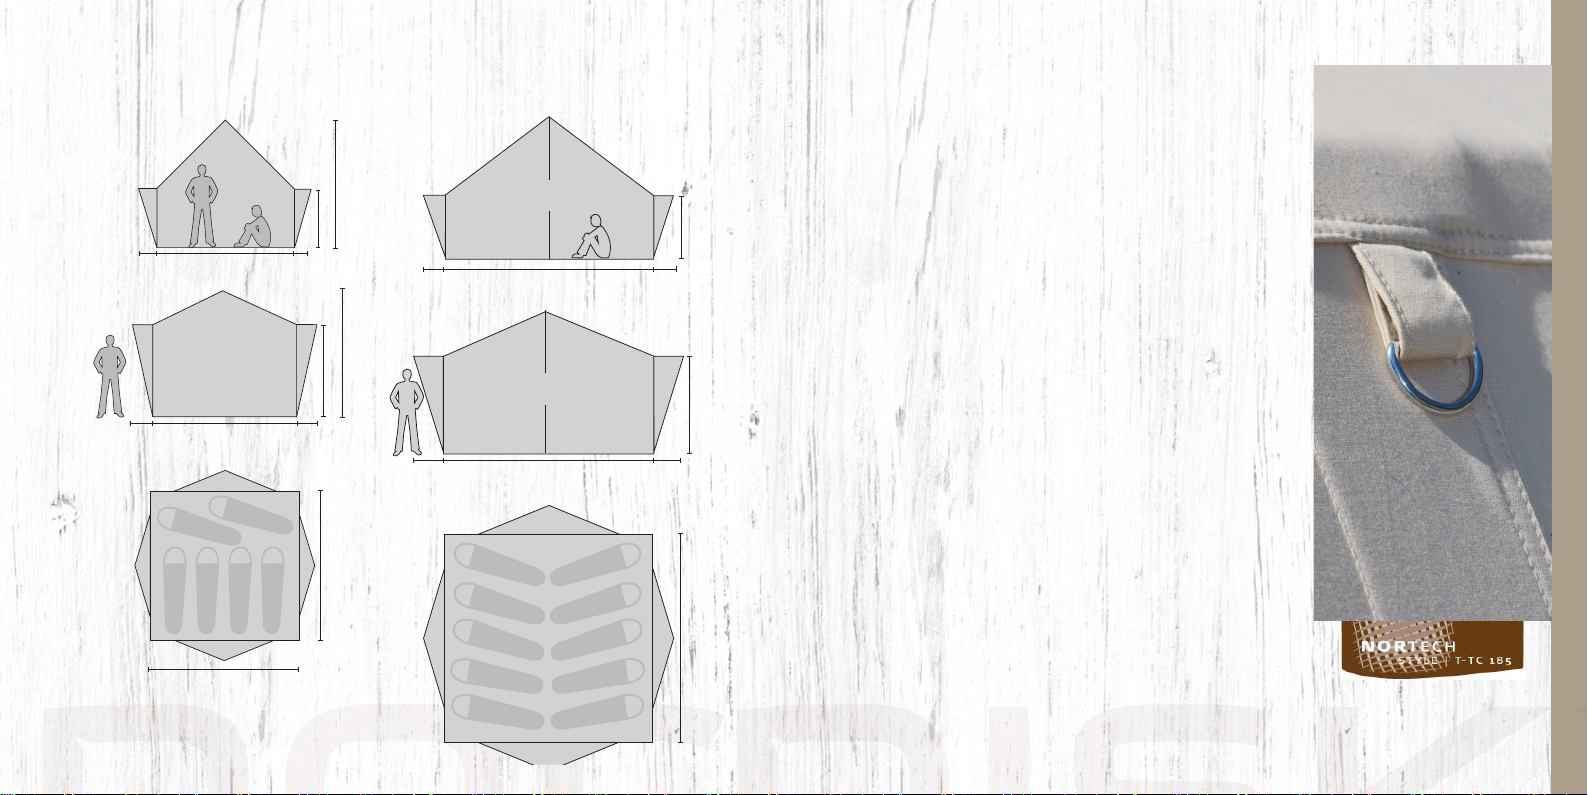
270
135
303 5959
270
207
303
303
450 5959
207
450 4343
300
135
450
450
300
Midgard 9,2 m2Midgard 20 m2

2019
The Midgard Concept
Nordisk Company A/S
Papirfabrikken 74, 8600 Silkeborg, Denmark
Nordisk Freizeit GmbH
Max-Weber-Straße 16, 25451 Quickborn, Germany
Nordisk Japan Co., Ltd.
2F, 2-8-11, Nishi-Azabu Minato-ku, Tokyo 106-0031, Japan
This manual suits for next models
1
Other Nordisk Camping Equipment manuals


