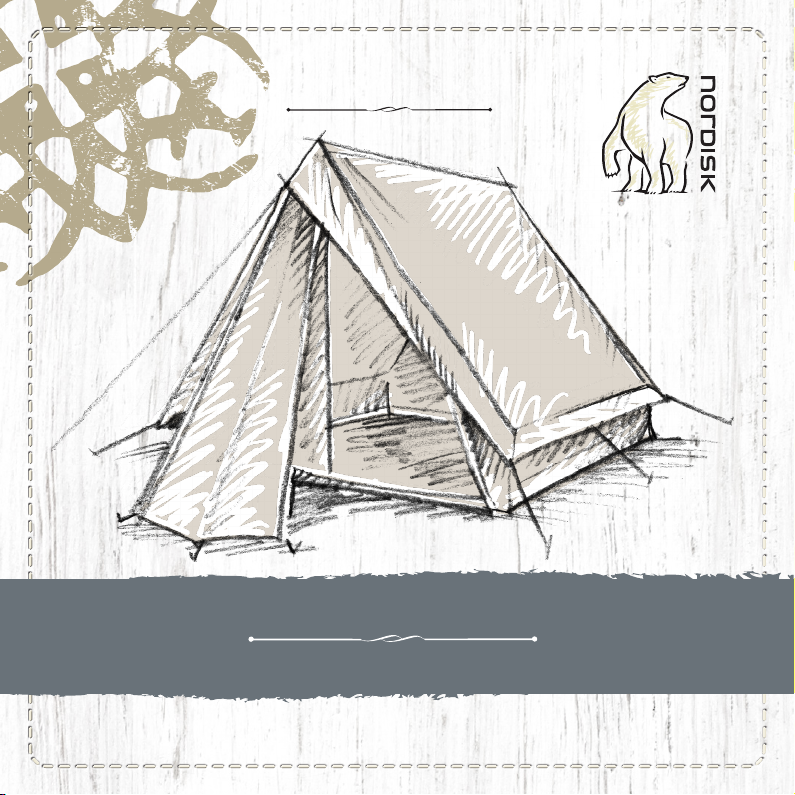
Nordisk Vimur 4.8 Product guide
Product book
Modernised Cotton Classic
Vimur 4.8 m2 & 5.6 m2
Since 1901
NORDISK LEGACY

Welcome to Vimur – this product book will help you to set up the tent.
There are 2 Vimur models, a 134 cm high, 4.8 m2version and a 206 cm high
5.6 m2version This instruction is valid for both of these.
Vimur has opening at both ends, yet is asymmetric and has a reverse
T-door in the one end including an extendable apsis option. The other
end has the Nordisk triangular signature window option and a complete
D-shaped door opening option. Both ends can be opened completely with
an unobstructed view and functionality. There are two side windows, lo-
cated towards the one end.
Vimur is designed with 5 poles, you can identify the corner poles with a
slight bend on the last segment and the top ridge pole is straight. This
will allow for a solid construction – yet ”pole free” experience allowing
optimal usage and joy. The Vimur can be set up without the ridge pole, yet
the ridge ole offers stability and strength and we suggest you use it.
Please also note that your Vimur can connect and dock with the Nordisk
Midgard tents. Only the signature triangular end can do so and has con-
nection zippers hidden under a ap for that purpose.
See the graphics here to decide direction of your Vimur by identifying the
doors. (tip: in case you want to use your apsis a lot, then point the Sig-
nature triangular window end towards the nice views, or your apsis would
block it).
Second end:
Extendable
apsis
First end:
D-shaped door
Build up instruction - Vimur 4.8 m2 & 5.6 m2

Easy pitch
Once you have decided direction – identify the door ends and the difference.
Spread out/lay out the tent and get 4 of the pegs to peg out the corners
without too much tension and only half way pegged – you will need to adjust
these later.
Now identify the poles – assemble the straight ridge pole complete-
ly. This is adjustable in one end and here you should reduce length at
maximum before inserting it. Slide it through a door and leave it there
– then locate the 4 corner poles and assemble them partially, leave it
disconnected at the 2nd segment / just above the point from the bend.
This makes it easier to set up. Slide them in through the doors with
the bend pointing toward the opposite corner. Keep everything at and
horizontal for now.
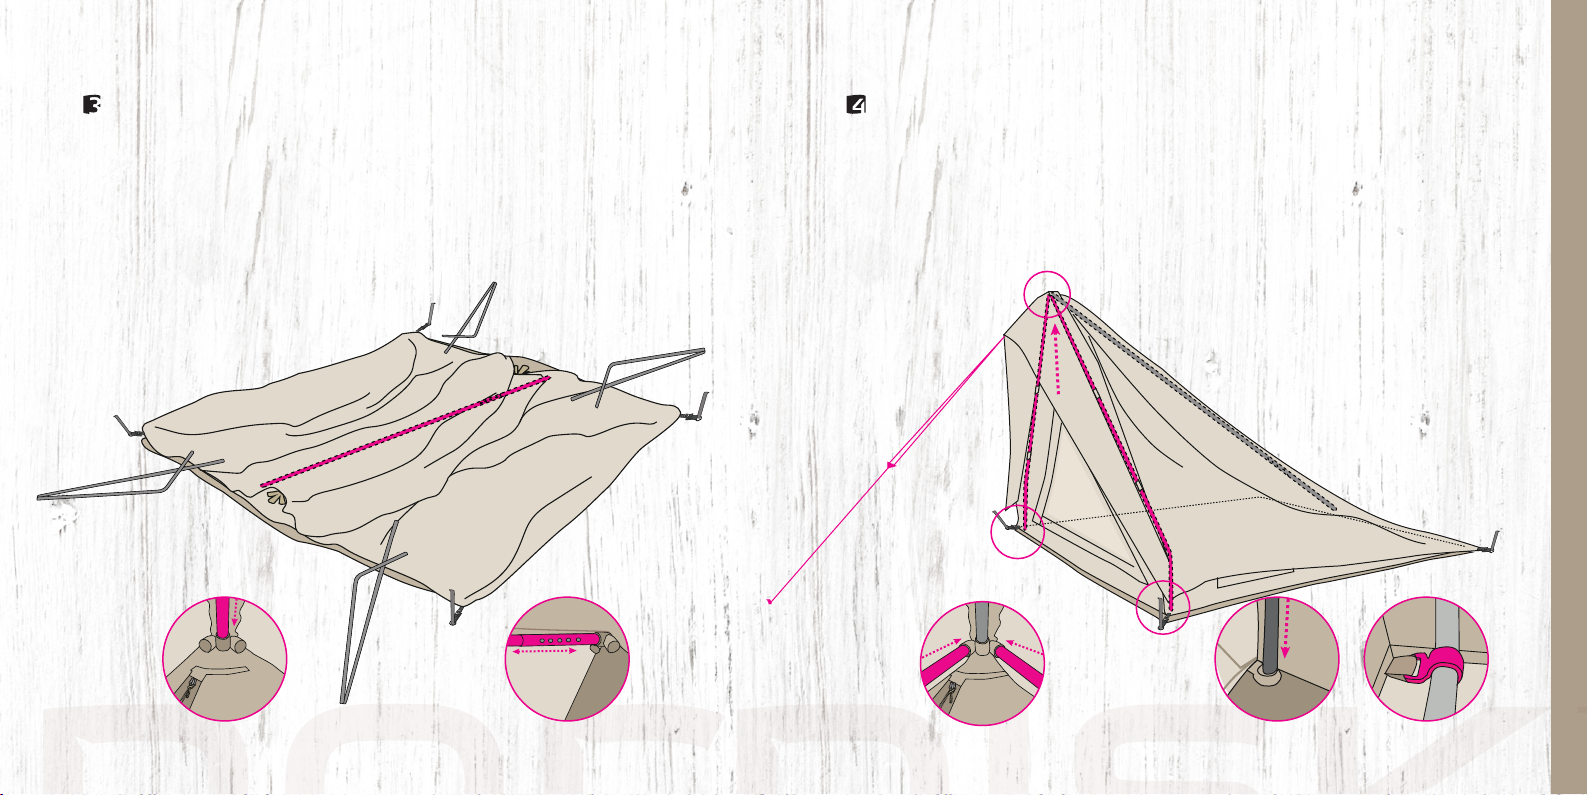
Easy pitch
Now you can set up the ridge pole,stay outside, just kneel down in front of the
door. Now you Insert it into the turtle hub soft connection system inside the
tent – located at the top of each door. You use the middle hole and insert the
non-adjustable end rst. Then go to the other end door and keep the tension
towards the already inserted end, then release adjuster and extend the pole
into the opposite middle turtle hub. When you feel there is good tension,move
onto the corner poles.
Now you need to dive into the tent, insert a corner pole, straight end rst into
the turtlehub. Maintain tension and point the bend end toward the lower
middle wall, now connect the bend segment and set it down towards the oor.
Then slide it in towards the corner and clip on the corner clip. Once you have
done 2 at the one end,then attach the guy rope and peg that out so the door
is vertical, repeat for the opposite end,and create tension with the 2 guyropes
till both doors are vertical.

Easy pitch
There are 1 dryline included. This can be attached to the inner hooks above each
door/window opening for storage or drying. Sliding alu loop rings are
installed for attaching gear / light. Check the ridge pole again, maybe a click
more on the adjuster. Also check that all corner poles are in place in the corners.
Your Vimur is set up !
Tips & tricks
You may notice that the overhang above the triangular door can be opened.
This is used for connectivity purpose with Midgard. For general stand-alone use,
this should remain zipped and the velcro closed.
Now peg out all the peg points. Use the adjusters to create a good tension so the
tent stands rmly.
(there is a secondary pegpoint at the triangular end - for connection to Midgard,
this you can disconnect the guyrope from or peg it out as you like)
This manual suits for next models
1
Other Nordisk Camping Equipment manuals


