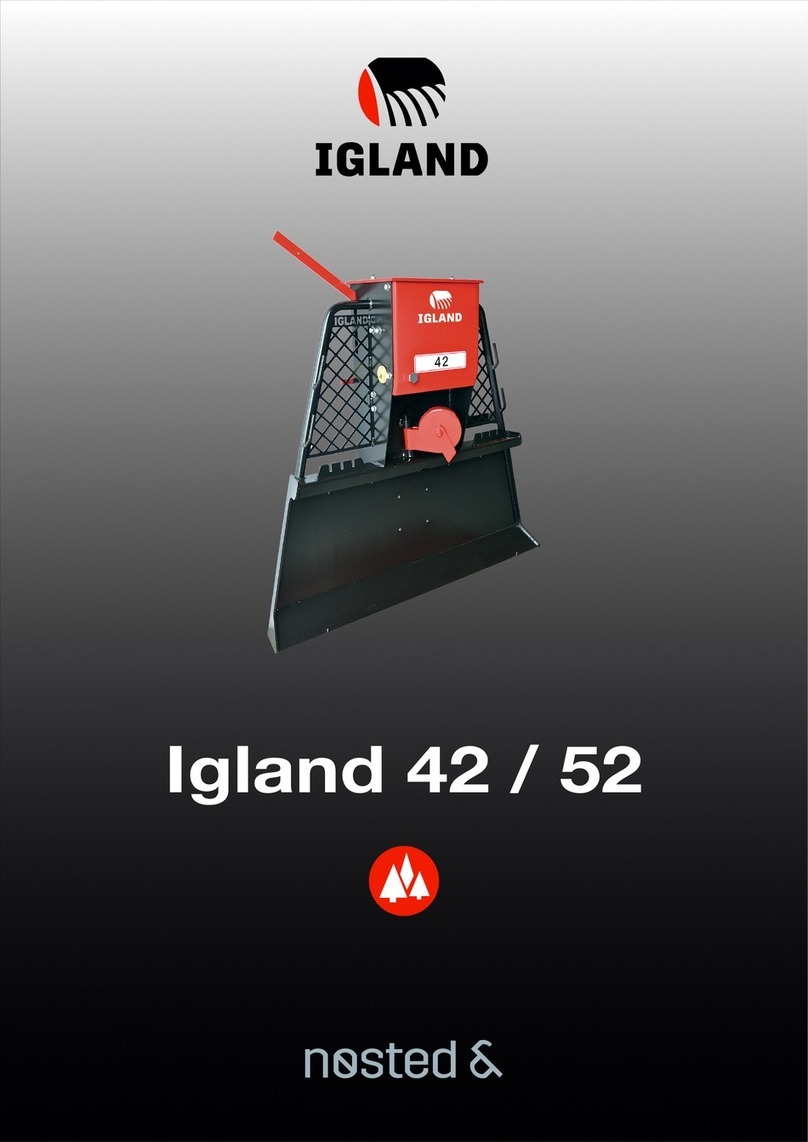
nosted Igland 42 User manual

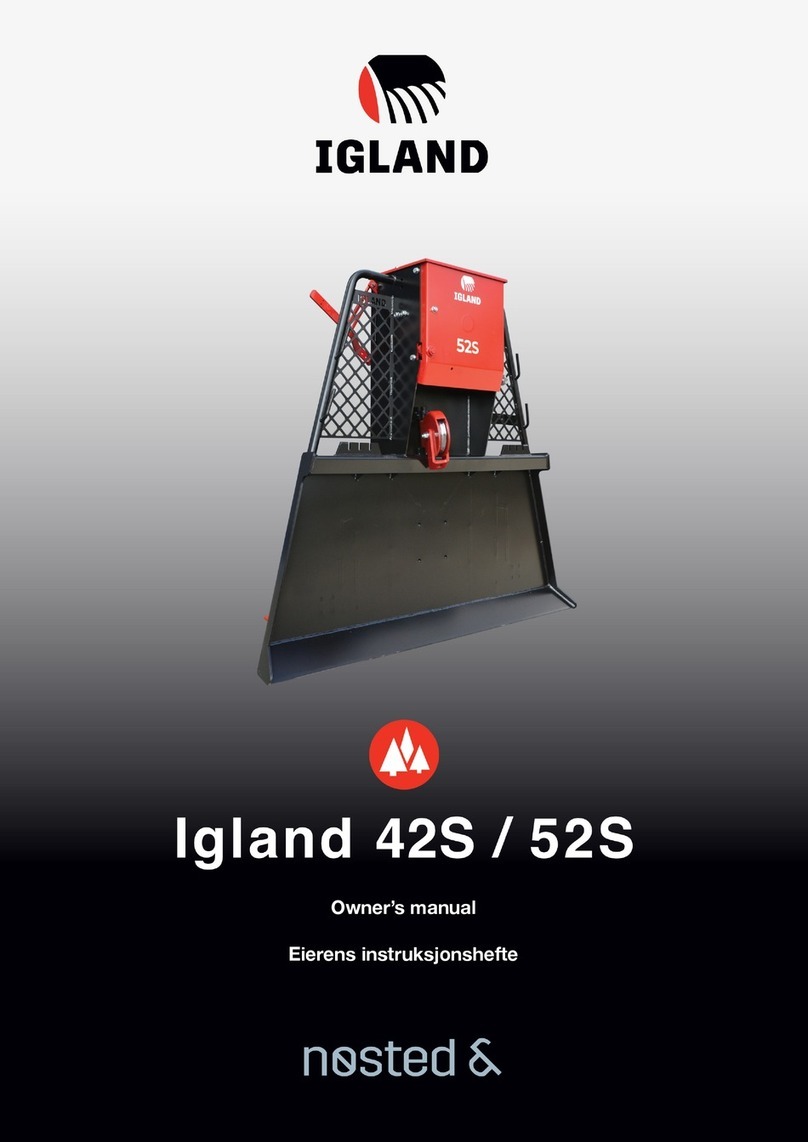
Igland 42 / 52
Owner’s manual
Eierens instruksjonshefte
Manuel du propriétaire

1
Ekstrautstyr Produkt No.
(42) Radio fjernbetjening, 1 funksjon, inkl. hydr LH (krever motstandsfri retur) IG095450
(52) Radio fjernbetjening, 1 funksjon, inkl. hydr LH (krever motstandsfri retur) IG095460
Turtallsregulering av traktor, av/på (kun sammen med radiostyring) IG091442
(42) Toppblokk komplett for høyt inntrekkspunkt IG143160
(42) Redskapsdel for Lyng Triangel hurtigkobling IG143210
(42) Redskapsdel for HMV hurtigkobling IG143170
Oljefordelingsventil ved oljemengde større enn 55 l/min IG090378
Toppgitter IG159337
Oljekanneholder IG022150
Motorsagholder IG022151
Revidert: 20.02.2023
Utstedt: 20.02.2023
P/N: IG390417
Adresse Doneheia 17, 4516 Mandal
Nettside nosted.com/en/igland
Email [email protected]
Telefon +47 37 25 62 00
Fax +47 37 25 62 01
Finn mer informasjon på www.nosted.com
Reproduksjon av tekst eller illustrasjoner uten tillatelse er forbudt
Igland 52
IG300902
Igland 42
IG308020
Seksjoner Side
Sikkerhetsregler 2
Hovedkomponenter 3
Tekniske spesikasjoner 4
Før bruk 5
Montering 5-6
Vedlikehold 7
Generell bruk av vinsj 8
Betjening av vinsj 8
Innholdsfortegnelse
NO

2
Sikkerhetsregler
NO
Sikkerhetsregler
Les manual før bruk
Utstyret skal kun brukes av kvalisert og opplært personell
Må ikke brukes til løft eller andre oppgaver den ikke er konstruert for
Feil bruk av utstyret kan føre til alvorlige skader på personell og materiell
Hold barn unna arbeidsområdet
Bruk alltid verneutstyr
Hold trygg avstand til bevegelige deler
Unngå nedsiden av tømmer og traktoren i skrått terreng
Alltid bruk palbrems ved vinsjing i motbakke
Ikke stå mellom tømmer og traktor ved inntrekk
Unngå rykk og napp ved vinsjing
Bruk kun ståltau med tilstrekkelig styrke, og unngå skader på ståltauet
Ved synlige skader, bytt ståltau
Vær varsom ved inntrekk med høy belastning
Stor kraft kan velte eller ytte på traktoren
Oppbevar tørt
Parker på et plant og fast underlag når det skal lagres

3
6
7
5
1
9
2
4
8
10
13
12
14
15
11
No. Komponent
1 Gitter
2 Betjeningsspak
3 Betjeningssnor
4 Toppdeksel
5 Mutter for kløtsj-justering
6 Toppstagfeste
7 Nedre trepunktsfester
8 Parkeringsbein
9 PTO-tapp
10 Kjedestrammer
11 Subbebrems
12 Krok til snarekjetting
13 Kjettingører for sleping av
tømmer
14 Inntrekksblokk
15 Lunnepanne
3
Hovedkomponenter
NO

4
1
131 / 144 / 46 cm
226 kg
1:5.18
Utskiftbare klosser
Palbrems
Trepunkt (standard)
52 cm
30 - 52 kW (40 - 70 hk)
42 kN (4.2 tonn)
15 kN
77 m, 10 mm
50 m, 10 mm
3.4 m³
1.4 m³
0.67 - 1.71 m/s
1
152 / 170 / 53 cm
285 kg
1:6
Utskiftbare klosser
Palbrems
Trepunkt (standard)
57 cm
45 - 67 kW (60 - 90 hk)
52 kN (5.2 tonn)
20 kN
83 m, 11 mm
50 m, 11 mm
3.8 m³
1.8 m³
0.63 - 1.62 m/s
Igland 42
Generelle spesikasjoner
Tromler
Høyde /bredde / dybde
Vekt (uten ståltau)
Utveksling
Kløtsj
Brems
Tilkobling til traktor
Høyde på PTO-tapp
Viktige begrensninger
Anbefalt traktorstørrelse
Maksimal trekkraft (tom trommel)
Maksimal trekkraft (full trommel)
Teoretisk ståltaukapasitet
Anbefalt ståltau
Anbefalt maksimal last
Anbefalt maksimalt inntrekkslast
Inntrekkshastighet ved 540 r/min
Igland 52
Generelle spesikasjoner
Tromler
Høyde /bredde / dybde
Vekt (uten ståltau)
Utveksling
Kløtsj
Brems
Tilkobling til traktor
Høyde på PTO-tapp
Viktige begrensninger
Traktor størrelse
Maksimal trekkraft (tom trommel)
Maksimal trekkraft (full trommel)
Teoretisk ståltau-kapasitet
Anbefalt ståltau
Maksimal last
Maksimal inntrekkslast
Vinsjhastighet ved 540 r/min
Tekniske spesifikasjoner
NO

Kategori 42 52
I X X
II X X
III X
5
Montering
Sett parkeringsbein i parkeringsposisjon, og sett
vinsjen på et plant og fast underlag.
Montere vinsjen på traktor
Velg passende kategori på trepunkt.
Koble på trekkarmer.
Koble på toppstag. Velg det hullet som gir minst
mulig vinkel mellom vinsj og toppstag.
Juster toppstaget så vinsjen heller 10-20 grader
bakover. Pass på så vinsjen ikke kolliderer med
traktorhytta når den løftes.
Følg sikkerhetsregler for å begrense og forhindre
ulykker.
Vinsjen må kun brukes til sit rette formål.
Les instruksjoner nøye.
Før bruk
Sjekk for visuell skade eller slitasje.
All skade må repareres og vinsjen skal stoppes i
bruk frem til dette er gjort.
Sjekkliste
• God sikt rundt arbeidsområde
• Deksler, vern og komponenter er i orden
• Skader som kan påvirke bruken må repareres
• Sjekk hydraulikk slanger og kontakter
(ekstrautstyr)
• Smør maskinen som angitt
• Kontroller at vinsjen ikke trekker inn med
spaken i øvre posisjon
• Kontroller riktig funksjon på radiostyring
(ekstrautstyr)
• Alle bevegelige deler er rene nok til bruk
Instruksjoner
NO

6
Tilkobling av hydraulikk (ekstrautstyr)
Koble trykkslangen (ISO-kobling) til ett av
traktorens uttak. Returslangen (åpen kobling)
kobles til tank eller returlinje på traktoren.
Returlinjen må være motstandsfri.
Tilkobling av radio
Koble 7-pol kontakten til traktoren, og koble 3-
pol kontakten til spolen på ventilblokka.
Kutt PTO akselen til egnet lengde før montering.
Korrekt lengde er 20mm kortere enn avstanden
mellom tapp på vinsj og traktor, målt horisontalt.
Akselen kuttes I henhold til produsentens
instruksjoner.
Feste tauet til palbrems
Tre tauet gjennom kroken øverst på vinsjen, og
fest den i hendelen.
Feste tauet til kløtsj
Tre tauet gjennom trinsa på vinsjens chassis. Tre
det deretter gjennom trinsa på betjeningsspaken,
og fest det i pinnen til den nedre trinsa.
Feste ståltauet til trommel
Tre ståltauet opp gjennom den store trinsen. Før
tauet inn i bunnen av trommelen, og fest med
vaierklemme.
Hold ståltauet stramt når det rulles inn.
Instruksjoner
NO

7
Kjede
Kontroller kjedet for slakk, og fjern eventuell
slakk ved å stramme eller korte inn kjedet.
Kjedelås festes med lukket side i fartsretningen.
Stram kjedet etter første gangs bruk.
Kontroll av kløtsj-klosser
Fjern toppdekselet, og mål tykkelse på kløtsj-
belegget.
Bytt klosser dersom
belegget er mindre enn
2mmtykt.
Bytte av kløtsj-klosser
Løsne mutteren for justering av kløtsj. Fjern de
gamle klossene ved å løsne to skruer på hver.
Inspiser og juster
kløtsj
i henhold til
instruksjonen.
Justering av trykk
Trykket justeres ved å løsne mutteren og skru på
trykkregulatoren.
Trykket skal være 40 bar.
Vedlikehold
Sett PTO I fri og stopp motoren før du
gjennomfører vedlikehold på vinsjen. PTO-aksel
vedlikeholdes I henhold til produsentens
instruksjoner.
Smøring
Unngå oljesøl på kløtsjen.
Ta av toppdekselet for å komme
til kjedet og nålelageret.
Inspeksjon av kløtsjen
Sjekk dødgang på betjeningsspaken.
Normal dødgang
er 5-10 cm.
Justering av kløtsjen
Vri på mutteren og
kontroller dødgang på nytt.
Instruksjoner
NO
Arbeidstimer Smøremiddel
Kjede 20 tykk olje
Nålelager 20 tykk olje

8
Betjening av vinsj
Vær klar over vinsjens begrensninger.
Slakk subbebremsen hvis ståltauet er for tungt å
trekke ut. Stram subbebremsen hvis trommelen
spinner. Slipp lasten sakte for å unngå at kabelen
tvinnes.
Senk vinsjen så lunnepanna står på bakken og
benytt parkeringsbrems på traktoren.
Se egen manual til radio for fjernstyring.
Generell bruk av vinsj
Rygg traktoren så nært tømmeret som mulig.
Maksimal vinkel for inntrekk er 30 grader til hver
side.
Mindre tømmer kan festes I skebein-mønster.
Unngå skarpe vinkler på vaieren.
Unngå brå bevegelser, siden tømmeret kan
reagere tregt.
Fest tømmeret inntil 30 cm fra enden.
Maksimalt 10 cm kjetting mellom snarekrok og
glider.
Instruksjoner
NO
InntrekkFri brems Brems

9
Optional equipment Product No.
(42) Radio remote control, 1 function, incl. hydraulic LH IG095450
(52) Radio remote control, 1 function, incl. hydraulic LH IG095460
RPM control of tractor, on/o (only available together with radio) IG091442
Top pulley for spooling point IG143160
Adapter for Lyng Triangel (A-frame) IG143210
Adapter for HMV IG143170
Oil distribution valve for tractor with oil capacity exceeding 55 l/min IG090378
Top grid height / width - 78 / 90 cm IG159337
Oil can holder IG022150
Chainsaw holder IG022151
Revised: 20.02.2023
Issued: 20.02.2023
P/N: IG390417
Address Doneheia 17, 4516 Mandal
Website nosted.com/en/igland
Email [email protected]
Phone +47 37 25 62 00
Fax +47 37 25 62 01
Find more information on our website
Reproduction of text or illustrations without permission is prohibited
Igland 52
IG300902
Igland 42
IG308020
Sections Page
Safety precautions 10
Main components 11
Technical specications 12
Before use 13
Assembly 13-14
Maintenance 15
Logging operations 16
Operating instructions 16
Table of content
EN

10
Safety precautions
EN
Safety precautions
Read the manual before using the machine
The equipment is only to be used by qualied and trained personnel
Must not be used for tasks it is not constructed for
Misuse can lead to serious injuries and damaged equipment
Keep children away from the work area
Always wear safety equipment
Keep a safe distance to movable parts
Avoid being downhill of the winched lumber and tractor
Always use ratchet brake when winching in slopes
Never stand between winched lumber and tractor when pulling
Avoid spontaneous pulling and tugging when using the winch
Only use wire rope that is suciently strong, and avoid damaging the rope
If there is visual damage, change the rope
Be careful when pulling a high load
High loads can move or tilt the tractor
Store dry
Park on a rm and level ground when stored

No. Part
1 Protection screen
2 Control lever
3 Control cord
4 Top cover
5 Clutch adjustment nut
6 Top link attachment
7 Lower link attachment
8 Support leg
9 PTO input shaft
10 Chain tensioner
11 Friction brake
12 Holder for choker chain
13 Notches for log attachment
14 Pulley
15 Butt plate
3
6
7
5
1
9
2
4
8
10
13
12
14
15
11
11
Main components
EN

12
1
131 / 144 / 46 cm
226 kg
1:5.18
Interchangeable friction pads
Ratchet brake
3-point hitch (standard)
52 cm
30 - 52 kW (40 - 70 hk)
42 kN (4.2 tonne)
15 kN
77 m, 10 mm
50 m, 10 mm
3.4 m³
1.4 m³
0.67 - 1.71 m/s
1
152 / 170 / 53 cm
285 kg
1:6
Interchangeable friction pads
Ratchet brake
3-point hitch (standard)
57 cm
45 - 67 kW (60 - 90 hk)
52 kN (5.2 tonne)
20 kN
83 m, 11 mm
50 m, 11 mm
3.8 m³
1.8 m³
0.63 - 1.62 m/s
Igland 42
General specications
Number of drums
Height /width / depth
Weight (without steel rope)
Gear ratio
Clutch
Brake
Attachment type
PTO input, distance from ground
Important limitations
Tractor size
Max traction (empty drum)
Max traction (full drum)
Wire rope, theoretical capacity
Recommended steel rope length
Recommended max total load
Recommended max in-haul load
Winching speed at 540 rpm
Igland 52
General specications
Number of drums
Height /width / depth
Weight (without steel rope)
Gear ratio
Clutch
Brake
Attachment type
PTO input, distance from ground
Important limitations
Tractor size
Max traction (empty drum)
Max traction (full drum)
Wire rope, theoretical capacity
Recommended steel rope length
Recommended max total load
Recommended max in-haul load
Winching speed at 540 rpm
Technical specifications
EN

Category 42 52
I X X
II X X
III X
13
Assembly
Attach the support legs and make sure the winch
is on a level surface.
Mounting winch on tractor
Choose appropriate hitch pins for linkage.
Attach lower links.
Attach top link.
Use attachment holes that give the smallest
angle between top link and winch.
Adjust length of top link to give winch 10” - 20”
backward tilt in operating position.
Ensure the winch does not collide
with cab when being raised.
Follow appropriate safety rules helps to manage
risks and minimize the chance of accidents.
The winch must only be used for its intended
purpose.
Read the instructions carefully.
Before use
Before using the winch, check for visual damage.
Any damaged components must be replaced
and operation should be halted immediately if
any safety hazard becomes apparent.
Checklist
• Clear visibility over work area
• All guards and components are in order
• Cracks and other damage that could aect
operations must be repaired immediately
• Inspect hydraulic hoses and connections for
leaks (optional equipment)
• Lubricate the machine per the schedule
outline as recommended by the manufacturer
• Check for any wire movement when control
levers are in top position
• Check remote controls for correct response
(optional equipment)
• Ensure that moving parts are not obstructed
by debris.
Instructions
EN

14
Hydraulic connection (optional equipment)
Connect the pressure hose (ISO/red cap) to one
of the tractor’s outputs. Connect the return hose
(open connector/blue cap) to the oil tank or a
return line on the tractor.
The return line must be without any resistance.
Radio connection
Connect the 7-pole connector to the tractor, and
connect the 3-pole connector to the solenoid
valve.
Cut shaft and guard to correct length before
mounting. Correct length is full length of PTO
minus 20 mm.
Follow manufacturer’s instructions for cutting
PTO shaft and guard to length.
Attach rope for releasing brake
Thread the rope through the hook on top of the
winch, and connect it to the lever below.
Attach rope for clutch
Thread the rope through the small pulley on the
frame, then through the pulley on the large lever
above it. Attach it to the hook just above the rst
pulley.
Attach wire rope
Thread the wire rope through the large pulley.
Attach it through the hole in the drum with a wire
clamp.
Keep the wire rope tensioned while hauling in.
Instructions
EN

15
Drive chain
Check drive chain tension. Take up excessive
slack. Fit joining link with closed end in direction
of travel. Make sure to tighten chain tensioner
after rst day of use.
Renewing clutch friction pads
Reel out cable about 3 meters. Remove top
cover. Measure clutch friction pad thickness.
If less than 2 mm,
replace pads.
Replacing clutch friction pads
Loosen the clutch adjustment nut. Detach old
clutch friction pads with two screws, and attach
new ones. Inspect and adjust the clutch
according to maintenance manual.
Pressure adjustment
Adjust the pressure by loosening the nut and
turning the relief valve.
The pressure must be 40 bar.
Maintenance
Set PTO in neutral and stop engine before doing
any maintenance. Check PTO manufacturer’s
product instructions for maintenance.
Lubrication
Do not spill oil on the clutch.
To access chain and needle bearing, remove top
cover.
Clutch inspection
Check control lever play.
Normal lever play is between 5-10 cm.
Clutch adjustment
Reel out cable about 3 meters. Remove top
cover and adjust clutch. Verify by checking
control lever play again before re-attaching
the top plate.
Instructions
EN
Hours of use Lubricant
Chain 20 Thick oil
Needle bearing 20 Thick oil

16
Operating instructions
Be aware of your winch’s capacity limitations.
Tighten the friction brake if the drum spins.
Slacken if the wire rope is too heavy to pull out.
Release load slowly to prevent snarls.
Lower butt plate until it’s resting on the ground
and apply the brakes to park the tractor.
See radio manual for further instructions.
Logging operations
Back tractor as close as possible to logs.
Do not haul in from the sides further than 30
degrees on each side of the tractor, at a
maximum of 60 degrees.
Small logs may be hitched in a herringbone
pattern, beginning at the end of the cable.
Avoid sharp angles between each log.
Avoid quick movements as your load may have
a delayed reaction.
Choke logs up to 30 cm from their edges.
Maximum 10 cm of excessive chain between
the glider and hook.
Instructions
EN
Haul inFree reel Brake

17
Équipement facultatif Product No.
(42) Télécommande radio, une fonction, y compris basse pression hydraulique IG095450
(52) Télécommande radio, une fonction, y compris basse pression hydraulique IG095460
Commande TR/MIN. de tracteur, marche/arrêt (uniquement disponible avec la radio) IG091442
Poulie supérieure pour le point de bobinage IG143160
Adaptateur pour triangle Lyng (cadre) IG143210
Adaptateur pour HMV IG143170
Distributeur d'huile pour tracteur avec capacité d'huile supérieure à 55 l/minute IG090378
Hauteur/largeur grille supérieure : 78/90 cm IG159337
Support de bidon d'huile IG022150
Support de tronçonneuse IG022151
Révisé le: 20.02.2023
Publié le: 20.02.2023
N/P: IG390417
Address Doneheia 17, 4516 Mandal
Site Web nosted.com/en/igland
Courriel [email protected]
Tél +47 37 25 62 00
Fax +47 37 25 62 01
Visitez notre site Web pour de plus amples informations.
La reproduction du texte ou des illustrations sans autorisation est interdite.
Igland 52
IG300902
Igland 42
IG308020
Sections Page
Consignes de sécurité 18
Principaux composants 19
Spécications techniques 20
Avant l'utilisation 21
Assemblage 21-22
Maintenance 23
Opérations de chargement des rondins 24
Consignes d'utilisation 24
Sommaire
FR

18
Sommaire
FR
Règles de sécurité
Veuillez lire le manuel avant utilisation
L’équipement doit être uniquement utilisé par un personnel qualié et formé
Ne doit pas être utilisé pour le levage ou toute autre tâche pour lequel il n’est pas conçu
Une mauvaise utilisation de cet équipement peut entrainer des blessures sérieuses au
personnel et des dégâts matériels
Éloignez les enfants de la zone de travail
Utilisez toujours des équipements de protection
Gardez une distance de sécurité par rapport aux pièces mobiles
Évitez que les rondins et le tracteur soient sur des terrains en pente
Utilisez toujours un frein à palette lorsque vous treuillez en montée
Ne vous tenez pas entre les rondins et le tracteur lorsque vous tirez
Évitez les secousses et les pincements lors du treuillage
N’utilisez qu’un câble en acier susamment résistant et évitez d’endommager ce dernier
En cas de dommages visibles, changez le câble en acier
Soyez prudent lorsque vous tirez des charges élevées
Le tracteur peut basculer ou se déplacer s’il est soumis à une grande force
À conserver au sec
Stationnez sur une surface plane et ferme lors du stockage

No. Pièce
1 Écran de protection
2 Levier de commande
3 Câble de commande
4 Couvercle supérieur
5 Écrou de réglage de
l'embrayage
6 Attache du maillon supérieur
7 Attache du maillon inférieur
8 Jambe de force
9 Prise de force
10 Tendeur de chaîne
11 Frein à friction
12 Râtelier à chaîne de retenue
13 Entailles pour l'attache des
rondins
14 Poulie
15 Plaque de butée
3
6
7
5
1
9
2
4
8
10
13
12
14
15
11
19
Principaux composants
FR
Other manuals for Igland 42
1
This manual suits for next models
3
Table of contents
Languages:
Other nosted Industrial Equipment manuals
