Nucleus babyTEL User manual

Last updated April 5, 2005
babyTEL Self Install Guide

Contents
Contents --------------------------------------------------------------------------------------------------------------------2
Welcome --------------------------------------------------------------------------------------------------------------------3
What You Need. -----------------------------------------------------------------------------------------------3
Cables & babyBOX ------------------------------------------------------------------------------------------------------4
babyBOX Configuration (Basic Setup) ---------------------------------------------------------------------------5
IP Address Configuration ---------------------------------------------------------------------------------------------6
Advanced Setup (babyBOX & Router)--------------------------------------------------------------------------11
Option 1--------------------------------------------------------------------------------------------------------11
Option 2--------------------------------------------------------------------------------------------------------12
Nucleus babyTEL Configuration Guide - © 2005 Nucleus Information Service Inc.
Page 2 of 12

Welcome
Welcome and thank you for purchasing babyTEL service from Nucleus. The babyTEL
service from Nucleus provides a fully-featured telephone service over your existing
high-speed internet connection. The service offers a rich set of features including some
that are not offered by your telephone company.
This guide will provide supplementary information to the babyBOX Installation Manual
that you have either received or will be receiving after ordering your service with
Nucleus. Specifically this guide will provide you with the proper configuration for your
babyTEL service, on your existing Nucleus DSL High Speed Internet Service.
**Please note that 911 services are not currently available**
What You Need.
You need to have a high-speed Internet connection, which is also referred to as a
broadband connection. This connection can either be of the DSL or Cable type.
If you have such a connection then all you have to do is insert our babyBOX between
your high-speed modem and your computer to enjoy great telephone features while still
being able to surf the net.
A quick summary of what you need:
(1) High-speed Internet
connection
(2) DSL/Cable modem
(3) Computer
(4) Ordinary telephone set
(5) Nucleus babyBOX
(6) Network & Phone Cables
Nucleus babyTEL Configuration Guide - © 2005 Nucleus Information Service Inc.
Page 3 of 12

Cables & babyBOX
The following is a crash course in the contents of the package that you received for your
Nucleus babyTEL service:
ETHERNET
CABLE (RJ-45) TELEPHONE
CABLE (RJ-11) POWER ADAPTER
CORD
Although similar in appearance, it is easy to tell the difference between the Ethernet cable
and the telephone cable. The Ethernet connector (RJ-45) is the larger of the two.
WANENETLINE PHONE2 PHONE1 PWR
PWR WAN ENET Phone1 Phone2VoIP
Back View (Jacks) Front View (Lights On)
PHONE1 (Telephone): Your telephone set
connects to it.
PWR (Power): The power cord from the AC
adapter connects to it.
ENET (Ethernet): Ethernet cable from the PC
may connect to it, depending on your
configuration.
WAN (Wide Area Network): Ethernet cable
from the Modem or Router connects to it,
depending on your configuration.
PWR (Power): Indicates that the babyBOX is
powered on.
WAN (Wide Area Network): Indicates that a
modem or router is connected to this jack.
ENET (Ethernet): Indicates that a computer or
another device is connected to this jack.
VoIP (Voice over Internet Protocol): Indicates
that the babyTEL telephone service is ready.
Phone1 (Telephone): Indicates that the tele-
phone set connected to this jack is in use.
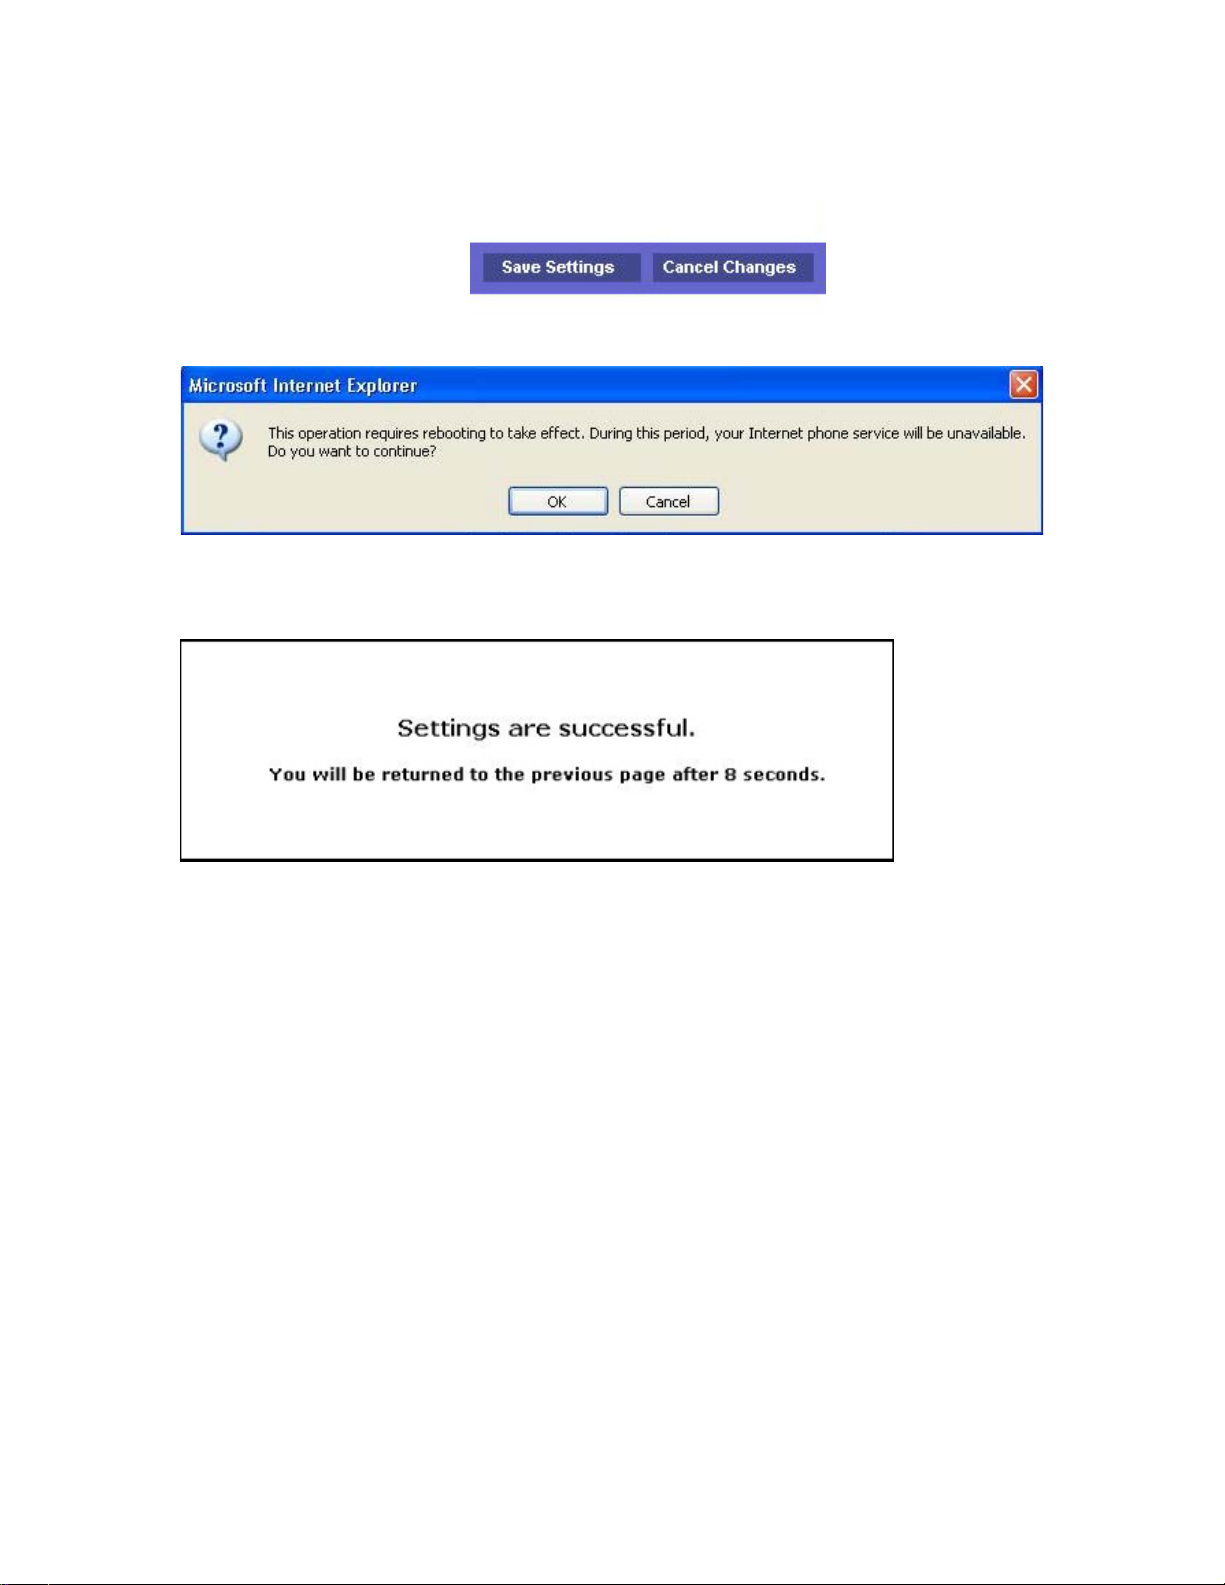
Note: Flashing lights can either mean that the babyBOX is rebooting, or the babyBOX is
being upgraded automatically.
Nucleus babyTEL Configuration Guide - © 2005 Nucleus Information Service Inc.
Page 4 of 12

babyBOX Configuration (Basic Setup)
Since you already have a High Speed connection to the Internet, this means that you have
everything you need. If you already have an existing Local Area Network (LAN) please
refer to the Advanced Setup (babyBOX & Router) portion of this document.
1) Turn off the power to the DSL modem. Disconnect the ethernet cable that
runs between the modem and the computer. Unpack the babyBOX and
preserve the original packaging in case you need to return the babyBOX to
Nucleus for whatever reason. Now proceed as shown below.
2) Connect an Ethernet cable from the Ethernet jack (10Base-T) of the DSL
modem to the WAN jack of the babyBOX. *Note* If you have a Linksys
ME3 modem be sure to use the yellow cable that came with the modem for
this connection as it is a special cable (crossover cable) that is required for
proper operation.
3) Connect a second Ethernet cable from the ENET jack of the babyBOX to the
Ethernet jack (also called Network Jack) of the computer.
4) Connect your telephone set to the PHONE1 jack of the babyBOX.
5) Power up the DSL modem and wait a few moments for it to boot up. Plug the
AC adapter that came with the babyBOX into a wall socket, or preferably, into
a surge-protected power bar. With the DSL modem now powered and ready,
connect the power cord from the babyBOX power adapter to the PWR socket
of the babyBOX.
Wait at least 2 minutes for the babyBOX to boot and for the VoIP light to
be solid.
Nucleus babyTEL Configuration Guide - © 2005 Nucleus Information Service Inc.
Page 5 of 12

IP Address Configuration
Open your web browser (e.g. Internet Explorer).
1) Enter the IP address of the babyBOX. This is normally set to 192.168.1.1 at
the factory.
2) Click on Go (or press Enter on your keyboard).
The following password window will appear:
3) The username field is left blank and the password field should be “admin” by
default.
4) Click on OK.
Nucleus babyTEL Configuration Guide - © 2005 Nucleus Information Service Inc.
Page 6 of 12

The following home page will appear showing the Basic Setup page.
For static IP customers please select Static IP and enter the appropriate IP
information into the required fields (xxx represents the your IP and Gateway
address)
Nucleus babyTEL Configuration Guide - © 2005 Nucleus Information Service Inc.
Page 7 of 12

For Dynamic IP customers please select Obtain IP automatically or Automatic
Configuration-DHCP and enter in your DHCP ID in the Hostname field (be sure
to include “NIS-“ (without quotes) in capital letters).
Scroll to the bottom of the page and enter in your DNS servers:
Nucleus babyTEL Configuration Guide - © 2005 Nucleus Information Service Inc.
Page 8 of 12

Nucleus babyTEL Configuration Guide - © 2005 Nucleus Information Service Inc.
Page 9 of 12

5) Click Save Settings at the bottom of the screen.
6) Click on OK.
7) You will see a screen like the following. Don’t close the browser window until
you are returned to the main page.
Wait at least 2 minutes for the babyBOX to reboot and for the VoIP light to be solid, you
are ready to use the Nucleus babyTEL service or surf the Internet. When you pick up the
telephone receiver you should hear a dial tone. Dial a friend to confirm that it is working..
Nucleus babyTEL Configuration Guide - © 2005 Nucleus Information Service Inc.
Page 10 of 12

Advanced Setup (babyBOX & Router)
This section will describe the two possible scenarios of adding a babyBOX to an
existing Local Area Network (LAN). Please note option 1 is the recommended setup
because babyBOX voice traffic gets priority over all other internet traffic, meaning that
the quality of your telephone call will not be interrupted if you are using your internet
connection for other purposes. Option 2 is an alternative scenario that is only
recommended as a last resort because there is no Quality of Service filtering (there is no
priority given to babyBOX traffic) and voice quality may suffer.
Option 1
1) Connect an Ethernet cable from the DSL or cable modem to the WAN jack of the
babyBOX.
2) Connect your telephone set to the PHONE1 jack of the babyBOX.
3) Connect an Ethernet cable from the ENET port on the babyBOX to the WAN
(UPLINK) port on the router
4) Plug the AC adapter that came with the babyBOX into a wall socket, or
preferably, into a surge-protected power bar. Connect the power cord from the
adapter to the PWR socket of the babyBOX.
5) Please refer back to “IP Address Configuration” for details on configuring the
babyBOX.
Nucleus babyTEL Configuration Guide - © 2005 Nucleus Information Service Inc.
Page 11 of 12

Option 2
1) Connect an Ethernet cable from a spare Ethernet jack on the router to the WAN
jack of the babyBOX.
2) Connect your telephone set to the PHONE1 jack of the babyBOX.
3) Plug the AC adapter that came with the babyBOX into a wall socket, or
preferably, into a surge-protected power bar. Connect the power cord from the
adapter to the PWR socket of the babyBOX.
4) Cycle the power on your router (unplug the power connector, wait 5 seconds and
plug it back in).
5) Depending on the configuration of you network the babyBOX will now obtain an
IP address, this will be needed to manage the device. Please refer back to “IP
Address Configuration” for details on configuring the babyBOX.
Nucleus babyTEL Configuration Guide - © 2005 Nucleus Information Service Inc.
Page 12 of 12
Table of contents