O'Fresh 171 User manual

www.ofresh.fr
Owner’s Manual Misting Fan ref 171

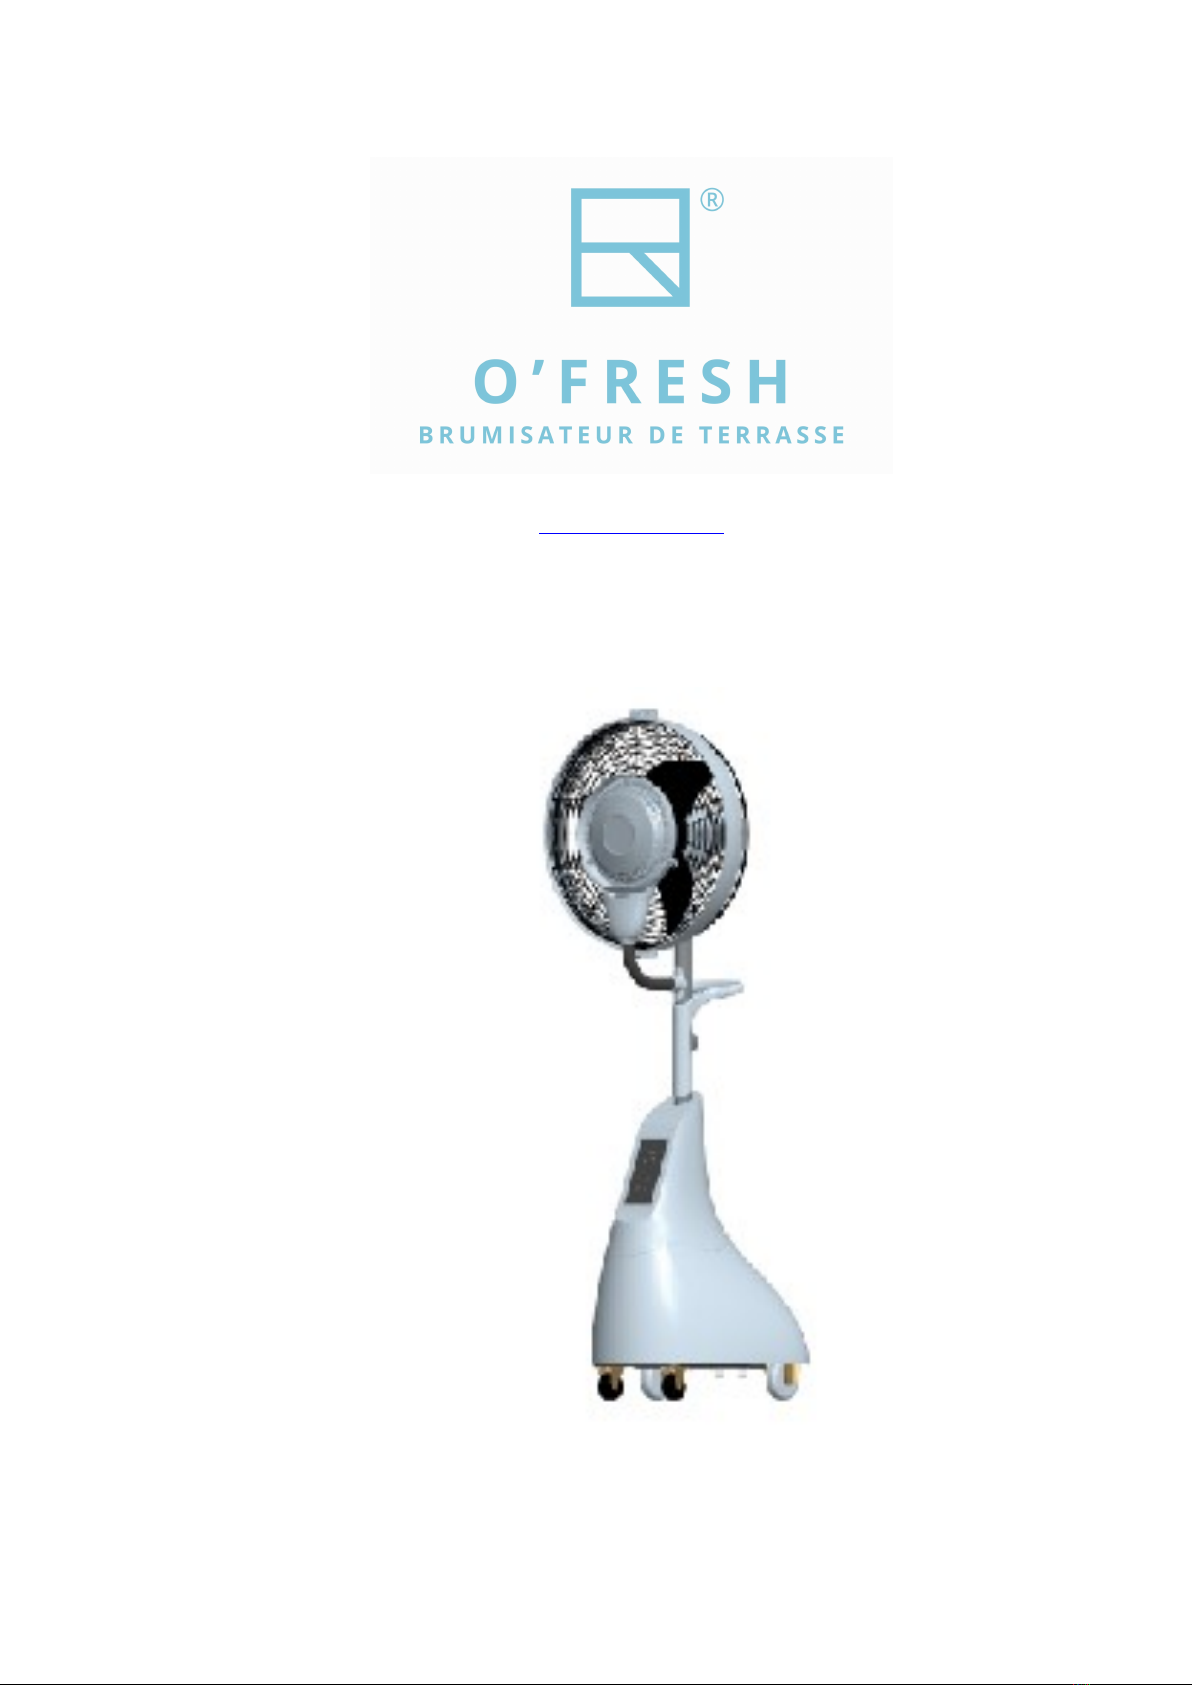
IMPORTANT SAFETY INFORMATION: Please carefully read this manual before attempting to install
or use this misting fan. For your safety, comply with all safety instructions and warnings contained in this
owner’s manual to prevent personal injury or property damage.
Important Safety Information
These instructions are not meant to cover every possible condition and situation that may occur.Please read all
instructions before using this misting fan.Failure to carefully read all instructions may result in possible electric
shock or fire hazard, and will void
the manufacturer’s warranty.
1. Use this misting fan only as instructed in this owner’s manual. Other uses may cause electric shock injury or
fire.
2. Close supervision is required if this fan is used near children or pets.
3. To protect against electric shock, do not immerse this fan or its plug and cord in water.
4. If the fan is being transported or will not be in use, disconnect it from the power supply by tightly gripping the
fan’s plug and pulling it from the power outlet. Do not disconnect the power supply by pulling on the fan’s
power cord.
5. Avoid contact with any of the misting fan’s moving parts.
6. Place the misting fan on a level surface.
7. This misting fan is intended to fit into a matching receptacle.Under no circumstances should the grounded
plug be altered in any way. An improper connection can result in electric shock.
8. If possible, avoid using extension cords with this misting fan.If an extension cord is absolutely necessary, do
not use more than one extension cord to operate more than one fan.
9. Do not insert objects or allow fingers to enter into the fan head, as this may cause electric shock or bodily
injury. Do not block or tamper with the misting fan while it is in operation.
10. Do not place the fan near curtains drapes, or any other materials that can get caught in the misting fan’s grills.
11. Do not run the power cord under mats or carpeting, and do not cover the power cord with runners.Arrange
the power cord away from room traffic and where it can be tripped over.
12. Do not operate this misting fan in the presence of flammable substances or explosives.
13. Do not place the fan near an open flame or cooking/heating appliances.
14. If the fan will not be in use, empty the tank of any remaining water.
15. If the fan’s plug or power cord is damaged, do not attempt to repair the components yourself.
16. Use the fan under the voltage and frequency shown on the rating label, do not use in corrosive environment.
17. Do not use the fan above an altitude of 1000 meters and temperature above 40°C.
18. If the fan use socket to get power supply, it should meet the IEC335-1 standard. use direct power supply by
power cord, should be installed contact separation not less than 3mm all-pole switch in the fixed wiring.
19.This appliance is not intended for use by persons (including children) with reduced physical, sensory or
mental capabilities, or lack of experience and knowledge, unless they have been given supervision or instruction
concerning use of the appliance by a person responsible for their safety.
Children should be supervised to ensure that they do not play with the appliance.
20. Type Y attachment - Damaged supply cords to be replaced by the manufacturer, service agent or similarly
qualified person to avoid hazard.
21. This marking indicates that this product should not be dispposed with other household
wastes throughout the EU. To prevent possible harm to the envirionent or human health form

uncontrolled waste disposal, recycle it responsibly to promote the sustainable reuse of material
resources. To return your used device, please use the return and sollection systems or contact
the retailer where the product was purchased. They can take this product for environmental
safe recycling.
Products Benefits
1. Centrifugal misting system means there is no clogged nozzles and no need
to use filtered water.
2. Fan surface is epoxy resin coated, anti-rust and durable. The fan electrical components are designed to be
waterproof. safe to use, with tank cart, easy to move.
3. Air supplying, misting and oscillating functions are driven by different motors. Motors adopt high quality ball
bearings, with advantages of stable, low temperature-rise, long service life, low noise, and strong overloading
ability.
4. Misting volume adjustable, the pump adopts full insulation enclosed protective structure for safe operation.
5. Designed for cooling large areas such as patios, factories, manufacturing facilities, garages,athletic fields,
greenhouses and more.
6. With a long-range smart remote control function, third speed, misting oscillating, and timing, easy to use.
WIRING DIAGRAM

Note:No further notice if above parameters change.
Operating Instructions
1. Fan oscillation angle is 90° from left to right.
2. Fan up and down angle is 10°. Adjust method: Loosen the fixation nut, adjust the motor to
desired angle, and fasten the nut.
3. Speed adjustment: press bottoms on remote control or electrical box to control the speeds.
4. Remote control operating
a. The machine is in standby mode when power on, the buzzer beeps once.
b. Press ON/SPEED to start, the fan start by mid-speed firstly in three seconds and then
switch to work by low-speed. Press the key again to convert to the
mid-speed, the third press to convert to high-speed, low-speed, mid-speed and
high-speed is followed in turn.
c. Press the OFF key to turn off the fan.
d. Timing setting: Press TIMER to start timing function, 0.5H, 1H, 2H, 3H, 4H, the light
indicates at the same time.
e. Press the SWING key to start oscillation function, press again to turn off oscillation
function, the light indicates at the same time.
f. Press MIST key to start misting function, press it again to turn off, the light indicates
at the same time.
g. Remote distance is less than 8 meters, buzzer beeps twice to start, buzzer beeps last
one second long to turn off , and buzzer beeps once to run other
function
5. Misting adjustment between "OFF" and "ON" when the fan running with misting.
6. Lift up the tank cover and fill the tank with clean water. Make sure the pump hose is fully
submersed in water. A 5-hour maximum run time with each full tank and with maximum misting
flow.Refill the tank when misting flow is not enough.
7. In the use of water tank cart, DO NOT force to push the tank cart before opening the bake
of the caster. Close the bake of the caster when stop the tank cart. DO NOT stop the tank cart
at the slope to prevent sliding forward.
8. Clean the tank each time before use. Take out the water pump before clean, pour out the water
after clean.

Assembly Instructions
DO NOT plug in the fan before assembly. Carefully remove all packaging
materials, make sure there is no residual foam left in any of the components.
Carefully check all components, make sure there is neither shortage nor
damage during transportation.
Step 1: Assembling the stand pole
a.Remove the water tank.
b.Refer to diagram 1. Position the stand pole on the tank cart and align the
holes on the pole with the four holes on the tank.Using the four M8X25 bolts,
washers and nuts, screw the stand pole into the tank cart. Make sure the
stand pole is securely screwed onto the tank cart before proceeding to the
next step.
2. Connecting the Power Supply
a. The male connector is already set into the connection tube. Insert the
connection tube into the round hole on the top of the water tank cover.
b. Refer to diagram 2. Connect the 3-pin male and famale connectors and
the 5-pin male and famale connectors respectively.

3.Assembling the Connection Tube
a. Refer to diagram 3. Insert the connection tube into the top of the stand pole,
and fasten with two M6X10 bolts.
4. Settling the Water Tank
a. Place the water tank in its original position on the frame.
b. Insert the blue water tube into the pump quick connector, and place the water pump in the
bottom groove of the water tank.
c. Refer to diagram 4. Tidy up the cables inside the water tank and water pipe, and fasten the
power cord on the stand pole.

5. Assembling the Fan Head
a. Place the fan head on the top of the connection tube, and tighten the M6 injection
screw on the upper joint.
b. Loosen the ST3.8 self-tapping screw on the front lid of the water collection plate
decoration cover. Fit the front lid on the extension pipe.
c. Insert the extension pipe with connectors and water pipes inside into the round
hole on the bottom lid of water collection plate decoration cover. Connect the
water pipes and connectors.
d. Refer to diagram 5. Tidy up the water pips and connectors and fit back the front
lid of water collection plate decoration cover.
6.Misting Testing
a. Fill the water tank with appropriate clean water, and lid the tank cover.
b. Turn the ball valve knob from ON to OFF,Start the fan with remote control or keyboard on

the tank covers check if it is working normally.
c. Press MIST button to start the misting function, check if the misting motor, misting plate
and water pumps is working normally.
d. Turn the ball valve knob from OFF to ON, observe if the misting changes.
f. Press SWING button to start oscillation function, and check if the fan head oscillates
normally from left to right.
OVERALL DIMENSION

1.Safety Guard 2.Misting Plate 3.Water Outlet
4.Water Gathering Plate 5.Misting Motor 6.Water Collection Plate
7.Front Lid of Water Collection Plate Decoration Cover
8.Rear Lid of Water Collection Plate Decoration Cover
9.Front Grill 10.Net Ring 11.Rear Grill 12.Blade
13.Front Lid of Motor Cover 14.Fan Motor 15.Motor Back Cover
16.Supporter 17.Upper Joint 18.M6 Injection Screw
19.Extension Pipe 20.Connector Between Extension Pipe and Stand Pole
21.Connection tube 22.Handle 23.Ball Valve 24.Ball Valve knob
25.Stand pole 26.Bonding Clamp 27.Tank Cart 28.Tire 29.Caster
30.Tank Cover 31.Tank 32.Electric Box 33.Water Pump
Table of contents
Other O'Fresh Fan manuals