Olhausen Games OG Euro Series User manual
Popular Game manuals by other brands

Hasbro
Hasbro Mickey Mouse Clubhouse instructions

Tiger Electronics
Tiger Electronics Wheel of Fortune Classic 59939 instruction manual
Fundex Games
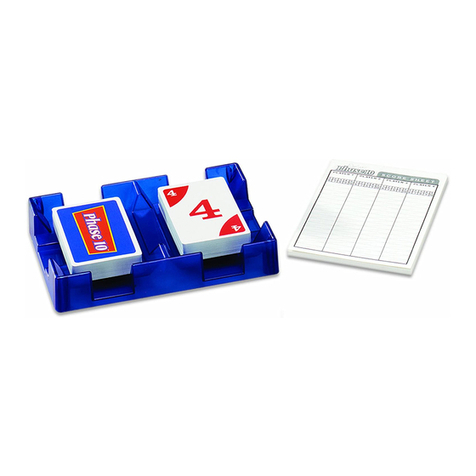
Fundex Games Phase 10 Deluxe instructions
Harvil
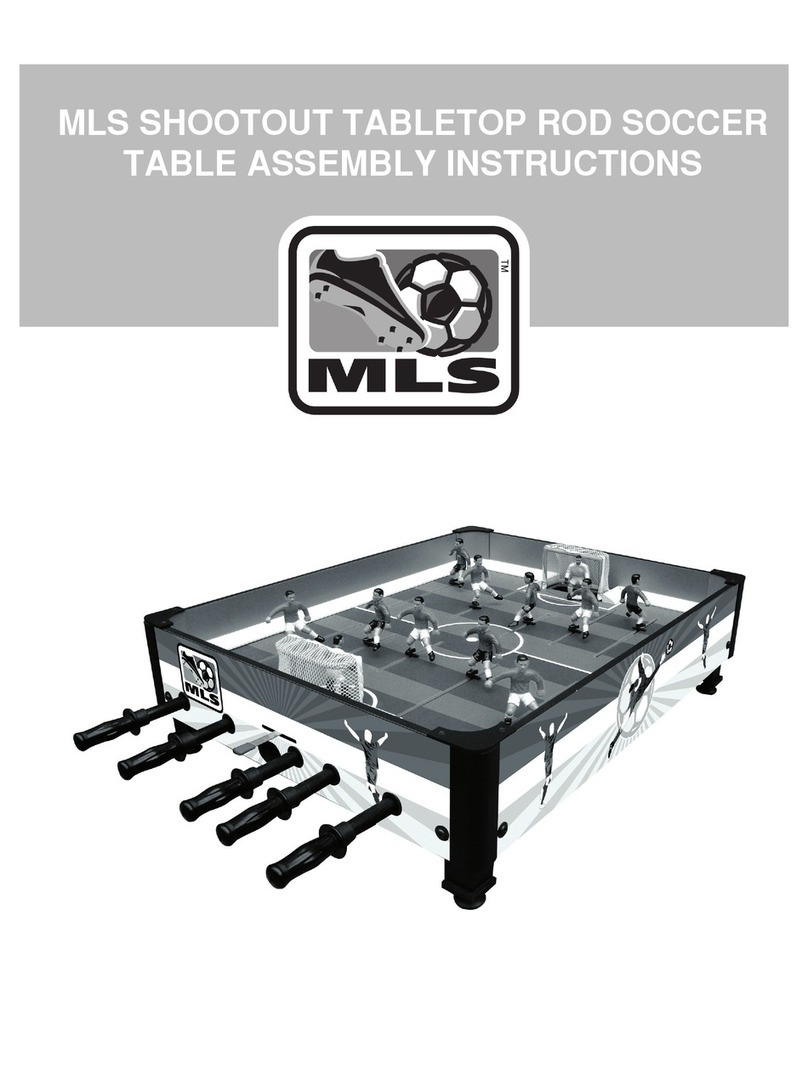
Harvil MLS SHOOTOUT TABLETOP ROD SOCCER Assembly instructions
Beleduc
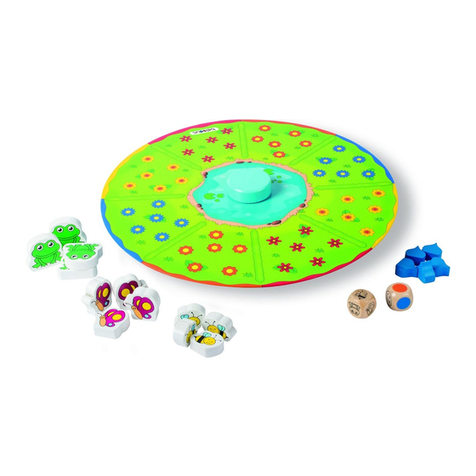
Beleduc Balanimals Instruction

Automaten Hoffmann
Automaten Hoffmann Profi 5913 Assembly manual
Playskool
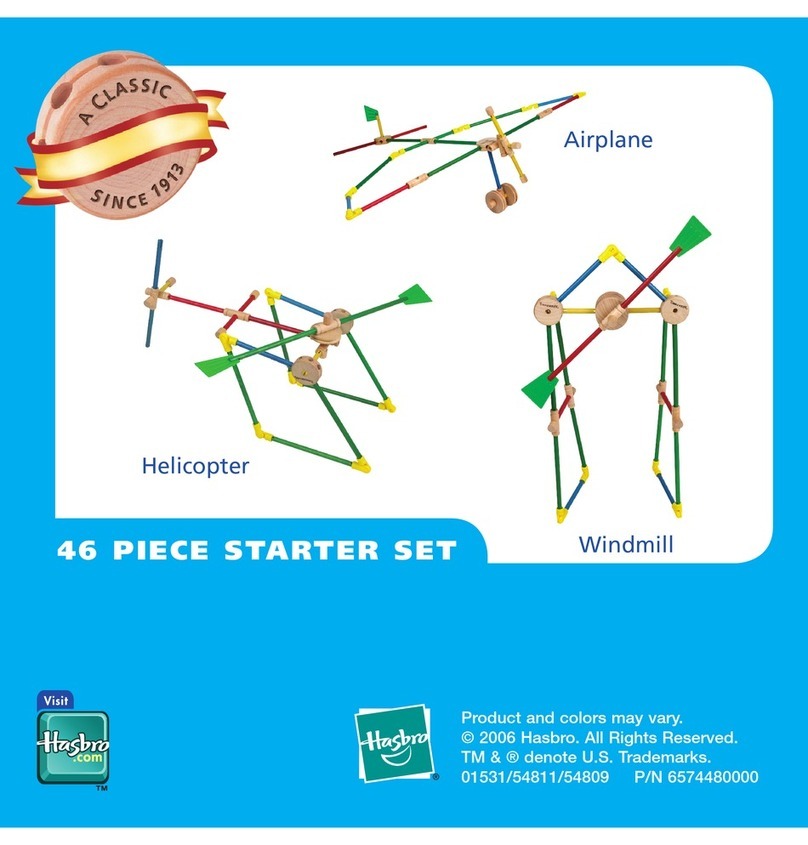
Playskool 1531 brochure
Milton Bradley
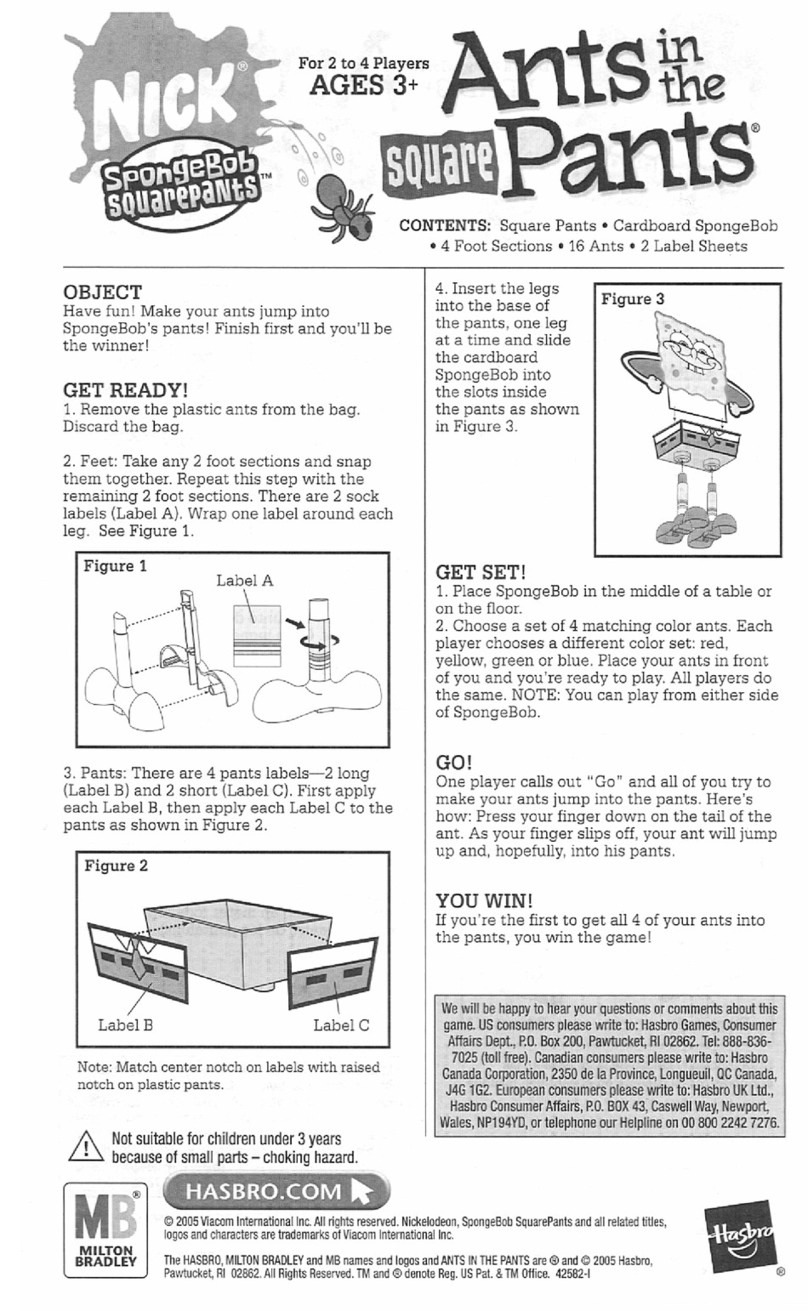
Milton Bradley Ants in the Square Pants instructions

Sport Squad
Sport Squad FX-40 Assembly instructions

Entex
Entex Electronic Tennis user manual

Parker Brothers
Parker Brothers Risk The World Conquest Game Games manual
Sport Squad
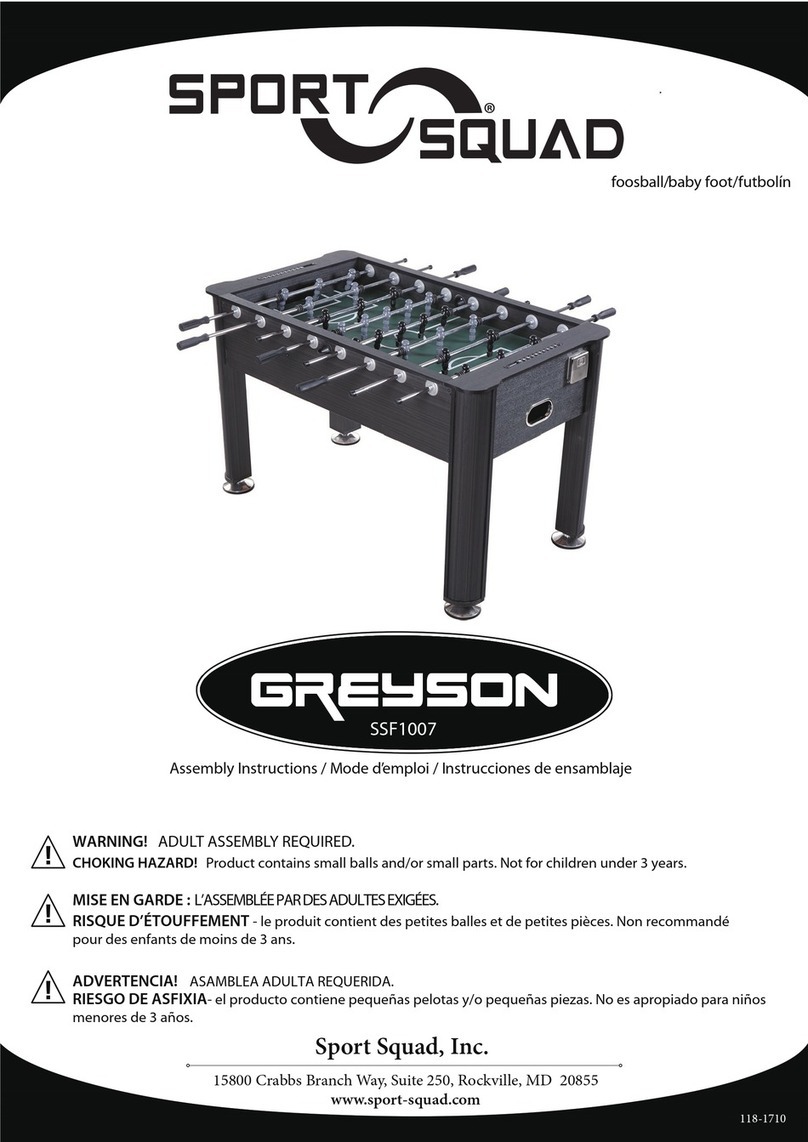
Sport Squad GREYSON Assembly instructions
IGM
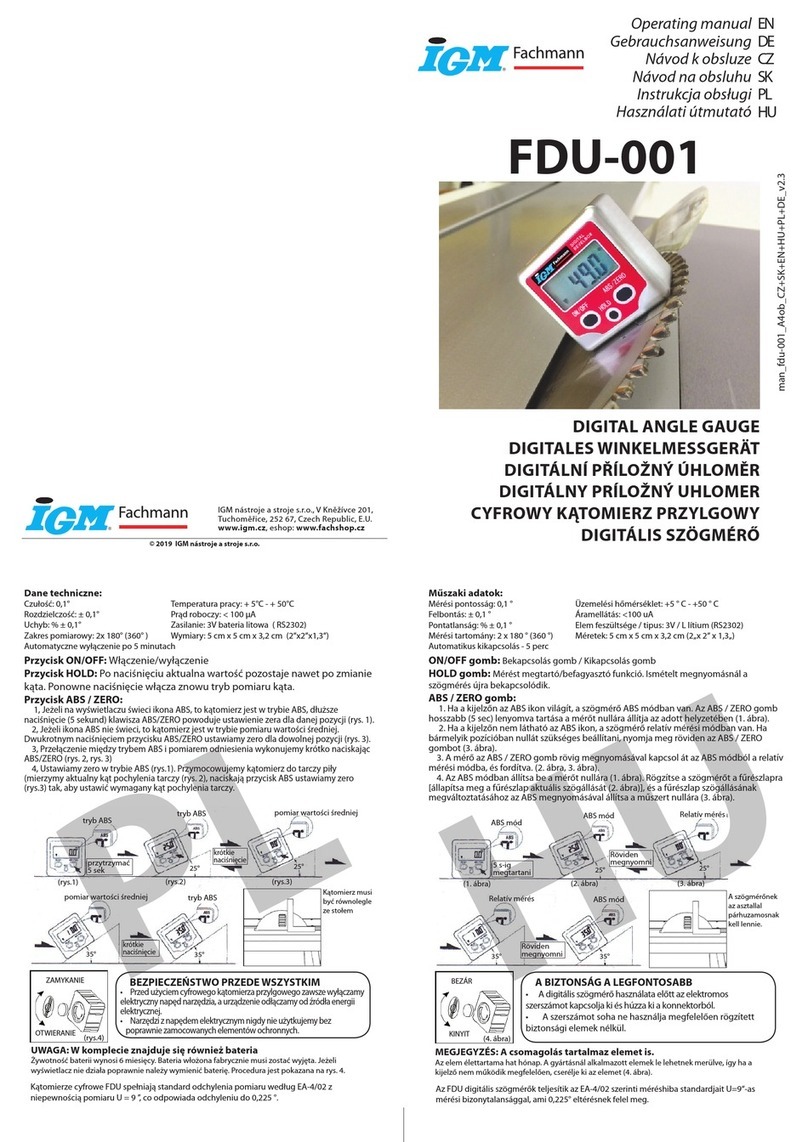
IGM FDU-001 operating manual
Tiger Electronics
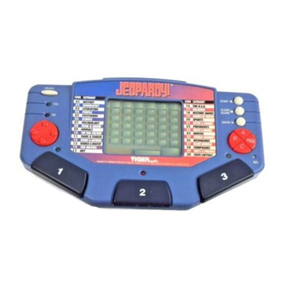
Tiger Electronics Jeopardy! 7-581 instructions
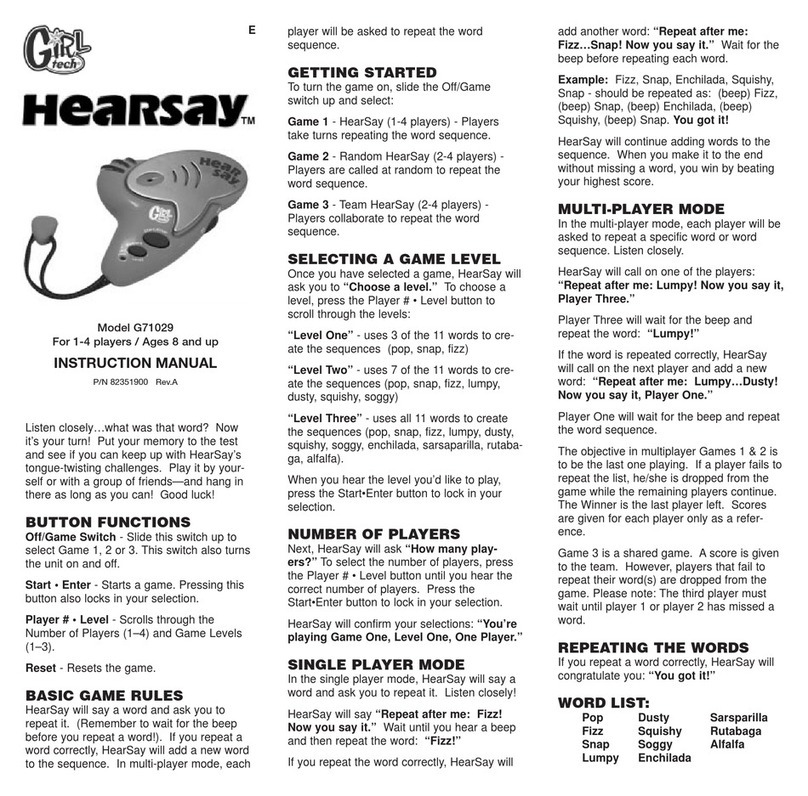
Girl tech
Girl tech HEARSAY G71029 instruction manual

Tudor Games
Tudor Games Electric Football Oficial rules and assembly
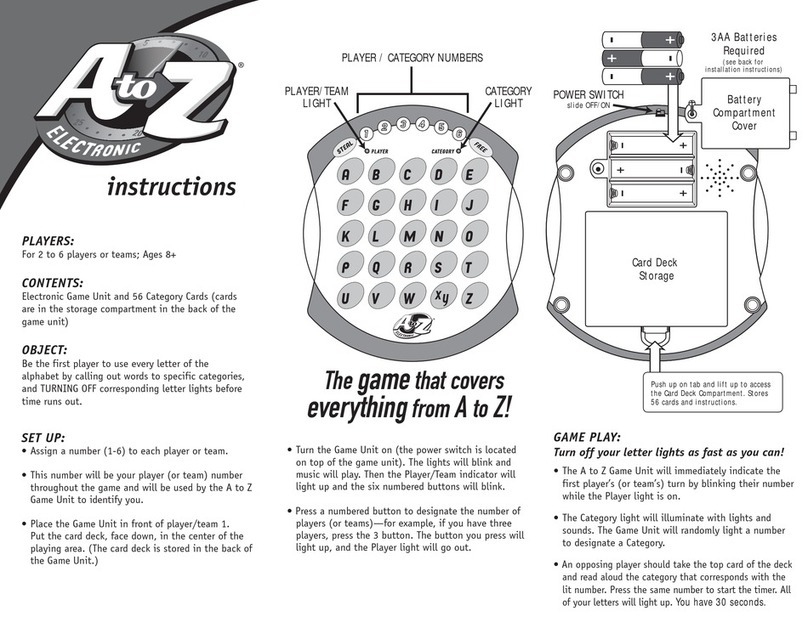
Fundex Games
Fundex Games 2524 User instructions

Brunswick
Brunswick Bridgeport installation manual

