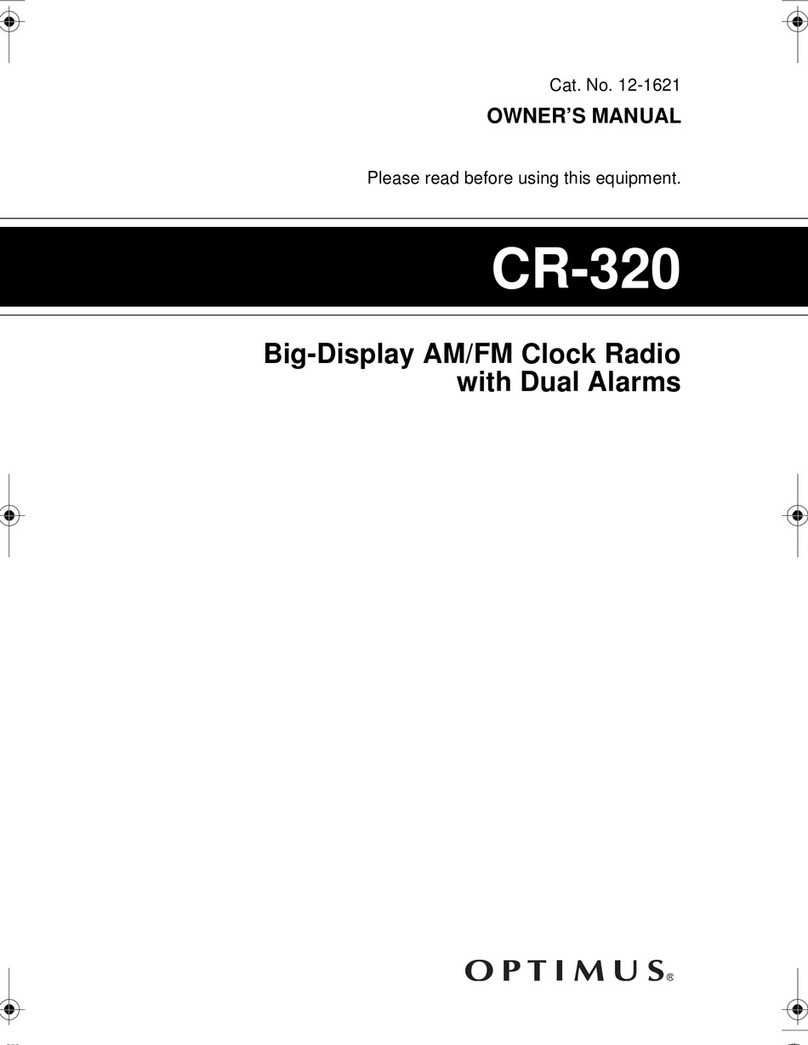
Optimus CR-320 User manual

CR-320 Big-Display AM/FM Clock Radio w/Dual Alarms
(120-1621B) Features Faxback Doc. # 56276
Your Optimus CD-320 Big-Display AM/FM Clock Radio is convenient, easy to
use, and has many special features.
Dual Alarm - lets you set the alarm to sound, or the radio to
turn on, at a time you set.
0.9-Inch Green Numbers - makes the clock easy to read.
Extra Loud Alarm - loud enough to wake even the soundest sleeper
(96 dB).
Quick Set - lets you set the time of day and alarm time with
just two buttons.
Battery Back-Up with - keeps you clock running and the alarm set if
Battery Sentinel power is interrupted, and lets you know when the
battery needs to be replaced.
Sleep Feature - plays the radio for up to 59 minutes, then
automatically turns it off.
Snooze Feature - temporarily silences the alarm or radio for about
7 minutes so you can get a few extra minutes of
sleep.
Note: Your clock radio needs a 9V battery (not supplied) for back-up
power.
WARNING: To prevent fire or shock hazard, do not expose this product to
rain or moisture.
CAUTION: To reduce the risk of electric shock, do not remove cover or
back. No user-serviceable parts inside. Refer servicing to
qualified personnel.
Note: The graphical symbols with supplemental markings are located on the
bottom of the radio.
CAUTION: To prevent electric shock, one blade on the AC power cord's plug
is wider than the other and the plug only fits one way. If you
cannot easily insert the plug, turn it over and try again. Do
not force it!

CR-320 Big-Display AM/FM Clock Radio w/Dual Alarms
(120-1621B) Preparation Faxback Doc. # 56277
Connecting to AC Power
Plug the clock radio's power cord into a standard AC outlet. The display
flashes and the BATTERY SENTINEL indicator light next to the time display
turns on (see "Installing a Back-Up Battery" below).
Installing a Back-Up Battery
Your clock radio uses a 9V battery (not supplied) to operate the clock and
alarm during a power failure. The display turns off, but the clock keeps
the time for at least 8 hours, and the alarm will sound (if set) for at
least 10 minutes after power fails. For the best performance, we
recommend a RadioShack alkaline battery.
CAUTION: Use only a fresh battery of the required size and recommended
type.
Note: To prevent unnecessary drain on the battery, install it only after
connecting the clock radio to AC power.
1. Press the tab and lift off the battery compartment cover on the bottom
of the clock radio.
2. Snap the clock radio's battery contacts onto the battery's terminals,
then insert the battery into the compartment. The BATTERY SENTINEL
indicator turns off.
Note: If the BATTERY SENTINEL indicator remains lit, press SNOOZE to
reset the indicator. If that does not work, replace the back
up battery.
3. Replace the cover.
The BATTERY SENTINEL indicator lights if the back-up battery is not
installed or needs to be replaced.
WARNING: Always dispose of old batteries promptly and properly. Do not
bury or burn them.

CR-320 Big-Display AM/FM Clock Radio w/Dual Alarms
(120-1621B) Operation Faxback Doc. # 56278
Setting the Clock
Setting the clock is simple. While holding down TIME SET, repeatedly
press (or hold down) SLOW FORWARD or SLOW REVERSE. The time on the
display advances or reverses by 1 minute each time you press the button.
(The PM indicator lights for PM hours).
To rapidly set the time, hold down FAST FORWARD or FAST REVERSE.
Adjusting the Display Brightness
To change the brightness of the display, set DIMMER LOW/HIGH on the side
of the clock radio to LOW or HIGH.
Playing the Radio
1. Set ON/OFF/AUTO/ALARM to ON.
2. Set AM/FM to the desired band.
Notes: The clock radio has a built-in AM antenna. For the best AM
reception, rotate the radio.
The clock radio's power cord acts as the FM antenna. For the
best FM reception, fully extend the power cord.
3. Rotate TUNING to the desired station.
4. Rotate VOLUME to the desired sound level.
5. To turn off the radio, set ON/OFF/AUTO/ALARM to OFF.
Using the Alarm
Setting the Alarm Time
You can set the clock radio so an alarm sounds or the radio plays at one
or two different times (ALARM 1 and ALARM 2).
Follow these steps to set the alarm times.
1. Set ON/OFF/AUTO/ALARM to AUTO or ALARM.

2. Set ALARM 1+2 to ALARM 1. The ALARM 1 indicator lights on the upper
left of the clock display.
3. While holding down ALARM SET, repeatedly press SLOW FORWARD or SLOW
REVERSE to advance or reverse the alarm time. Or, to rapidly advance
or reverse the alarm time, hold down ALARM SET and press FAST FORWARD
or FAST REVERSE.
4. Set ALARM 1+2 to ALARM 2 and repeat Step 3 to set the second alarm
time. The ALARM 2 indicator lights on the lower left of the clock
display.
5. Set ON/OFF/AUTO/ALARM to ALARM to have the buzzer sound at the set
time(s), or to AUTO to have the radio turn on at the set time(s).
The alarm indicator lights on the lower left of the clock display.
6. Rotate VOLUME for the desired alarm or radio volume.
7. Set ALARM 1+2 to 1, 1+2, or 2 to have the alarm sound at either or
both set times. The indicators for the selected alarm(s) light.
To silence the buzzer or radio when it sounds, set ON/OFF/AUTO/ALARM to
OFF. If you do not turn off the alarm or radio, it continues to sound for
59 minutes.
Remember to set ON/OFF/AUTO/ALARM to ALARM or AUTO if you want it to go
off at the set wake-up time the next day.
To display the set wake-up time, set ALARM 1+2 to 1 or 2, then press ALARM
SET.
Using Snooze
To silence the alarm, but have it sound again in a few minutes, press
SNOOZE. This silences the alarm for about 7 minutes. You can use this
feature as many times as you want.
To see the time (minutes and seconds) since you first pressed SNOOZE, hold
down SNOOZE.
Using the Sleep Timer
Press SLEEP to set the sleep timer so the radio plays 59 minutes and then
automatically turns off.
To set a sleep time of less than 59 minutes, hold down SLEEP and
repeatedly press (or hold down) SLOW FORWARD or SLOW REVERSE until the
display shows the desired minutes. (Or, hold down FAST FORWARD or FAST
REVERSE to rapidly change the minute setting.)
To turn off the radio before the set sleep time has elapsed, set
ON/OFF/AUTO/ALARM to ON, then to OFF, AUTO, or ALARM.

CR-320 Big-Display AM/FM Clock Radio w/Dual Alarms
(120-1621B) Care and Maintenance Faxback Doc. # 56279
To enjoy your clock radio for a long time:
Keep the clock radio dry. If it gets wet, wipe it dry immediately.
Use and store the clock radio only in normal temperature environments.
Handle the clock radio gently and carefully. Don't drop it.
Keep the clock radio away from dust and dirt.
Wipe the clock radio with a damp cloth occasionally to keep it looking
new.
Modifying or tampering with the clock radio's internal components can
cause a malfunction and invalidate its warranty. If your clock radio is
not performing as it should, take it to your local RadioShack store for
assistance.
The FCC Wants You to Know
Your clock radio might cause TV or radio interference even when it is
operating properly. To determine whether your clock radio is causing the
interference, turn off your clock radio. If the interference goes away,
your clock radio is causing the interference. Try to eliminate the
interference by:
moving your clock radio away from the TV or another radio.
connecting your clock radio to an outlet that is on a different
electrical circuit from the TV or another radio.
contacting your local RadioShack store for help.
If you cannot eliminate the interference, the FCC requires that you stop
using the clock radio.

CR-320 Big-Display AM/FM Clock Radio w/Dual Alarms
(120-1621B) Specifications Faxback Doc. # 56280
Bands (AM): ............................................... 530 - 1710 kHz
(FM): ................................................. 88 - 108 MHz
Power Output: ........................................... 320 mW (maximum)
Speaker: .................... 3 Inch (7.6 cm) Ferrite, Dynamic-Type, 8 Ohm
Alarm: ............................................................. 96 dB
Power Requirements: .................................. 120 VAC, 60 Hz, 6 W
Back-Up Battery: ................................................... 9 VDC
Dimensions (HWD): ....... 2-3/5 x 9-3/5 x 6-1/8 Inches (65 x 240 x 155 mm)
Weight: ............................................... 1 lb 12 oz (790 g)
Specifications are typical; individual units might vary. Specifications
are subject to change and improvement without notice.
(EB 8/10/99)
LN-03/04
This manual suits for next models
1
Table of contents
Other Optimus Clock Radio manuals

Optimus
Optimus Kitchenmate-102 User manual

Optimus
Optimus 12-1626 User manual

Optimus
Optimus 12-1610 User manual

Optimus
Optimus CR-329 User manual

Optimus
Optimus CR-319 User manual

Optimus
Optimus ACR-326 User manual

Optimus
Optimus CR-317 User manual

Optimus
Optimus KITCHENMATE 102 User manual

Optimus
Optimus AM/FM Headset Radio User manual

Optimus
Optimus CR-320 User manual