3
Parts List
• Optical tube assembly
•Optical tube dust cap
•8x50 crosshair nder scope
•Finder scope dovetail bracket with rubber O-ring
•Pair of hinged tube rings
•Dovetail mounting bar
•Screws for tube ring attachment (x2)
•2" to 1.25” eyepiece holder
•2" extension adapter
•Allen wrench
•Starry Night Special Edition digital download
We recommend keeping the original shipping box and packag-
ing material. In the unlikely event you should need to ship the
telescope back to Orion for warranty repair service, you should
use the original packaging to ensure the telescope stays intact
during shipping. Take a moment to inspect the telescope and
all of its parts. Before proceeding with the instructions, refer to
Figure 1 to familiarize yourself with some of the features and
components of the telescope.
Preparing the Telescope
for Use
Placing the Telescope in the Tube Rings"
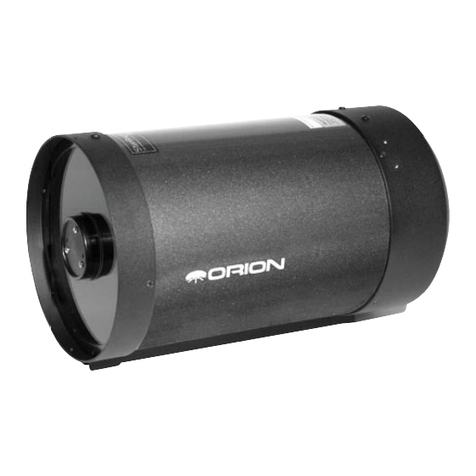
The 6" f/4 Newtonian Astrograph comes with a pair of hinged,
felt-lined tube rings to hold the optical tube assembly (OTA)
on a mount. Each ring has a at boss on opposing sides. Both
bosses have an M6 threaded hole in the center. Attach the
tube rings to the dovetail mounting bar with the two socket
head cap screws provided, using the included Allen wrench to
tighten them (Figure 2).
Then place the OTA in the open tube rings and clamp the rings
closed. Not that the tube rings will need to be positioned so
that the front ring is next to the focuser, for proper balance.You
can rotate the tube inside the rings prior to tightening the tube
ring clamp knobs to achieve the desired eyepiece or camera
orientation.
The telescope has an extended length of optical tube in front
of the focuser, compared to a standard Newtonian, to prevent
any possibility of incoming light impinging directly on the sec-
ondary mirror or entering the focuser drawtube. This ensures
the best possible contrast when observing and photographing
faint celestial objects.
2" Dual-Speed Crayford Focuser
The 6" f/4 Newtonian Astrograph features an all-metal, 2" dual-
speed (10:1) Crayford-type focuser (Figure 3) with a linear
bearing rail for added stability. A steel reinforcing plate inside
the optical tube just under the focuser provides extra rigidity,
minimizing “exing” of the focuser housing on the tube due to
the weight and moment arm of your imaging camera.
If the drawtube slips under the weight of your imaging system
or heavy visual accessories, tighten the drawtube tensioning
thumbscrew on the underside of the focuser as needed. On
the other hand if the focuser motion seems too stiff, loosen the
drawtube tensioning thumbscrew a bit. Once focus is reached,
you can lock the drawtube in place by tightening the focus lock
knob on the top side of the focuser. The focuser drawtube has
a 2" collar on the end of it, with two thumbscrews, for attach-
ment of 2" accessories. The telescope comes with a 1.25" eye-
piece holder inserted into the 2" collar that can be used with
1.25" eyepieces or accessories.
Fine Focus
The dual-speed, linear bearing Crayford focuser features both
coarse and ne focusing wheels. The two large, silver-colored
wheels are for coarse focusing. The small black wheel next
to the large focus wheel on the right allows ne-focus adjust-
ment at a gear ratio of 10:1, meaning ten turns of the ne focus
wheel equals one turn of the large focus wheel. Use the large
focus wheels to achieve rough focus on your target object, then
use the ne focus wheel to home in on the exact focus point.
Attaching the Finder Scope
The included 8x50 crosshair nder scope is useful for locating
objects in the sky and centering them in the main telescope’s
eld of view. To install it, rst remove the O-ring from the brack-
et and place it over the body of the nder scope until it seats
in the narrow groove near the middle of the nder or is just
behind it. Unthread the two black nylon alignment screws on
the bracket until the screw ends are ush with the inside sur-
face of the bracket. Slide the eyepiece end (narrow end) of the
nder scope into the end of the bracket’s cylinder opposite the
alignment screws while pulling the chrome, spring-loaded ten-
sioning pin on the bracket with your ngers (Figure 4a). Push
the nder scope through the bracket until the O-ring seats just
inside the front opening. Release the tensioner and tighten the
two black nylon screws a couple of turns each to secure the
nder scope in place. Now slide the foot of the nder scope
bracket into the dovetail base on the main telescope.You’ll rst
have to back out the thumbscrew lock on the dovetail base a
few turns to allow the bracket to slide in. Once the bracket is
inserted, tighten the thumbscrew lock (Figure 4b).
Aligning the Finder Scope
The nder scope and the main telescope must be aligned so
they point to exactly the same spot in the sky. Alignment is
easiest to do in daylight. First, insert an eyepiece (a crosshair
eyepiece is best) into the eyepiece holder in the telescope’s
focuser. Point the telescope at an object such as the top of a
telephone pole or a street sign that is at least a quarter mile
away. Move the telescope so the target object appears in the
very center of the eld of view when you look into the eyepiece.
Now look through the nder scope. Is the object centered in
the nder scope’s eld of view? If not, hopefully it will be visible
somewhere in the eld of view, so that only a minor adjustment
of the nder scope’s two alignment screws will be needed to
center it. Otherwise you’ll have to make coarser adjustments to
redirect the aim of the nder scope.
