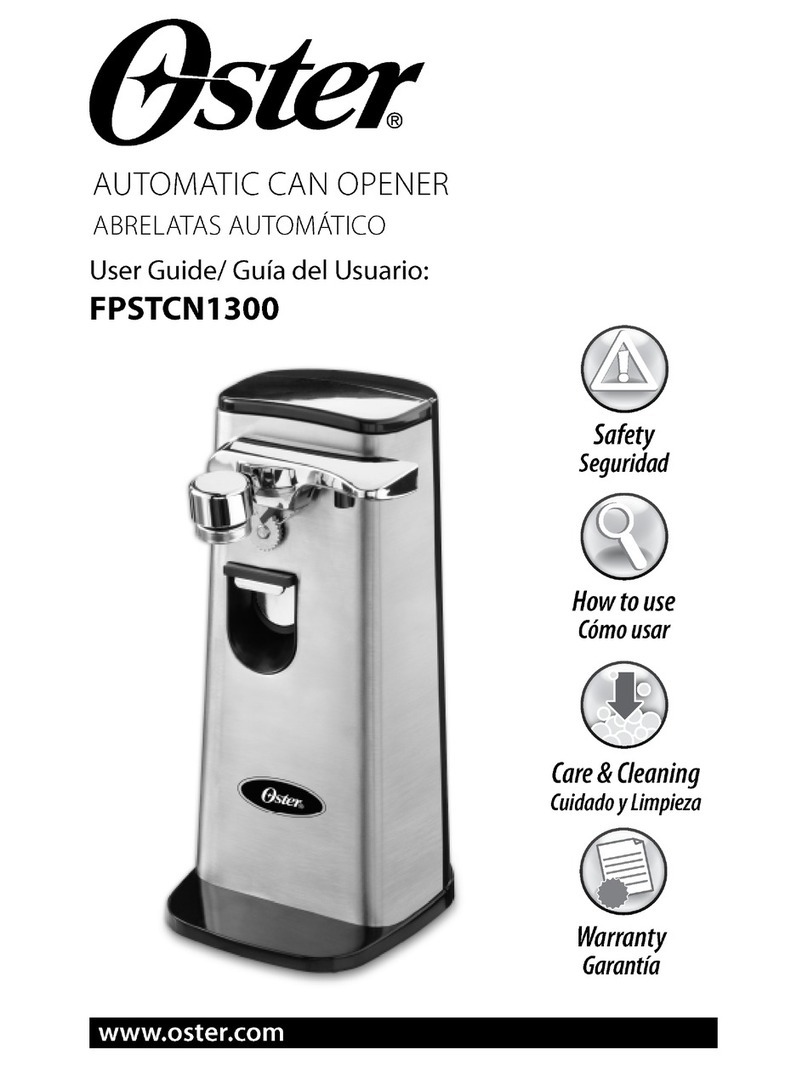
Oster FPSTCN2000 User manual

ELECTRIC CAN OPENER
User Guide:
FPSTCN2000
www.oster.com
Safety
How to use
Care & Cleaning
Warranty
Printed in China
© 2020 Sunbeam Products, Inc. Product of: Sunbeam Products Inc.
2381 NW Executive Center Dr. Boca Raton, FL, 33431.
www.oster.com
1-800-334-0759
1 Year Limited Warranty.
Due to continuing product development, product inside may look
slightly dierent.
FPSTCN2000_20EM1 P.N. 199235 Rev B
GCDS-OST-JC
FPSTCN2000_20EM1.indd 24-1FPSTCN2000_20EM1.indd 24-1 12/4/20 10:1912/4/20 10:19

www.oster.com www.oster.com
23
IMPORTANT SAFEGUARDS
When using electrical appliances, basic safety precautions should always
be followed to reduce the risk of re, electric shock, and/or injury to
persons including the following:
1. Read all instructions before using this product.
2. To protect against electric shock, do not place or immerse cord, plugs,
or appliance in water or other liquid.
3. This appliance is not intended for use by children or by persons with
reduced physical, sensory, or mental capabilities, or lack of experience
and knowledge. Close supervision is necessary when any appliance is
used near children. Children should be supervised to ensure that they
do not play with the appliance. Keep the appliance and its cord out of
reach of children.
4. Turn any controls to OFF, then unplug from outlet when not in use,
before putting on or taking o parts and before cleaning. Allow to cool
before putting on or taking o parts, and before cleaning.To unplug,
grasp the plug and pull from the outlet. Never pull from the power cord.
5. Avoid contacting moving parts.
6. Do not operate any appliance with a damaged cord or plug or after the
appliance malfunctions, or has been damaged in any manner. Do not
attempt to replace or splice a damaged cord. Return appliance to the
manufacturer (see warranty) for examination, repair or adjustment.
7. For appliances with markings on plug blade: This appliance has
important markings on the plug blade. The attachment plug or entire
cordset (if plug is molded onto cord) is not suitable for replacement. If
damaged, the appliance shall be replaced.
8. The use of accessory attachments not recommended or sold by the
appliance manufacturer may cause re, electric shock or injury.
9. Do not use outdoors or for commercial purposes.
10. Do not let cord hang over edge of table or counter, or touch hot
surfaces, including the stove.
11. Do not use appliance for other than intended use. Misuse can cause
injuries. Always use appliance on a dry, stable, level surface.
12. Do not open pressurized (aerosol-type) cans.
13. Do not open cans of ammable liquids such as lighter uids.
14. Carefully route the power supply cord to avoid damage from the knife
blades while sharpening.
15. Do not operate this appliance in the presence of explosive or
ammable fumes.
16. Use caution when sharpening knives. Always maintain hands away
from knife blade.
17. For models with retractable cords: Always hold plug while retracting
the cord.
18. For models with removable can opener levers: Blade is sharp, handle
with care when removing or installing parts, when cleaning, and
especially around children. Do not allow children access to the lever.
SAVE THESE INSTRUCTIONS
HOUSEHOLD USE ONLY
Thank you for purchasing the OSTER® Can
Opener. Before you use this product for the rst time,
please take a few moments to read these instructions
and keep it for reference. Pay particular attention to the
Safety Instructions provided. Please review the product
service and warranty statements. To learn more about
Oster®products, please visit us at www.oster.com or
call us at 1-800-334-0759.
North American models with polarized plugs:
POLARIZED PLUG
This appliance has a polarized plug (one blade is wider than
the other). To reduce the risk of electric shock, this plug is
intended to fit into a polarized outlet only one way. If the
plug does not fit fully into the outlet, reverse the plug. If it
still does not fit, contact a qualified electrician. Do not attempt to modify the
plug in any way. If the plug fits loosely into the AC outlet or if the AC outlet
feels warm do not use that outlet.
FPSTCN2000_20EM1.indd 2-3FPSTCN2000_20EM1.indd 2-3 12/4/20 10:1912/4/20 10:19

www.oster.com www.oster.com
45
LEARNING ABOUT YOUR OSTER®
CAN OPENER
a
d
b
c
Magnetic Lid Lifter
Can Opener Lever
Drive Wheel
Cutting Blade
e
f
g
Knife Sharpening Slot
Bottle Opener
Retractable Cord Storage
HOW TO:
Opening cans
1Plug electrical cord into 120 volt,
60 Hz AC outlet.
2Pull up on the magnetic lid lifter until
it locks in the up position, then gently
lift the can opener lever to the upright
position as shown in Figure 1.
3Place the can so that the lower edge
of the can lip rests on top of the drive
wheel. Be certain that the cutting blade
is on the inside of the can lip as shown
in Figure 2.
4Push can opener lever down rmly and
hold until the can lid is automatically
pierced and the cutting action begins
as shown in Figure 3. NOTE: It is not
necessary to hold the can opener lever
down during the cutting cycle.
5When the can is fully open, the
cutting action will automatically stop.
The can will remain in position until the
lever is raised.
6To release, grasp the can rmly in one
hand and raise the lever using the
other hand. The magnetic lid lifter will
retain the lid as shown in Figure 4.
Figure 1
Figure 2
Figure 3
Figure 4
b
c
a
d
e
f
g
FPSTCN2000_20EM1.indd 4-5FPSTCN2000_20EM1.indd 4-5 12/4/20 10:1912/4/20 10:19

www.oster.com www.oster.com
67
Helpful Hints For Using Your Can Opener
• This can opener should not be used to open cans
designed to be opened by another method, such as a
pull tab, peel-o, foil seal, or rolling key. This can opener
will not open rimless cans or cans with angled corners.
• Occasionally, badly dented cans will cause the can
opener to stall. If this happens, grasp the dented can
and guide it through the cutting action manually until
the damaged areas are passed.
• To open a can that has become jammed, raise the can
opener lever and release the can. Begin the cutting
action again in a new place on the can lip.
Sharpening Knives
Do not attempt to sharpen hollow ground blades or those
with serrated edges. Always use safe practices when using
or sharpening knives, maintain hands away from knife
blade.
1Be sure knife is clean and free of grease.
2Place heel of knife into the guide slot located on the
back of the can opener.
3Lightly draw the handle side of the knife towards you,
applying a slight downward pressure.
4Repeat this procedure four to ve times to put a sharp
edge on the knife.
Opening Bottles
1The bottle opener at the front of the unit will only
remove metal bottle caps. Do not use it for screw-o
caps, punch in tabs, or on cans with pull rings.
2To open a bottle, grasp it and position the cap under the
metal “hook”in the bottle opener located on the front of
the unit below the lever.
3Hold the can opener with the other hand and pull down
on the bottle to pop the cap o.
CAUTION: Be sure the “hook” is not under the bottle neck or
the glass may break.
Retractable Cord Feature
This can opener has a unique retractable cord storage
feature which allows for easily storing your cord neatly out
of sight. Do not use product if cord or plug is damaged.
CAUTION: When retracting the cord, always hold the plug
with one hand to avoid possible injury.
1Select the amount of cord desired before plugging into
an electrical outlet. Do not use excessive force.
Hold the can opener with one hand and use the other
hand to grab the cord plug (failure to hold plug may
cause plug to y).
2To retract the cord, press the retraction button located
on the back of the unit.
3The cord reel is compact for multi-layer winding of the
cord. In case cord is not fully rewound, carefully pull out
the cord and steer cord evenly on the reel.
4In case the cord is not pulled out easily, pull cord rmly.
CAUTION: Do not allow children to use retractable cord
feature as the cord may cause injury.
FPSTCN2000_20EM1.indd 6-7FPSTCN2000_20EM1.indd 6-7 12/4/20 10:1912/4/20 10:19

www.oster.com www.oster.com
89
CARE & CLEANING
Cleaning Your Electric Can Opener
CAUTION: UNPLUG THE CAN OPENER WHEN NOT IN
USE AND BEFORE ANY CLEANING
CAUTION: Never immerse the can opener, cord, or plug
in water or other liquids.
CAUTION: Blade is sharp, handle with care when
removing or installing parts, when cleaning, and
especially around children. Do not allow children access
to the lever.
• To insure proper sanitation, all removable parts on the
can opener should be detached and cleaned thoroughly
in warm, soapy water at regular intervals. Rinse and
dry thoroughly.
• To clean motor housing, wipe clean using a damp cloth.
• Wipe o drive wheel with a damp cloth.
NOTE: DO NOT place any parts of this unit in the dishwasher.
Removable blade assembly
Blade assembly can be easily removed for cleaning and
replaced when done.
1To detach the can opener lever from the unit
a. Gently lift the can opener lever to the upright position
b. Hold the can opener with one hand while gently
pulling the can opener lever away from the front of
the unit with the other.
2To re-attach the can opener lever back on the unit
a. Hold the can opener lever in the vertical position.
b. Insert shaft into the key hole near the drive wheel
and push the lever in all the way.
c. Rotate the can opener lever clockwise until
it is horizontal.
NOTE: If lever is properly engaged, it cannot be removed
from the can opener when in horizontal position.
HINT: Cutting mechanism may collect food or paper from
can labels and should be washed frequently.
Maintenance
The motor and internal gears of your can opener unit are
permanently lubricated at the factory for lifetime service
and require no further attention. The cutting blade is made
of hardened steel and will last for years under normal use.
Do not attempt to sharpen.
This appliance has no user serviceable parts. Any servicing
beyond that described in the Cleaning Section should be
performed by an Authorized Service Representative only.
See Warranty Section.
FPSTCN2000_20EM1.indd 8-9FPSTCN2000_20EM1.indd 8-9 12/4/20 10:1912/4/20 10:19

www.oster.com www.oster.com
10 11
1 Year Limited Warranty
Sunbeam Products, Inc., or if in Canada, Newell Brands Canada ULC,
(collectively “Sunbeam”) warrants that for a period of one year from
the date of purchase, this product will be free from defects in material
and workmanship. Sunbeam, at its option, will repair or replace this
product or any component of the product found to be defective
during the warranty period. Replacement will be made with a new or
remanufactured product or component. If the product is no longer
available, replacement may be made with a similar product of equal
or greater value. This is your exclusive warranty. Do NOT attempt to
repair or adjust any electrical or mechanical functions on this product.
Doing so will void this warranty.
This warranty is valid for the original retail purchaser from the date of
initial retail purchase and is not transferable. Keep the original sales
receipt. Proof of purchase is required to obtain warranty performance.
Sunbeam dealers, service centers, or retail stores selling Sunbeam
products do not have the right to alter, modify or any way change the
terms and conditions of this warranty.
This warranty does not cover normal wear of parts or damage resulting
from any of the following: negligent use or misuse of the product,
use on improper voltage or current, use contrary to the operating
instructions, disassembly, repair or alteration by anyone other than
Sunbeam or an authorized Sunbeam service center. Further, the
warranty does not cover: Acts of God, such as re, ood, hurricanes
and tornadoes.
What are the limits on Sunbeam’s Liability?
Sunbeam shall not be liable for any incidental or consequential
damages caused by the breach of any express, implied or statutory
warranty or condition.
Except to the extent prohibited by applicable law, any implied
warranty or condition of merchantability or tness for a particular
purpose is limited in duration to the duration of the above warranty.
Sunbeam disclaims all other warranties, conditions or representations,
express, implied, statutory or otherwise.
Sunbeam shall not be liable for any damages of any kind resulting
from the purchase, use or misuse of, or inability to use the product
including but not limited to: incidental, special, consequential or
similar damages or loss of prots, or for any breach of contract,
fundamental or otherwise, or for any claim brought against purchaser
by any other party.
Some provinces, states or jurisdictions do not allow the exclusion
or limitation of incidental or consequential damages or limitations
on how long an implied warranty lasts, so the above limitations or
exclusion may not apply to you.
This warranty gives you specic legal rights, and you may also have
other rights that vary from province to province, state to state or
jurisdiction to jurisdiction.
How To Obtain Warranty Service
In the U.S.A.
If you have any question regarding this warranty or would like to
obtain warranty service, please call 1-800-334-0759 and a convenient
service center address will be provided to you.
In Canada
If you have any question regarding this warranty or would like to
obtain warranty service, please call 1-800-667-8623 and a convenient
service center address will be provided to you.
In the U.S.A., this warranty is oered by Sunbeam Products, Inc.,
located in Boca Raton, Florida 33431. In Canada, this warranty is
oered by Newell Brands Canada ULC, located at 20 B Hereford Street,
Brampton, Ontario L6Y 0M1. If you have any other problem or claim
in connection with this product, please write our Consumer Service
Department.
PLEASE DO NOT RETURN THIS PRODUCT TO ANY OF THESE
ADDRESSES OR TO THE PLACE OF PURCHASE.
FPSTCN2000_20EM1.indd 10-11FPSTCN2000_20EM1.indd 10-11 12/4/20 10:1912/4/20 10:19
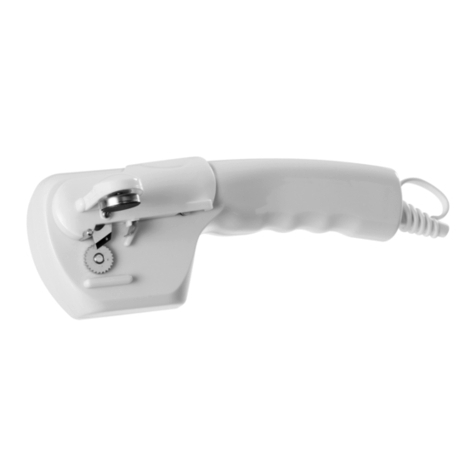
Table of contents
Other Oster Can Opener manuals
Popular Can Opener manuals by other brands

Rommelsbacher
Rommelsbacher DO 65 instruction manual

SEVERIN
SEVERIN DO 3854 Instructions for use

Hamilton Beach
Hamilton Beach Penguin 76250 Use and care guide

Continental Refrigerator
Continental Refrigerator CP42265 user manual

OneTouch
OneTouch KC08 operating instructions

OneTouch
OneTouch KC33 user manual