54
8AA Alkaline Batteries
Photos shot per day Working time Video clips shot per day Working time
IR LEDs 56
Max.Range 100 pics 36 days
10secs video clips 10 clips 37 days
Balanced 100 pics 31 days
Min. Blur 100 pics 21 days
IR LEDs 25
Photo 100 pics 89 days 10secs video clips 10 clips 179 days
The camera will use more battery life in 3G mode because it is then sending the image after taking it. The better the
3G reception in the area the less battery life the camera will use. If the camera is struggling for reception it will use a
lot more battery life because it is taking a lot longer to send the image.
b. Solar Panel
Our engineers have designed this camera to function with most standard 12V/1~2A built in lithium battery solar
panels. However, as rechargeable AA NiMH batteries need a higher voltage for charging, the solar panel cannot charge
the batteries in the camera. Outdoor Cameras Australia have designed a solar panel and battery set up to work with
the unit. Just ask us for more information.
c. Power Adaptor—Security Surveillance Purpose
This camera can also be powered by an external 12V/ 1~2A DC adapter. Remove the AA batteries when the power
adapter is used.
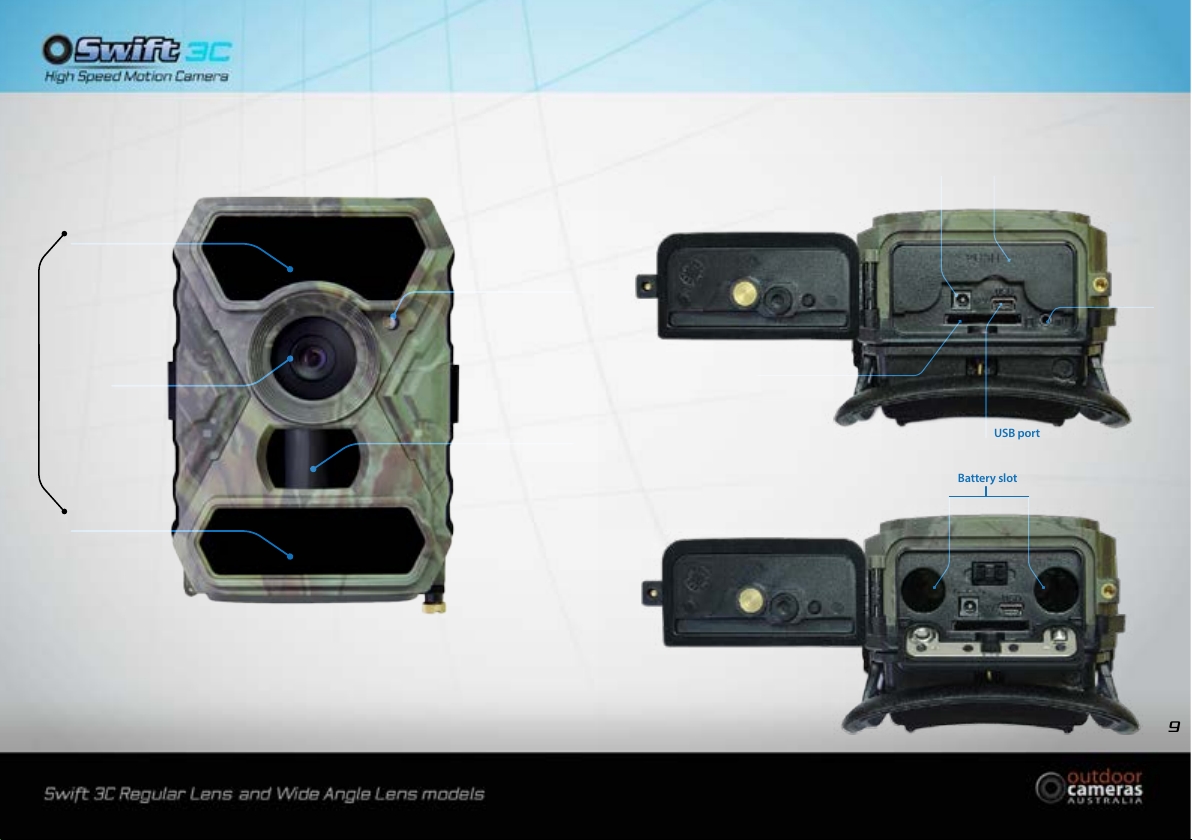
1.2 SD Card Selection
A memory card is required to operate the camera. When the camera is “ON” and no memory card is used, the screen
displays“Pls insert memory card”.The SD slot of the camera has a 32 GB memory capacity. Before inserting or removing
the memory card, the camera must be turned“OFF”. Failing to do so may cause loss of or damage of the pictures already
recorded from the memory card. When the SD card is full, the viewing screen indicates“Memory Full”. SD cards must not
have les or folders from other devices on them. This can stop the camera from recording data onto the card and then
atten the batteries. The following data shows an approximate quantity of photos which can be recorded by the camera
depending on the memory card capacity.
The Chart below will show you the approximate capacity of dierent size SD cards. Please check to see which size card
can t your needs best.
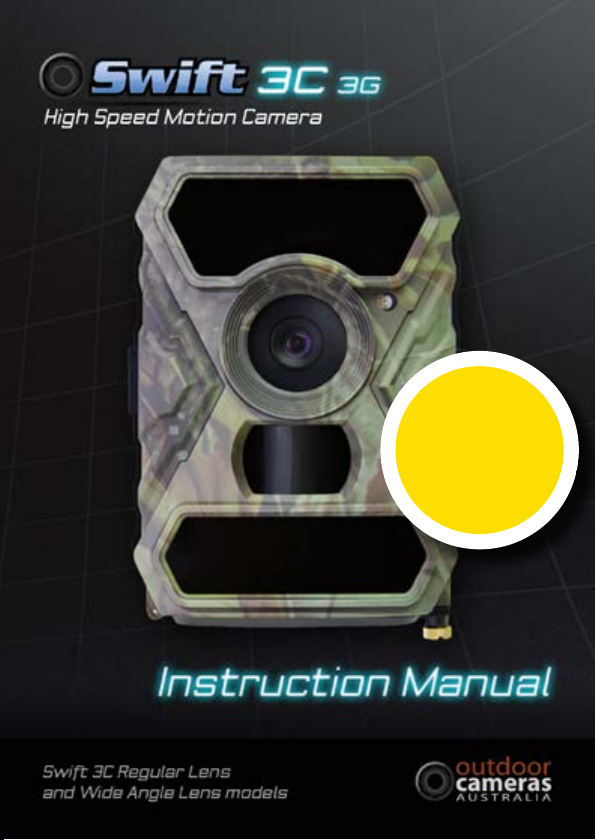
1.0 Introduction
The OCA Swift 3C 3G digital motion camera is an extremely versatile unit which you may nd more uses for than your
original intent. It is perfect for surveillance on farms, large commercial premises, illegal roadside dumping, and residential
areas. Due to their exceptional speed they are also great for wildlife monitoring both recreationally and for scientic
studies. They also have a time-lapse function which when combined with their long battery life, and weatherproof shell
make them popular for long term time-lapse photography of construction projects. The addition of the 3G capabilities to
transmit images to your phone or email or via FTP to a remote website increases their abilities even more.
Make yourself familiar with the functions of the camera and if you need assistance know that you can contact Outdoor
Cameras Australia Mon-Fri 9-5.
1.1 Power Supply
a. Batteries
The camera runs on 8 AA size batteries (12V power supply to ensure camera performs on all functions). It can
work with high quality alkaline, high-quality NiMH, and high quality Lithium rechargeable batteries. We suggest
running the camera on either NiMH and Lithium batteries only as the performance with alkaline batteries is
much poorer than with NiMH or Lithium batteries -especially for night time photo and video.
Batteries should be inserted as indicated inside the battery case. Upside down batteries may cause a malfunction.
Also, we strongly recommend changing the batteries when the power icon on the camera screen or photo stamp
is empty.
Note: Don’t mix batteries types! Dierent battery types in the camera may cause permanent damage
which also violates warranty policy!
Due to dierent settings, the objects activities within camera detection zone, dierent brands and quality of batteries,
and environment, etc. we’re not able to determine the exact number of photos and videos that the camera can take.
The table below only shows approximate number of photos or videos the camera can take with 8AA alkaline batteries.
Better performance can be given by 8 AA rechargeable NiMH and Lithium batteries. We have found that battery
brand signicantly alters the number of images you can get. If you are using alkaline batteries we highly recommend
Duracell or Energizer. The below table applies to the camera taking photos and video only. Not with it’s 3G function
turned on.