Outsight Creamsource Micro+C User manual

USER MANUAL
For firmware v1.0 and above

2
1. Welcome ..................................................................1
2. Getting Started........................................................ 2
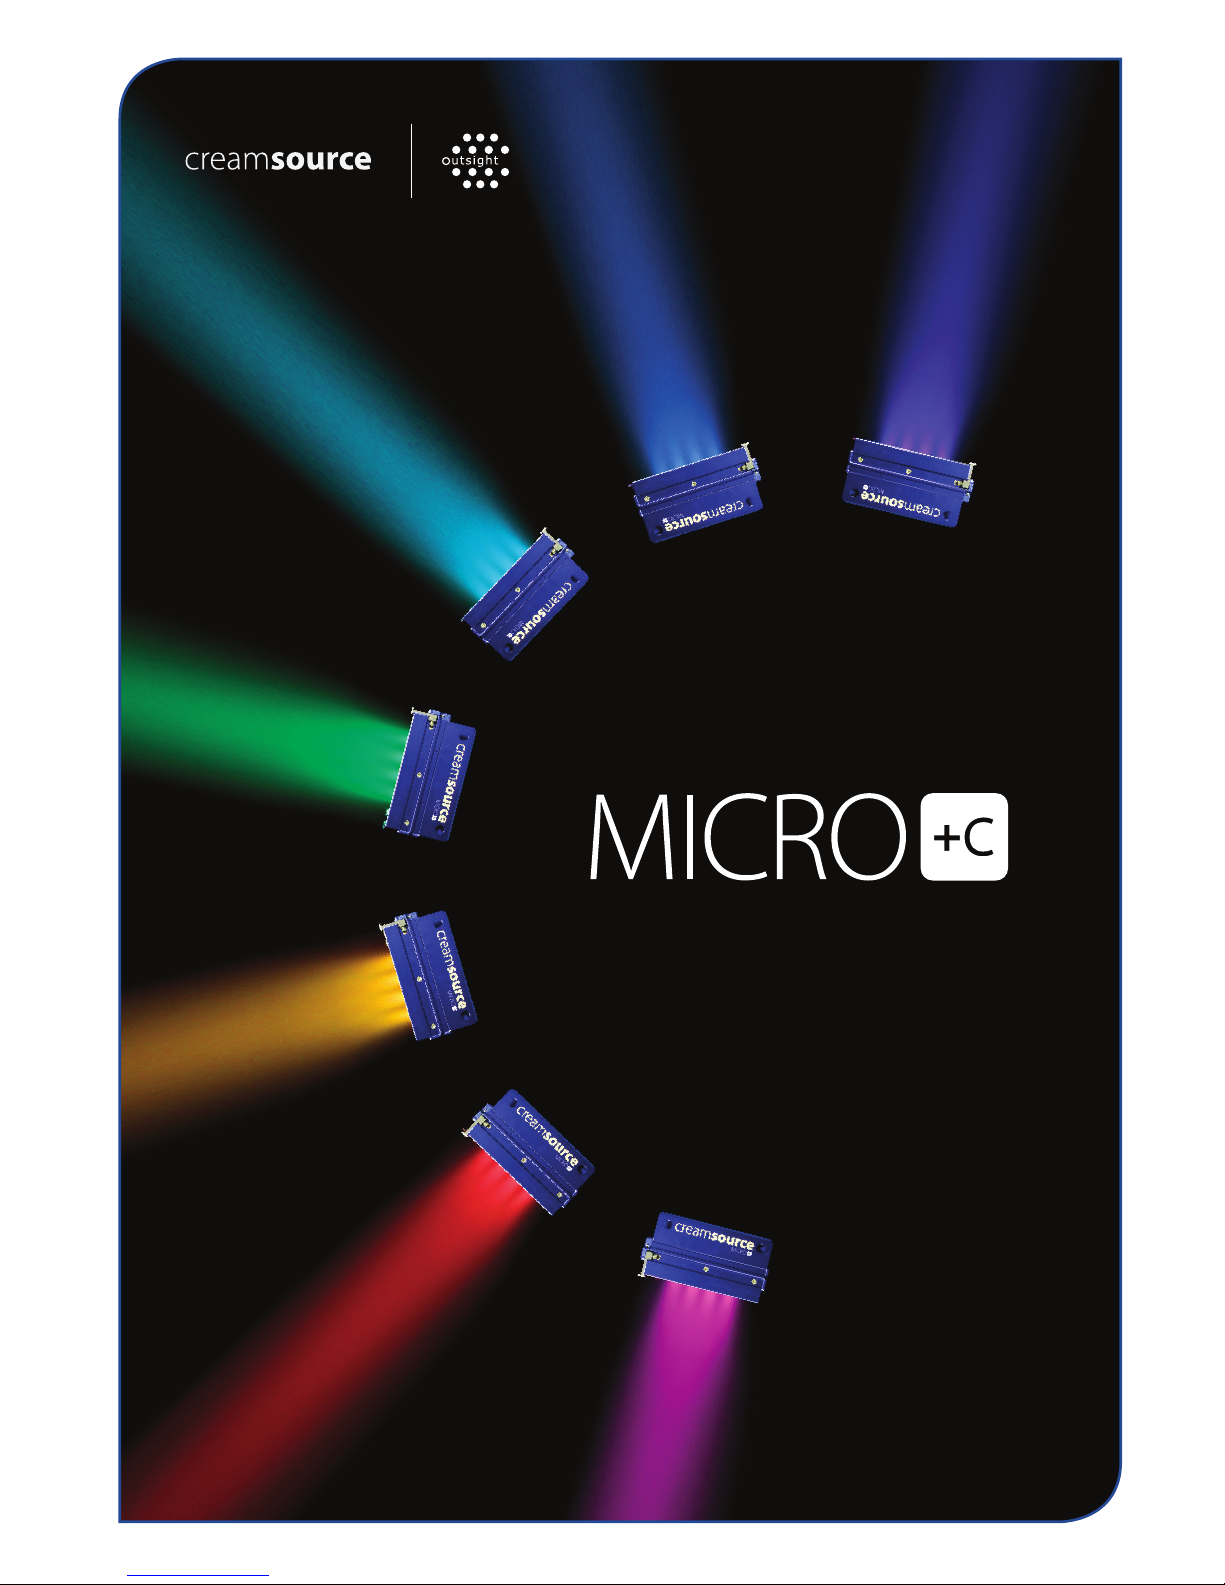
2.1 What’s included ....................................................2
2.2 Powering Up and Down ........................................ 3
2.3 Batteries ............................................................... 3
3. Water, weather and temperature .............................4
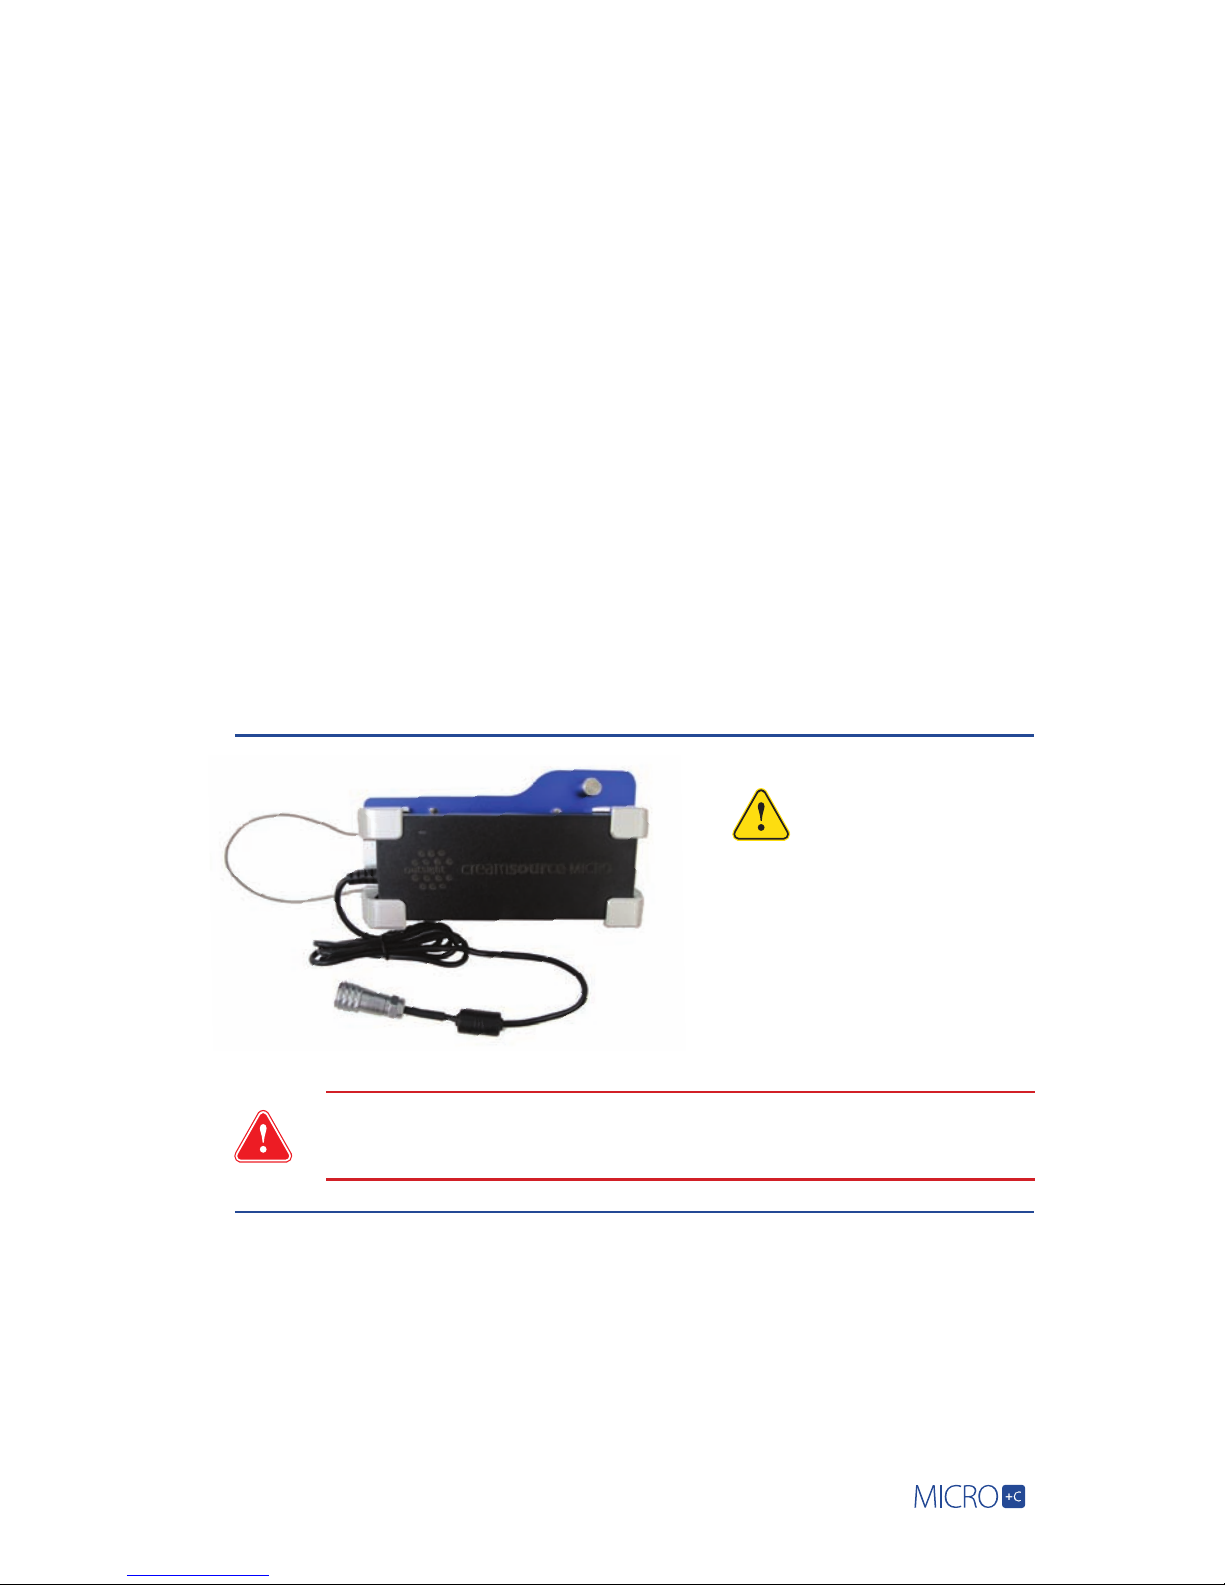
4. Rigging and Safety................................................... 5
4.1 Quick Release Yoke...............................................6
4.2 Multi Yoke.............................................................6
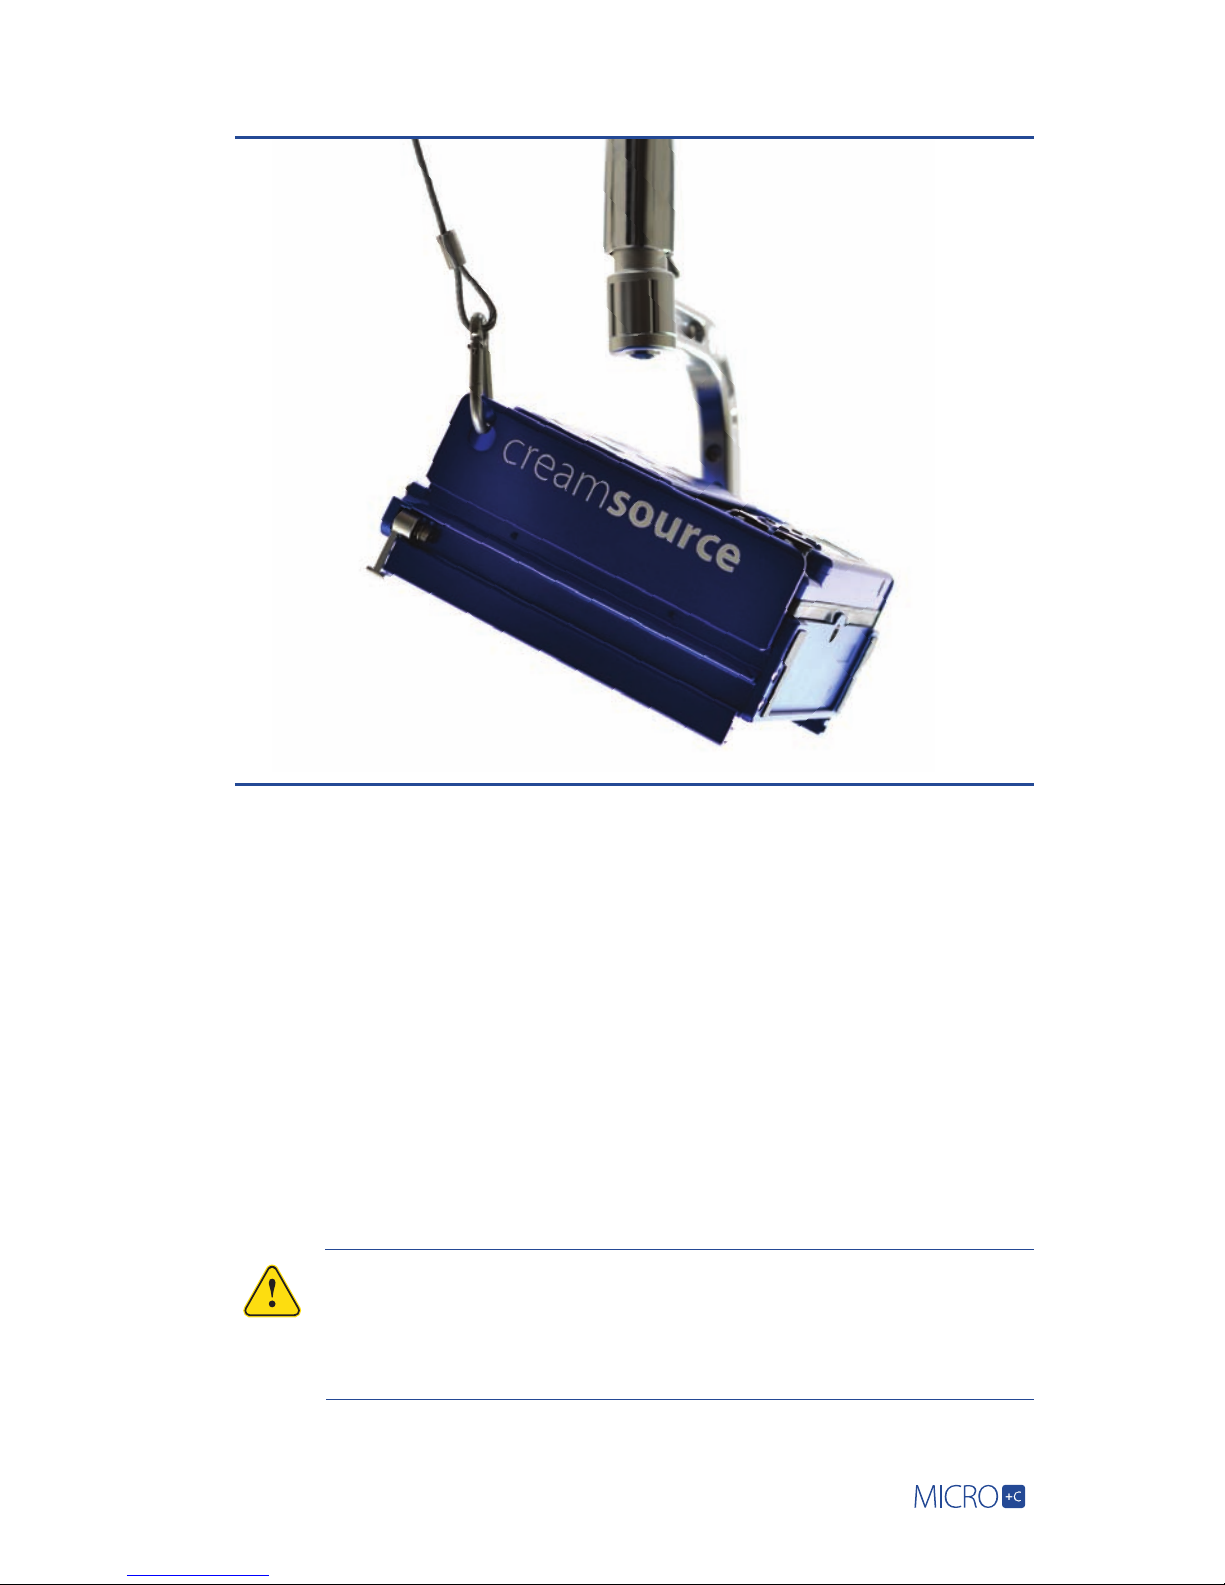
4.3 Universal Mount Plate...........................................7
4.4 3/8” Tapped (threaded) Hole................................8
4.5 Optional Spigot ....................................................8
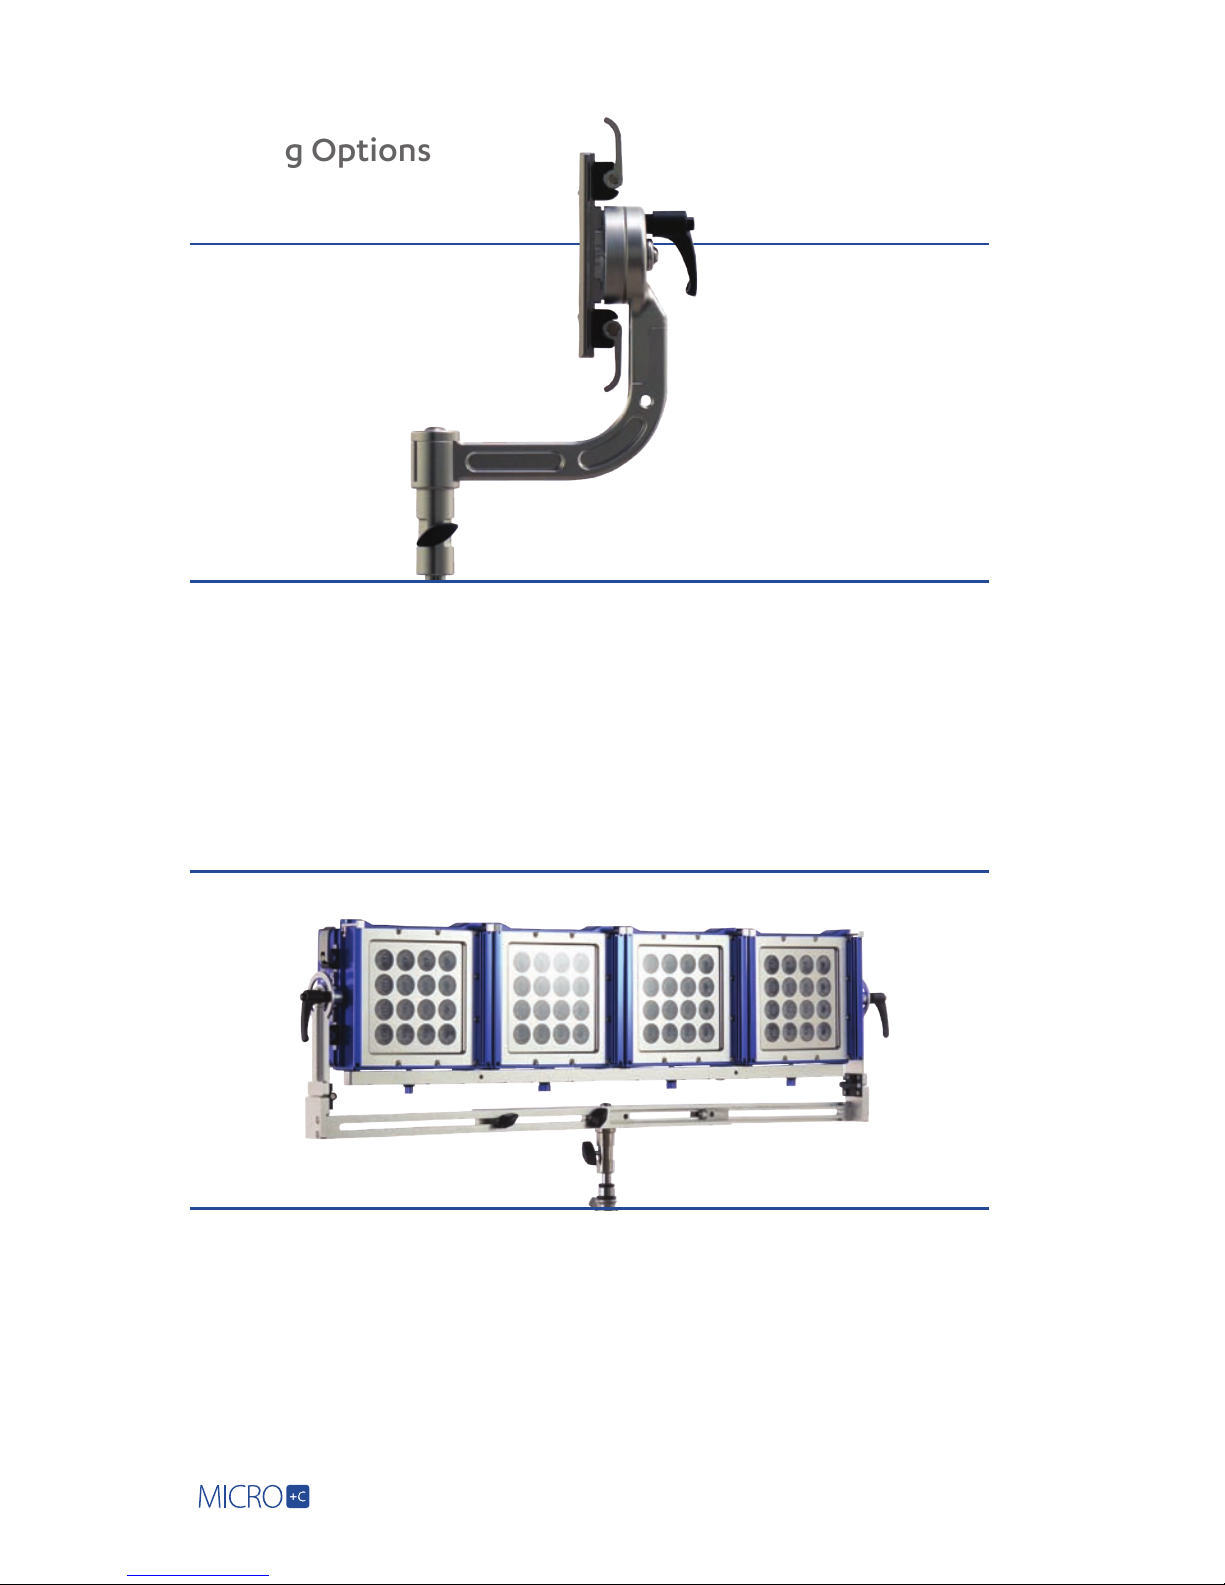
4.6 Gels and Lenses ....................................................9
4.7 Light Shaping tools ...............................................9
4.8 Dome Diffusers................................................... 10
5. Controls ................................................................. 11
5.1 Control Wheel and Buttons.................................. 11
5.2 LCD Display and Menu .........................................12
5.3 Low Battery Warning............................................13
6. Change Settings with Menus................................... 13
6.1 Colour Mode - Normal CCT ................................ 18
6.2 Colour Mode - Colour HSV ................................. 18
6.3 Colour Mode - Colour RGBW .............................. 19
6.4 Colour Mode - Colour XY ................................... 19
6.5 Colour Mode - Lighting Gels............................... 19
6.6 Colour Mode - Crossfades ..................................20
6.7 Colour Mode - BUMP COLOUR............................21
6.8 Colour Mode - REMOVE BUMP............................21
7. Effects Modes........................................................ 22
7.1 Normal ............................................................... 22
7.2 Dual Level ........................................................... 23
7.3 Strobe and Flashes.............................................. 23
7.4 Random Flashes.................................................. 23
7.5 Timed Flash (FlashBandit – sync to shutter)........24
7.6 Flash Frames ....................................................... 24
7.7 Colour Cycle .......................................................24
8. Syncing ..................................................................25
8.1 Syncing to camera using Flashbandit.................. 25
8.2 Calibrate with Flashbandit .................................. 26
8.3 Slave Multiple Creamsource Units ......................28
9. DMX Control ......................................................... 29
10. Accessories Port and Pinout Specifications ............. 31
Contents

1
Welcome
Thank you for buying a Creamsource Micro+C from Outsight.
We design and engineer our products to the highest standards
to be used under the challenging circumstances that come with
motion picture and television production. This unit will give you
years of reliable service.
This manual will explain the multiple functions of the
Creamsource Micro+C and its capabilities as a stand alone
unit as well as working in sync with other units, cameras and
accessories. We are always eager to find out about new and
unusual applications for our products as well as suggestions
for future features.
Please let us know about your experiences on social media or
email: ideas@creamsource.com
Chapter 1:
.com/outsightglobal
@OutsightGlobal
outsightglobal

2
1
2
3 4 5
Chapter 2: Getting Started
2.1 What’s included:
If you have purchased your Creamsource Micro+C as an Essential Kit, you will
receive the following:
1. Creamsource Micro Rigging Yoke
2. Creamsource Micro Luminaire fixture
3. Creamsource Micro Power Supply with
Mounting Bracket
4. Creamsource Micro Power Cable
5. Creamsource Micro 60° Lens

3
If the external flexible cable of
this luminaire is damaged, it
must be replaced by an original
cable from the manufacturer
or service agent.
2.2 Powering Up and Powering Down:
Before you power up make sure you read all the safety warnings (page 33), it won’t
take much time.
• Use only the power supply that comes with the Creamsource Micro+C. Its
input is auto-ranging from 100-240V AC, 50/60Hz for use world-wide.
• Attach power supply to main power source. With the power supply turned
OFF, connect the power cable to the light head. This procedure will extend
the life of the connectors.
• The Creamsource Micro+C remembers its last brightness setting, if the light
was turned on or off and the last MODE it was used in.
• Up to 10m (32ft) of extension cable can be run between the power supply and
the head.
The power should be switched off before unplugging the cable. There are no
other special procedures for powering down - it can be done at any time without
harm to the unit.
2.3 Batteries
The Creamsource Micro+C can be run on DC battery power directly with no
additional hardware required. Any voltage source between 10V and 32V which is
capable of 80 watts draw can be used. The LED array will turn off if the voltage falls
below 10V, so it is advisable to use 14.4V or higher for best performance.
The standard Power Supply IS NOT water resistant, please make
sure to keep in a dry location to avoid electric shock

4
Chapter 3: Water, Weather and Temperature
The IP65 rating of the Creamsource Micro+C Head means it can survive low
pressure water jets in all directions, BUT not full submersion. It also means that it
has a high resistance to dust and dirt. Still precautions are advised.
Note that the standard accessories are not water resistant - for
example battery mount, remote, power supply etc.
Temperature
As the Creamsource Micro+C is a high-power device, it will get hot during normal
operation, and care must be taken when touching the unit.
• The maximum surface temperature of the lamp head will be 60º C/140ºF,
when operated in an ambient temperature of 25º C/77º F
• Maximum ambient temperature for normal operation is 40ºC/104ºF.

5
Chapter 4: Rigging and Safety
Recommended rigging position for the Creamsource Micro+C is with the cooling
fins in a vertical orientation. This allows for the best natural cooling of the unit.
It can be mounted in other positions BUT care must be taken not to smother the
cooling fins on the back of the unit. Keep a 10cm/4in. clearance around the unit
to maintain air flow.
If rigging the unit above people, from vehicles, moving platforms, or hanging from
any rigging, be sure to secure the unit through the safety-cable holes located
at each end of the unit using approved and correctly rated safety cables, chains
or carabiners.
Use appropriate safety cable for 4kg load. If the unit is to be
mounted suspended, it is necessary to replace the standard spigot
with a 28mm DIN or Euro spigot - please contact Outsight for
more details

6
Rigging Options
4.1 Quick Release Yoke:
A combo Junior/Baby spigot - compatible with a large range of stands and
other rigging equipment. The yoke is quickly fitted without tools. Simply
flip the levers on each side of the yoke to the UP position, and slide the yoke
onto the unit. Then press the lockers “levers” down to lock.
4.2 Multi Yoke:
The Multi Yoke (Part number CSU-YOKE-1X4) is designed to complement
the Creamsource Micro as an accessory that allows the deployment of two,
three or four units in a linear array. It features a quick release tool-less setup,
and folds down for easy transport.

7
4.3 Universal Mount Plate:
The universal mount plate on the back of the Micro can be used to mount the
Power Supply and Battery mount. It can also be used for rigging - it is compatible
with mounting accessories from Kino Flo, such as the MTP-BF41S (“lollipop”)
mount. To release, lift the spring pin and turn plate counter-clockwise.

8
4.5 Optional Spigot:
Suitable for floor stand mounting only. (Supplied with ‘Basic Kit’).
4.4 3/8” Tapped (threaded) Hole:
Another mounting option is the 3/8” hole tapped (threaded) directly in
the base and top of the unit.

9
4.6 Gels and Lenses:
The Micro+C has a native spot beam angle of 20°. Highly efficient 20°, 60° & 100°
holographic Lenses are available to widen the native beam angle. Empty gel
frames are also available if you want to fit your own diffusion or filters.
4.7 Light Shaping tools:
Optional extras- Barn Doors, Lightbanks and Grids
Other setup accessories

10
4.8 Dome Diffusers:
The Creamsource Micro Dome diffuser system creates an instant softlight from
the Creamsource Micro. The qualities of the light can be manipulated by adding
additional lenses or barn doors for control. Manufactured from durable optical
grade polycarbonate and designed for years of rough service these domes come
in two grades, Medium (CSU-DOME-M) and Heavy (CSU-DOME-H).

11
Chapter 5: Controls
5.1 Control Wheel and Buttons
1) The control wheel adjusts the intensity or colour temperature of the light
output. It is speed sensitive, so it can be turned slowly for fine adjustments,
or quickly for rapid changes. It is also used to change other settings such as
strobe frequency or dual flash level when using these modes and to scroll up
and down through the menu system.
Under normal operation the buttons have dedicated functions:
2) MENU - press to display menu
3) NEXT - press to select next setting to adjust (then use wheel to change)
4) ON/OFF - press to turn light on and off
5) FLASH - flashes light on or off when held down
When in the menu, the buttons have the following functions:
1) Use the control wheel to scroll through the menu items, or change
setting values
6) Back - press to go back a menu level. Hold to return to main screen
Up - press to scroll up, or increase setting value. Hold to scroll quickly
Select - press to accept current menu item or setting
Down - press to scroll down, or decrease setting value.
Hold to scroll quickly
Creamsource 3200K
NEXT
micro
MENU
FLASH
10-32V DC
ACC
ON/
OFF
1OO%
16
2 3 4
5

12
5.2 LCD Display and Menu
General Info Display
This is the normal display mode of the Creamsource. The current intensity
level is displayed, along with additional information in the status area at the top
of the screen:
• The navigation dots give a visual
guide as to which setting is
currently active. Press NEXT to
advance to the next setting (e.g.
Level, CCT, GRN/MAG)
• The text FX appears when any
effects mode is enabled.
• The symbol appears if a colour
bump setting is currently active
(see section 6.7)
• The text appears when a DMX
signal is detected
• A lock icon indicates when the
rotary wheel is locked, or the unit is
receiving commands from another
source (for example the Remote or
another Creamsource)
• Frame rate is displayed upper right
when an external sync signal is
present.
• ‘EXT’ is displayed in upper right
when External Triggering mode is
enabled.
FX STROBE
*DMX
EXT
O.O%
FX STROBE
*DMX
EXT
O.O%
FX STROBE
*DMX
EXT
O.O%
FX STROBE
*DMX
EXT
O.O%

13
5.3 Low Battery Warning
If the input voltages falls within 10% of
the user-definable Shutdown Voltage,
a flashing battery icon will displayed.
If the voltage continues to fall below
this Shutdown Voltage, then the LED
array will switch off - however, the
display will still be operational.
The Shutdown Voltage can be
adjusted under MENU->ADVANCED-
>SHUTDOWN VOLTAGE-. The default
setting is 10V. This function has several
uses, for example to reserve part of a
battery capacity, or to ensure batteries
are not run to completely flat thus
promoting healthier batteries.
Chapter 6: Change Settings with Menus
Use the MENU button to enter or exit the menu system on the display and
change the settings on your Creamsource Micro Colour. The display screen
shows the current menu level or setting to be changed. Capitalised options will
access a further menu. Use either the Control Wheel or the and buttons to
scroll up and down and use the button to select a setting to change.
The table on the following pages outlines all the menu items & provides a
brief description of their function.
Creamsource
11.9v
1OO%

14
SETTING SUB MENU DESCRIPTION
COLOUR MODE Normal – CCT Switch to CCT mode to produce white light with CCT and GRN/MAG control
Colour – HSV Switch to HSV mode to produce colours with Hue and Saturation control
Colour – RGBW Switch to RGBW mode to control Red, Green, Blue & White independently
Colour XY Switch to XY to dial in a colour using the XY coordinates from the CIE 1931 XY
coordinate plane
Light Gels Switch to Light Gels to choose from over 300 LEE & Roscoe Gels
Crossfade CCT-HSV Switch to Crossfade CCT-HSV to crossfade between your Normal CCT settings and
your HSV settings
Crossfade CCT-RGBW Switch to Crossfade CCT-
RGBW to crossfade between your Normal CCT settings
and your RGBW settings
Crossfade CCT-XY Switch to Crossfade CCT-XY to crossfade between your Normal CCT settings and
your XY settings
Crossfade CCT-GEL Switch to Crossfade CCT-GEL to crossfade between your Normal CCT settings and
your selected Gel
<<<BUMP COLOUR>>> This allows you to fine-tune the current colour along the red/cyan, green/magenta
or blue/yellow axis or through increased / decreased saturation.
SHORTCUT: Hold from anywhere to access ‘Bump Colour’.
<<<REMOVE BUMP>>> Click to remove. SHORTCUT: Hold from the ‘Bump colour’
menu to remove any bump.

15
EFFECTS MODE No Effect Default. Select this to turn off an active effect
Dual Level Allows two light levels to be set and toggled between using the Flash button.
Once Dual Levels are set you can adjust colour via Colour Modes or Presets
Strobe Enables the Strobe effect with control over frequency, brightness & duty cycle.
With the Strobe effect on you can adjust colour via Colour Modes or Presets. After
any colour change you need to reselect strobe to restore control over frequency &
duty cycle.
Random Create a random pattern of flashes with control over frequency, length & variation.
Once your random pattern is set you can adjust colour via Colour Modes or
Presets. After any colour change you need to reselect Random to restore control
over frequency, length & variation
Timed Flash Create flashes of a defined duration with control over output and duration of flash.
Once your Timed Flash is set you can adjust colour via Colour Modes or Presets.
After any colour change you need to reselect Timed Flash to restore control over
output and duration of flash
Flash Frames Create flashes tightly synchronised to the camera shutter when used with a sync
source such as the Creamsource Flashbandit. Control over the number of frames
to flash on & off is enabled. Calibrate Sync mode must be run first
Colour Cycle Select to run through the entire spectrum with control over the speed of the cycle.
Calibrate Sync Calibrate the fixture with a sync source such as the Creamsource Flashbandit
USER PRESET USER PRESET 1-20 Use the 20 available presets to store up to 20 colour settings including
crossfades. To store a new preset, select the preset number you want
to use and hold to store.
HOLD TO
CLEAR ALL
All pre-sets can be cleared in one go by holding when on
this menu item

16
PRESET 2700K Set colour temperature to 2700K, GRN/MAG to 0
3200K Set colour temperature to 3200K, GRN/MAG to 0
4500K Set colour temperature to 4500K, GRN/MAG to 0
5600K Set colour temperature to 5600K, GRN/MAG to 0
6500K Set colour temperature to 6500K, GRN/MAG to 0
10000K Set colour temperature to 10000K, GRN/MAG to 0
RED Set Hue to Red & Mode to Colour HSV. Use and the control wheel to adjust Hue
& Saturation
GREEN Set Hue to Green & Mode to Colour HSV. Use and the control wheel to adjust
Hue & Saturation
BLUE Set Hue to Blue & Mode to Colour HSV. Use and the control wheel to adjust
Hue & Saturation
CYAN Set Hue to Cyan & Mode to Colour HSV. Use and the control wheel to adjust
Hue & Saturation
MAGENTA Set Hue to Magenta & Mode to Colour HSV. Use and the control wheel to
adjust Hue & Saturation
YELLOW Set Hue to Yellow & Mode to Colour HSV. Use and the control wheel to adjust
Hue & Saturation
FIXTURE SETUP DIMMING CURVE Choose from Linear, Exponential, Logarithmic or S curve Dimming curves with
and buttons. Select with
Calibrated RGBW Select this to activate calibrated colour space for RGBW modes. This uses the
Kodak Pro Photo Colour Gamut / Plasa standard E1.54. The white point is set to
3200K

17
High Speed Enables the dedicated High Speed mode for shooting at high frame rates
DMX SETUP DMX Address Use and to set DMX address from 1 to 460 (<512 to allow for all channels to be
patched)
DMX Scenario Use and to set DMX Scenario from 1 to 20 (see DMX implementation tables
for complete description of different scenarios)
DMX Terminated Use this to designate the unit as the end of the DMX chain
ADVANCED TRIGGERING Use an external pulse to trigger any effect
Shutdown Voltage Allows a minimum voltage level to be set that will shut down the fixture when the
(battery) voltage drops to that level. Use and to set level.
Slave All Units When two or more fixtures are connected with a DMX cable, they will automatically
slave together. If Slave All Units is selected, all units will be slaved as one. If this is
not selected, then only units with the same DMX address will be slaved.
LCD Contrast Adjust the contrast on the LCD display using and
Restore Defaults Reset the fixture to the factory defaults. Please note that this will lose any User
Presets.
Information Shows the information screen for this fixture

18
6.1 Colour Mode – Normal CCT
The default Colour Mode is ‘Normal CCT’. In this mode you can control Colour
Temperature & Green / Magenta Bias. As with all settings, you can also control
brightness, add effects & store as a User Preset.
6.1.1 Normal CCT: Change Colour Temperature
To change the colour temperature, press the NEXT button uuntil the CCT
heading is displayed. Then use the control wheel to run smoothly through
the available colour temperature range (2200K - 15000K). The display shows
approximate colour temperature in Kelvin..
6.1.2 Normal CCT: Adjust Green / Magenta Bias
To adjust the Green / Magenta bias, press the NEXT button until the GRN/
MAG heading is displayed. Then use the control wheel to smoothly adjust the
colour balance by adding more Green or Magenta as desired.
6.2. Colour Mode – Colour HSV
In the Colour HSV mode you can control the Hue through the entire 360 ° Colour
Spectrum and use Saturation to control the intensity of that colour. As with all
settings, you can also control brightness, add effects & store as a User Preset.
6.2.1 Colour HSV: Change Hue
To change the Hue, press the NEXT button until the HUE degrees heading
is displayed. Then use the control wheel to smoothly change the Hue from
0° to 360° on the Colour Spectrum.
6.2.2 Colour HSV: Adjust Saturation
To adjust the Saturation, press the NEXT button until the SATURATION
heading is displayed. Then use the control wheel to smoothly de-saturate
the Hue back to 3200K at 0°.
Table of contents