Ovente OFM2025 Series User manual

Before using, please read the instruction manual and keep it for future use.
ovente.com
rotisserie
air fryer
oven
multi-function
OFM2025 series

rotisserie
air fryer
oven
multi-function
OFM2025 series

Multi-Function Air Fryer Rotisserie Oven
OFM2025 series
TABLE OF CONTENTS
4
6
7
10
..........
..........
..........
..........
Important safeguards
Parts & features
Using your air fryer oven
Care & maintenance

4ovente.com
IMPORTANT SAFEGUARDS
Whenusingyourairfryeroven,basicsafetyprecautionsshouldalwaysbefollowed,including:
Read all of these instructions carefully before using or cleaning
your air fryer oven.
On first use,the oven may smoke for 5-15 minutes.This is normal.
This oven is for household use only.Do not use outdoors or for
other than its intended use.
Close supervision is necessary when any appliance is used near
children.
Do not immerse cord,plug,or any part of the oven in water or
other liquids.
Do not let cord hang over edge of table or counter,or touch hot
surfaces.
Do not operate oven with a damaged cord or plug or after the
oven malfunctions,or has been damaged in any manner.If the
oven is damaged or broken,do not attempt to repair it yourself.
Please contact Customer Support on 1-855-926-2626 for
assistance.
When operating the oven,keep at least four inches of
space on all sides to allow for adequate air circulation.
To disconnect,turn the control to the off position before
removing the plug.
Unplug from outlet when not in use and before cleaning.
Always hold the plug;never pull the cord.
Allow the oven to completely cool down before add-
ing or removing accessories,and before cleaning.
Extreme caution must be used when moving an appliance
containing hot oil or hot food.
Do not cover any part of the oven with metal or fabric;it
may cause the oven to overheat.
Never leave the oven unattended while in use.
Oversized food or metal utensils cannot be put into the
oven as they may cause fire or risk of electric shock.

5ovente.com
IMPORTANT SAFEGUARDS
Whenusingyourairfryeroven,basicsafetyprecautionsshouldalwaysbefollowed,including:
Do not place any of the following materials in the oven:plastic,paper,or anything similar.
Do not use any accessories other than manufacturer-recommended accessories in this
oven.
Always wear protective,insulated oven gloves when transporting food to or from the hot
oven.
The glass door is heavy;hold the handle until the door is completely open.Do not let the
door fall by itself.
This oven is not intended for use by persons (including children)with reduced physical,
sensory or mental capabilities,or lack of experience and knowledge,unless they have
been given supervision or instruction concerning use of the oven by a person responsible
for their safety.
The temperature on the surface of this oven is high during and after use;do not touch!
Do not attempt to control this oven via a remote control or timer.

6ovente.com
parts & features
1. Power switch
2. Timer
3. Function control
4. Airfryer temp control
5. Oven temp control
6. Lamp switch
7. Removable drip tray
8. Rotisserie spit
9. Rotisserie spit handle
10. Air fryer basket
11. Wire rack
12. Baking pan

7ovente.com
HOW TO USE THE ROTISSERIE FUNCTION
Place the oven on a heat-resistant,level surface and plug
it in.
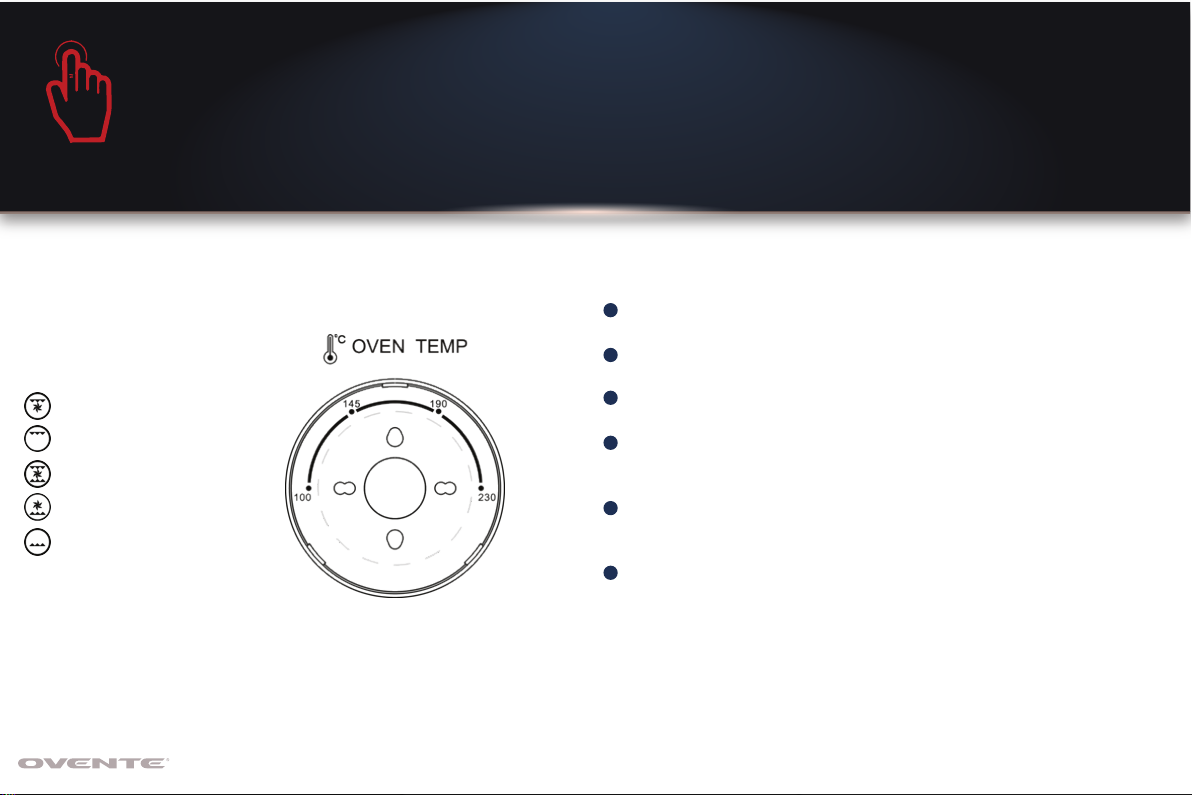
Set your desired function,time and temperature,and
preheat for 10-15 minutes.Then insert the rotisserie spit,wire
rack, air fryer basket or baking pan depending on the type of
food you are cooking.
During cooking,you can check the status of your food
through the large viewing window.You can also use the
lamp switch to turn on the lamp.For larger,denser foods,
turning will ensure your food cooks better and more evenly.
To prevent risk of accidents,shut the door immediately
afterwards.
Once cooking is finished,the timer will shut off automatically
and the bell will ring.If your food is cooked before the set
time,turn the timer to the off position to power off the oven.
Exercise caution when removing your food from the hot
oven.
USING your air fryer oven
1
2
3
4
5
Insert one skewer through the pointed end of the spit,
making sure the points of the skewer are facing the spit’s
pointed end.Slide the skewer toward the square end of the
spit.
Insert the spit directly through the center of the food you
want to roast.
Put the other skewer through the pointed end of the spit,
making sure the points of the skewer face the spit’s square
end.
Put the two skewers into the food,then secure both skewers
with the thumbscrews.
Make sure the food is centered on the spit.
Insert the pointed end of the spit into the drive socket;make
sure the square end of the spit rests on the spit support.
1
2
3
4
5
6

8ovente.com
Plug in the oven.
Set the air fryer temperature to maximum.
To begin cooking,turn the timer to your desired cooking
time.It takes around 30 minutes to roast a 4.5lb chicken.
When you set the heating selector , the rotisserie spit will
begin rotating.For better results,use the air fryer fan while
using the rotisserie function as the airfryer fan is a high-speed
motor.
Once cooking is finished,the timer will shut off automatically
and the bell will ring.If your food is cooked before the set time,
turn the timer to the off position to power off the oven.
After the oven has completely cooled down,put the hooks of
the rotisserie spit handle under the grooves on both sides of
the spit.Lift the right side of the spit first and move it toward the
right side a bit,so that the left side of the spit pops out of the
drive socket.Then carefully remove the spit from the oven.
Take the food off the spit.
7
8
9
10
11
12
13
HOW TO USE THE AIR FRYER
Turn the function switch to air fryer ,adjust the airfryer temp
knob depending on the type of food you are cooking,and then
adjust the timer knob to choose your desired time.The air fryer
will begin working.
HOW TO USE THE DEHYDRATOR
Once you turn the function switch to dehydrator and adjust
the timer knob to choose your desired time,the dehydrator will
begin working.Please note that there is no need to adjust the
temperature when using the dehydrator,as there is a fixed
thermostat that controls the temperature of the dehydrator.
USING your air fryer oven

9ovente.com
USING your air fryer oven
To start the oven,turn the function knob to any of the
functions listed below,adjust the oven temp knob,and then
set your desired temperature.
Oven temp functions:
broil with convection
broil
toast with convection
bake with convection
bake
HOW TO USE THE INNER LAMP
Press the lamp switch to turn on the lamp,so you can check
the status of your food.
COOKING TIPS
Ensure that there is enough ventilation around the oven.
Ensure that the oven is completely dry before use.
Do NOT place the oven on an untreated wooden surface.
For maximum performance,preheat the oven for 10-15
minutes.
Oil the baking tray or rack before putting food on it to provide
stickiness.
Place the removable drip tray under the rack to avoid oil
dripping to the oven’s bottom and causing greasy build-up.
1
2
3
4
5
6

10 ovente.com
ELECTRICAL REQUIREMENTS
Voltage:120V
Wattage:1700W
Hertz:60Hz
Unplug the oven and allow it to cool completely before
cleaning.
Do not immerse the oven in water.All surfaces can be
cleaned with a clean damp cloth.
For stubborn grease,use a clean cloth with a mild soap
solution.
Do not use abrasive cleaners or sharp utensils to clean the
oven as they may cause damage.
Clean the interior of the oven with a clean damp cloth.
care & maintenance

OVENTE WARRANTY
ovente.com
LIMITED ONE (1) YEAR WARRANTY
At Ovente,we aim to make your life easier by producing top-quality housewares,designed with you in mind.We have
pledged to uphold all our offerings to the highest standards,and we back all our air fryer ovens with a one-(1) year war-
ranty from the date of purchase from an authorized retailer.This warranty covers defects in workmanship and materials.
It does not include damage due to abuse,misuse,commercial use,accidents or natural wear and tear.In case of replace-
ment,shipping and handling fees may apply.
LIMITATIONS
The warranty stated above is the only warranty applicable to this product.Other expressed or implied warranties are
hereby disclaimed.No verbal or written information given by the Manufacturer,its agents or employees shall create a
guarantee or in any way increase the scope and duration of this warranty.Repair or replacement as provided under this
warranty is the exclusive remedy of the consumer.The manufacturer shall not be liable for incidental or consequential
damages resulting from the use of this product.Any implied warranty of merchantability or fitness for a particular purpose
on this product is limited to the applicable warranty period set forth above except to the extent prohibited by law.Proof
of purchase may be required to validate the order.Promotional items may not be covered under any warranty.Consumer
rights may vary from state to state.
For product support email support@ovente.com or call 1-855-926-2626.
Visit us at ovente.com
Facebook.com/ovente @oventeTweets youtube.com/ovente@Ovente

Table of contents
Other Ovente Oven manuals
Popular Oven manuals by other brands

Hotpoint
Hotpoint SE861X Instructions for installation and use

KitchenAid
KitchenAid Architect Series II KEBS107SSS installation instructions

Melissa
Melissa 651-014 user guide

Bosch
Bosch HBN531.2B instruction manual

Whirlpool
Whirlpool AKZM 663 User and maintenance manual

AEG
AEG BH 88 L operating instructions